提供: Bright Pattern Documentation
(Created page with "650px") |
|||
| Line 34: | Line 34: | ||
# ''agent_activity.jrxml'' ファイルを探し、ダブルクリックにより開きます。 | # ''agent_activity.jrxml'' ファイルを探し、ダブルクリックにより開きます。 | ||
| − | === ステップ 2: | + | === ステップ 2: 編集したい要素を選択します。 === |
| − | # グループヘッダーフレームで''$R{col_case_id}''を、最後の列の詳細フレームで ''$F{case_number}'' | + | # グループヘッダーフレームで''$R{col_case_id}''を、最後の列の詳細フレームで ''$F{case_number}''を選択します。同時に二つの要素を選択できます。<br /><br /> |
| − | # | + | # 選択した要素を右クリックし、'''削除'''を選択します。 |
Revision as of 14:08, 13 November 2019
• English
レポートテンプレートのインポートと編集
.jrxmlフォーマットのレポートテンプレートを使用またはカスタマイズするには、次の手順に従って、テンプレートをJaspersoft Studioにインポートしなければなりません。
レポートテンプレートのインポート
ステップ 1: レポートを保存するためのフォルダーを作成します。
- Jaspersoft Studioで画面の左側にあるプロジェクト タブに移動します。
- マイ・レポートを選択します。
- マイ・レポートを右クリックし、新規 > フォルダーを選択します。
- 表示されるダイヤログボックスでは、マイ・レポートという親フォルダーを選択し、新しいフォルダーにレポートという名前をつけます。このフォルダーにはレポートテンプレートが保存されます 。
- 終了をクリックします。
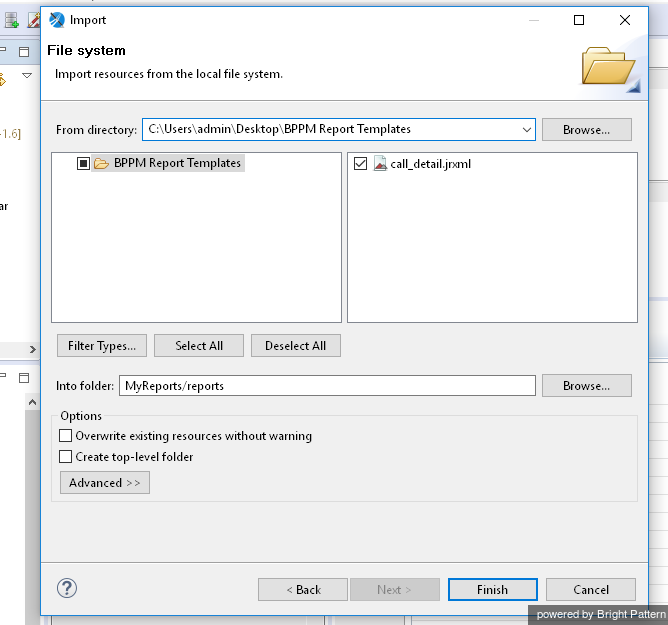
ステップ2: レポートテンプレートのファイルを新しい レポート フォルダーにインポートします。
- レポートフォルダーを右クリックし、インポートを選択します。
- 表示されるダイヤログウィンドウでは、ファイルシステムを選択します。
- 次へをクリックします。
- 以前にコンタクトセンター管理者アプリケーションからダウンロードしたレポートテンプレートのファイルが保存されたフォルダーを選択します。これらのファイルの名前には、.jrxml ファイル拡張子が付いています。
- これらのファイルを選択し、 終了をクリックします。
例: .jrxml レポートテンプレートの編集
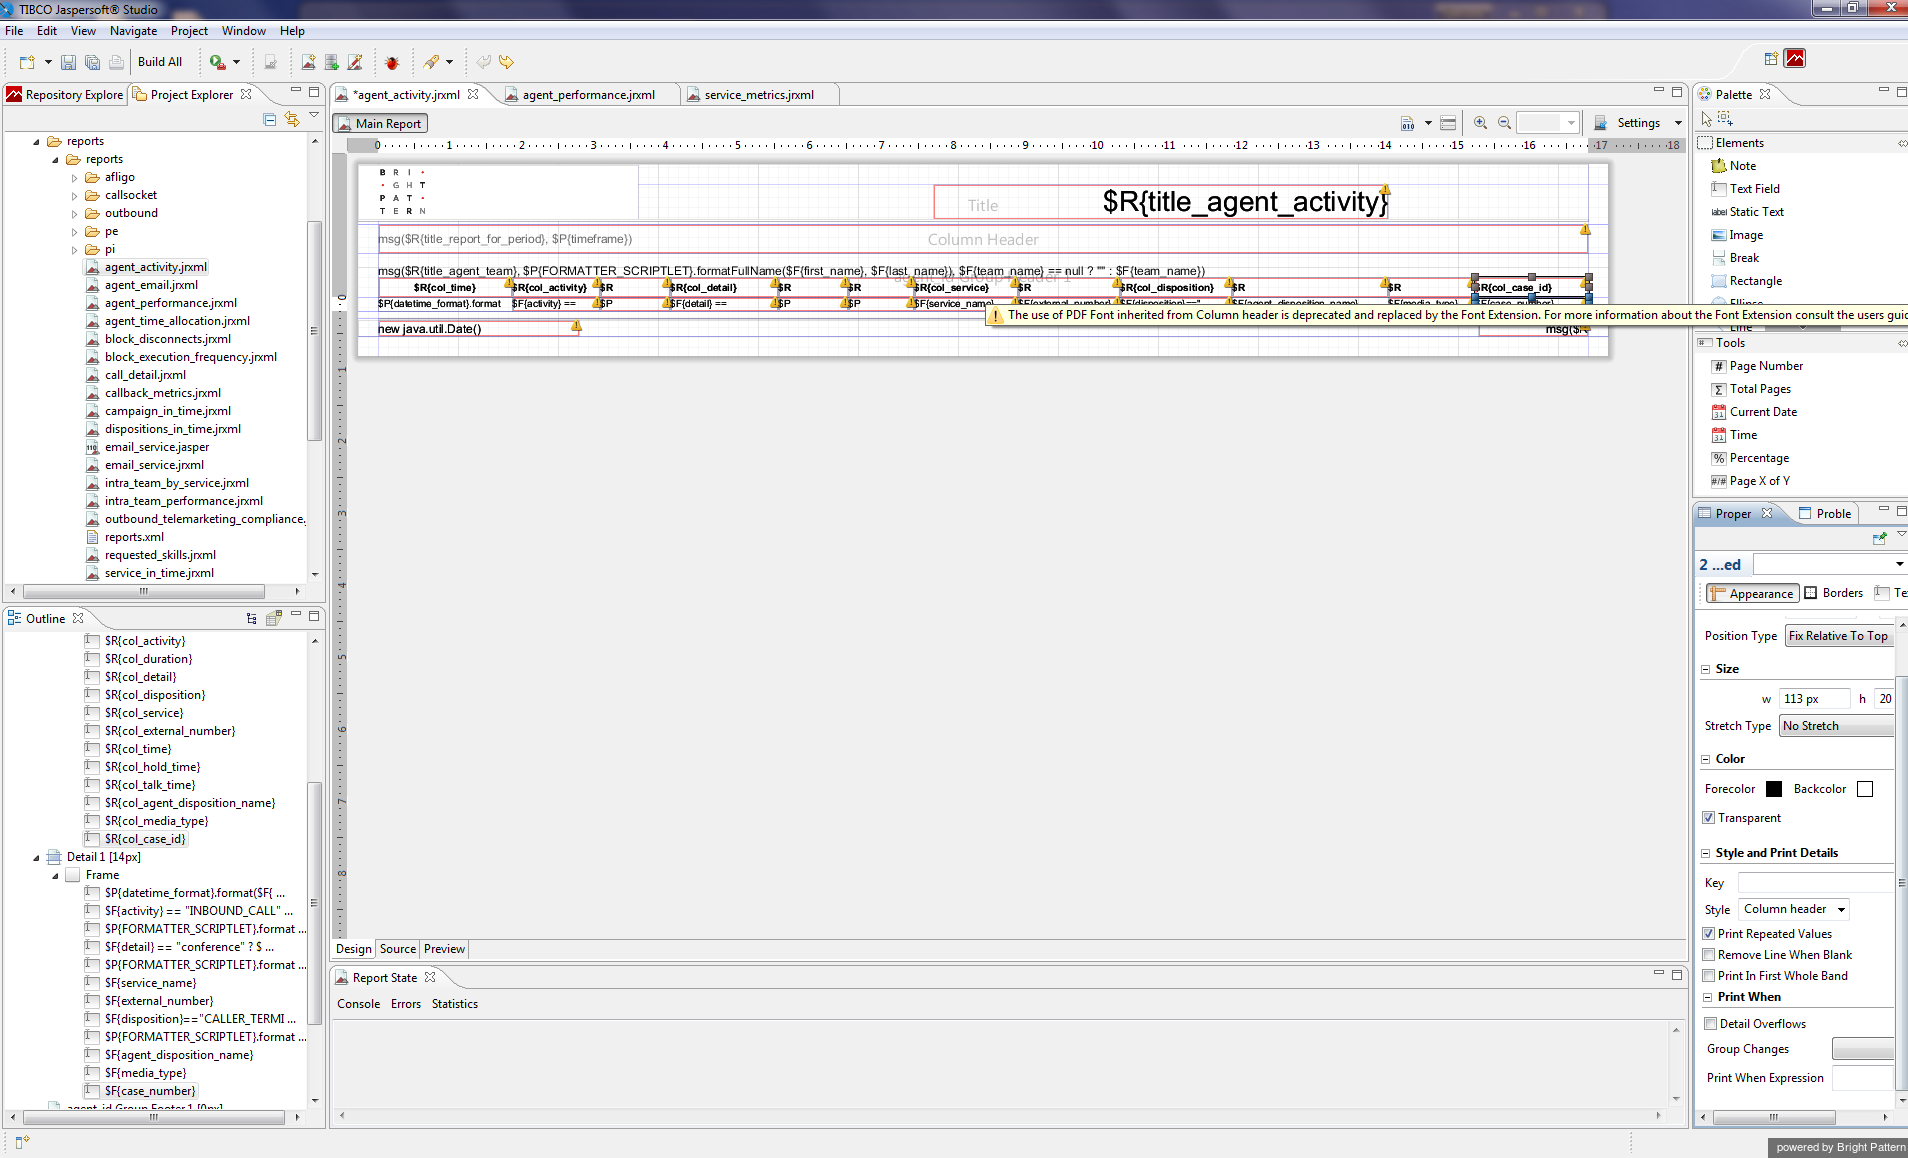
レポートテンプレートをダウンロードしたら、Jaspersoft Studioのビジュアルエディターを使用して、.jrxmlレポートテンプレートをインポートおよび編集できます(例えば、既存のメトリックの削除や新しいメトリックの追加など)。 Jaspersoft Studioにインポートされる .jrxmlフォーマットのレポートテンプレートは、次のようになります:
次の例は、.jrxml レポートテンプレートを編集する方法について説明します。この例では、ケース列はすぐに使用できるエージェントアクティビティレポートから削除され、レポートの書式設定と外観が変更されています。
ステップ 1: agent_activity.jrxmlファイルを開きます。
- Jaspersoft Studioでマイ・レポート >レポートへ移動します。
- agent_activity.jrxml ファイルを探し、ダブルクリックにより開きます。
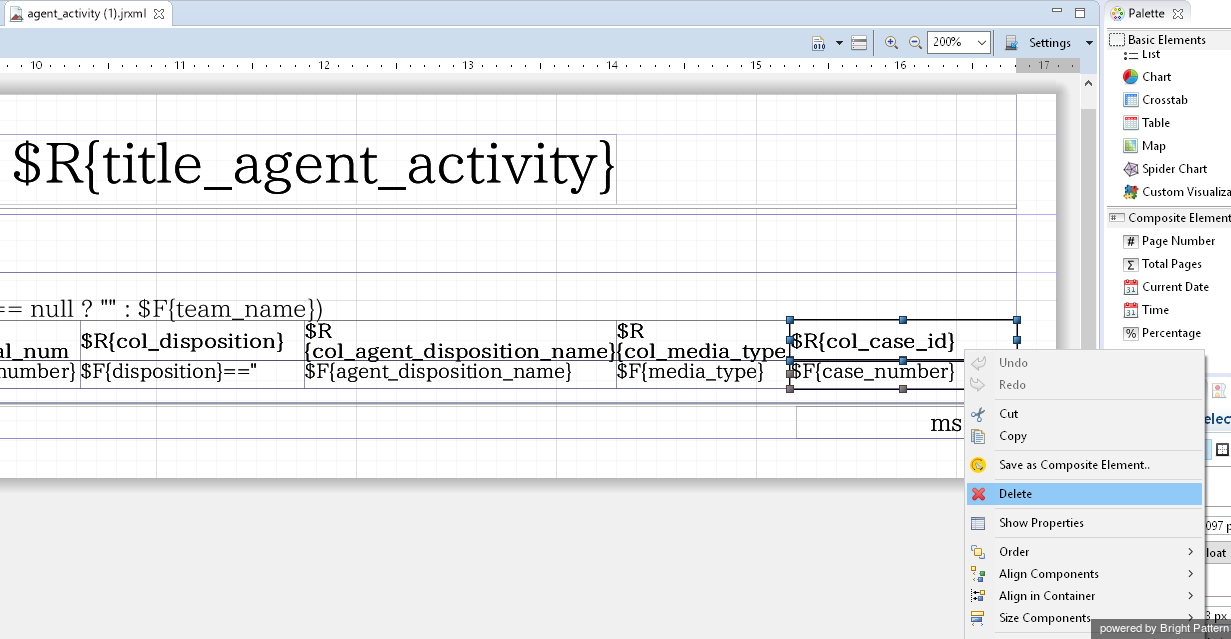
ステップ 2: 編集したい要素を選択します。
- グループヘッダーフレームで$R{col_case_id}を、最後の列の詳細フレームで $F{case_number}を選択します。同時に二つの要素を選択できます。
- 選択した要素を右クリックし、削除を選択します。
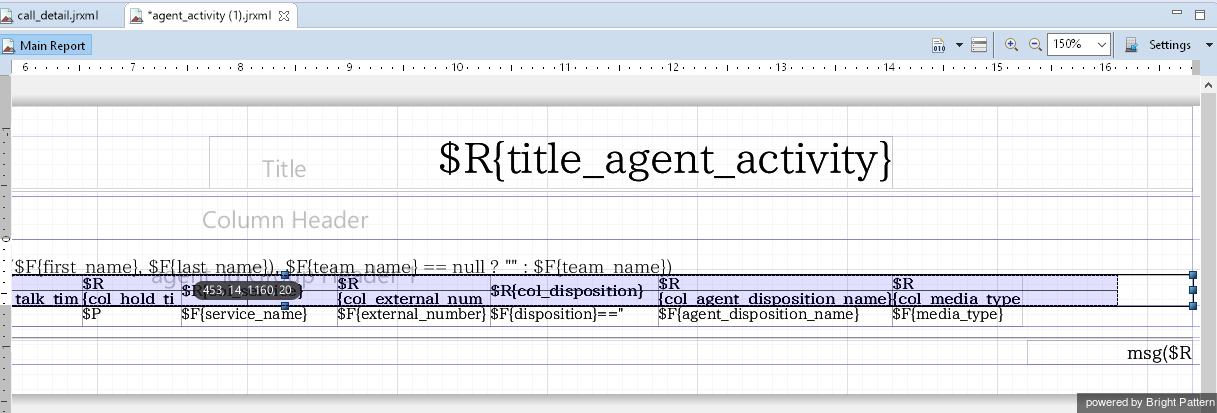
Step 3: Adjust the presentation of report elements as desired
- Select the report frames and reduce their widths by dragging the elements to the right position. You can use the grid lines to help you find the edges of each element.
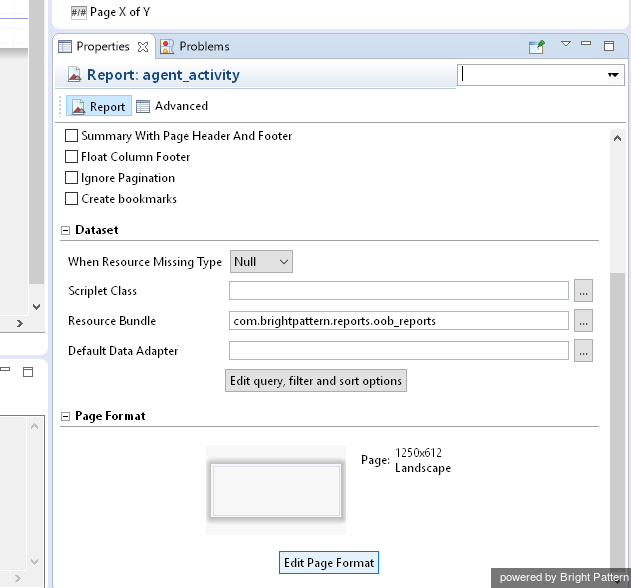
- To reduce the width of the report, click into the design view (the gray part of the screen, below the report) of the report in focus. That will bring up the Properties pane on the right-hand side of the screen.
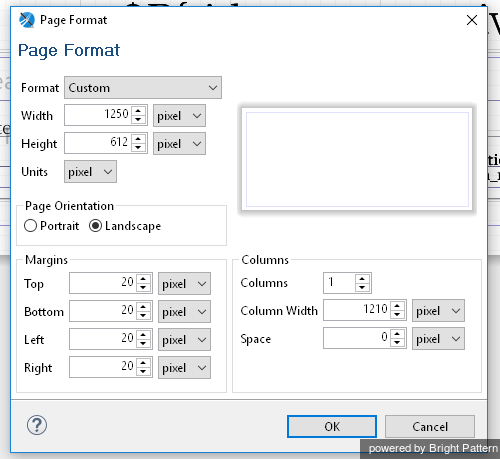
- At the bottom of Properties, select Edit Page Format. In the window that pops up, you can reduce the width of the report, as well as make other adjustments as needed.
< 前へ | 次へ >

