From Bright Pattern Documentation
< 5.19:Zapier-integration-guide | Configuration
Revision as of 04:04, 29 May 2024 by BpDeeplTranslateMaintenance (talk | contribs) (Updated via BpDeleteTranslateTags script)
Create a Zap
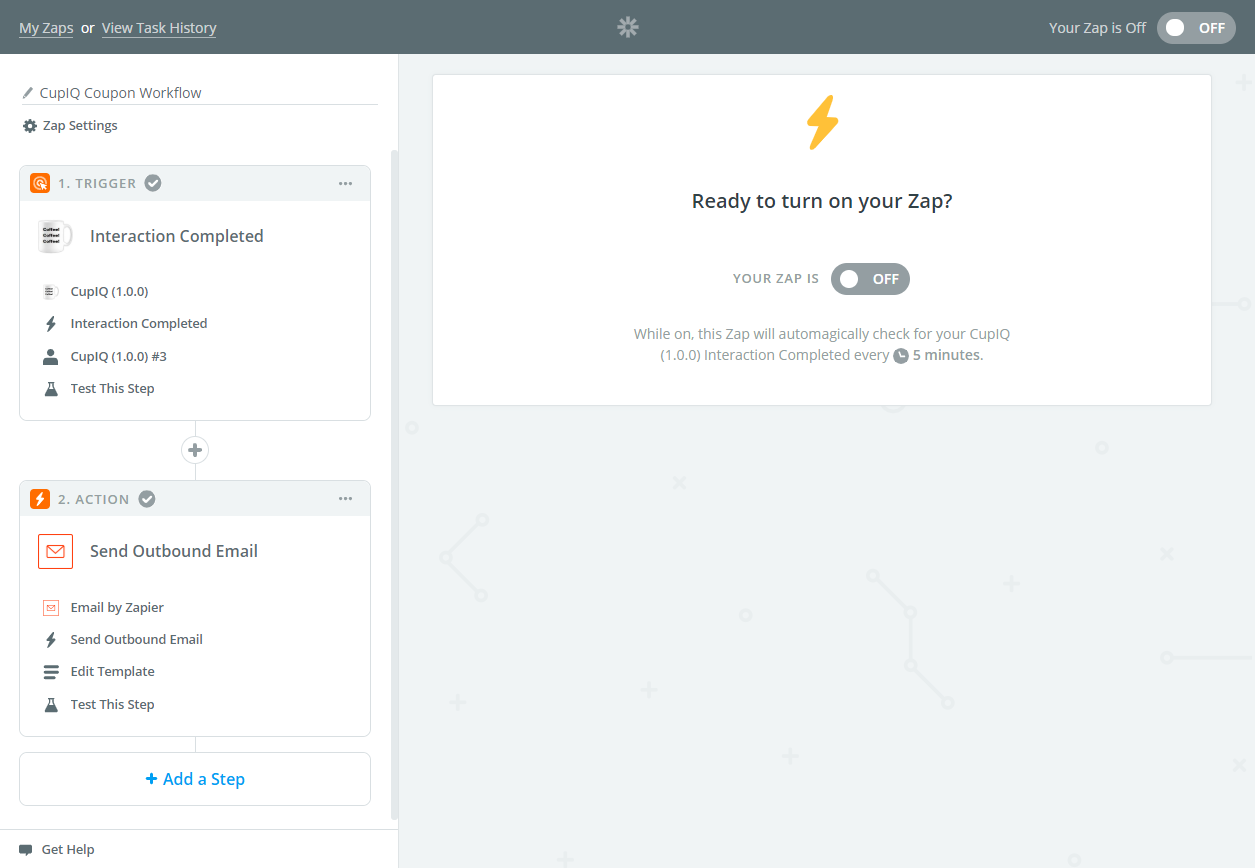
The last step in the process is to create a Zap and test it. A Zap contains two parts: a trigger and an action. Your Zap trigger will contain the Zapier Platform integration you created.
Step 1: Configure the Zap Trigger
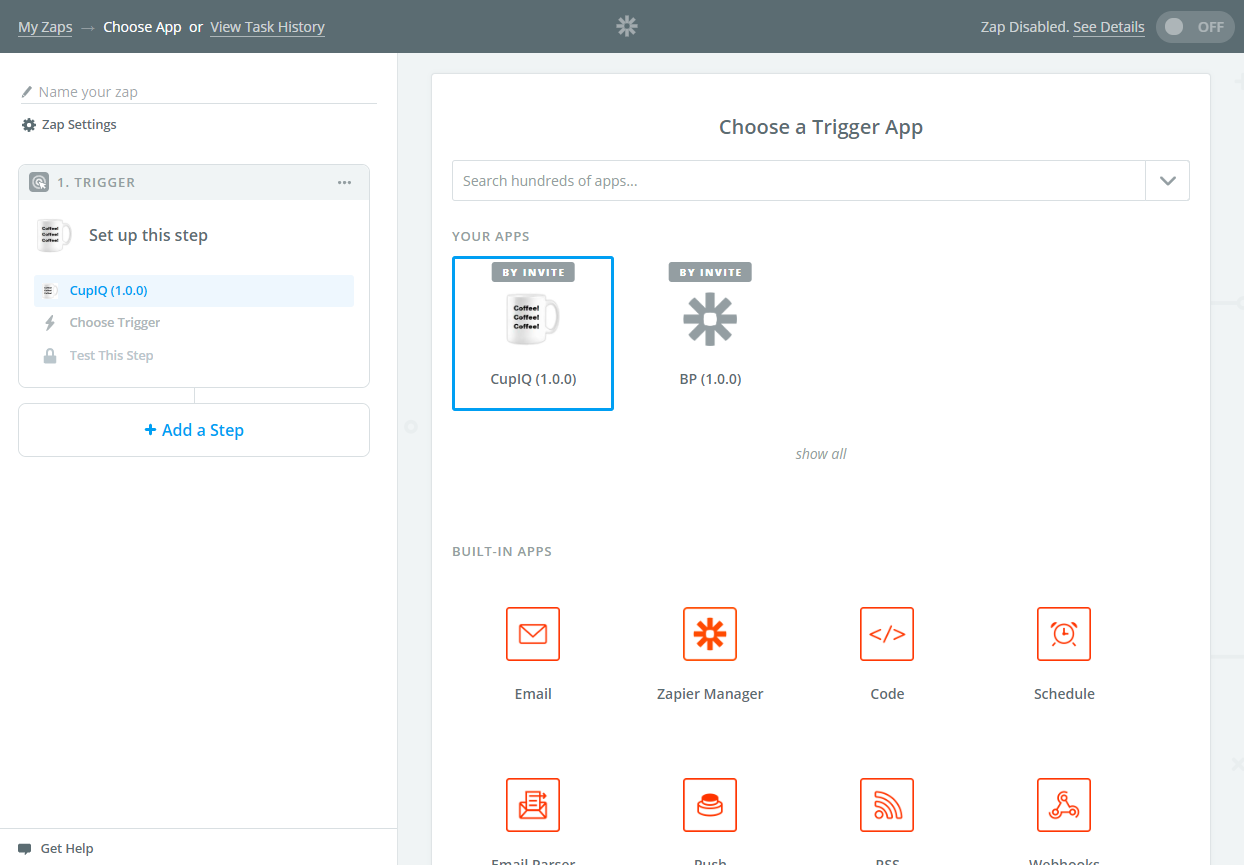
- To create a zap, navigate to the zap editor. The first half of creating a Zap is to configure the trigger; the trigger will be Zapier receiving the JSON data from the executed workflow. In the zap editor, select the integration you created as your trigger app.
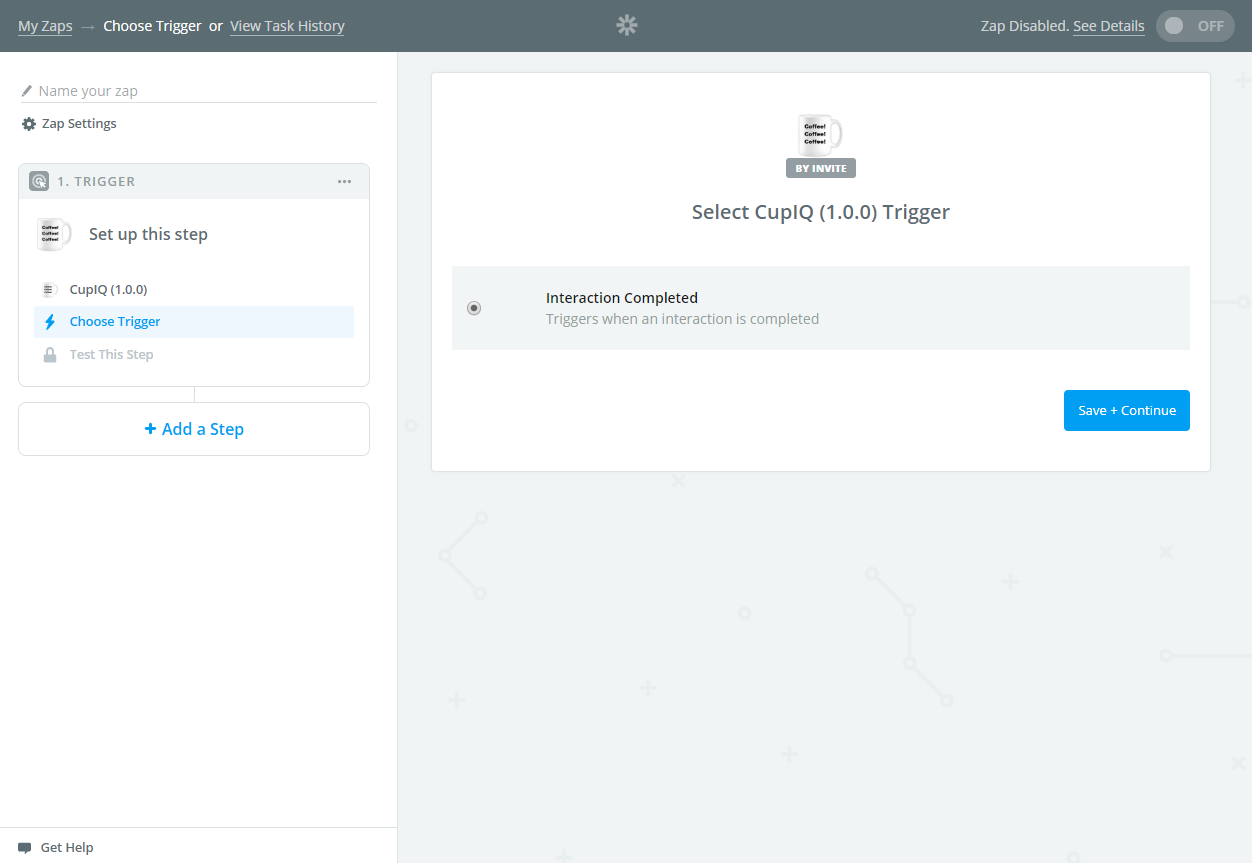
- Next, you will choose the trigger. As one was included when configuring the integration, you should see it in this screen. Click Save + Continue.
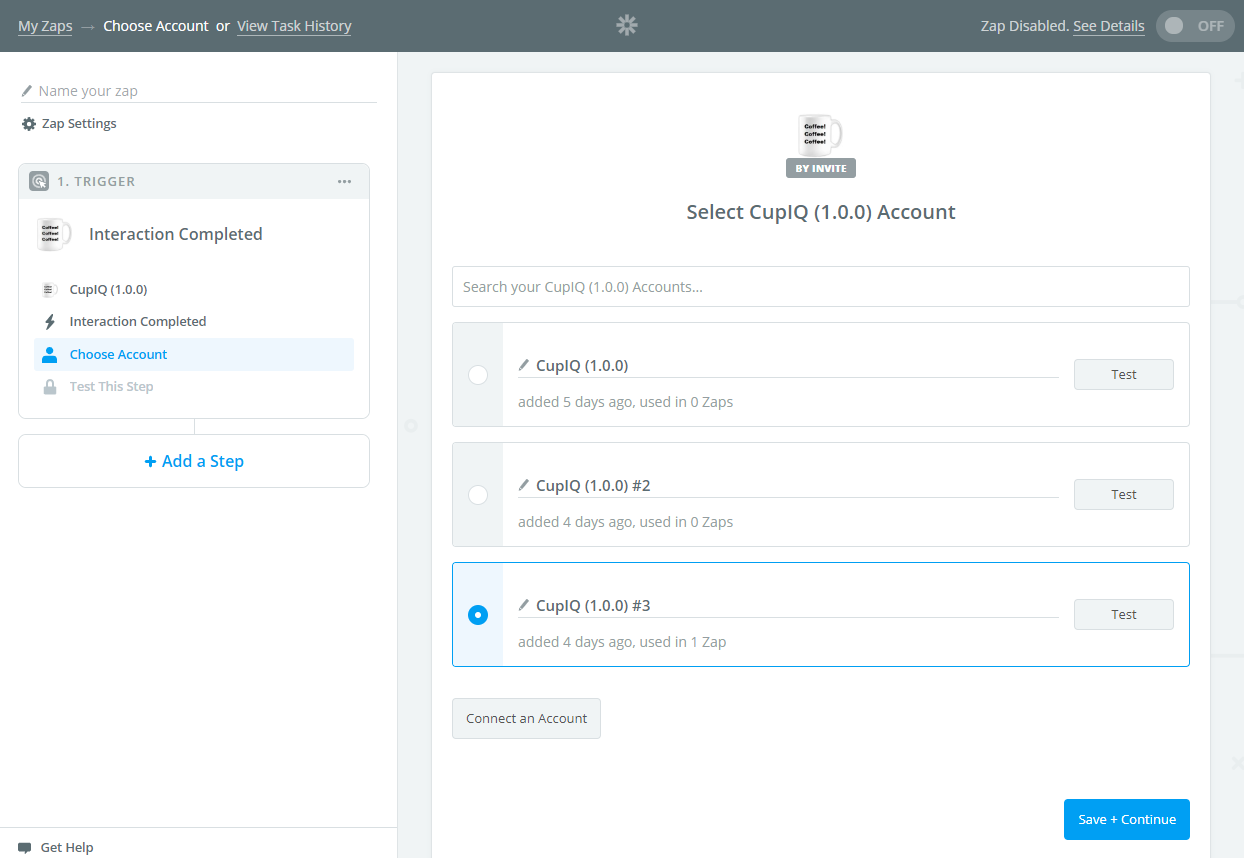
- You will then select the correct account authorization. Click Save + Continue.
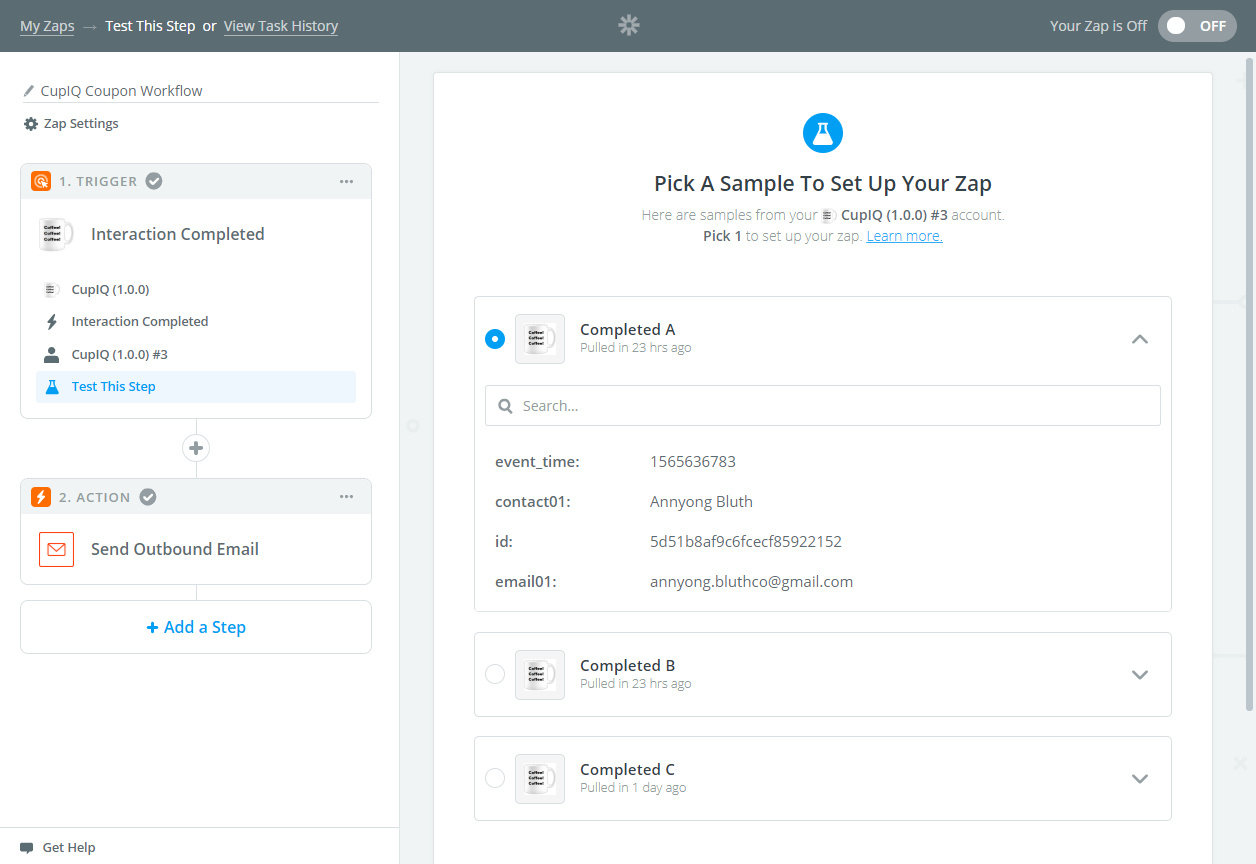
- The last step of configuring your Zap trigger is to test it by pulling in data from the workflow in the Test This Step section. If you recently created a test interaction on the service the workflow is assigned to, the data should pull through. Note that this step is required in order to pass data to your action.
Step 2: Configure the Zap Action
The second half of creating a zap is configuring the action (i.e., when the trigger conditions are met, what you want to happen). Actions may be configured with any number of apps on Zapier’s platform and allow you to automate a wide variety of acts (e.g., sending surveys, passing collected data to spreadsheets, etc.). Our example action will be to send an email to the customer whose data was passed from the interaction.
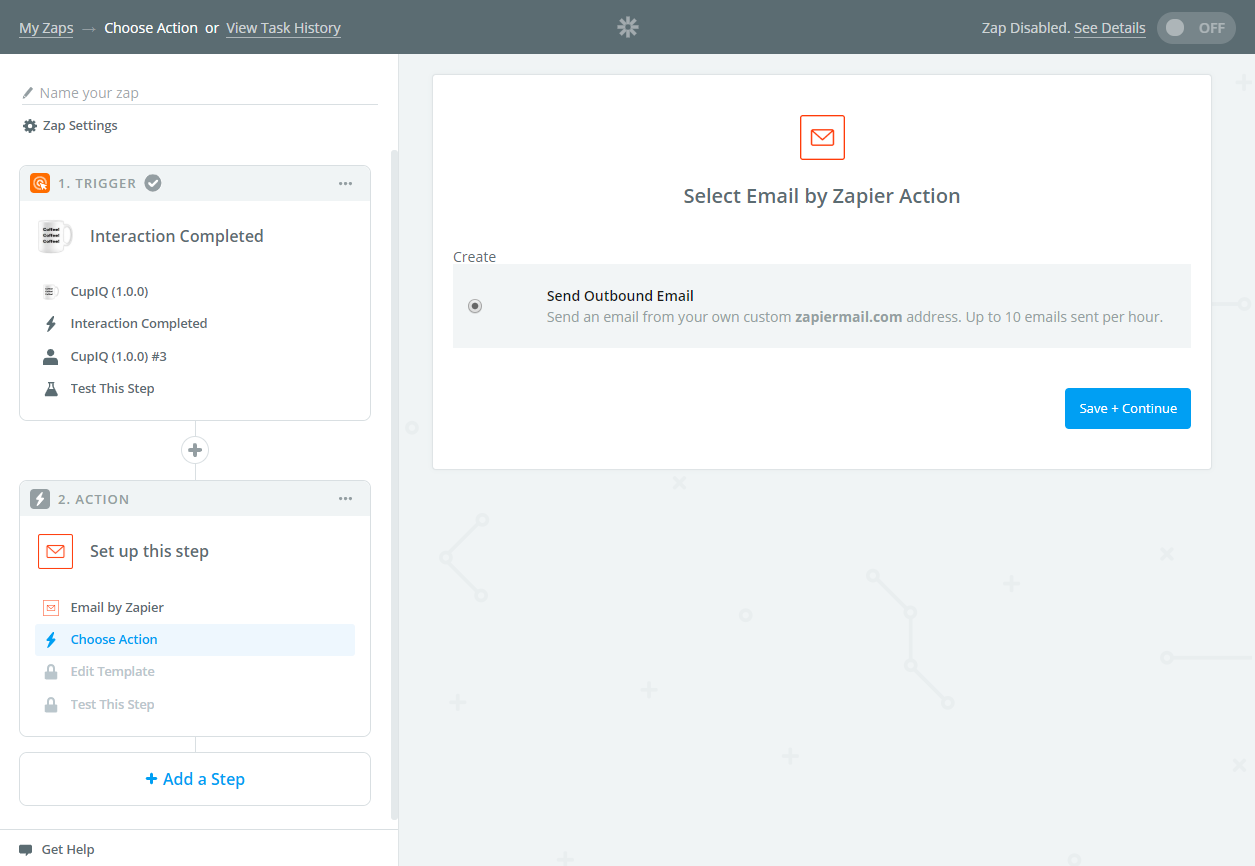
- To create an action, click Add a Step and select the type of action you want from the list. Click Save + Continue.
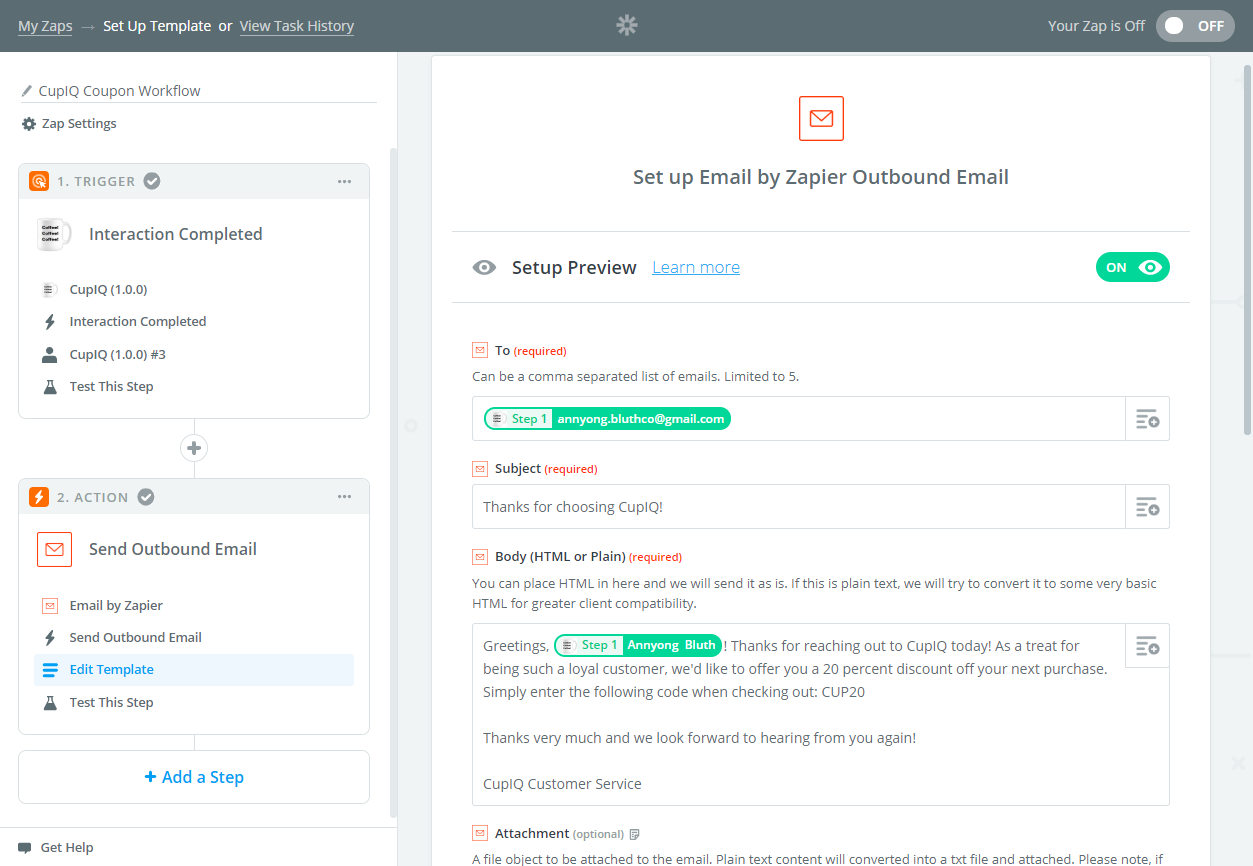
- For sending email via Zapier, configure the email template. Data passed from your workflow may be inserted into the appropriate fields (e.g., name, email address, etc.).
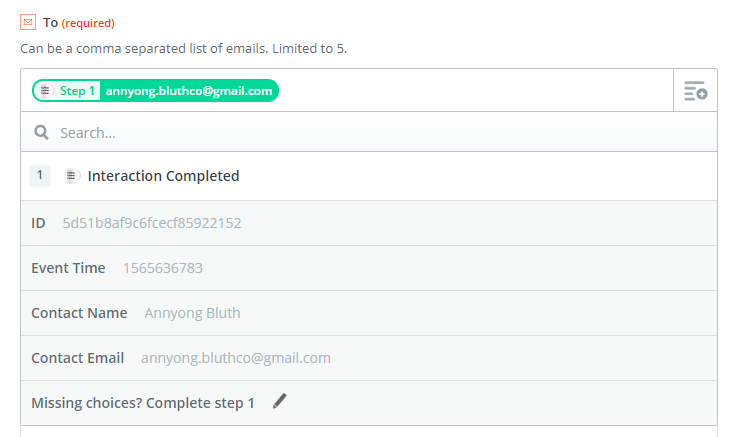
- To select this data, click the Insert a Field
icon. A drop-down menu will appear with the output fields you configured in your integration. Data that was passed to Zapier will be shown in field options.
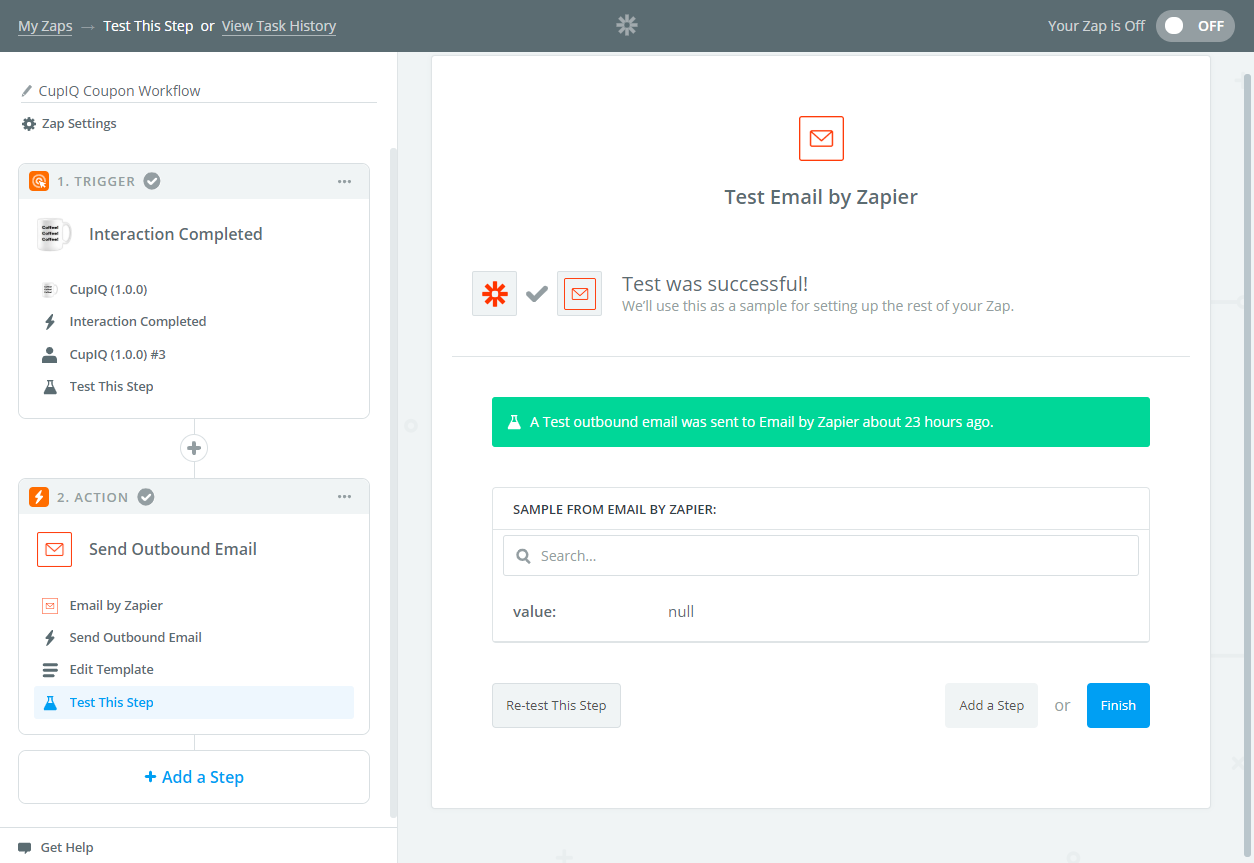
- After you finish configuring your template, you will test your action. Click Test This Step and wait for the email to arrive. When the test is registered in Zapier as being successful, you will have the option to click Finish to complete your Zap configuration.
- After you finish creating your Zap, you can activate it by turning it On. When you Zap is activated, it will periodically pull data from your Bright Pattern Contact Center environment and take the configured action.
< Previous

