How to Reschedule a Call Attempt
While participating in an outbound campaign, you normally will be expected to select a disposition indicating the result of every call that you handle. For more information, see section How to Enter Dispositions and Notes.
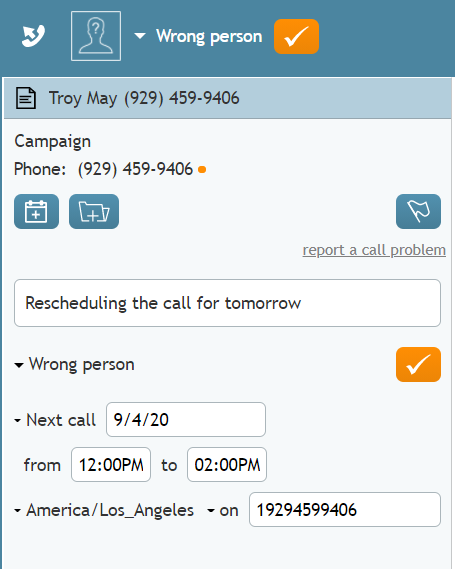
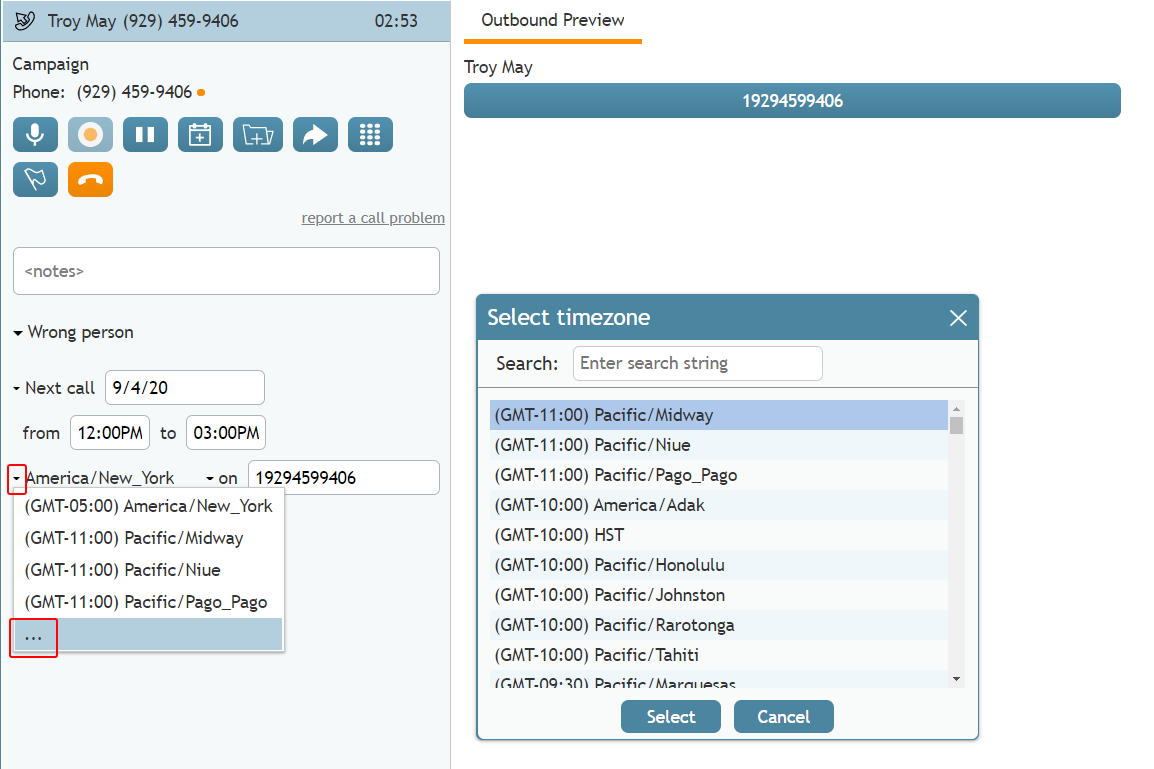
Depending on the selected disposition, you may also be expected to schedule another attempt to reach the same customer. Rescheduling is typical for situations when, for example, the customer requests that you call again at a more convenient time. You will receive detailed instructions about rescheduling of calls in various situations from your campaign administrator. If the disposition that you select implies scheduling of another call attempt, the Next call scheduling controls will be displayed in the Contact Info Panel below the Disposition Selector.
Procedure
To schedule another call attempt, follow these steps.
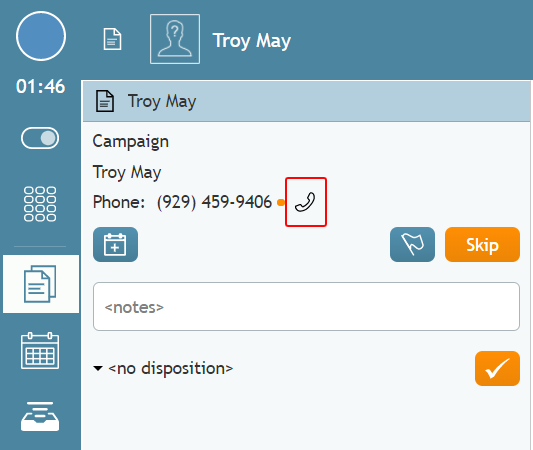
- Accept the incoming call. Hover your cursor over the customer's phone number or ID that is displayed, and click the Initiate call icon to start calling the customer.
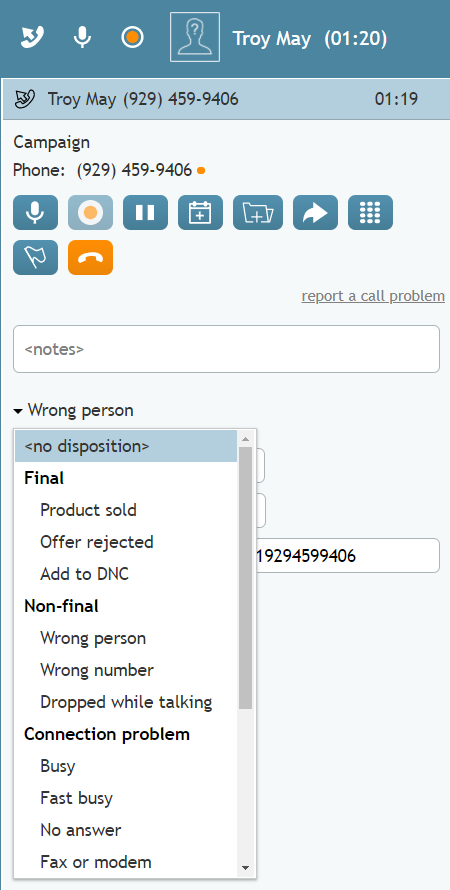
- During the active call, you can set the disposition and reschedule the call, or you can do that in After Call Work. If doing that during the active call, use the Disposition selector to select the appropriate disposition (any disposition that is not final). That will cause the reschedule options to display.
- To reschedule the call, set the following:
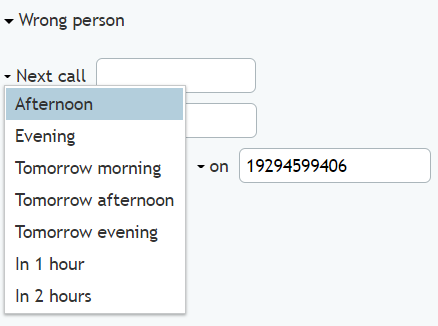
- Next call - The general time range for the next call attempt to be made (e.g., Afternoon, Evening, Tomorrow, etc.)
- Timezone - The desired timezone (e.g., “America/Los Angeles). Depending on the customer’s preferences, you may also have to select another time zone for the time interval that you have entered. Note that changing the timezone will also change the time in the “from/to” fields; we recommend that you always double-check that the correct time is set before completing the interaction.
- On - Set the phone number or ID that the customer wishes to be called on by clicking the small arrow. If you do not select the number, the system will set it to be the customer’s number from the original outbound call.
- Next call - The general time range for the next call attempt to be made (e.g., Afternoon, Evening, Tomorrow, etc.)
- After you have filled in all the reschedule fields, click the Hang Up button to end the call.
- In After Call Work, if you have not already dispositioned the call as above, do so now and then complete the call.
Once you have entered the rescheduling information, the call usually can be finished. For more information about terminating calls, see How to Release a Call and How to Wrap Up After-call Work.

