From Bright Pattern Documentation
< 5.8:Zapier-integration-guide | Configuration
Revision as of 04:15, 29 May 2024 by BpDeeplTranslateMaintenance (talk | contribs) (Updated via BpDeleteTranslateTags script)
Create an Integration in Zapier Platform
Step 1: Create a New Integration
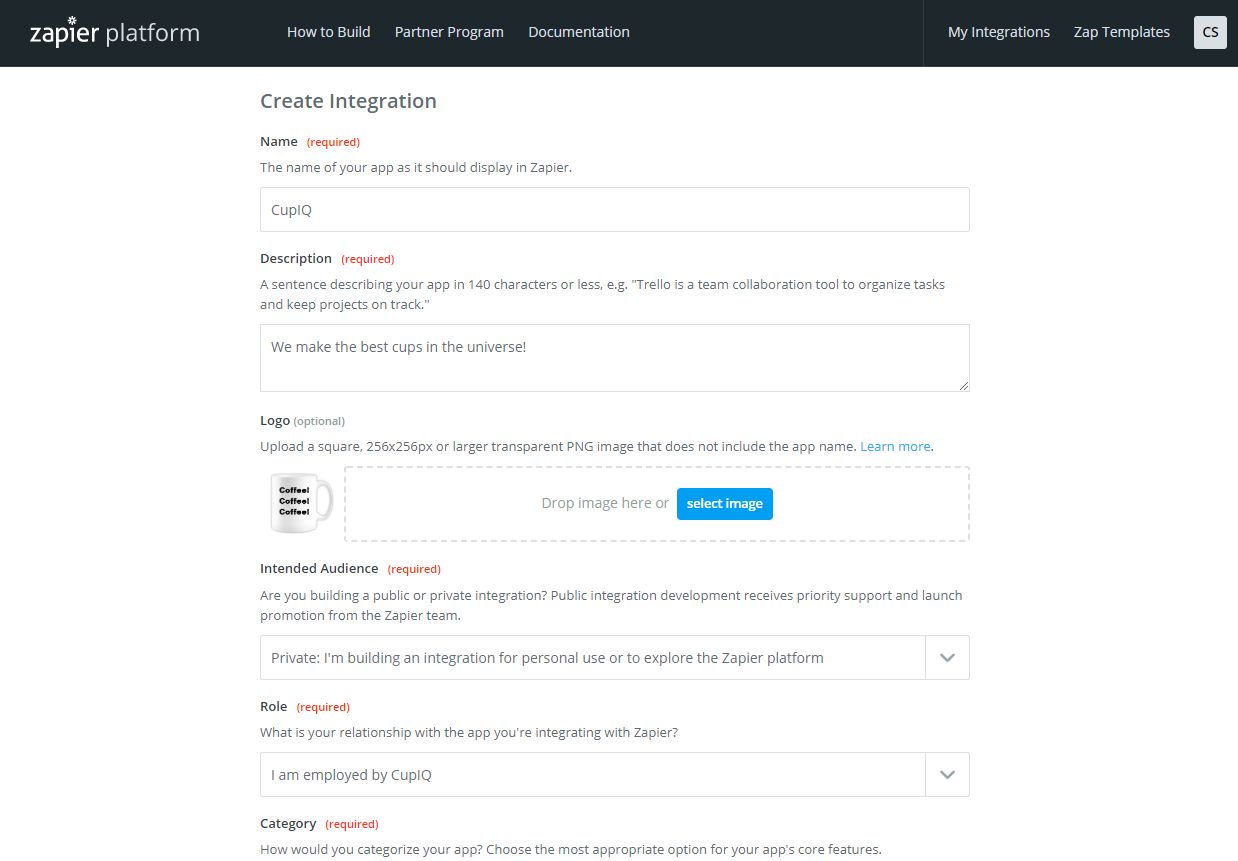
- In Zapier Platform, navigate to section My Integrations and click Start a Zapier Integration; you will be directed to the Create Integration page.
- When entering your integration details, fill out all required fields then click Create.
Step 2: Configure Authentication
After creating the integration, you will configure authentication, which requires a test request.
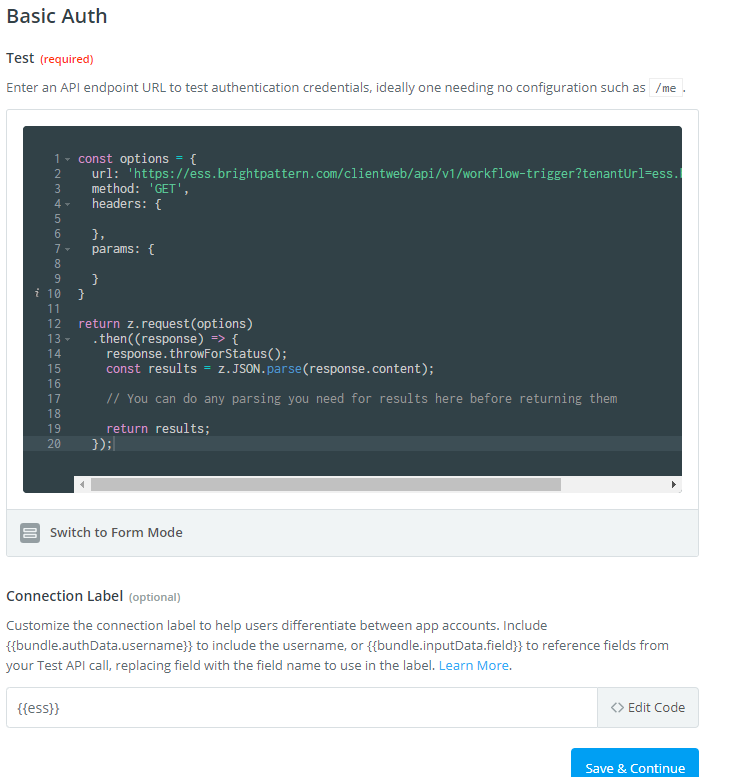
- Select Basic Authentication, and then in either Code mode or Form mode, enter the following information:
- In Code mode
- URL: 'https://your_tenant.brightpattern.com/clientweb/api/v1/workflow-trigger?tenantUrl=your_tenant.com'
- Method: 'GET'
- In Form mode
- Method: GET
- URL: https://your_tenant.brightpattern.com/clientweb/api/v1/workflow-trigger
- Show Options > URL Params
- Key: tenantUrl
- Value: your_tenant.brightpattern.com
- In Code mode
- Note: Only basic authentication is supported. Additionally, you may be required to create a Connection Label for your Zap.
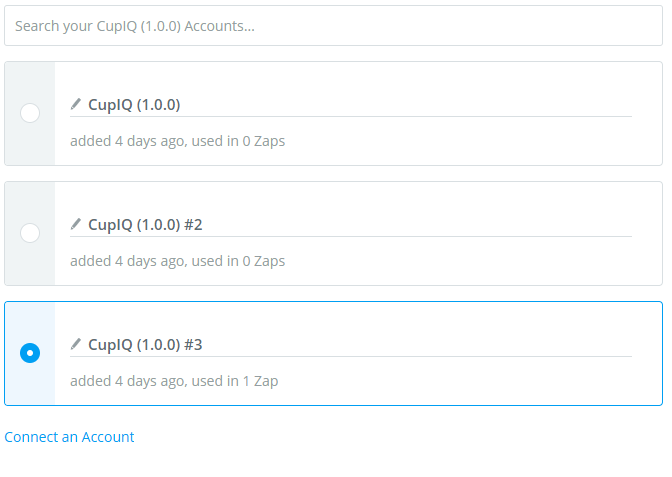
- After entering the test request information, you will test your authentication. Under the Test Setup tab, click Connect an Account. A window will pop up asking for your username and password; enter the username and password from the integration account you entered in the Contact Center Administrator application. When accepted, the account connection will appear as a selectable connection option (i.e., if you enter in different account credentials, more than one connection option will appear).
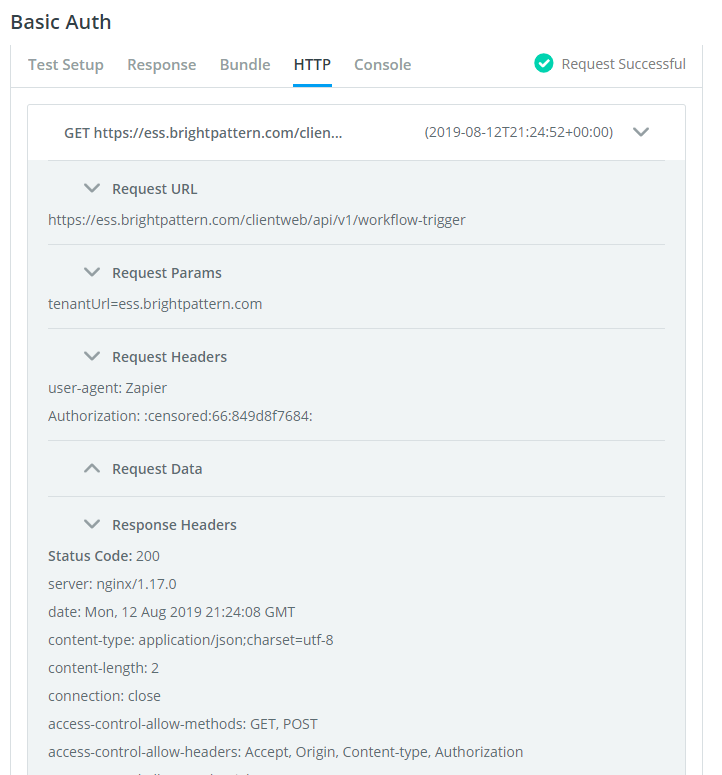
- After selecting the appropriate account connection, click Test Authentication. If your authentication is configured correctly, you should receive a 200 status code in the HTTP response headers, which means the connection is OK; the response body will be empty. Save your authentication and move on to Triggers.
Step 3: Configure the Trigger
Next, you will create a trigger for your integration.
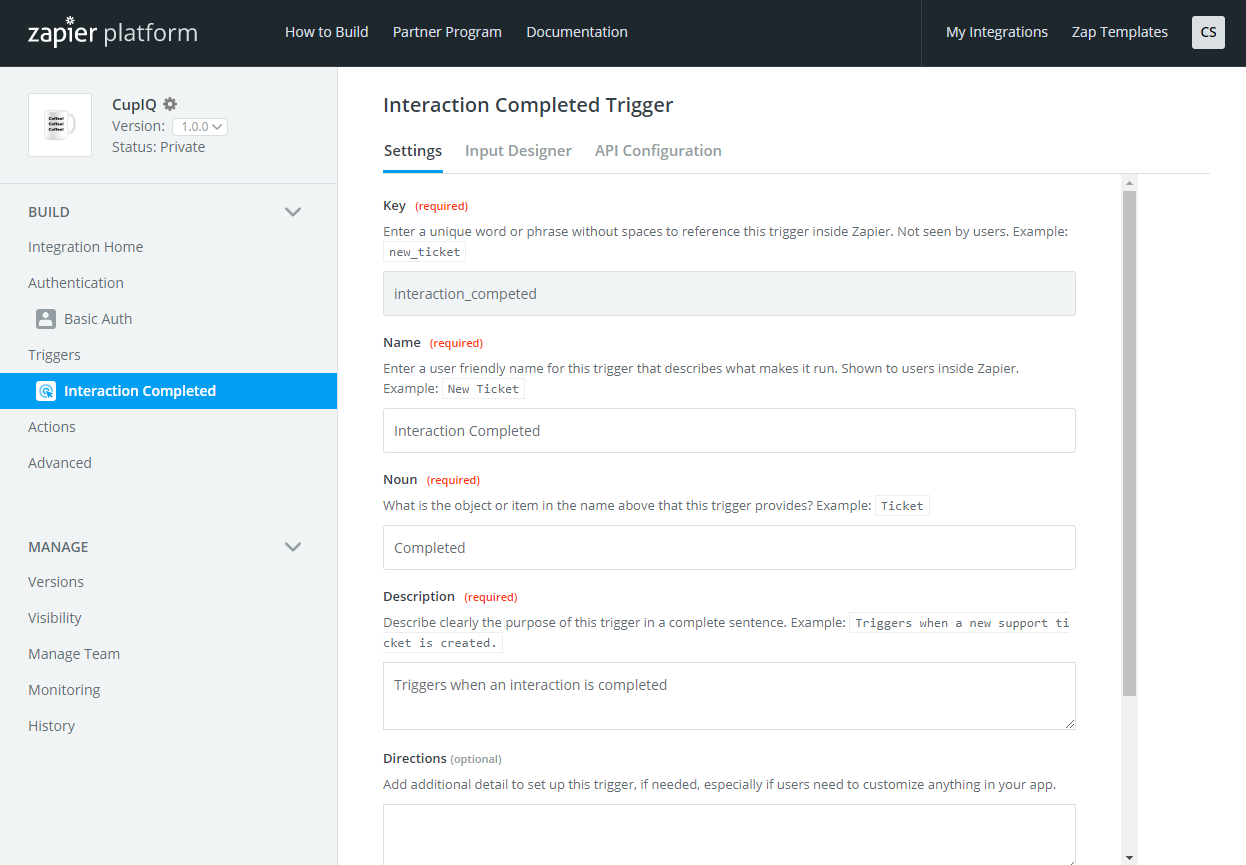
- In the Settings tab, enter all the required information and click Save.
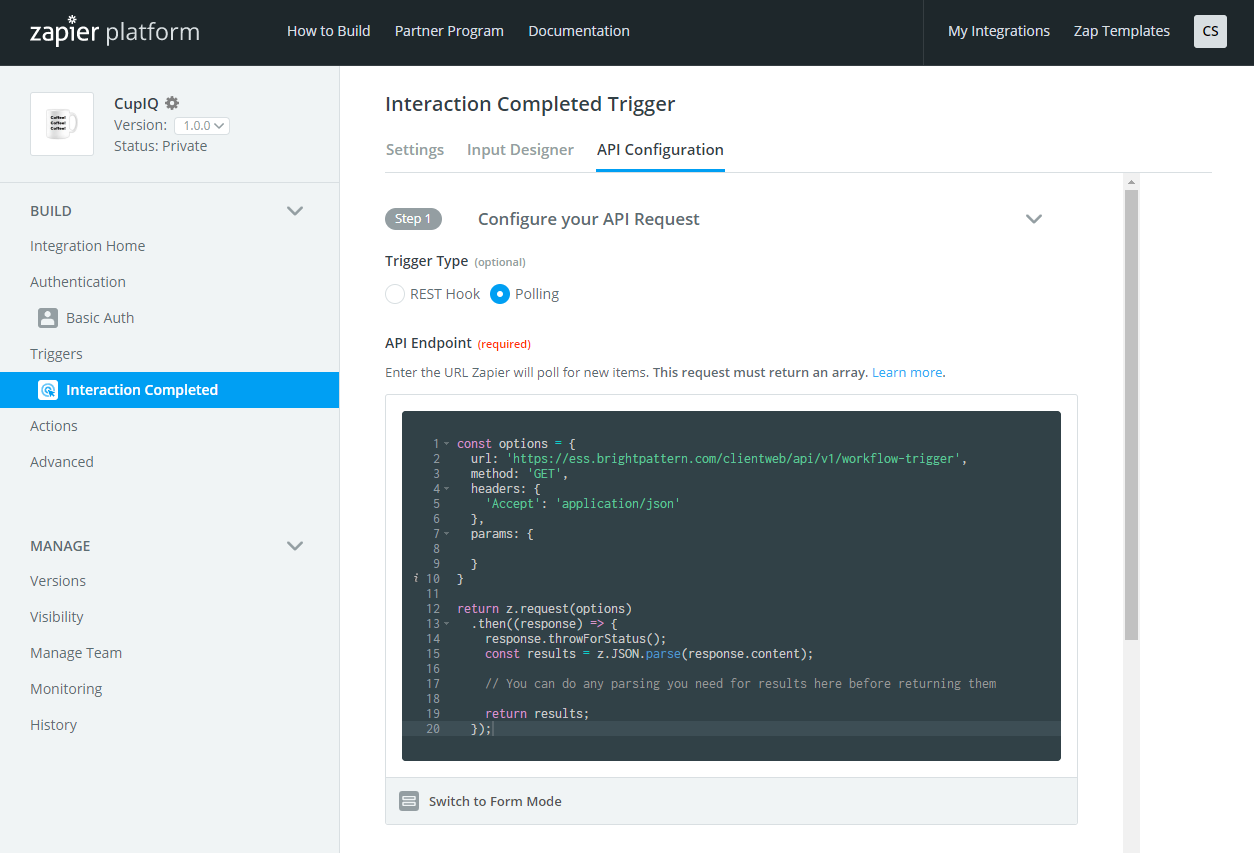
- In the API Configuration tab, select Polling as the Trigger Type. Note: For our Zapier integration, only Polling is supported. For the API Endpoint, in either Code mode or Form mode, enter the following:
- In Code mode
- URL: 'https://your_tenant.brightpattern.com/clientweb/api/v1/workflow-trigger'
- Method: 'GET'
- Headers: 'Accept': 'application/json'
- In Form mode
- Method: GET
- URL: https://your_tenant.brightpattern.com/clientweb/api/v1/workflow-trigger
- Show Options > HTTP Headers
- Key: Accept
- Value: application/json
- In Code mode
- Click Save API Request & Continue.
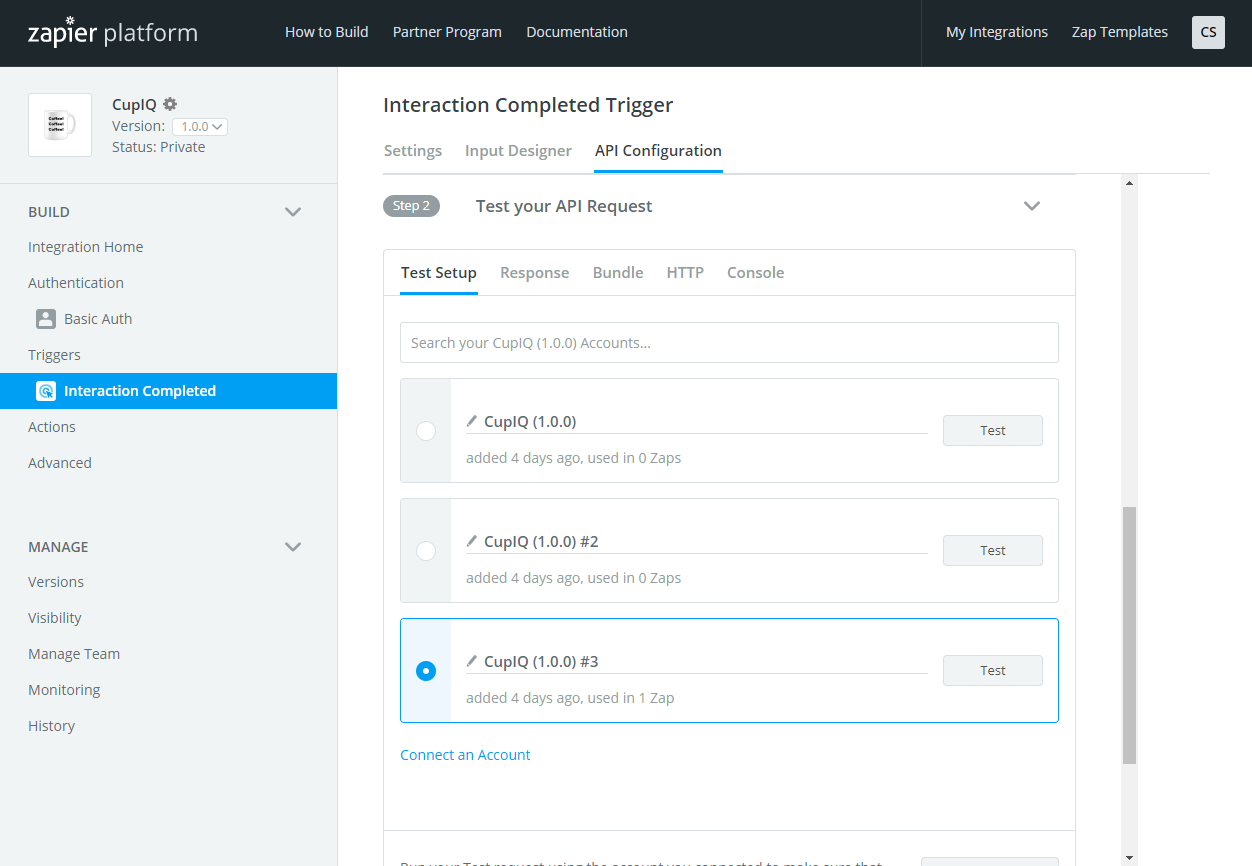
- Next, you will test your API request. Select the correct account connection you configured in Authentication or configure and test a new account connection. When finished, click Finish Testing & Continue.
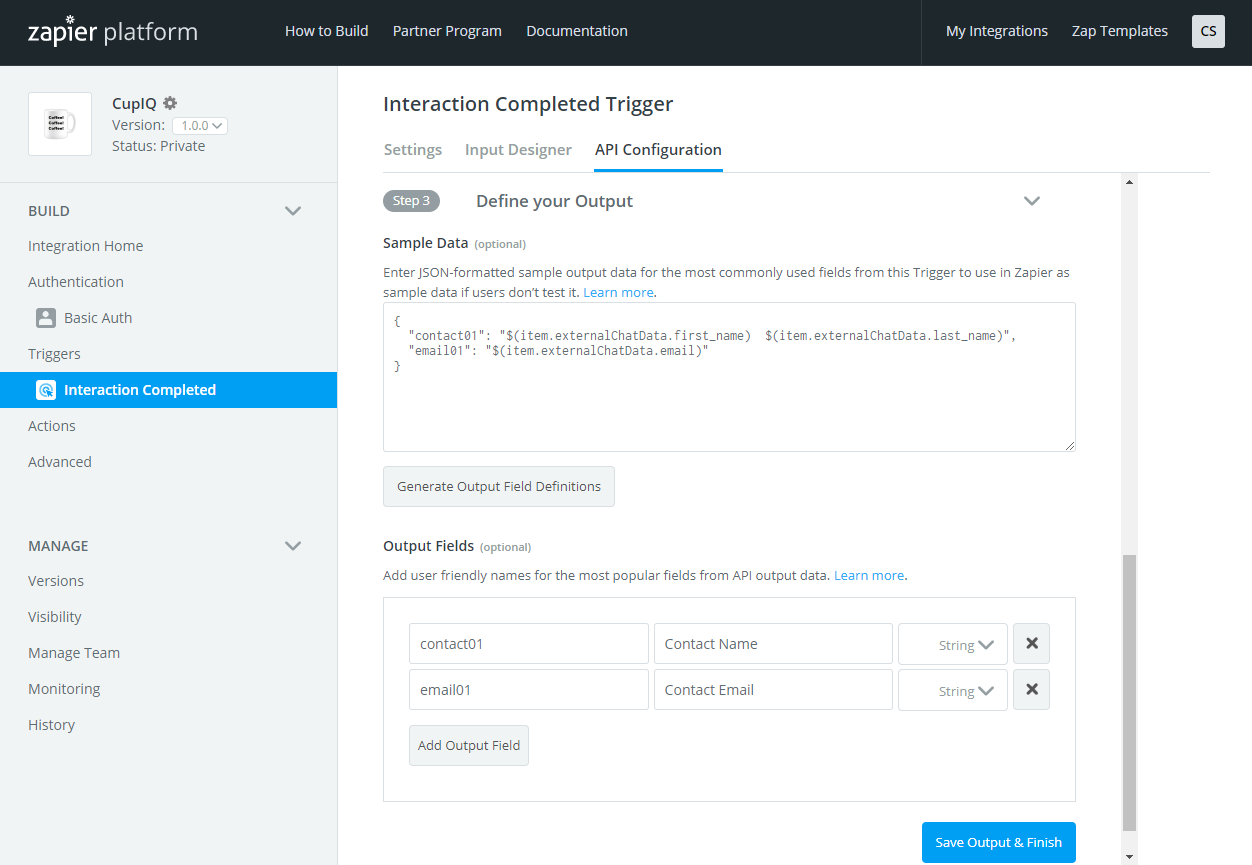
- Finally, you will define your output in JSON format. In the Sample Output field, enter output fields; fields may contain workflow variables and some scenario variables (e.g., $(item.externalChatData)). Note that what is entered here will need to be entered in your workflow’s Zapier Invoke Zap block. When finished, click Generate Output Field Definitions and the fields will populate section Output Fields; you may give these fields labels. When done, click Save Output & Finish.
< Previous | Next >

