| Line 94: | Line 94: | ||
[[File:AD-Chat-Complete-532.PNG|450px|thumb|center|The Complete button at the bottom of the chat]] | [[File:AD-Chat-Complete-532.PNG|450px|thumb|center|The Complete button at the bottom of the chat]] | ||
| + | |||
| + | |||
</translate> | </translate> | ||
Revision as of 20:28, 25 September 2019
Chat Controls
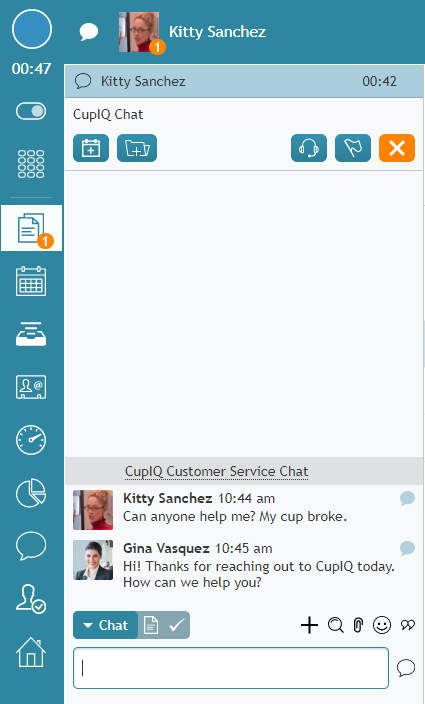
The controls available to you during an active chat session allow you to take a variety of actions including taking notes, search the Knowledge Base, and add attachments; the following is a list of buttons and controls you will see.
Schedule a Follow-Up Activity
The Schedule a follow-up activity button allows you to schedule an event in your calendar. Scheduling events lets you set reminders to follow-up with customers, agents, or activities at a later time.
Add a New Case
The Add a new case button allows you to create a new case related to an interaction. Creating cases for chat sessions creates a record of the interaction and can allow you to follow up with the customer through other channels (i.e., email, voice). For more information, see How to Create New Cases.
Start VoIP Call
If enabled for your chat service, the Start VoIP Call button allows you to make a VoIP call to the customer. For more information, see How to Have an Audio Chat.
Flag the Chat
The Flag the chat button allows you to flag the chat; flagging a chat indicates to your supervisor that you need assistance with the interaction. For more information, see How to Flag a Chat Session.
End Chat
The End Chat button ends the chat. Note that if you are conducting a conference and there is more than one agent and/or supervisor active in the chat session, selecting the End Chat button will end the chat for you only (i.e., the chat will stay active until the last user ends it).
Select Messenger Control
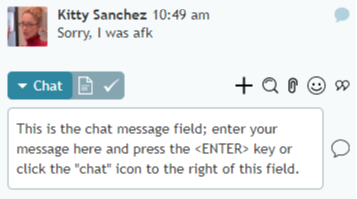
The messenger selection control allows you to select the messenger type (i.e., chat, SMS, MMS); the default messenger type will be that of the active interaction. Whether you have selected a specific messenger type or are using the default, you will be presented with a message field where you may enter a message to send to the customer. To send a message to the customer, type your message, then press the <ENTER> key or click the send message icon.
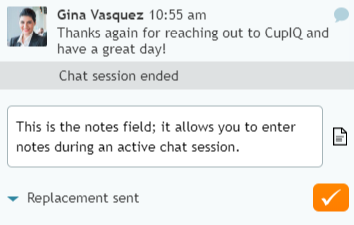
Select Notes Control
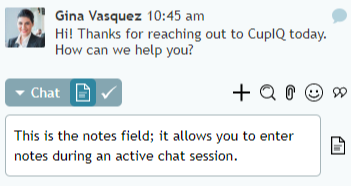
When selected, the notes control allows you to take notes during the chat session. The notes icon indicates to you this is a notes field and not a message field. For more information, see How to Enter Dispositions and Notes.
Select Disposition Control
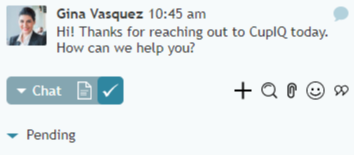
If your contact center uses dispositions, when selected, the disposition control allows you to predisposition the interaction before the chat ends; note that the disposition may be changed after the chat has ended but before the interaction is completed. For more information, see How to Enter Dispositions and Notes.
Invite for Conference or Warm Transfer
When selected, the Invite for conference or warm transfer pops a directory and allows you to select another agent or supervisor to join (i.e., conference) the chat. Note that after another user joins the chat, you may select the End Chat button and leave; the chat will remain active for the other user.
Search the Knowledge Base
When selected, the Search the Knowledge Base icon pops the Knowlege Base panel, allowing you to browse through articles, look for keywords, and so forth. For more information, see How to Use a Knowledge Base Article.
Add an Attachment
When selected, the Add an attachment icon pops a window and allows you to select a file from your computer to upload to the chat as an attachment. For more information, see How to Send and Receive Pictures and Documents.
Insert Emoji
When selected, the Insert emoji icon pops a selection of emojis; selected emojis are inserted into the message field.
Select Predefined Message
When selected, the Select predefined message icon pops a list of canned chat responses you have defined in Agent Desktop. Canned chat responses are used to populate the message field. For more information, see How to Create and Edit Canned Chat Responses.
Complete
After your chat session is completed, you will have time to complete After Call Work (ACW). ACW includes writing notes, dispositioning the chat, or finishing filling out any forms related to the service. For more information, see How to Wrap Up After Call Work.

