Configure WhatsApp Messenger for Integration with Bright Pattern Contact Center
Integrating WhatsApp Messenger with Bright Pattern Contact Center requires a Bright Pattern Contact Center integration account. The connection parameters page in the Bright Pattern Contact Center admin portal requires the following values from your WhatsApp instance:
- Phone number ID
- Business account ID
- Access token
The API URL and account ID are auto-generated during integration setup.
These instructions describe how to set up your WhatsApp Business settings to get the required values to fill in the Bright Pattern Contact Center integration account connection parameters page. For more information this page, see Integrate WhatsApp Messenger with Bright Pattern Contact Center.
Set Up WhatsApp Business Messaging
You must have a Meta Developer account attached to a Meta Business account. For more information, see the WhatsApp Cloud API Get Started guide.
Note: When registering as a Meta developer, we recommend using an existing, active Facebook account with no prior issues. This account must have two-factor authentication enabled and/or a credit card on file for verification. Otherwise, your developer account may be asked to submit video verification or blocked.
- Log in to developers.facebook.com.
- Navigate to My Apps.
- Click Create App in the top right corner.

- Enter values for your app name and app contact email, then click the Next button.
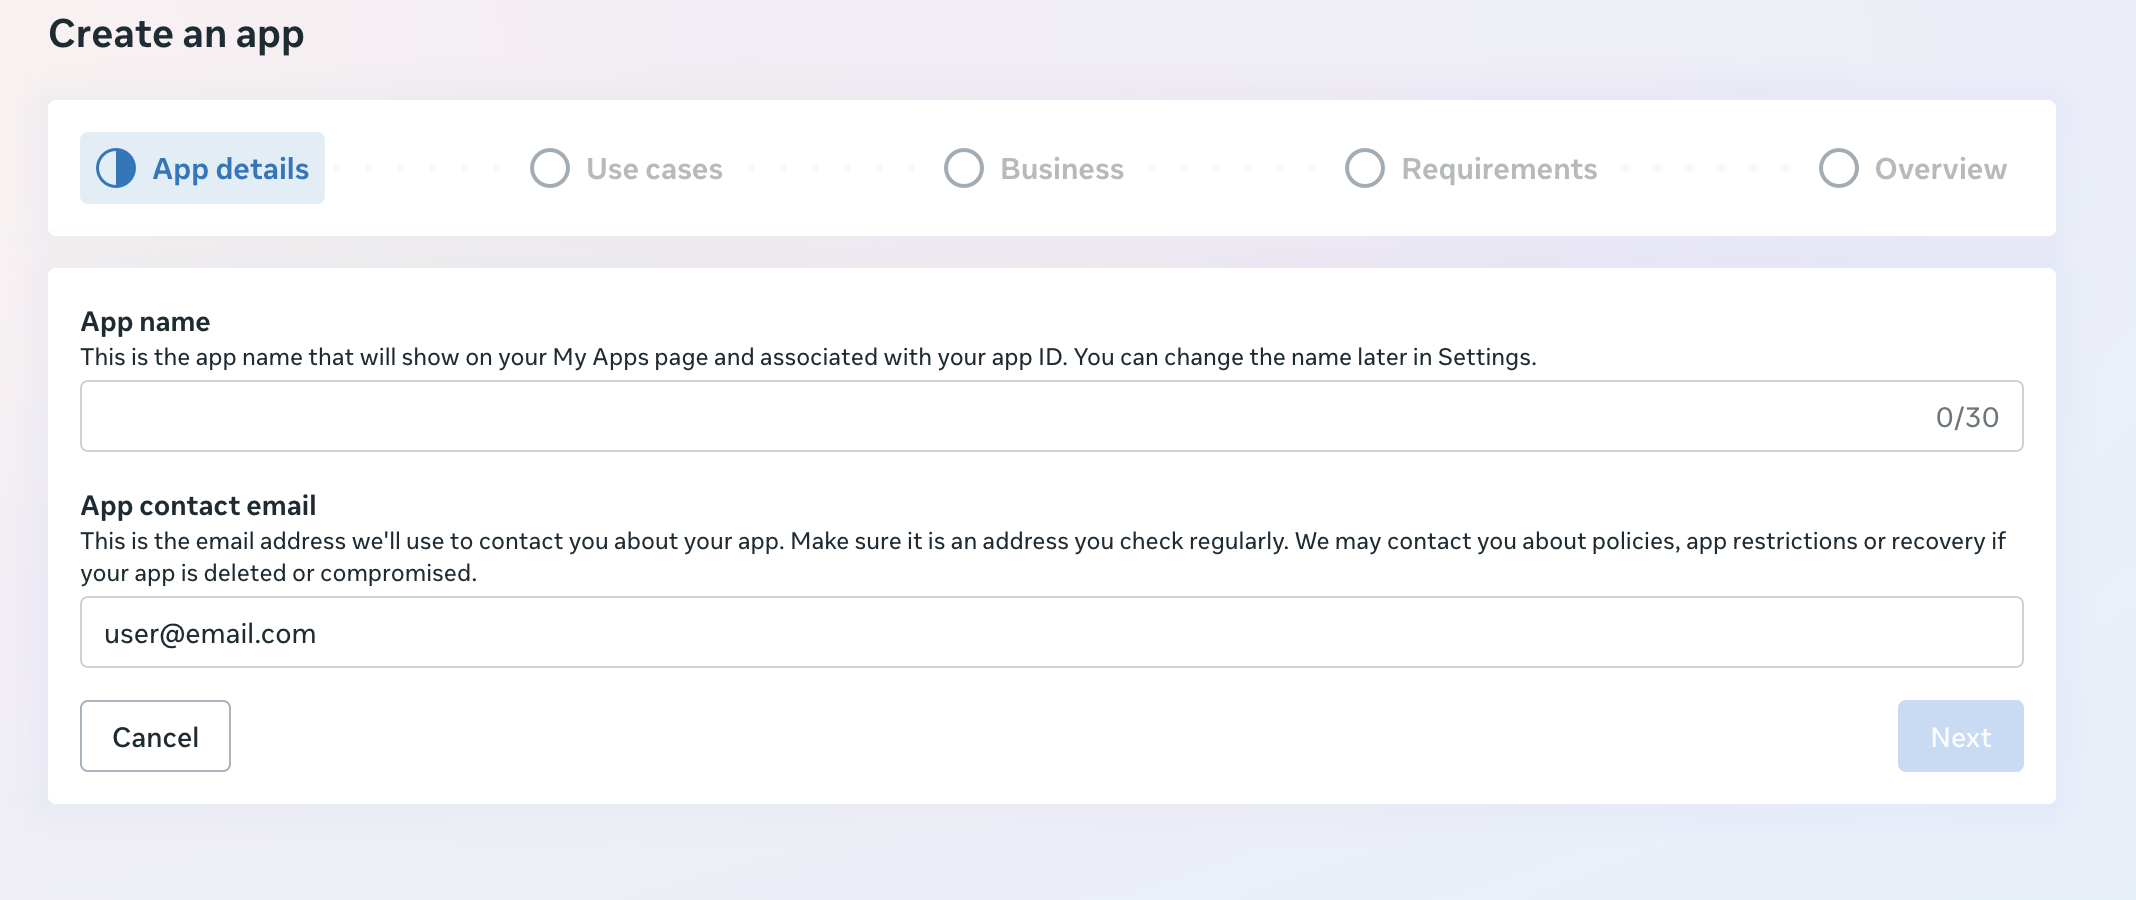
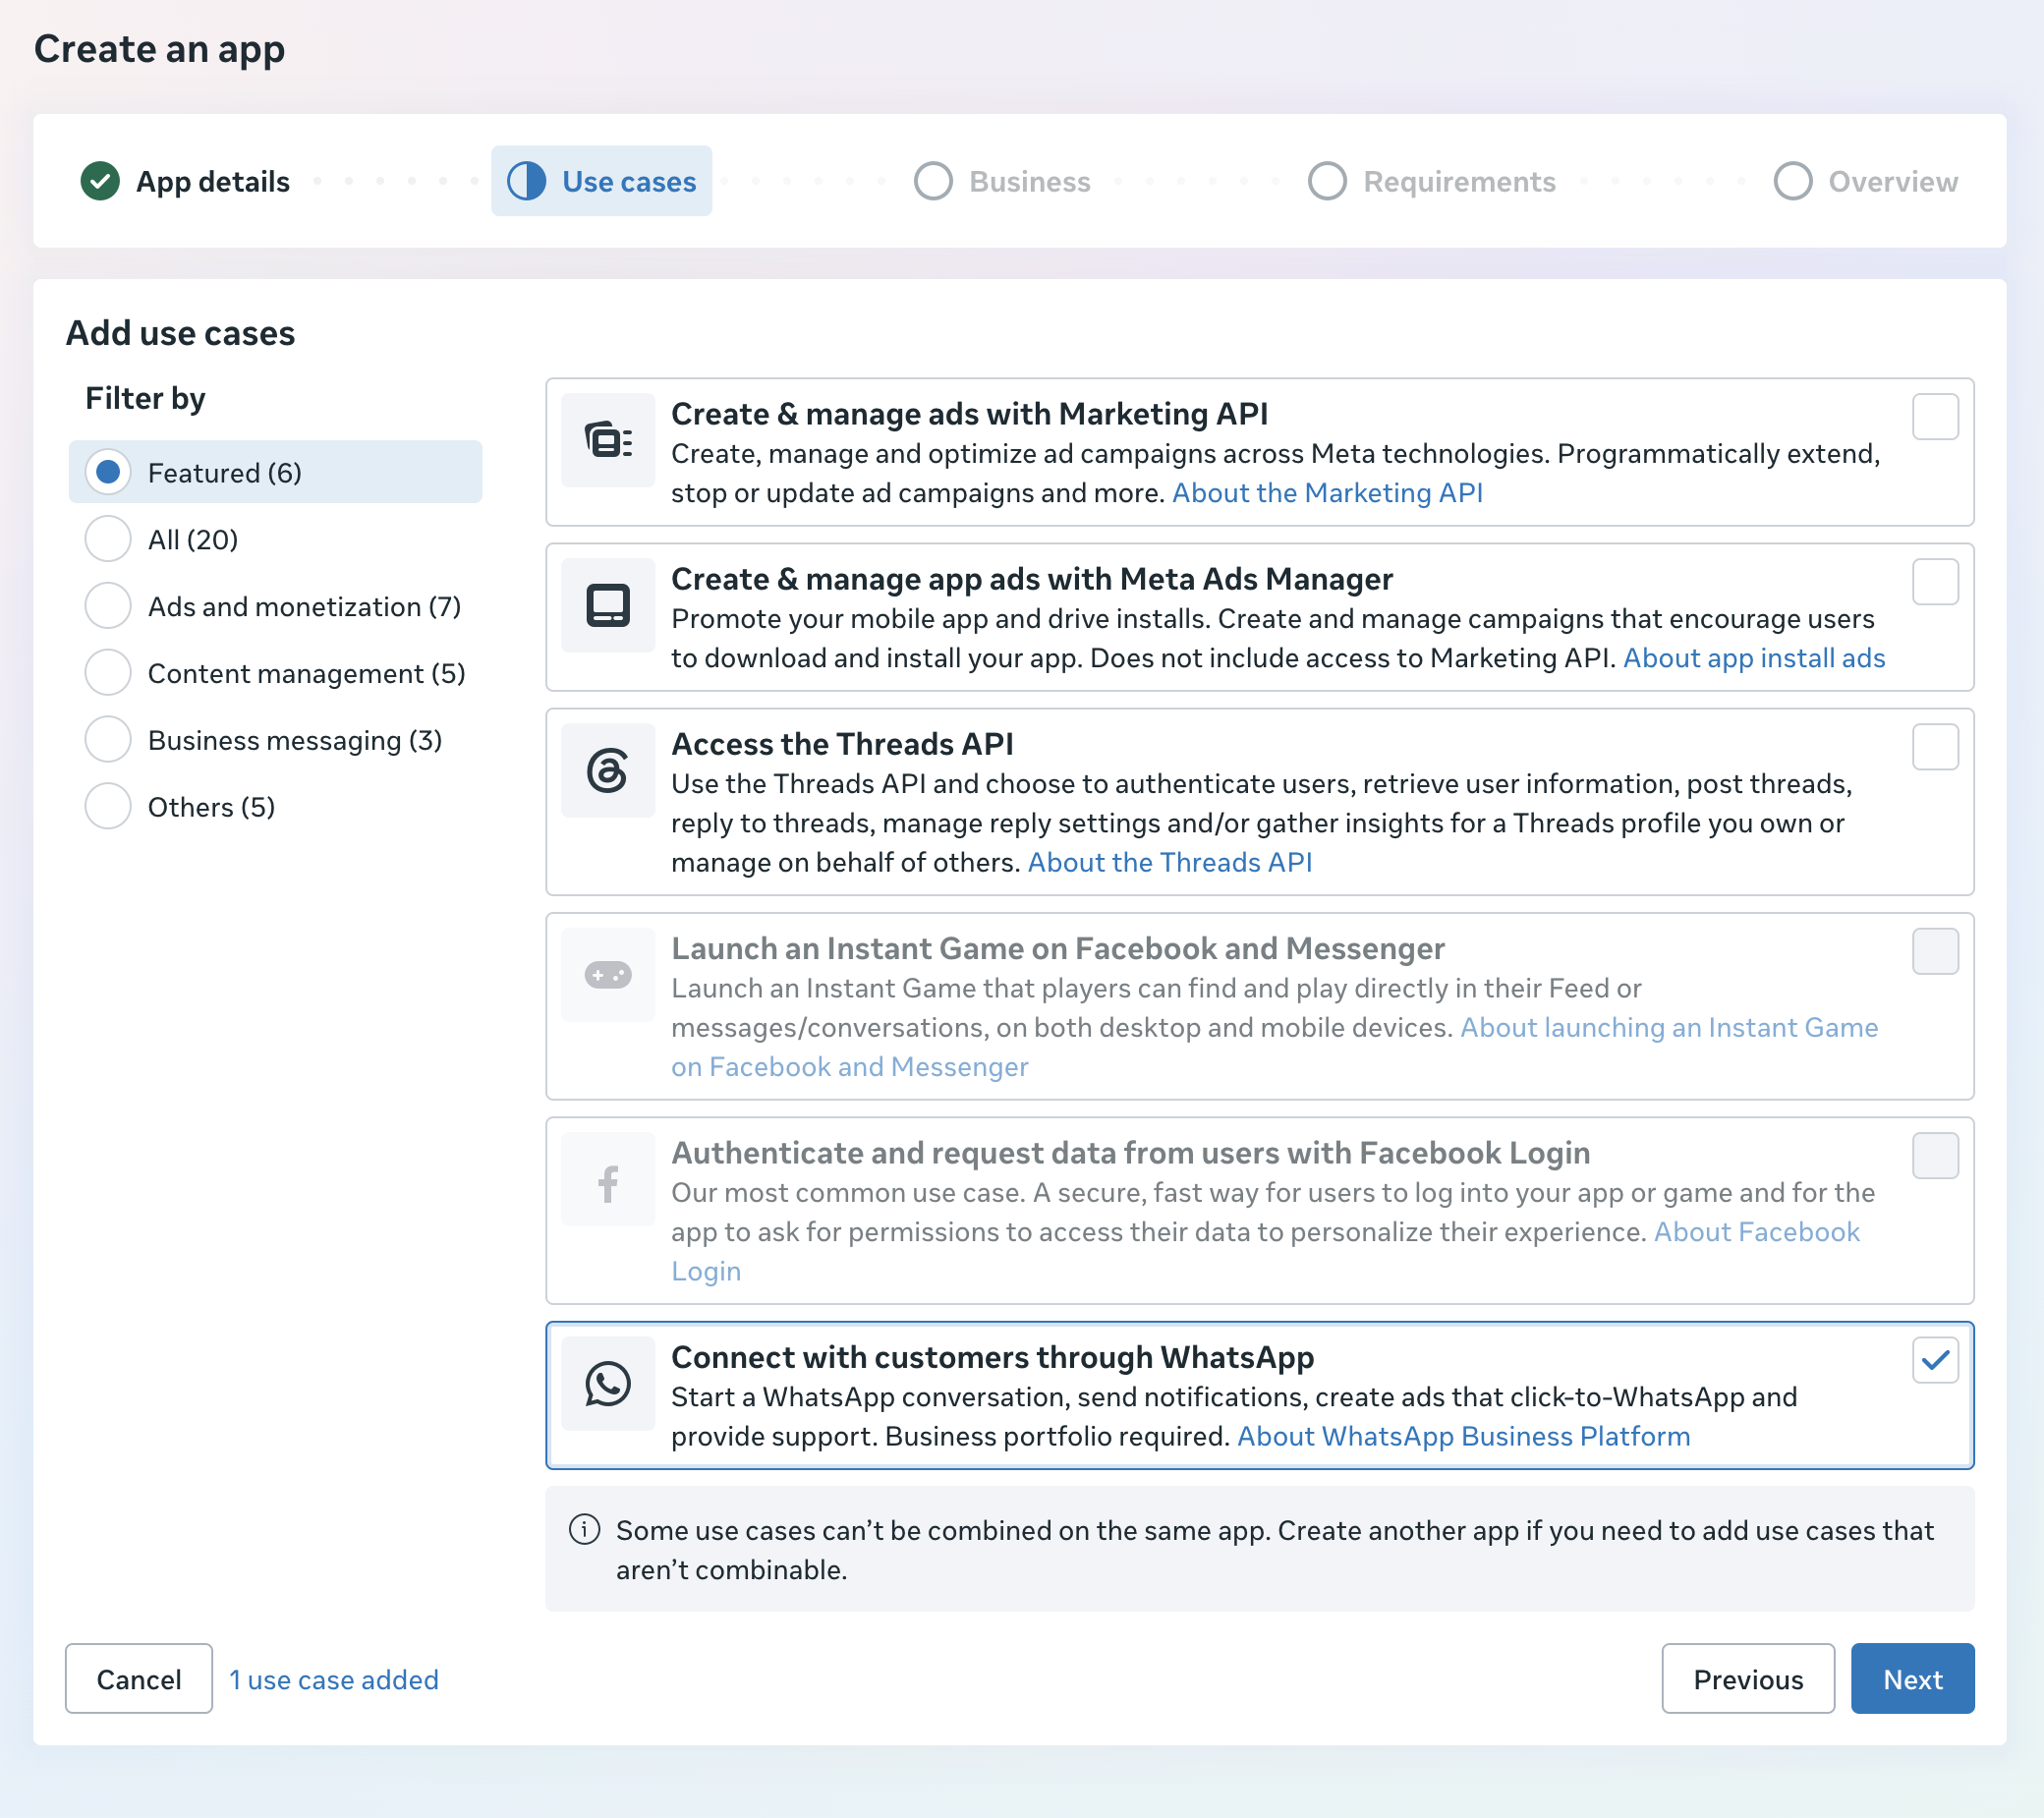
- Select the Connect with customers through WhatsApp use case, then click Next.
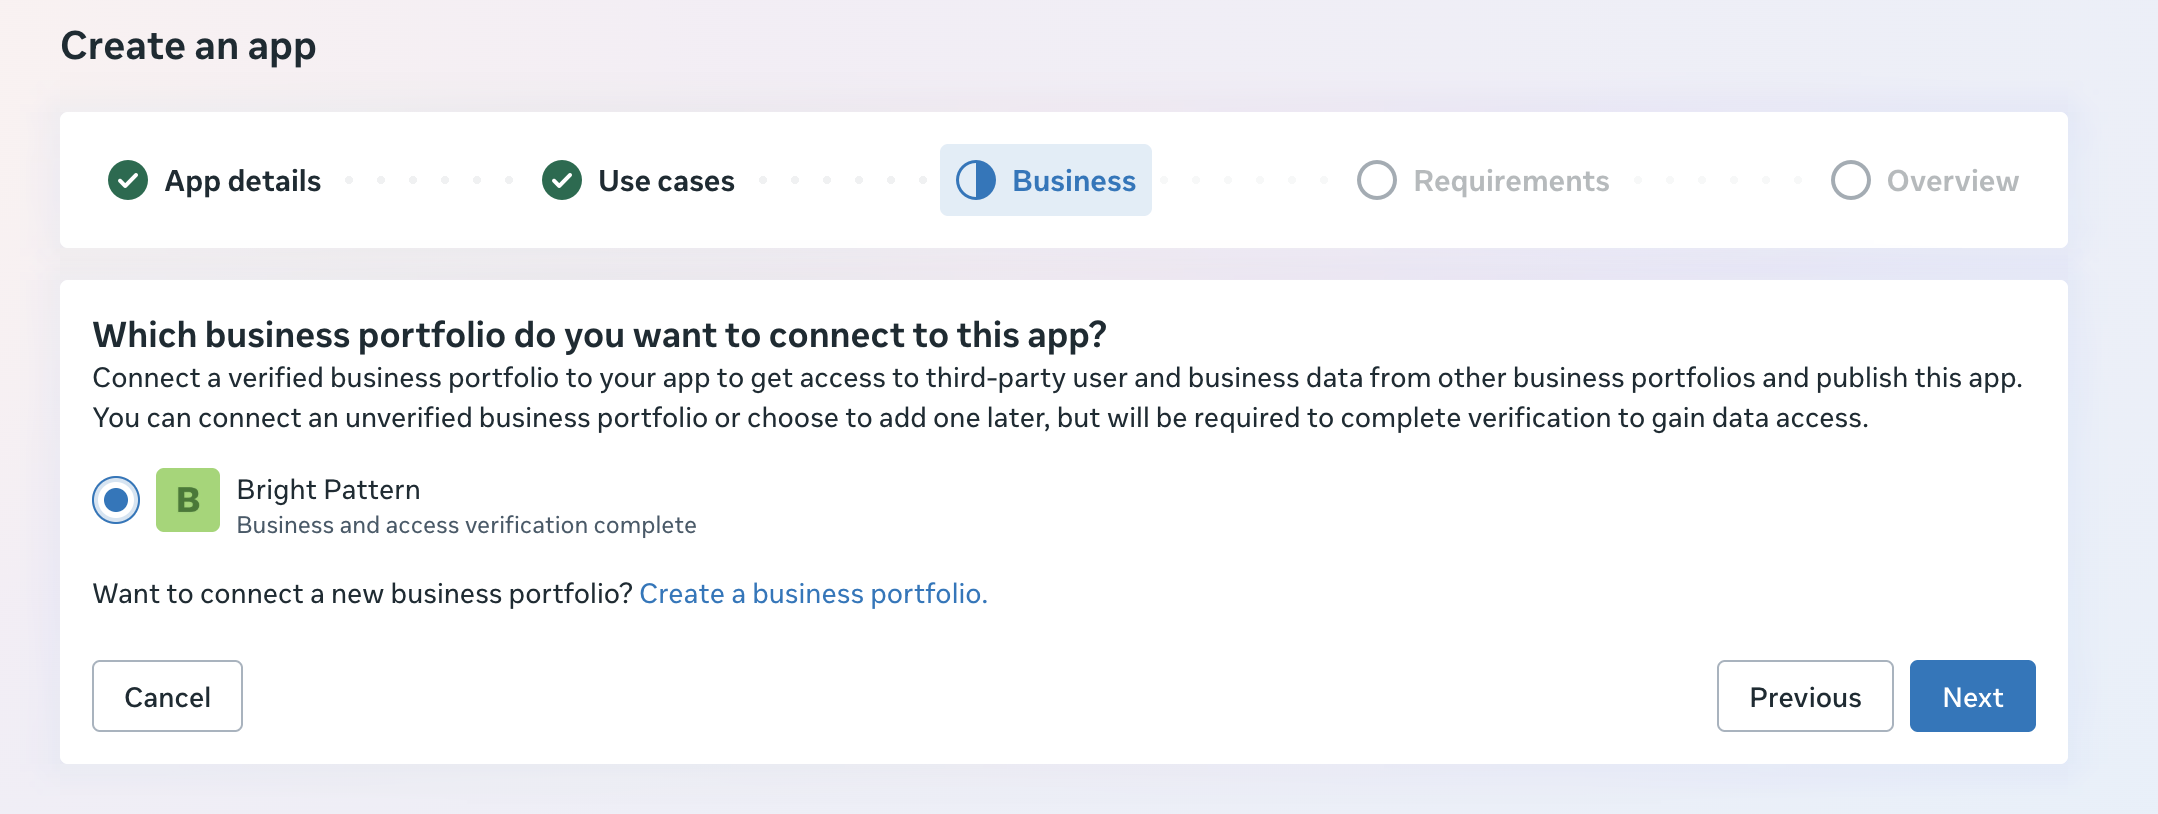
- Select your Meta Business account, then click Next.
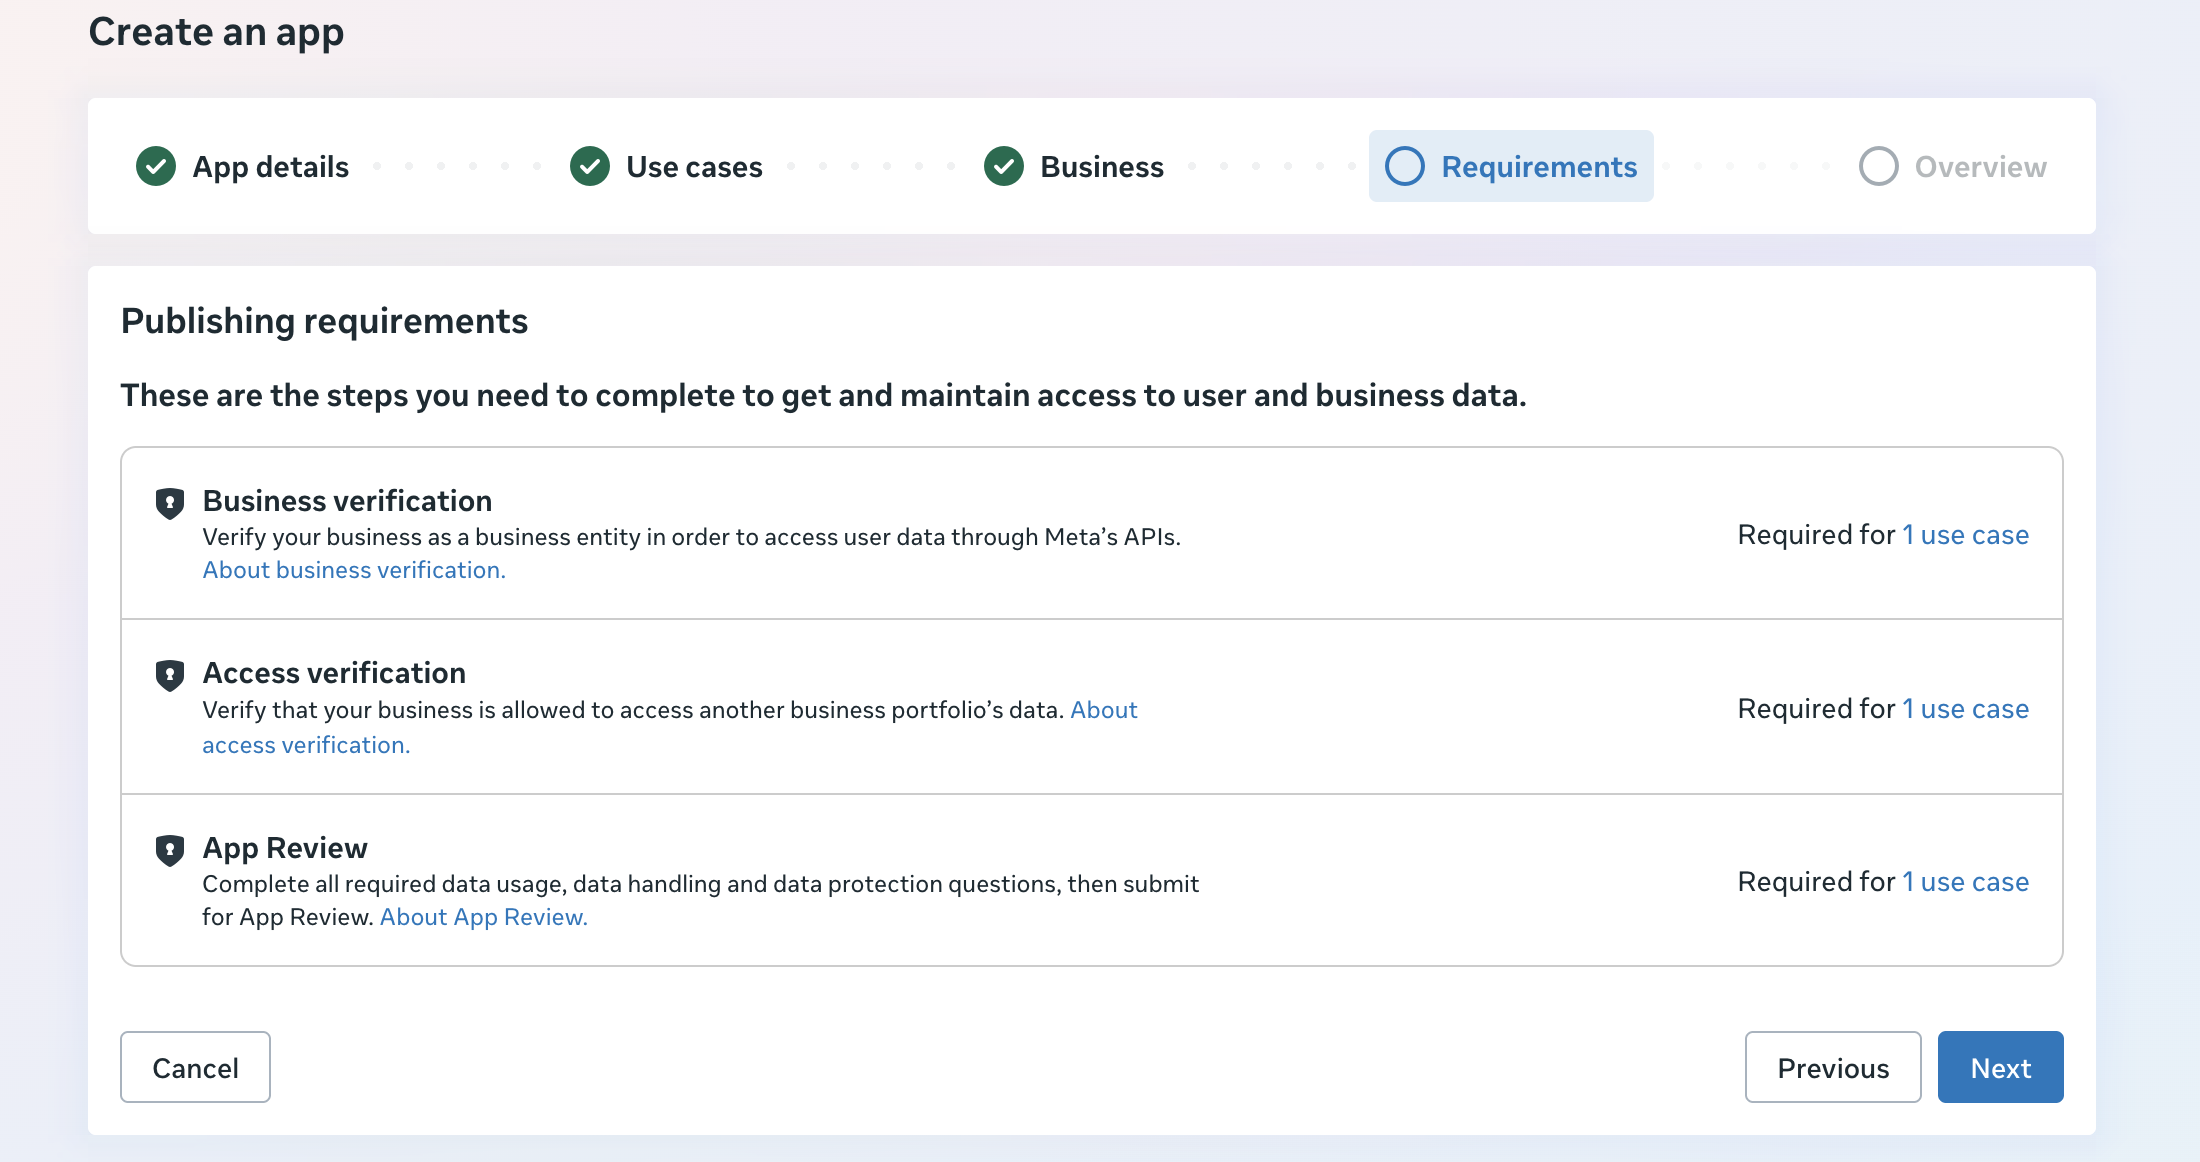
- Review the requirements you need to fulfill, if any, then click Next.
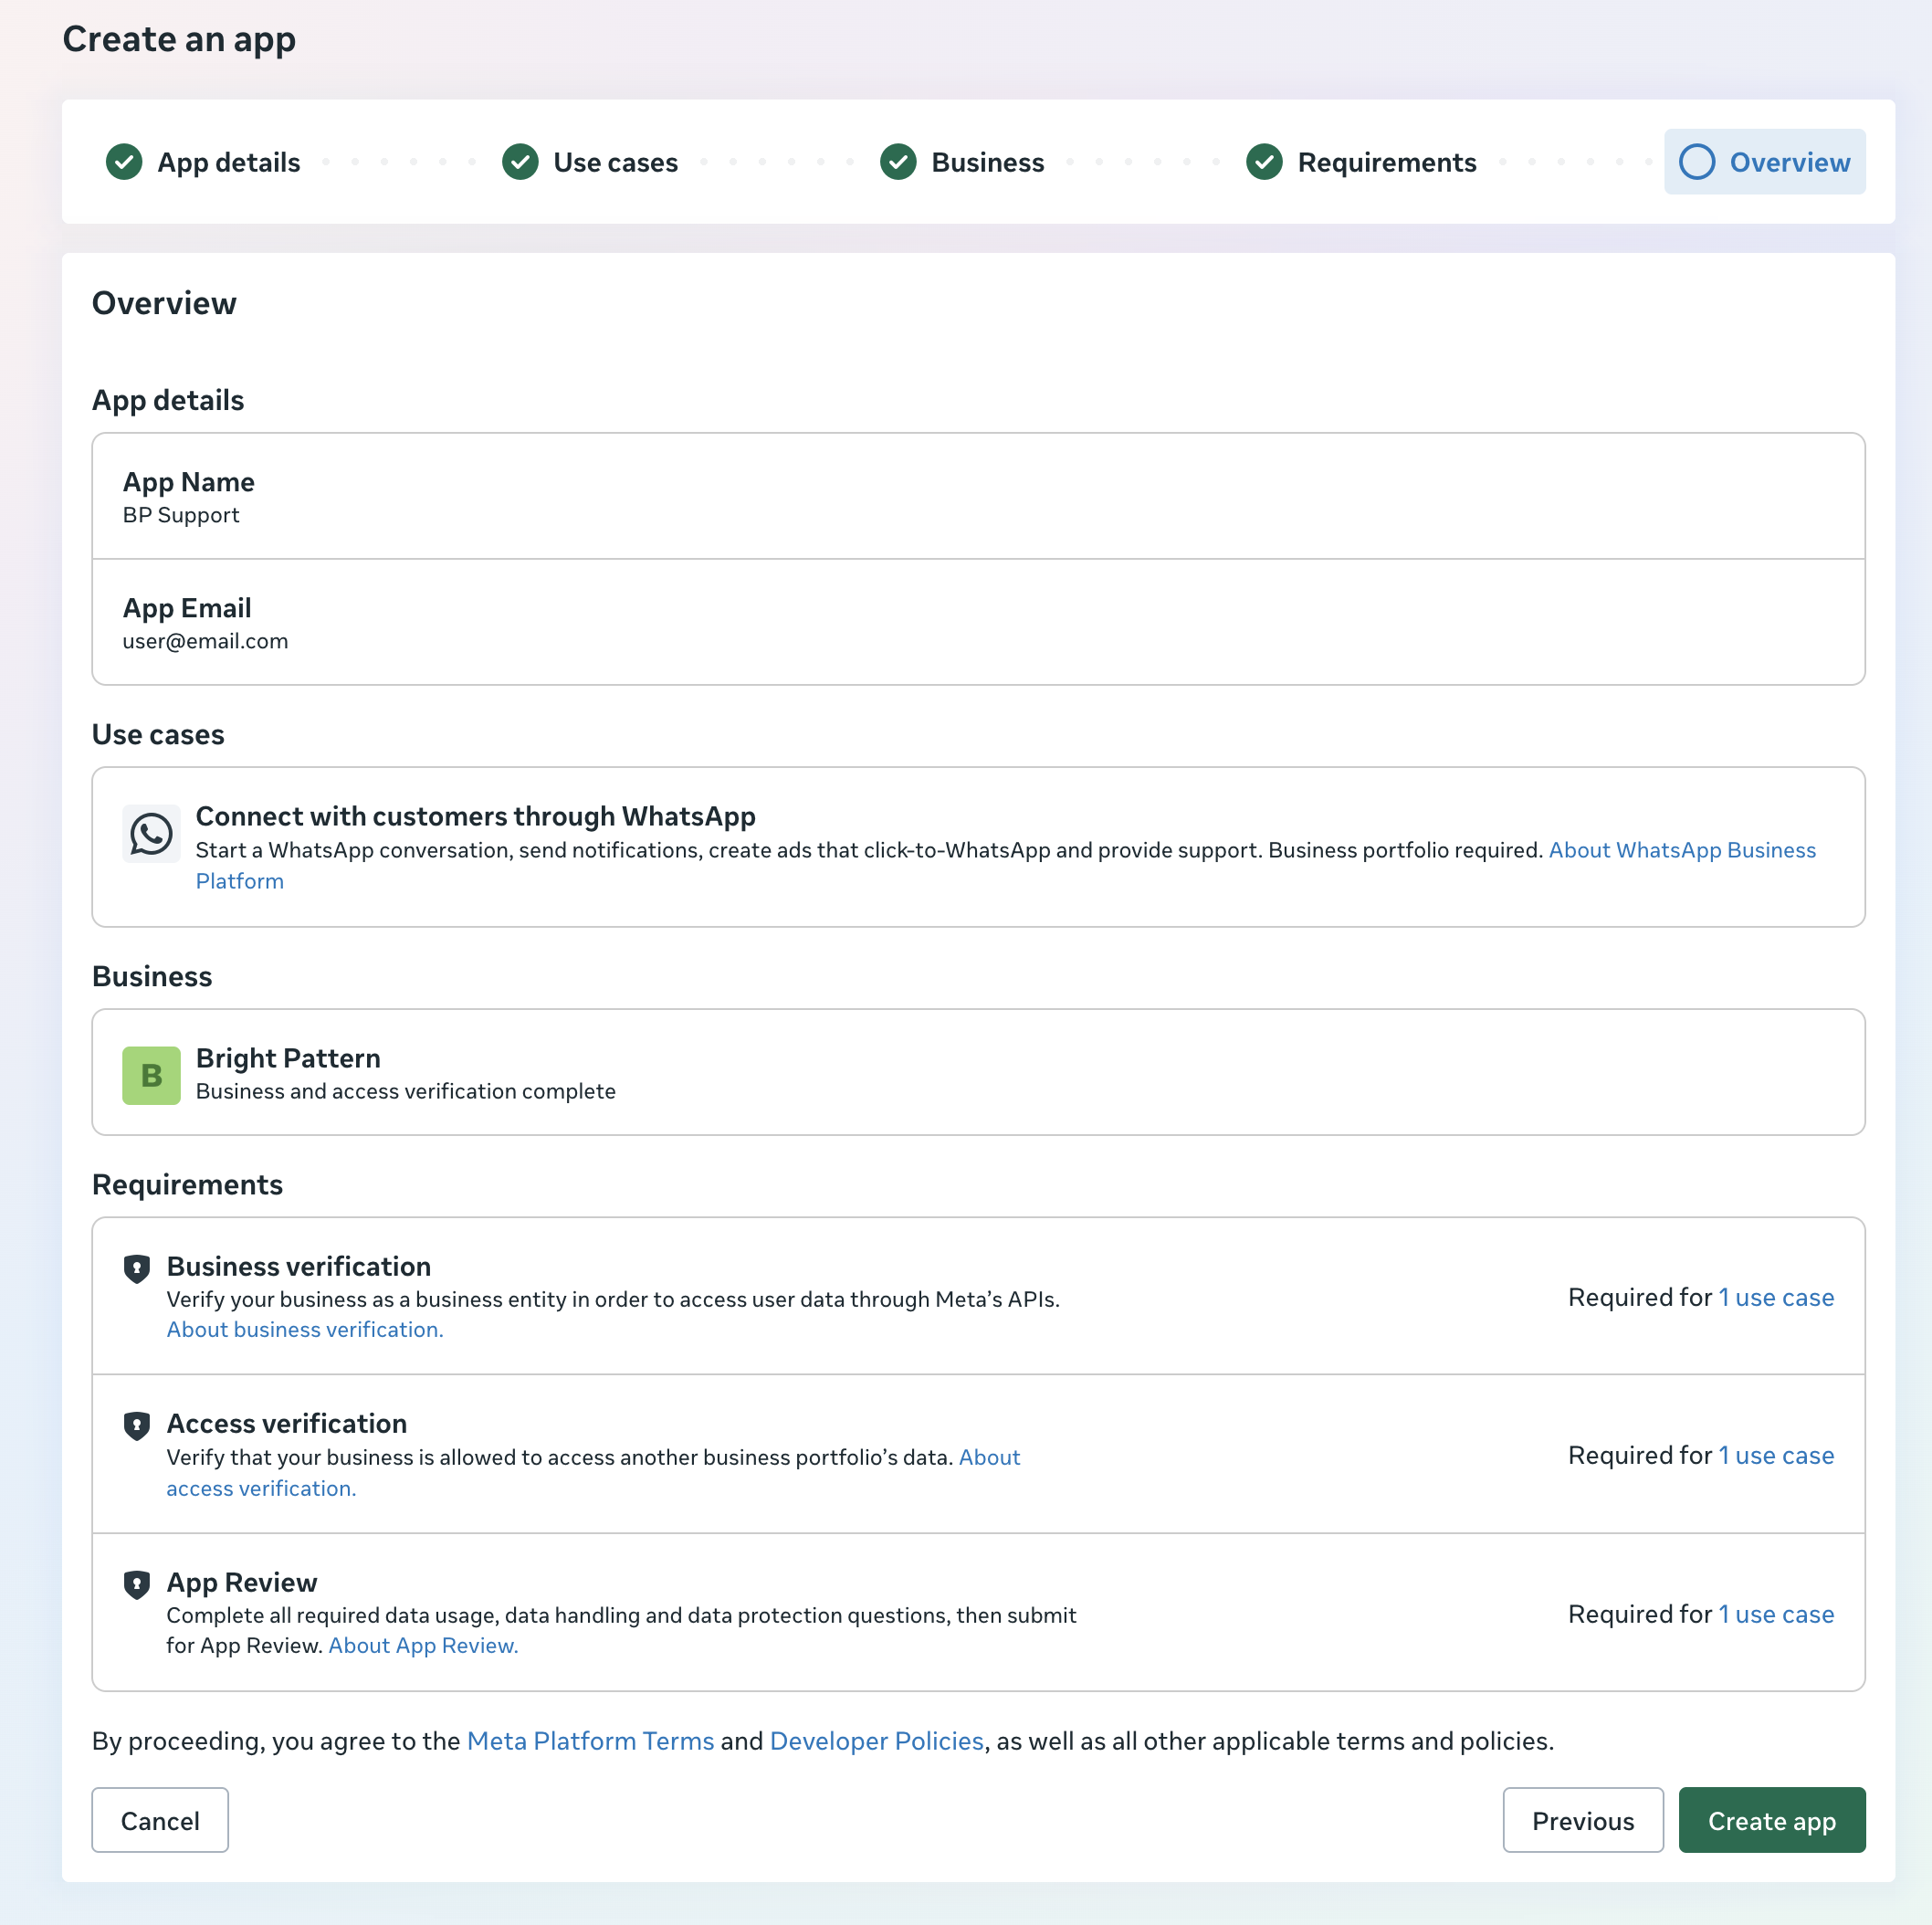
- Confirm the app details on the Overview page, then click Create app.
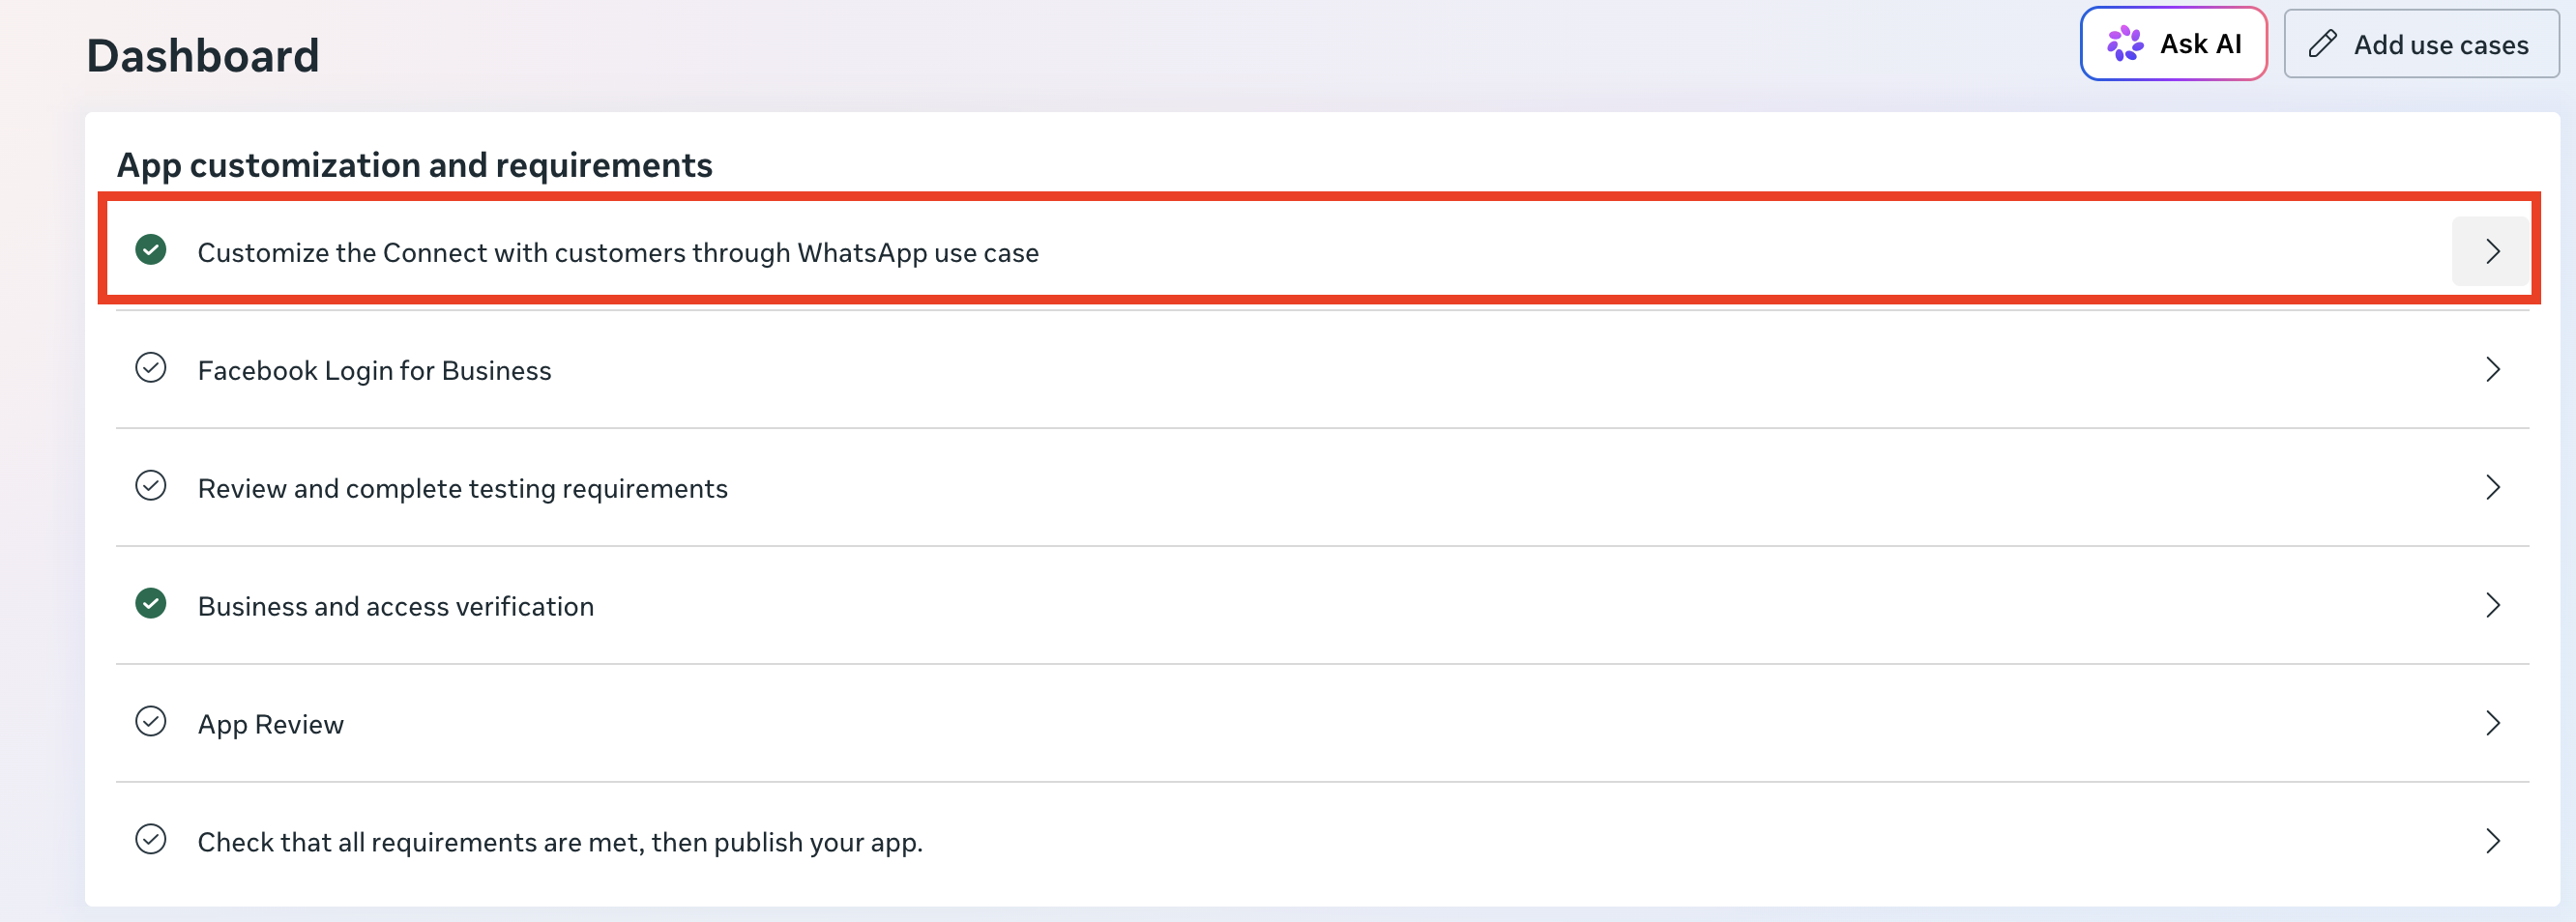
- On the Dashboard, under App customization and requirements, click Customize the Connect with customers through WhatsApp use.
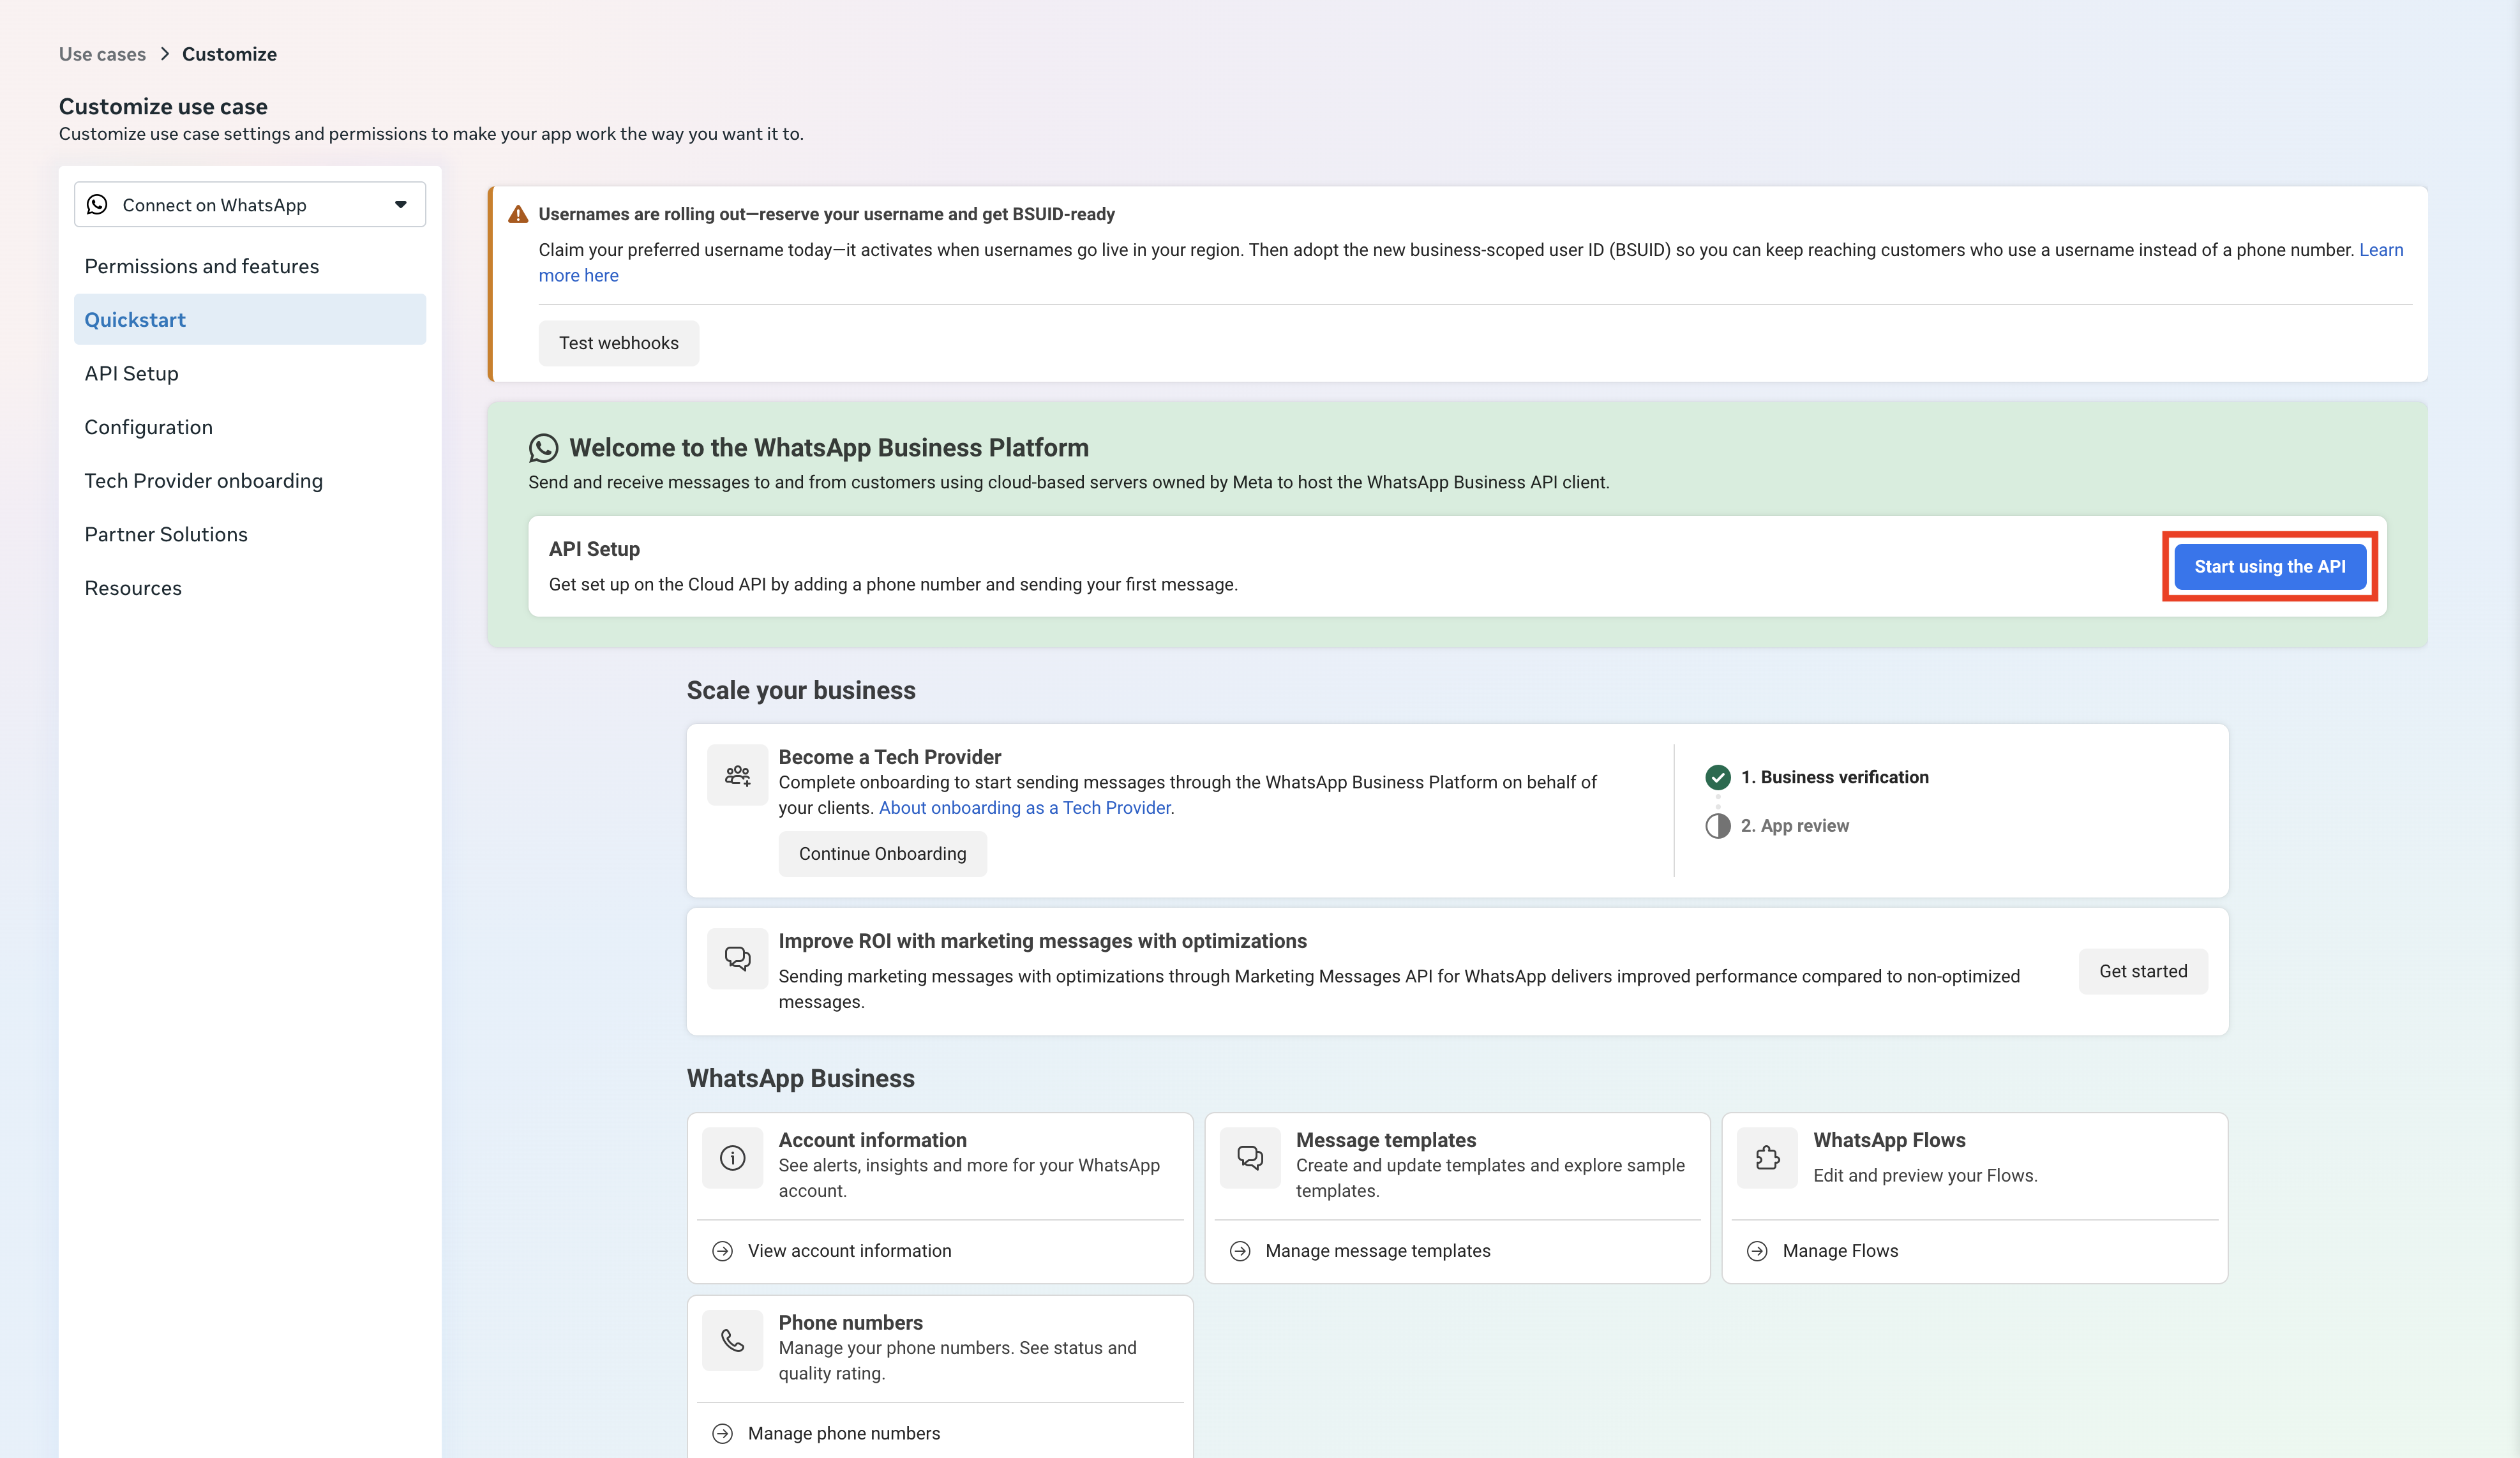
- Click the Start using the API button.
- Once you click Start using the API, you will see test credentials. These can be used temporarily while setting up your BPCC integration. For production-ready parameters, see below.


Business Account ID
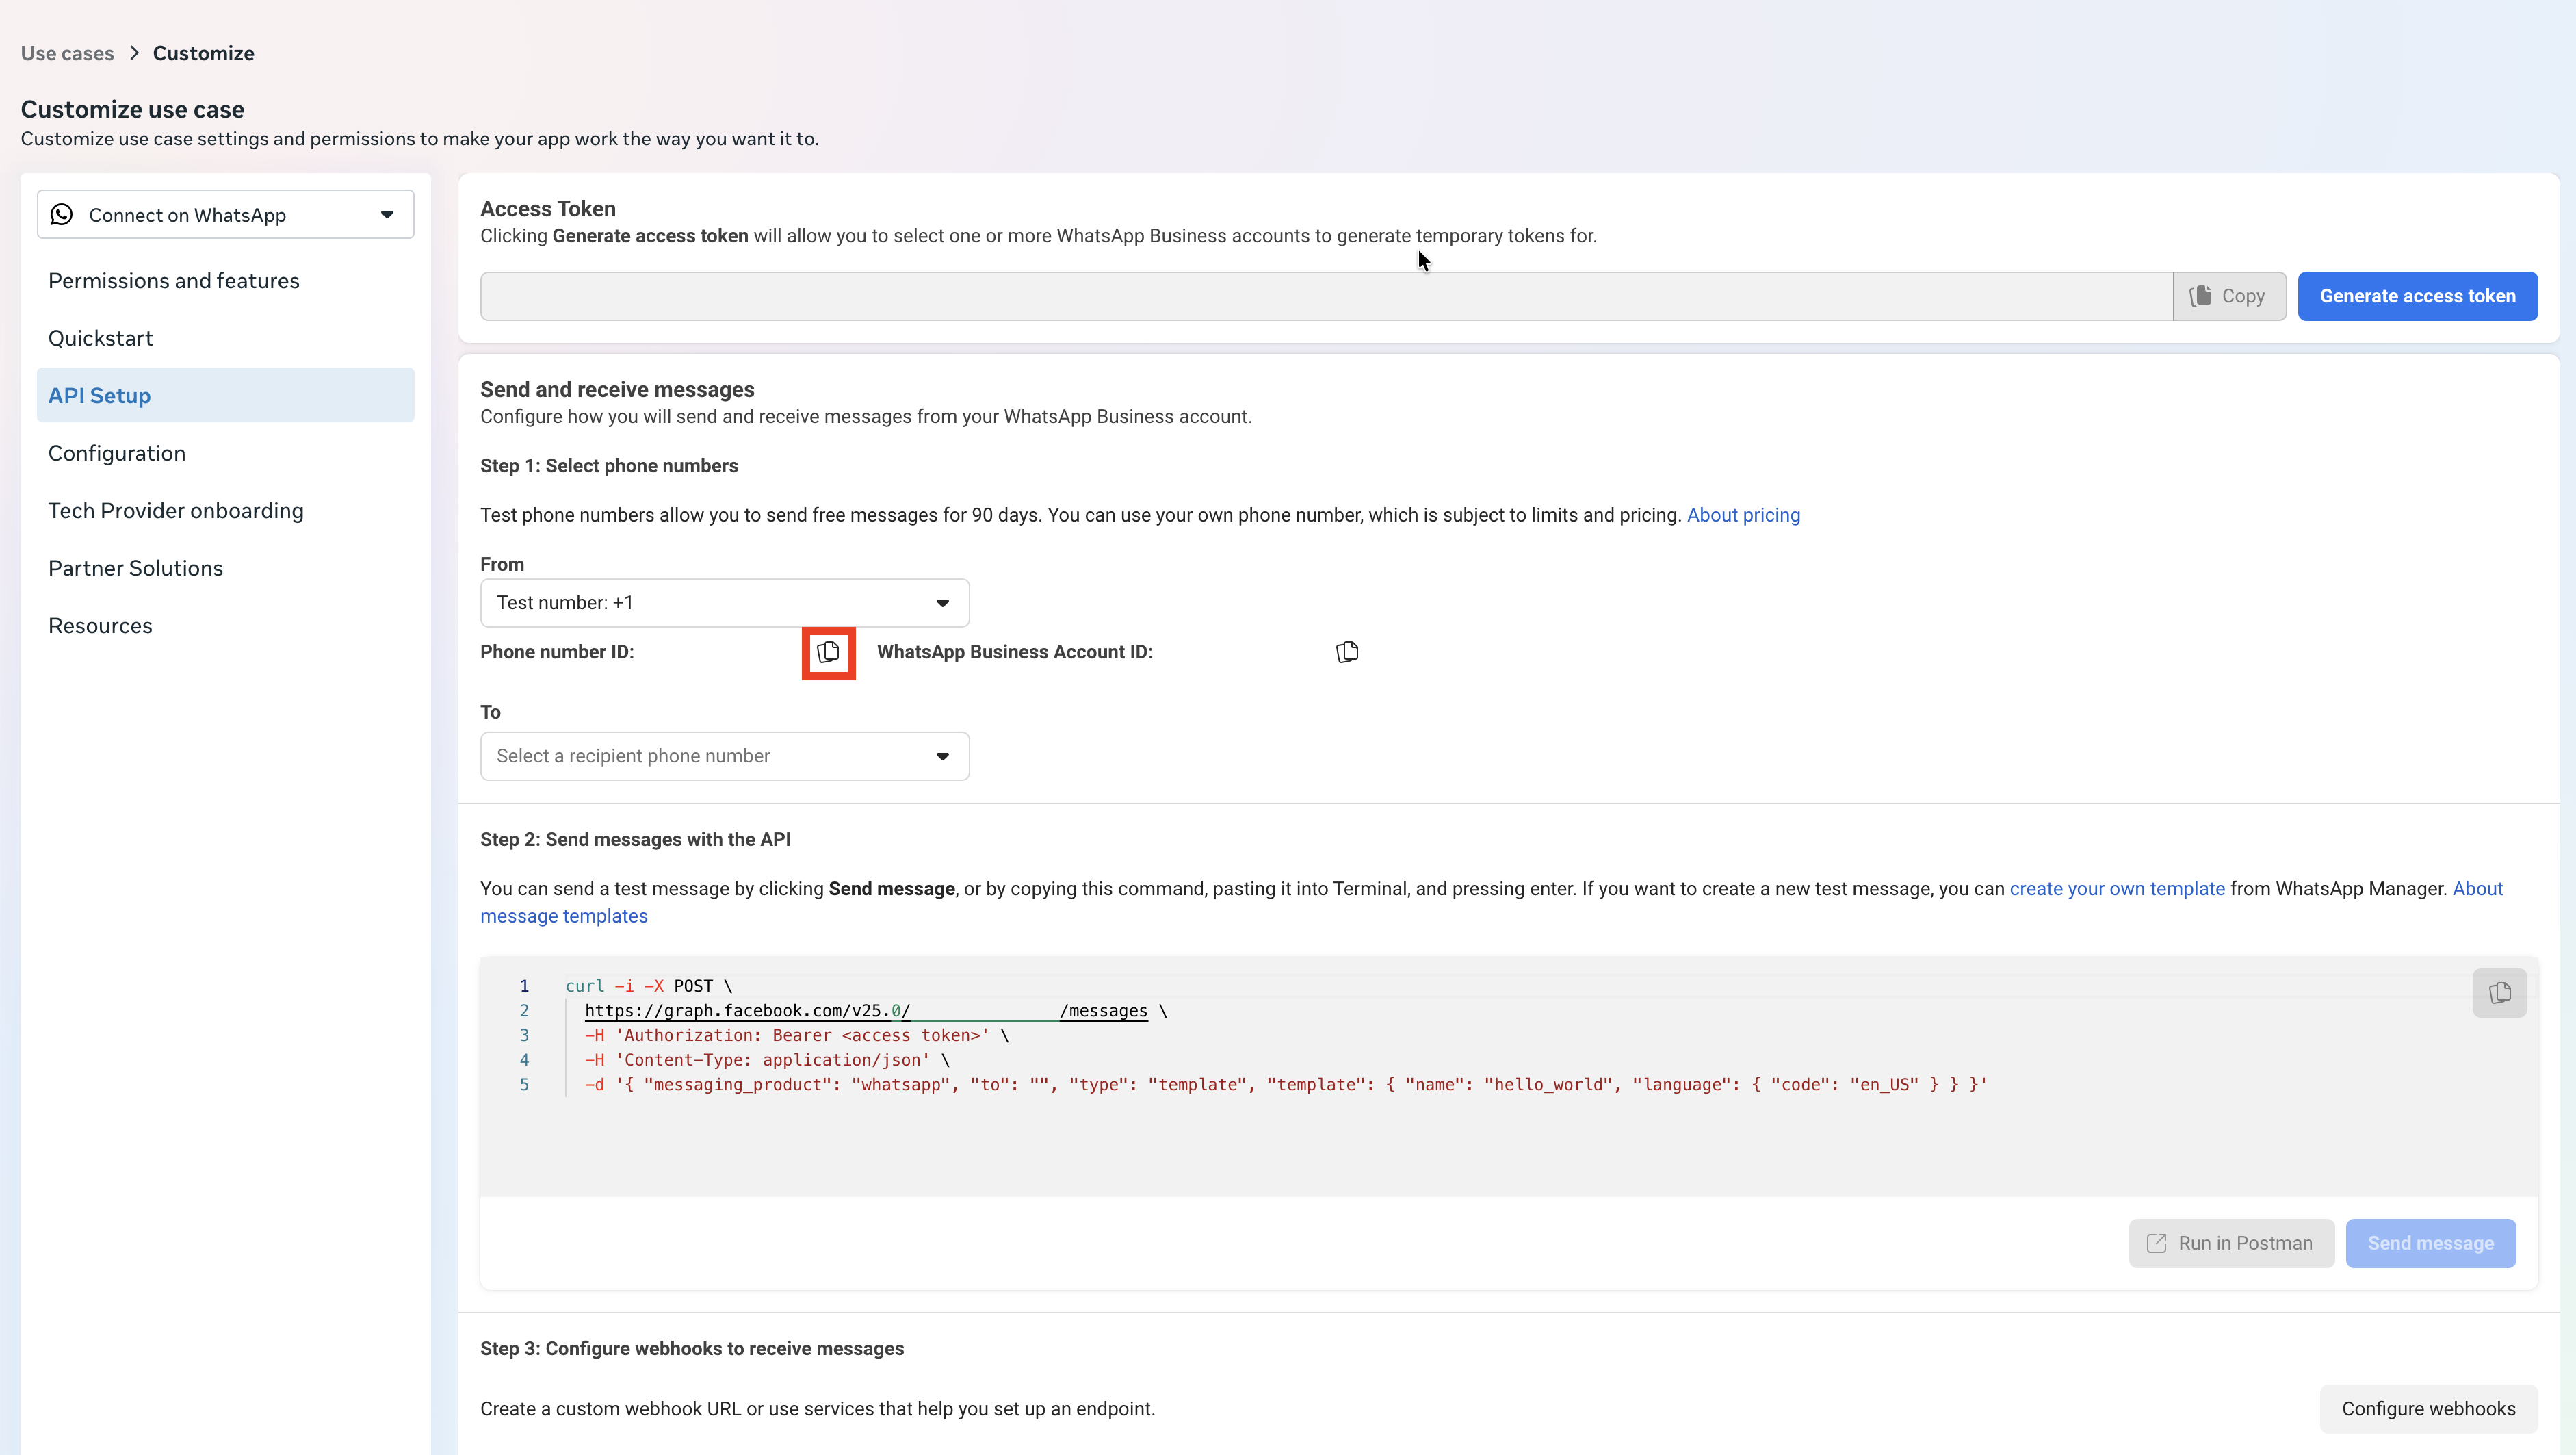
- On the API Setup page, find the section labeled Step 1: Select phone numbers.
- Copy the WhatsApp Business Account ID displayed below the From field.
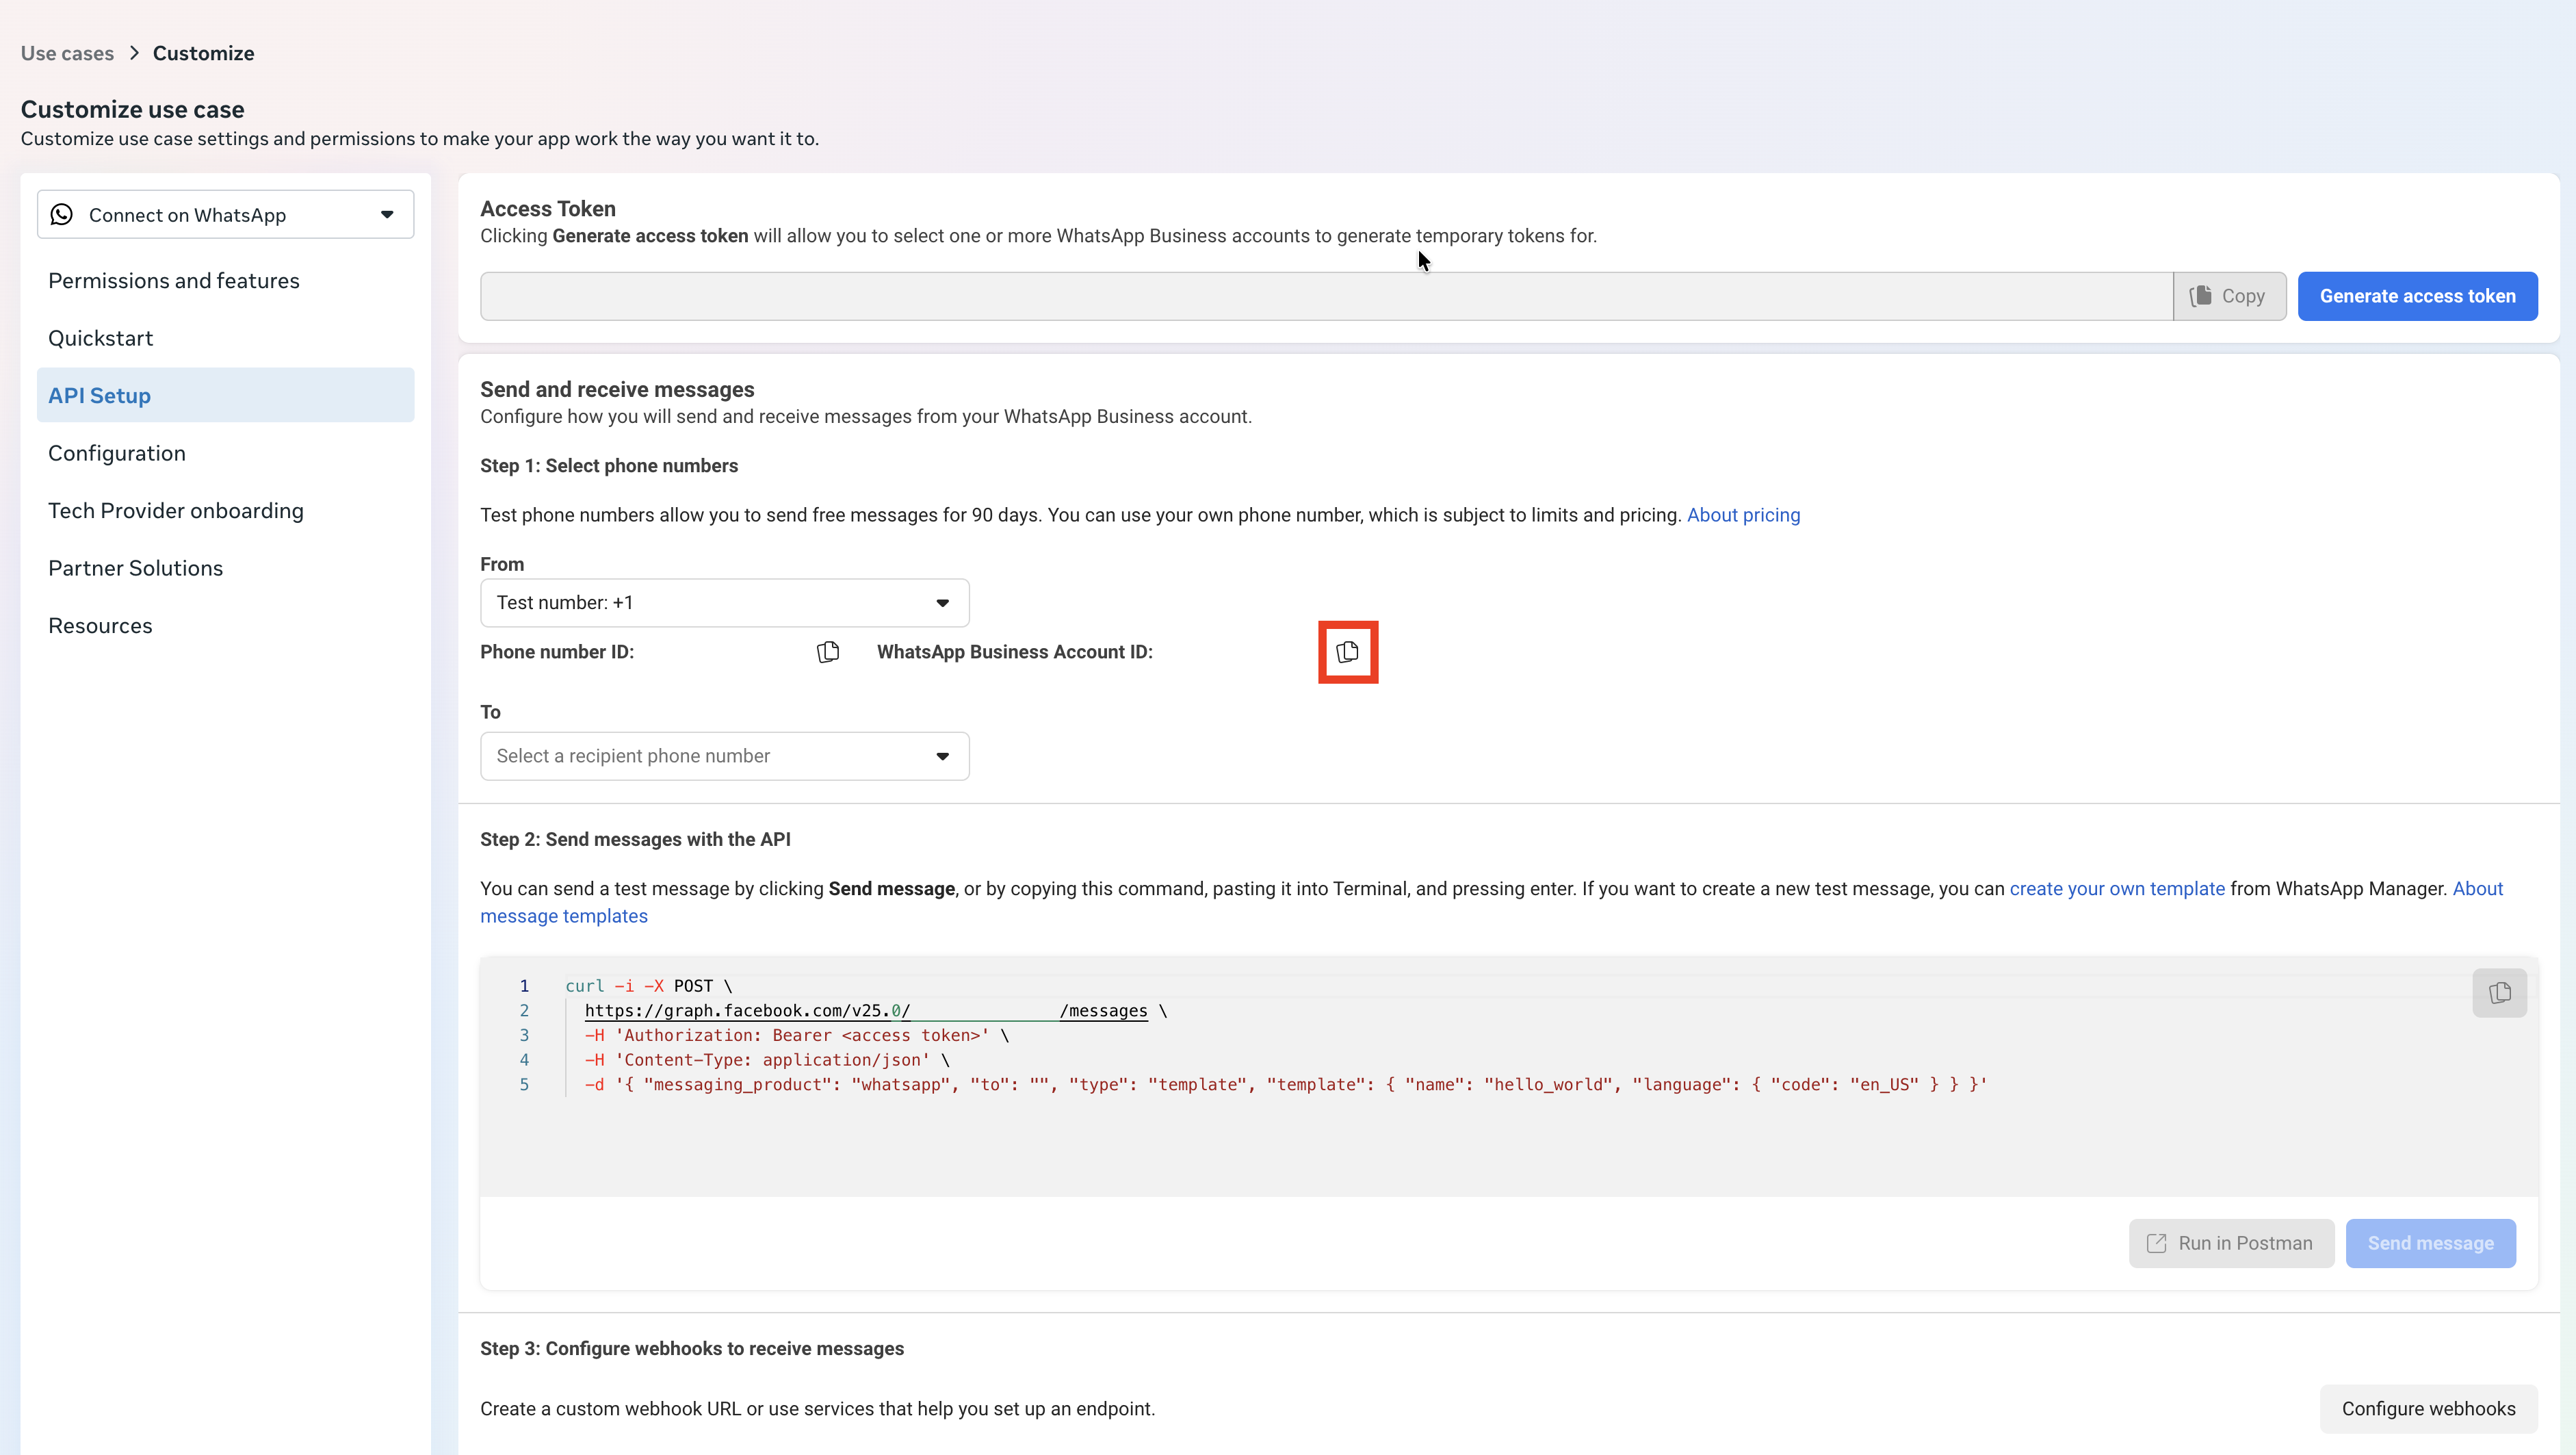
- Paste this value into the Business Account ID field on the integration setup page.

Phone Number ID
Note: Ensure that all aspects of your Meta Business account at business.facebook.com are correct. You must verify your email address, or you will not be able to use your phone number.
- On the API Setup page, scroll down to Step 5: Add a phone number.
- Click the Add phone number button.

- Enter your business information, then press Next.
- Add the desired phone number. You can use any phone number you own, as long as it is not already associated with WhatsApp (e.g. WhatsApp or WhatsApp Business mobile apps). We recommend using an access phone number in your Bright Pattern account so you can handle voice calls and text messages on the same number as WhatsApp.
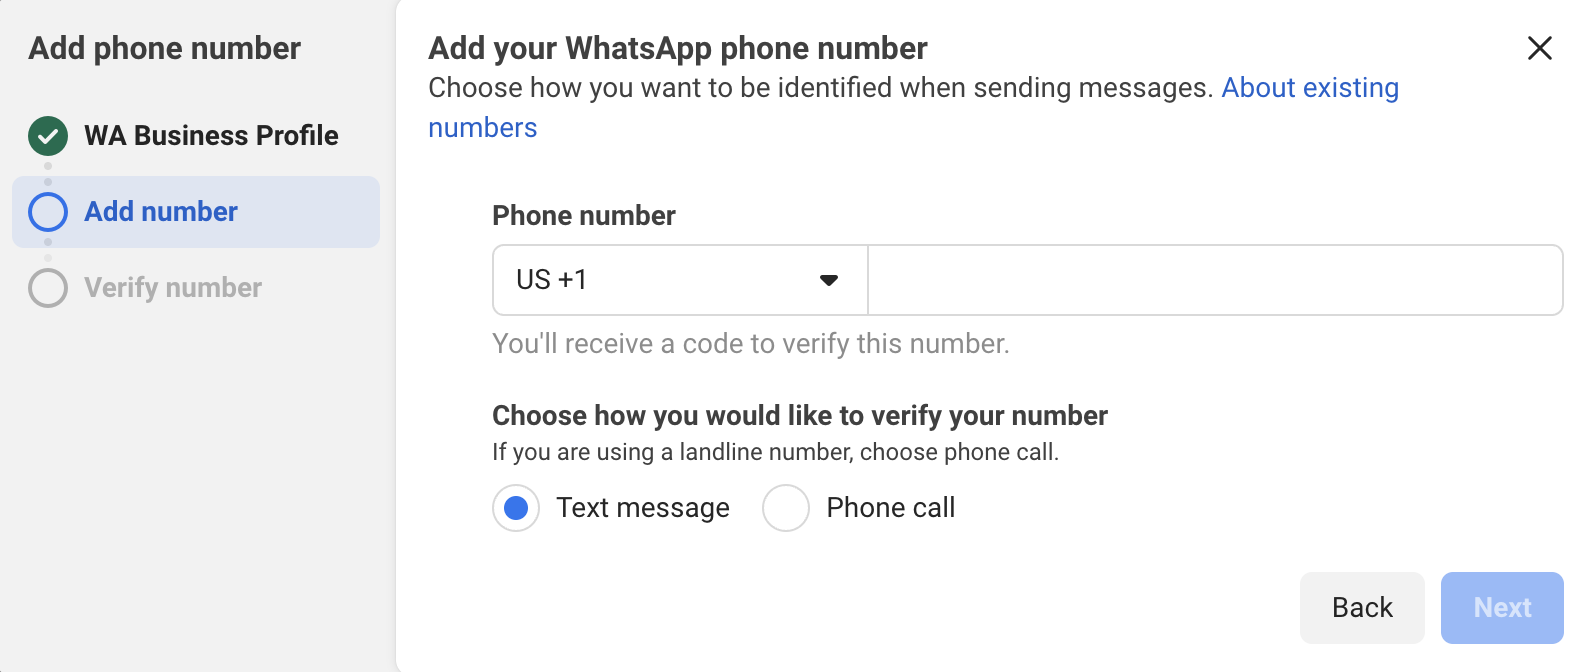
- Select whether to confirm the number via text message or phone call, then press Next.
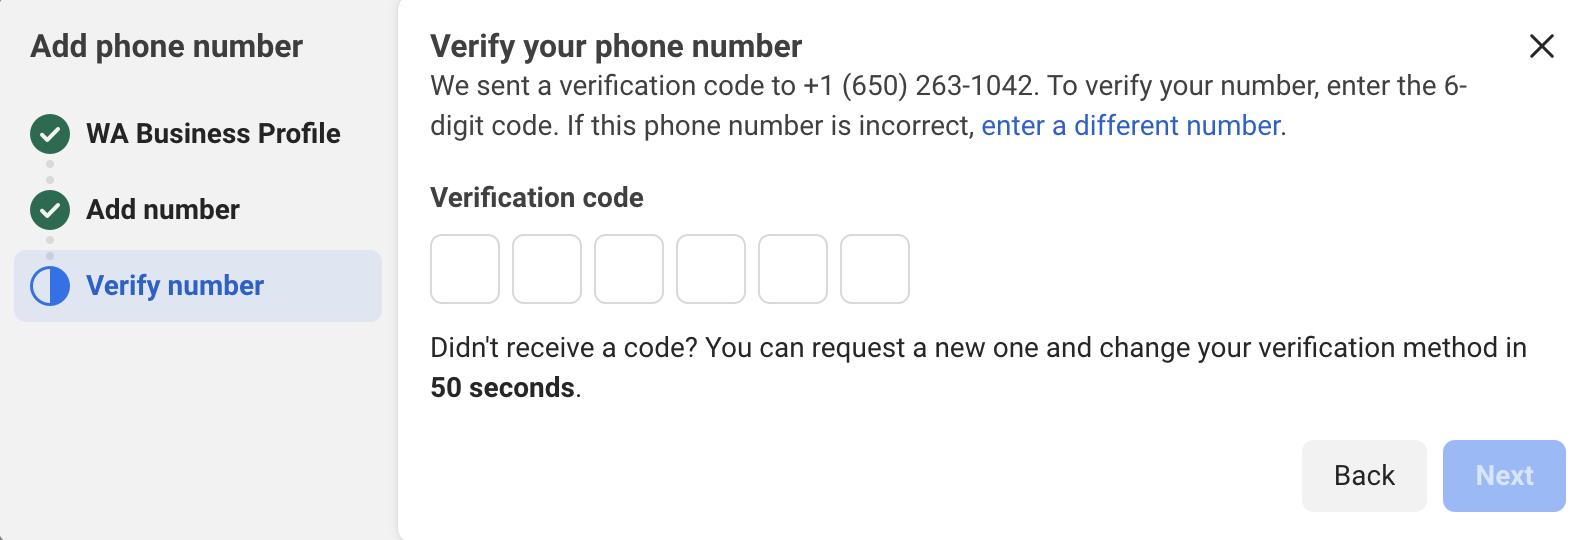
- When you are ready, verify your phone number. Then, press Next to return to the API Setup page.
- Scroll up to Step 1: Select phone numbers.
- From the From drop-down menu, select the phone number you just added.
- Copy the Phone number ID currently displayed below the From field. Use this value for the Phone number ID parameter on the integration setup page.


Access Token
Create a System User
Note: You may be prompted to accept Meta policies during system user creation.
- Go to Business Settings.
- Navigate to Users > System users from the side menu.
- Press Add to add a new system user.
- In the System user name field, enter
admin. From the System user role drop-down menu, select Admin.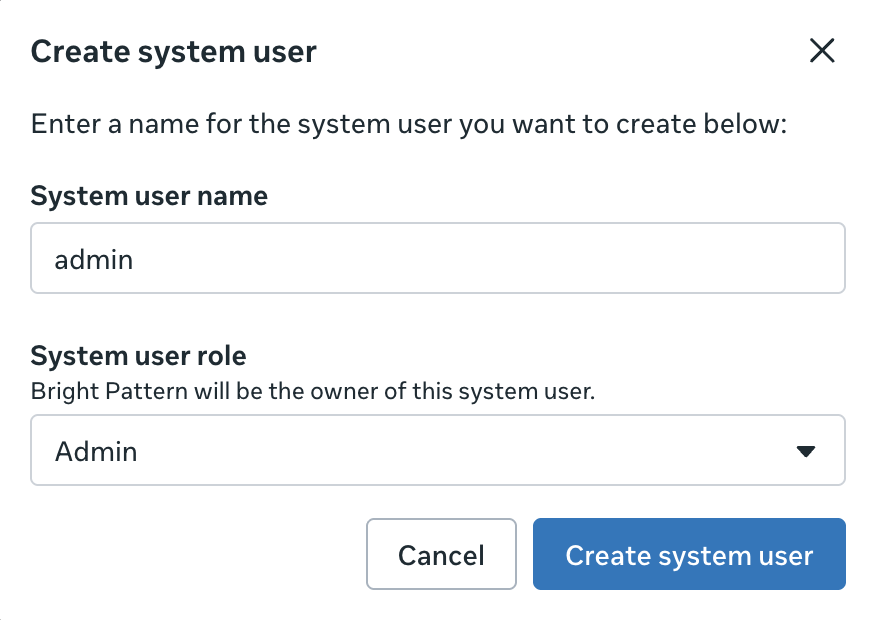
- Press Create system user.

Create a Permanent Token
- On the new system user page, click the Assign assets button.
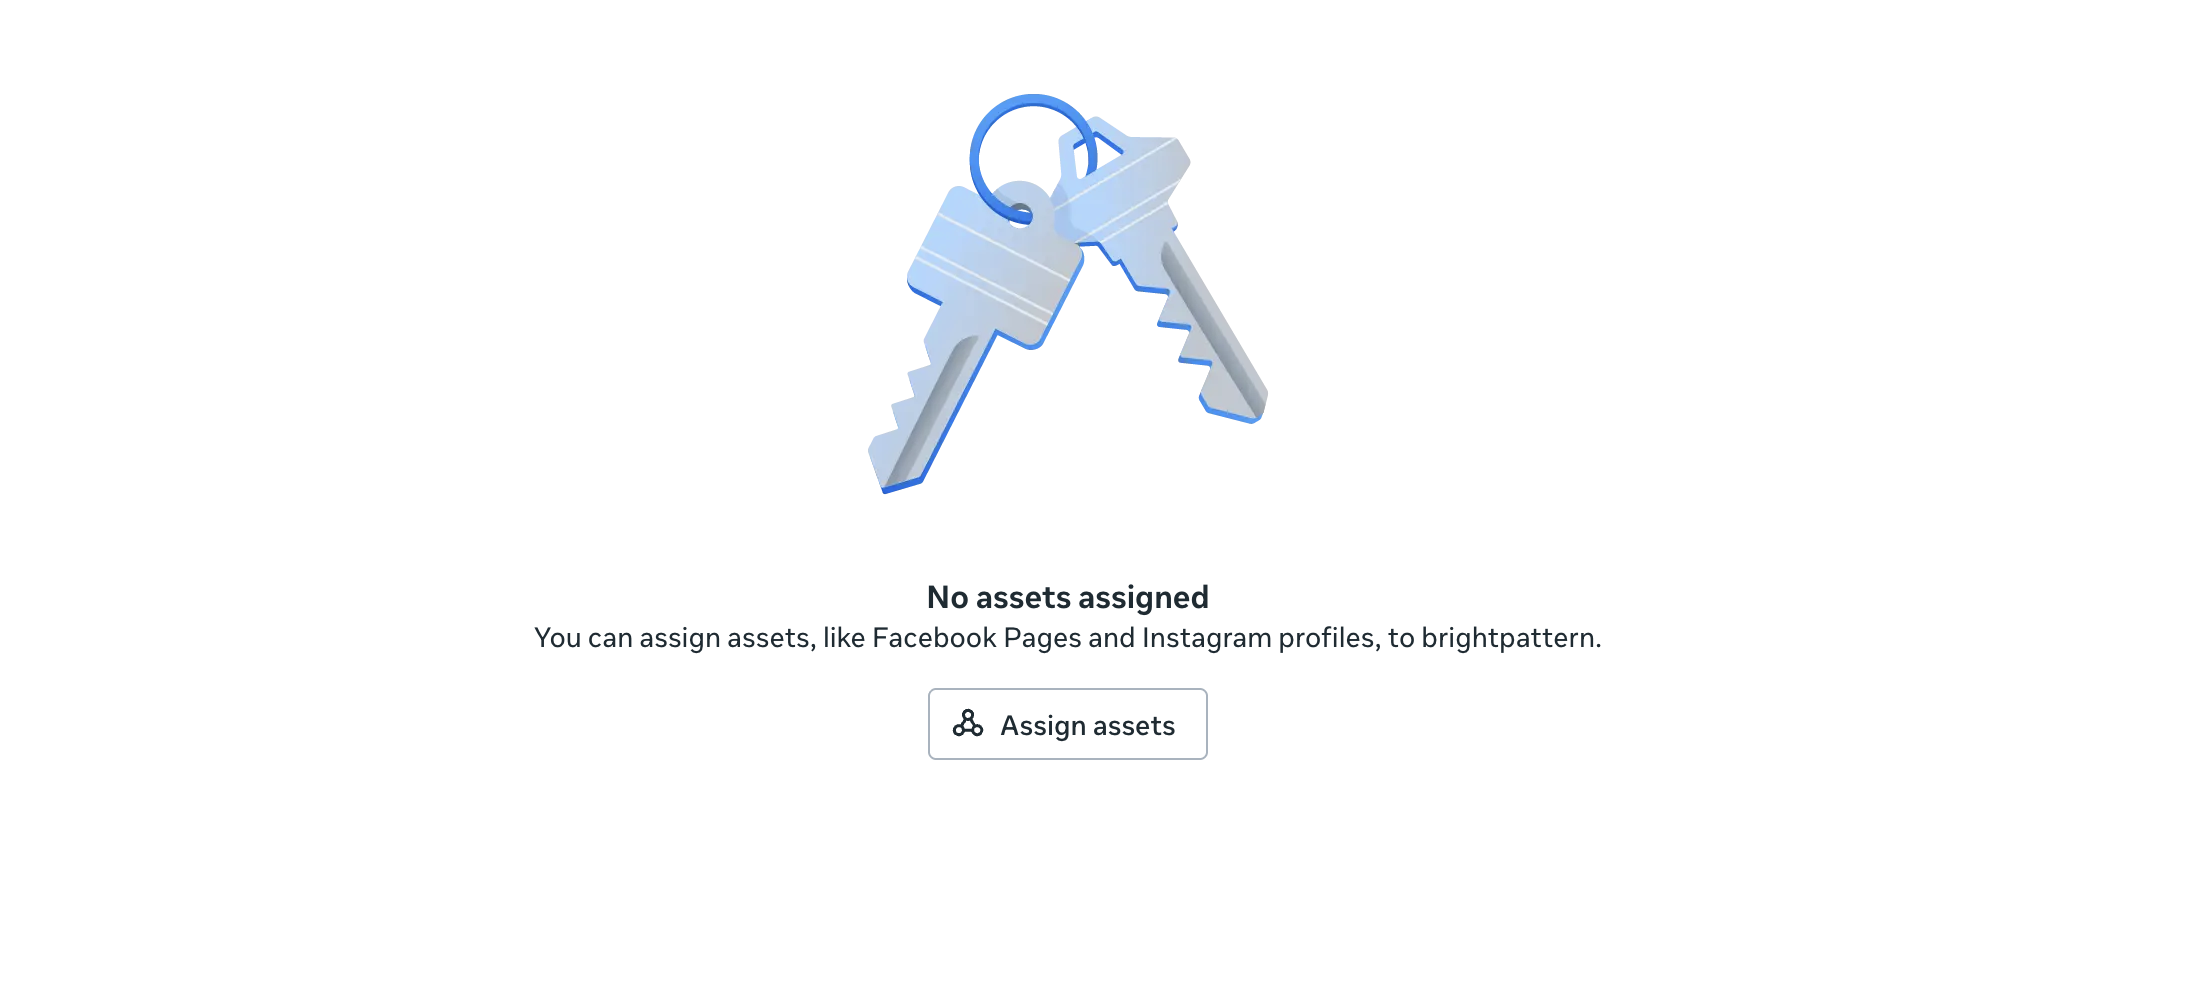
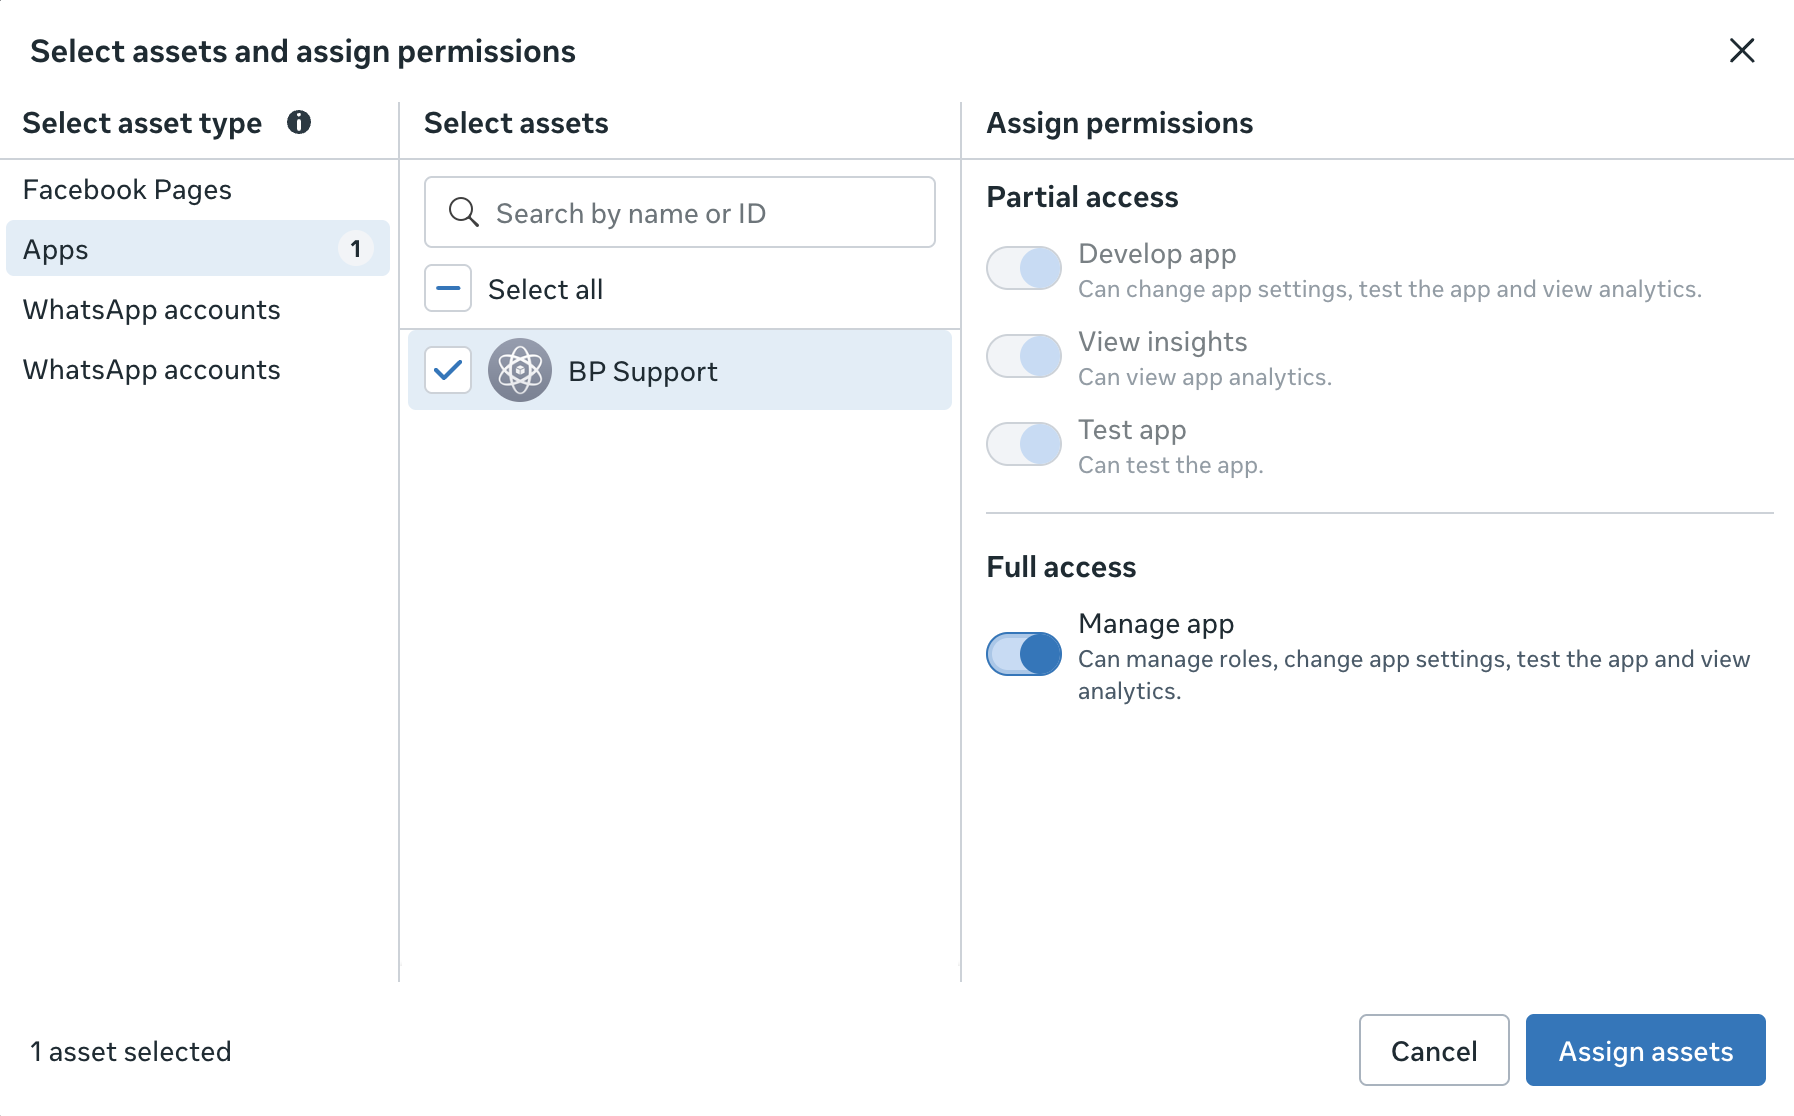
- Select your new app.
- Enable the Manage app toggle switch under Full control, then press Save changes.
- Press the Generate token button on the system user page.
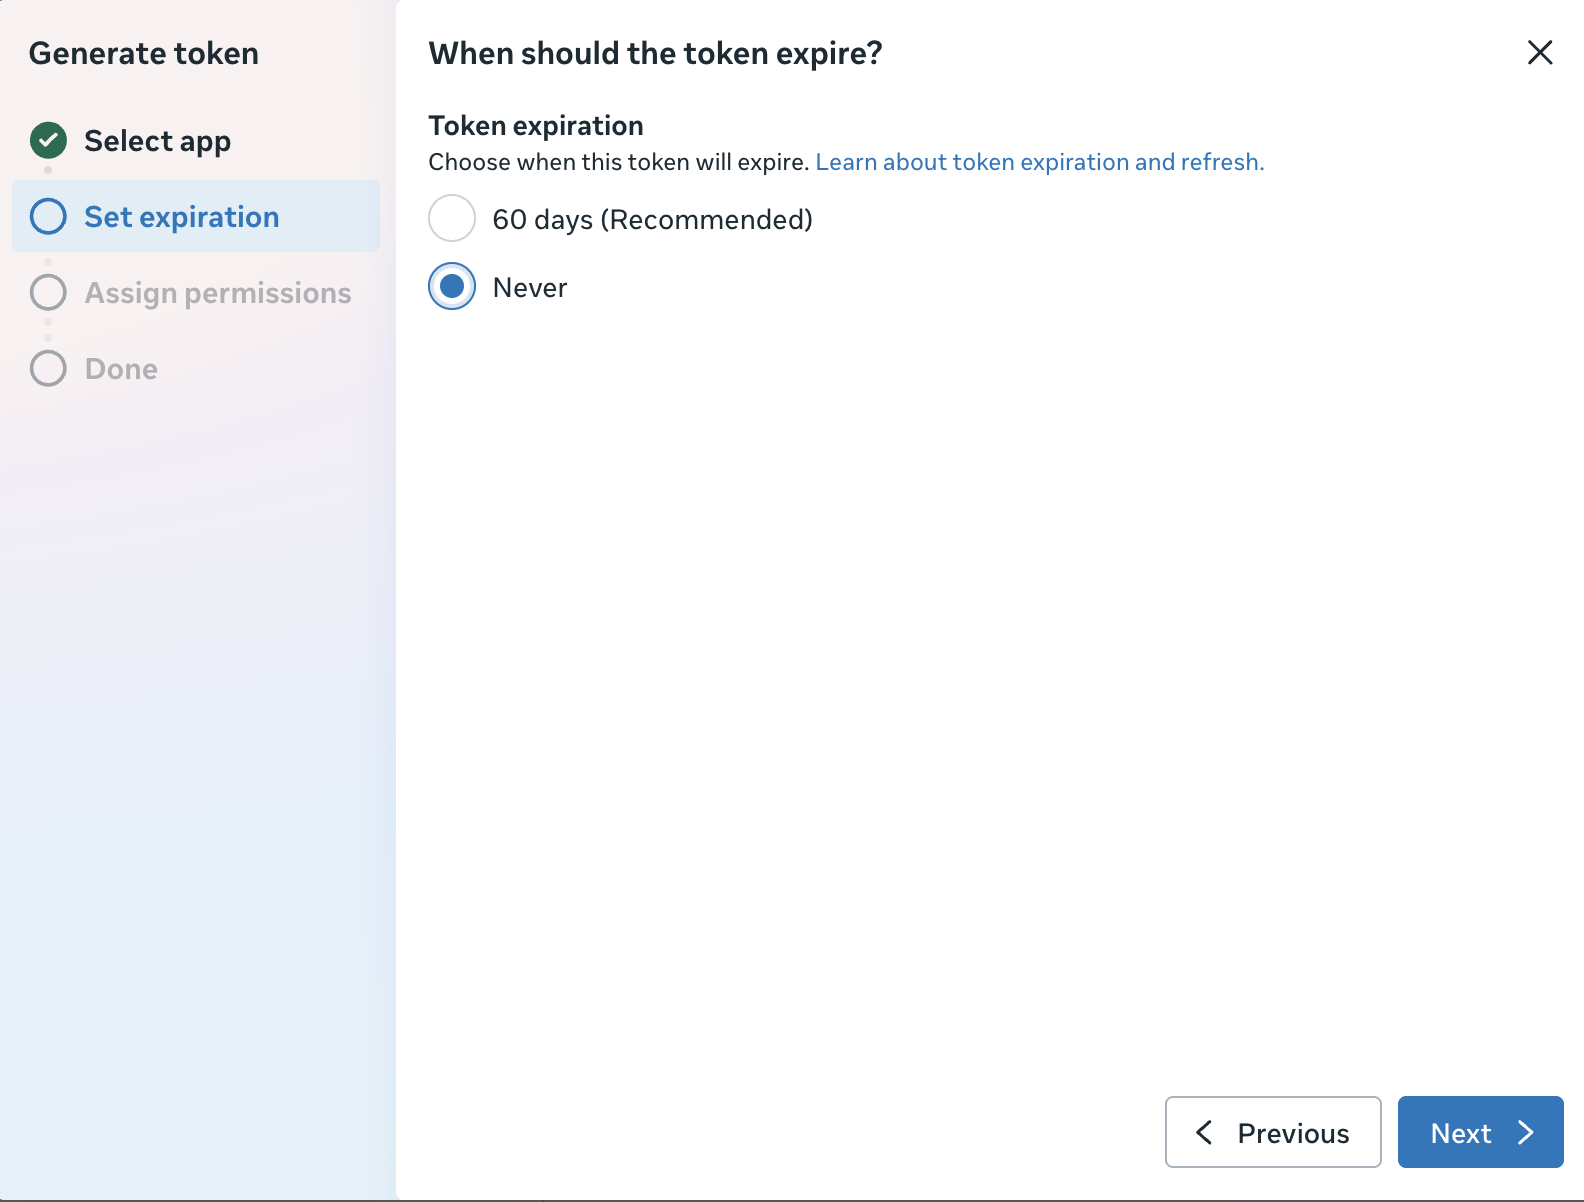
- Select the app.
- Set the expiration to Never.
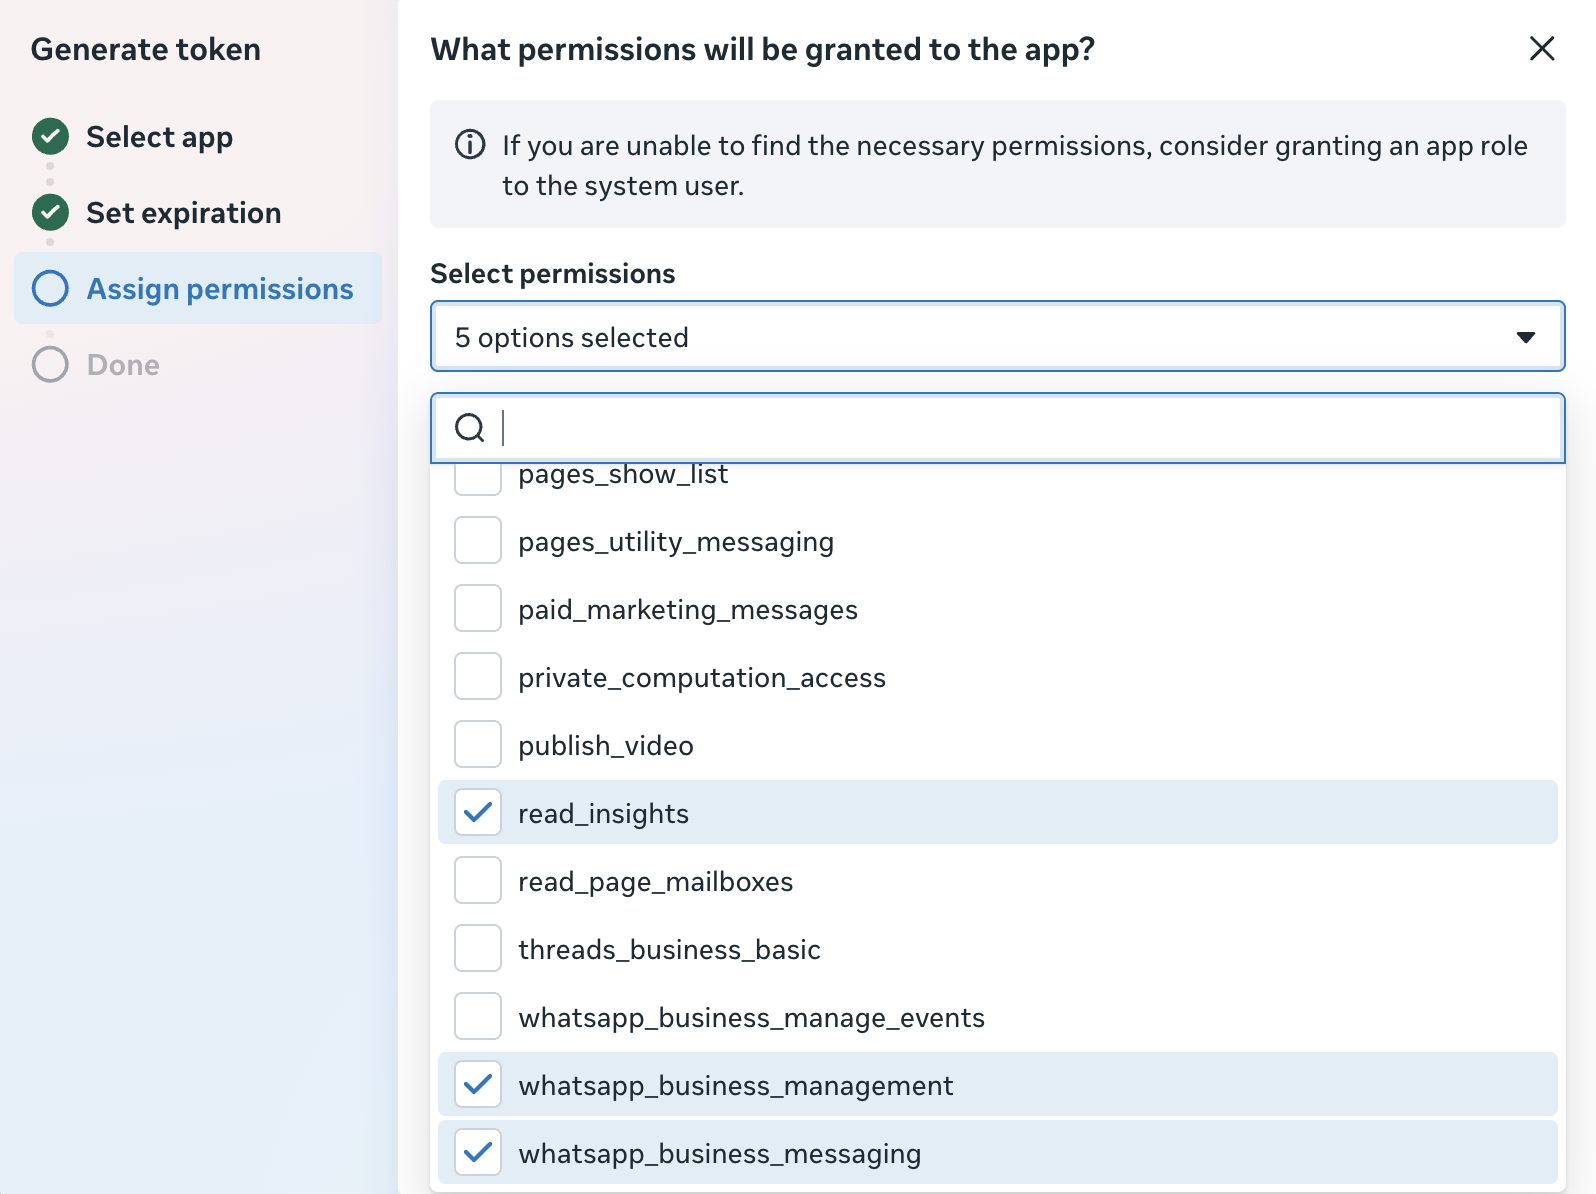
- Check the boxes for the following permissions:
business_managementcatalog_managementread_insightswhatsapp_business_managementwhatsapp_business_messaging
- Press Generate token.
- After saving these settings, you will be shown the permanent access token. Make sure you save the token, because you will not be able to view it again.
- Enter this token on the BPCC integration setup page.


Set Up a Webhook
Finally, you must configure your WhatsApp API settings to use the URL provided on the BPCC integration setup screen as a webhook.
- Open your WhatsApp app in the Developer portal.
- Navigate to Use cases > Customize > Configuration.
- In the Callback URL field, enter the URL listed above the Test Connection button on your Bright Pattern integration account setup page.
- In the Verify token field, enter the same access token that you saved earlier.
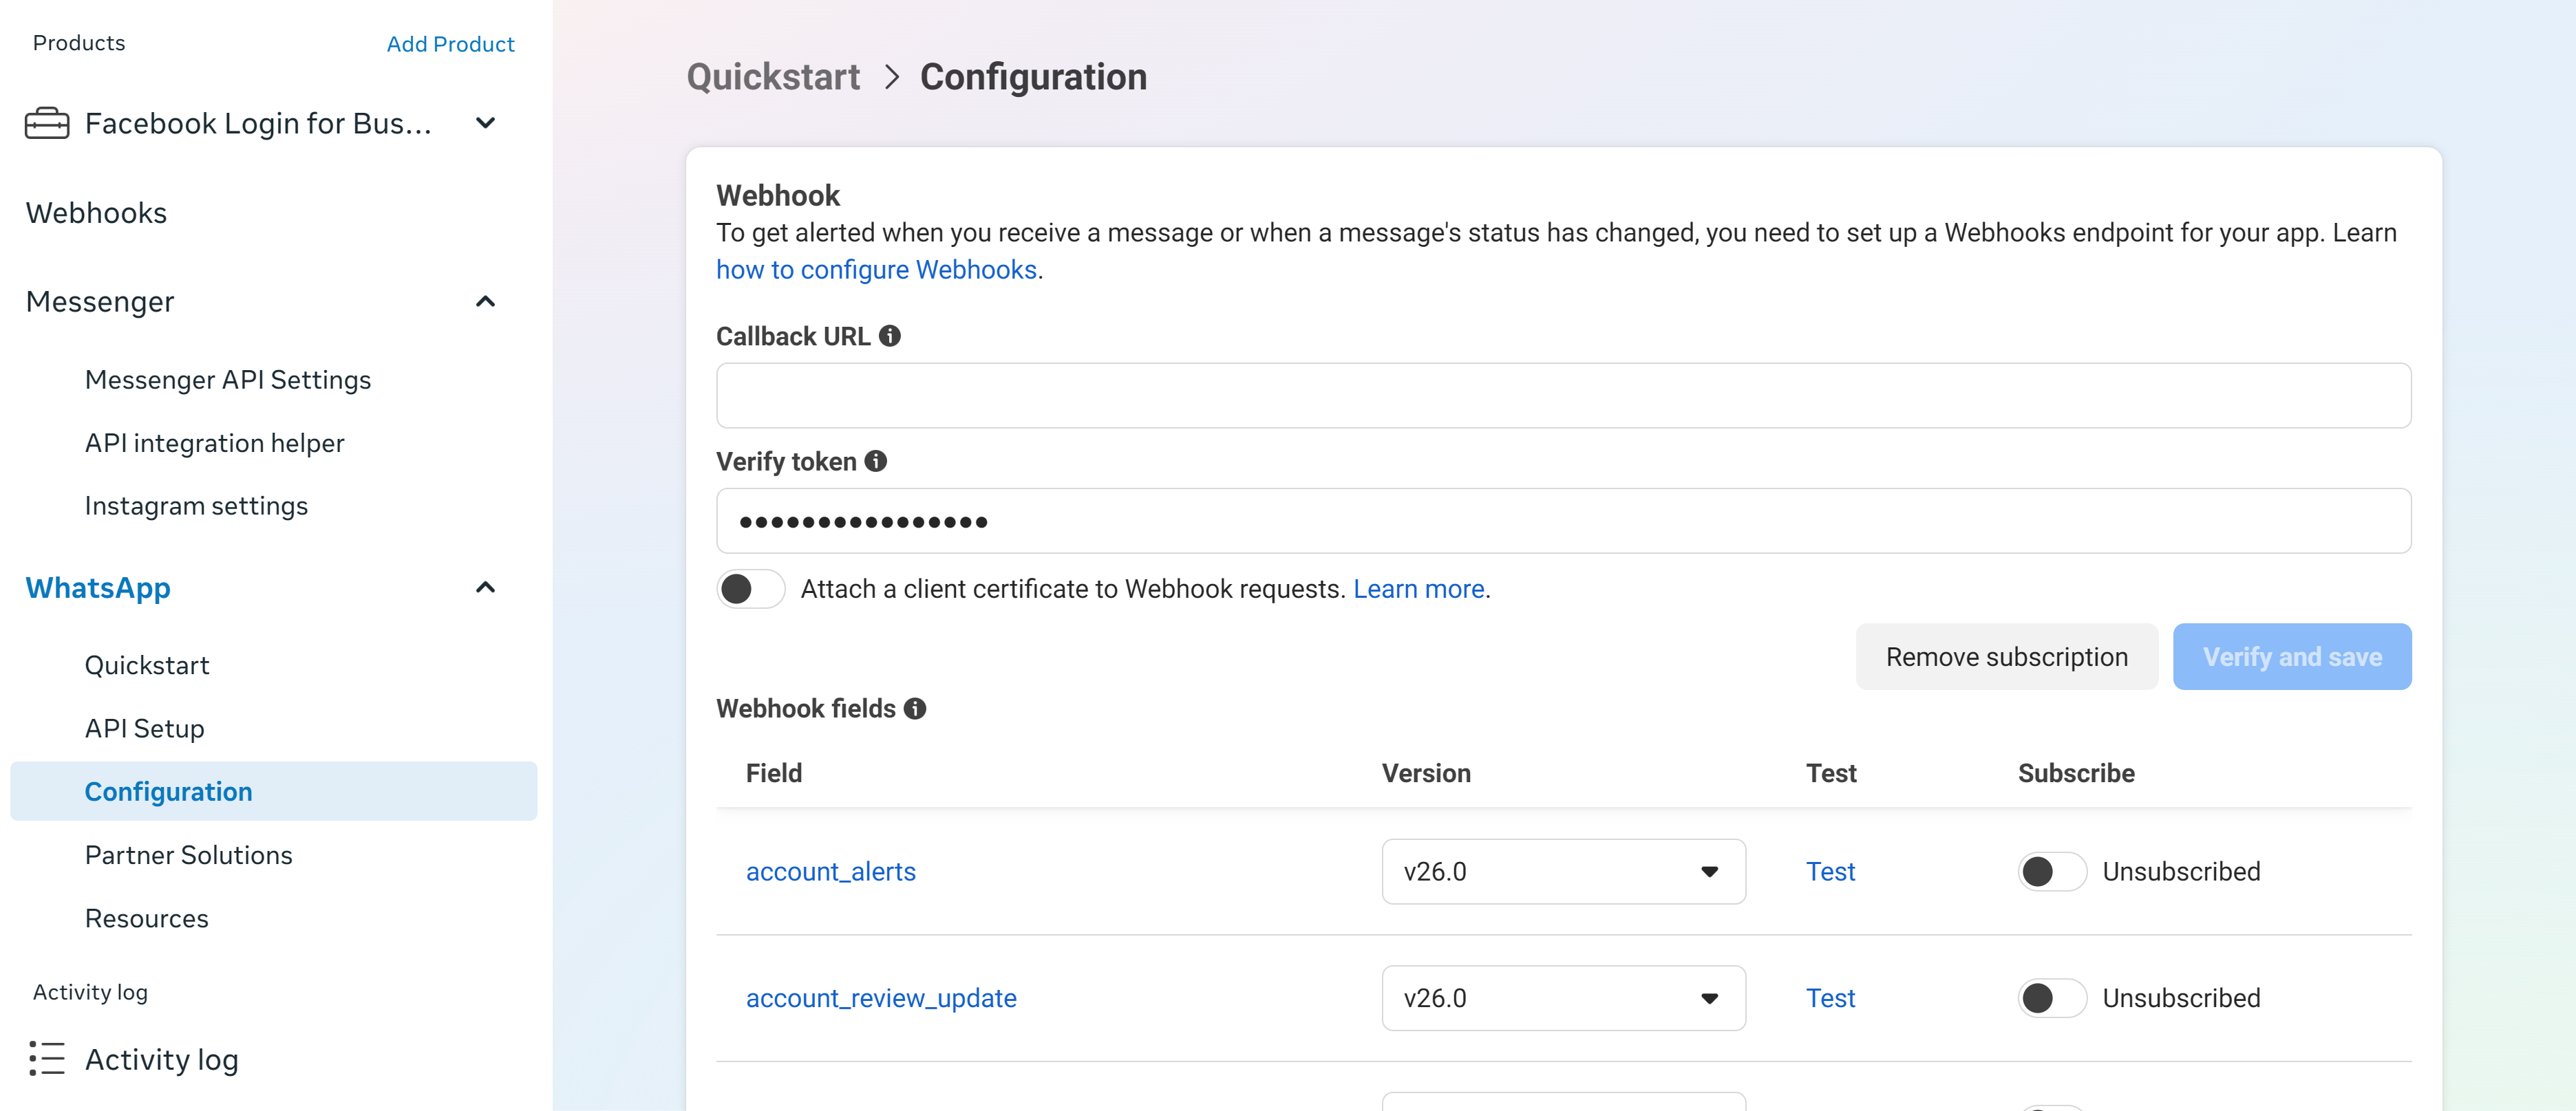
- Click Verify and Save.
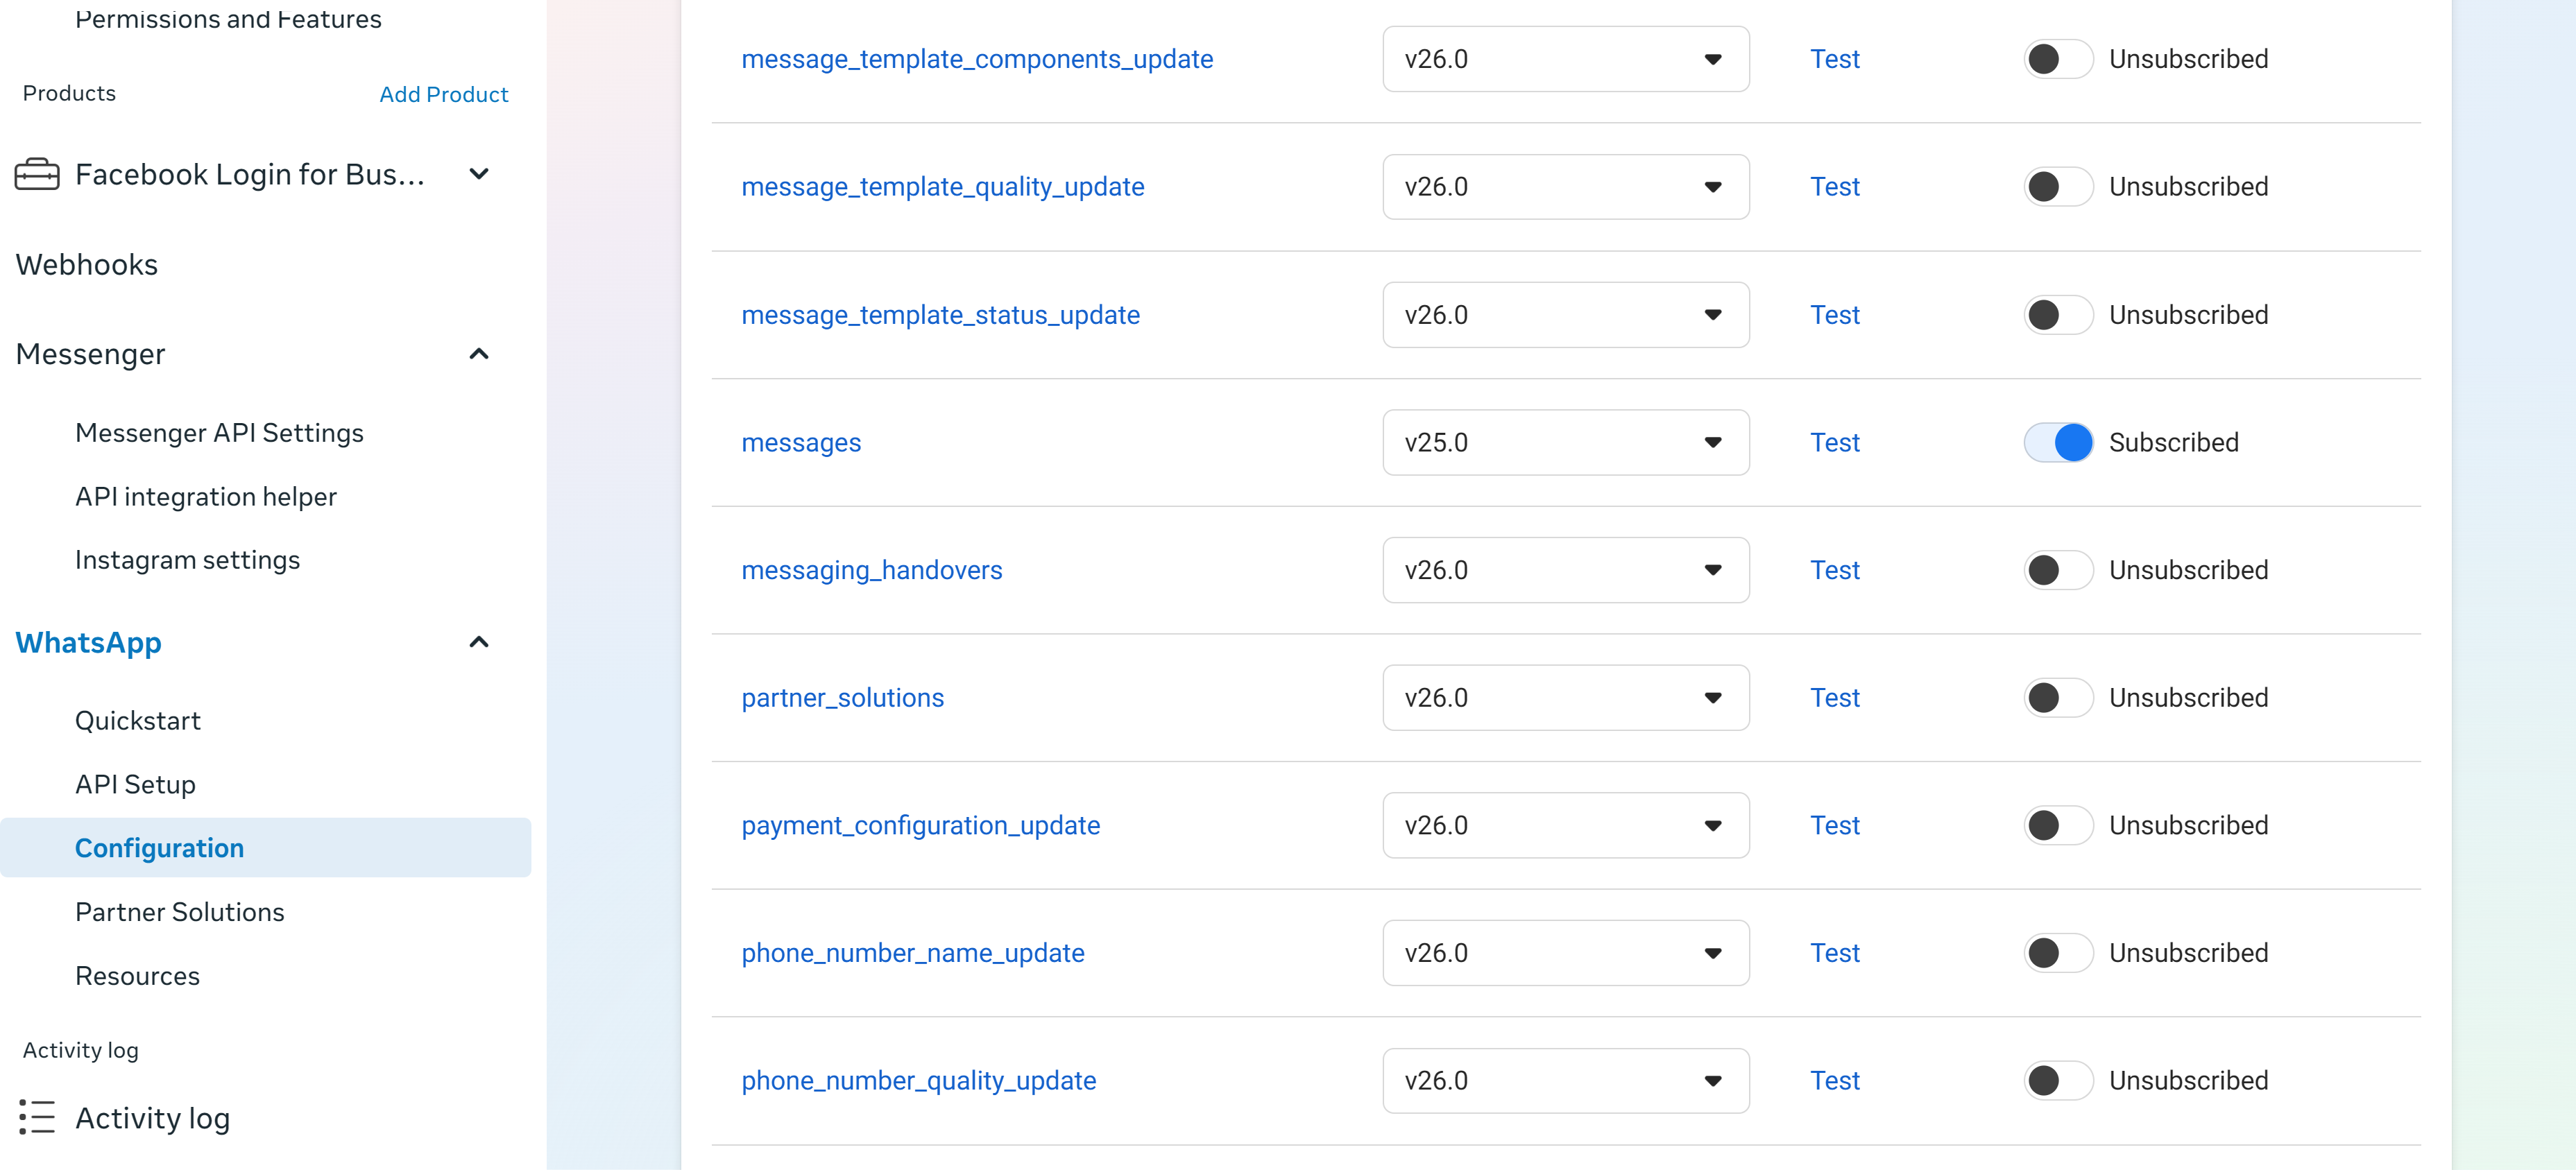
- Under Webhook fields, scroll down to messages. Set the toggle switch in the messages row to Subscribed.
< Previous

