How to Schedule an Event
You can use the calendar to schedule events.
Step 1: Designate the date and time
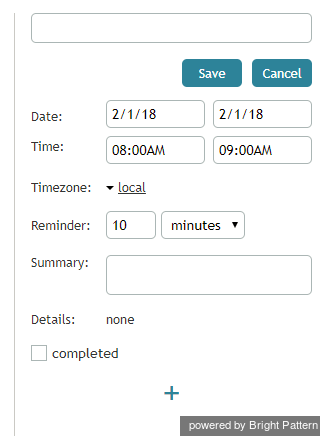
Click anywhere on the calendar or select the desired time slot. A panel on the right will display event properties to edit.
Step 2: Name the event
Enter a title for your event. The title will be displayed on the calendar.
Step 3: Confirm the event details
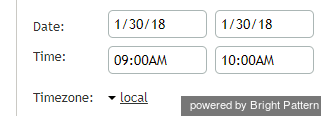
The time of the event will correspond to the position and duration of the time slot selected in the calendar grid. You can adjust this time manually in the Date andTime fields. Then adjust the Timezone if necessary.
Step 4: Set a reminder
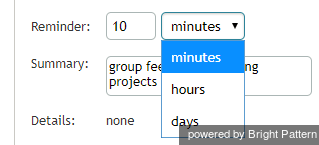
Specify how far in advance you would like to be reminded about the event. You can tell the calendar when to pop a reminder to you, in terms of the number of minutes, hours, and days in advance of the event.
Step 5: Describe the event
In the Summary field, you can optionally add a descriptive summary of the event.
Step 6: Assign contacts
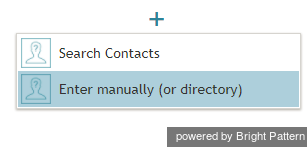
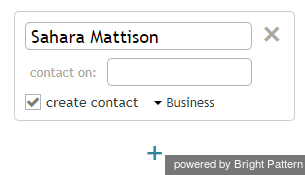
If your event is a scheduled call to a known contact, you can specify the contact’s name, phone number, and/or email address. To add or assign contacts to an event, click the + sign at the bottom of the event properties pane. You will have two options for looking up the contact.
Quick Contact Lookup
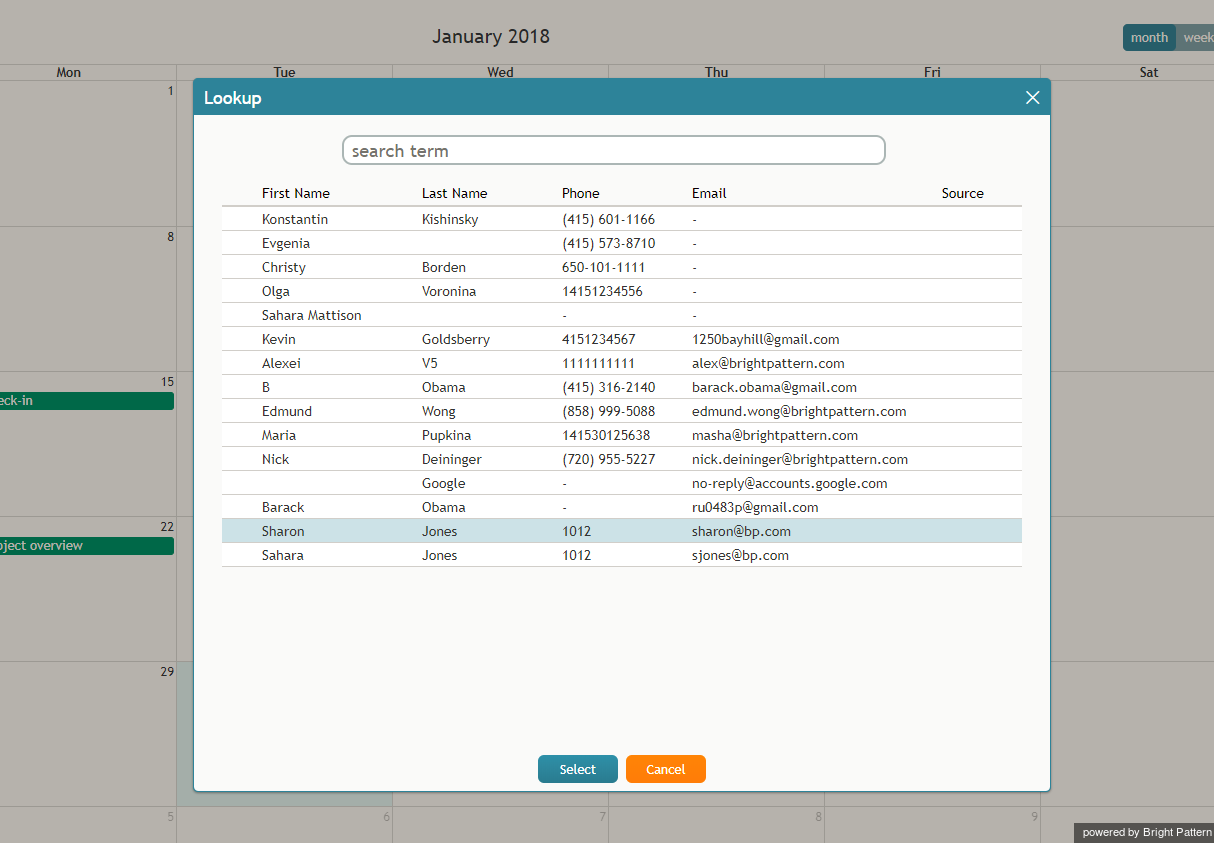
Click Search contacts to find a contact in the Lookup window that pops up.
To use Lookup, type any text into the search term field. Lookup will search through the list of the most recent manual name-address inputs first (the list maintained throughout the system, not just in calendar), and then it will search in directory. It searches for the text that was entered, in both the name and address fields of your system's data. The matches are highlighted in the search results list in bold.
Enter Contact Details Manually
Click Enter manually (or directory) to type in a name on an empty contacts card. Clicking create contact will create a new contact record for this person.
When filling in an empty card, typing into the text field will displays a drop-down list of 10 entries pulled from recent address entries (i.e., entries from manual input, contacts, or the directory maintained in the system, not just in the calendar). If fewer than 10 entries are found, the rest are pulled from the directory.
If there are multiple addresses for a person, each name-address pair is shown as a separate item
Step 7: Save your event (the most important step)
Click the Save button. The new event will appear in the calendar highlighted in a blue color.
You may also use the calendar to schedule follow-up activities in the context of your present customer interactions directly from the Contact Info Panel. For more information, see section How to Schedule a Follow-up Activity.

