Configuration Quickstart
This section describes the recommended order of configuring common contact center tasks within Bright Pattern’s Contact Center Administrator application.
This quickstart will help you get your contact center up and running quickly, regardless of whether the contact center will be used for inbound services, outbound campaigns, or both. Note that every contact center environment is unique, and the following information is meant to be used as a general guideline only.
Step 1: Log in
Using the login procedure, go to https://<your.tenant>.brightpattern.com/admin and log in with your username and password.

Step 2: Adjust application settings
Update Contact Center Administrator’s application settings to
- Set your preferred time zone and language
- Change the password, if necessary
Note that the time zone should match the time zone set in General Settings.

Step 3: Create user accounts and teams
- Create user accounts for yourself and other users who will be configuring and managing this contact center. Initially, these users can be members of the default Administrators team.
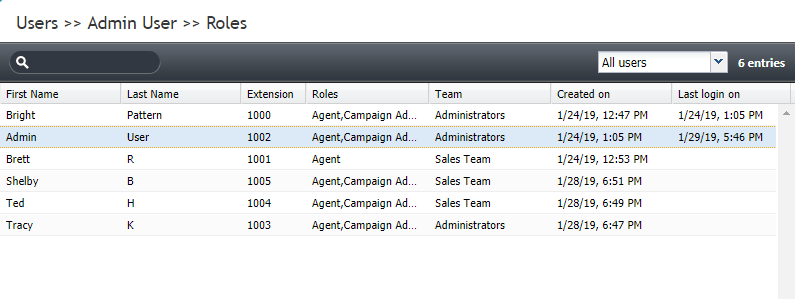
Add users to your contact center - Assign those users the appropriate role(s) that will enable them to perform their tasks.

Select roles for the user - Add teams to your contact center, giving them descriptive names and defining team-specific settings.
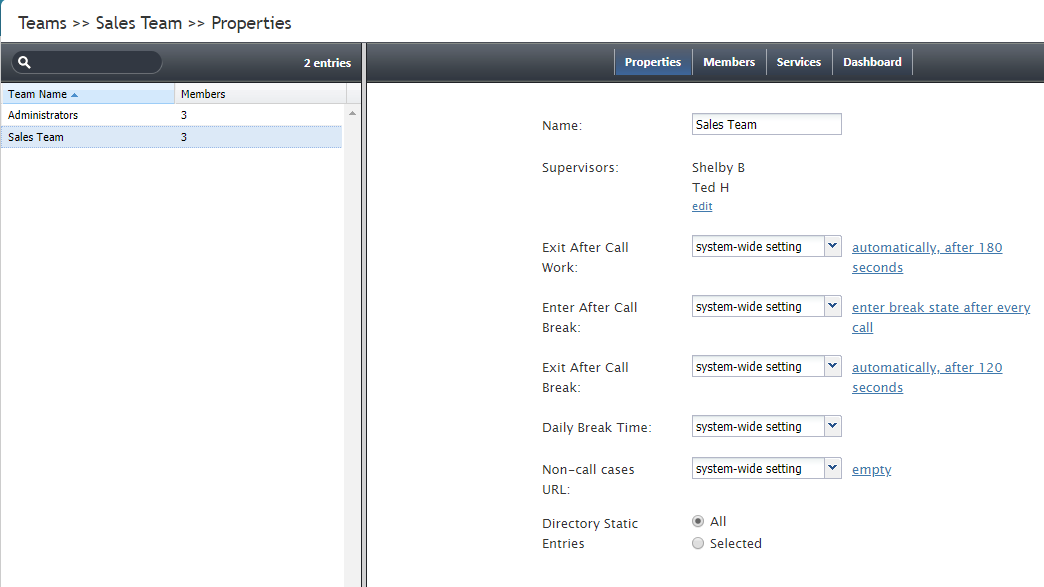
Name and define the teams to which users will be assigned to work - Create or import users.
- Give them the appropriate role (e.g., “agent” or “supervisor”).
- Assign users to a specific team.
- Consider uploading photos for all users (if you plan to use chat media to serve your customers and/or for internal communications).
- Give them the appropriate role (e.g., “agent” or “supervisor”).
- Go back to Users > Teams, and assign users to supervise specific agent teams. Note that a user must be added to a team as a designated supervisor in order to use the supervisor functions in Agent Desktop.
- Grant privileges for each role type.
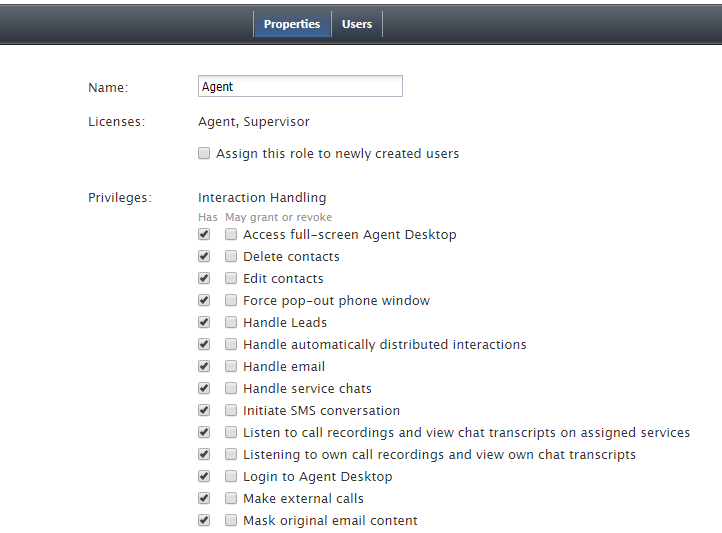
Privileges enable users to access specific features and functions


Step 4: Update general settings
Review and change the default values of the general settings that apply to the entire contact center, specifically for the users on Agent Desktop.

Step 5: Specify email settings
In Email Settings, set up email on a system-wide level so that
- Users have a standardized header and footer for email messages
- Users can send and receive email messages from Agent Desktop
- Standardized “reset password” emails are automatically sent to forgetful users
- Chat transcript delivery emails are customized for your contact center

Step 6: Configure voicemail
Enable voicemail for your contact center, and create a standardized voicemail notification email that will be sent to users when they have new voicemail messages.

Step 7: Configure audio for pre-recorded messages
- Prepare and upload custom audio treatments for service queues, notifications, incoming calls, and more.
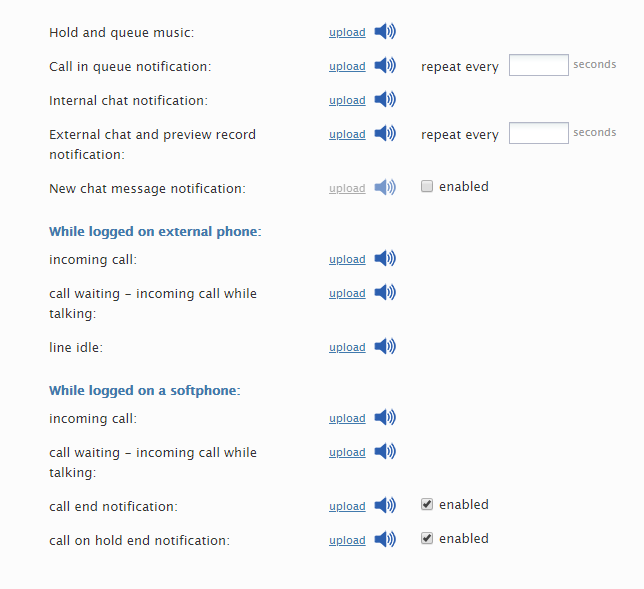
Audio Treatments settings - Create shared voice segments, externally defined voice messages that can be used in announcements, prompts, greetings, and so forth.
- Record or upload a default voicemail greeting, which will be the standard greeting for all users unless they upload their own.

Step 8: Specify call recording settings and grading categories
- In Call Recording and Monitoring, specify the desired percentage of recorded calls
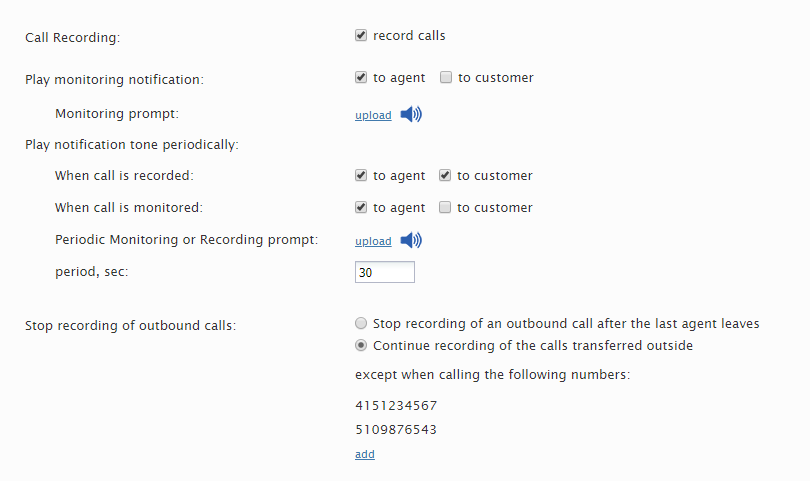
Call Recording and Monitoring settings - If necessary, go to Grading Categories and change the default quality assessment categories
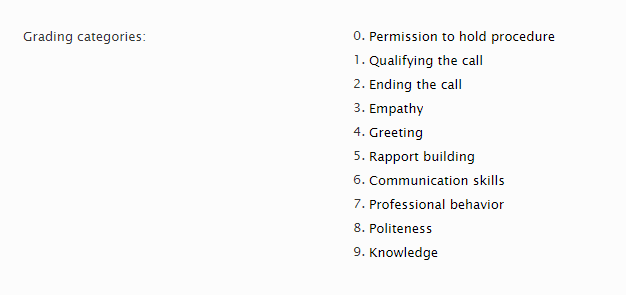
Update grading categories


Step 9: Define operational schedules of your contact center
Specify your contact center's calendars and hours of operation.

This wraps up your initial configuration tasks. Be sure to read Bright Pattern's service configuration quickstarts, which will help you to set up contact center services, such as voice, chat, and email.
Service Configuration Quickstarts
For configuration steps specific to different types of services, follow these links: