Configuration Overview
This section of the Twitter Integration Guide details the steps required to integrate your Bright Pattern Contact Center with Twitter for the purpose of receiving Direct Messages (DMs) in chat interactions.
Integration Configuration Steps
- Create an App
- Create a Dev Environment for App Testing
- Create an Integration Account
- Setting the Twitter Webhook Manually (if the previous step does not work)
- Assign the Integration to a Service
- Troubleshooting
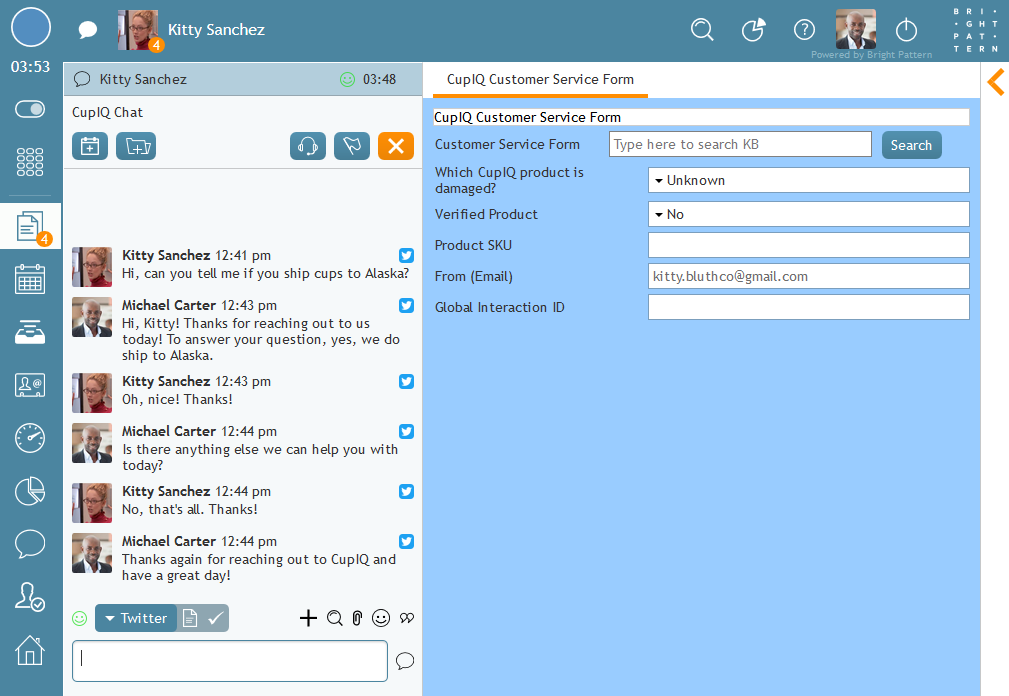
DMs as they appear in Agent Desktop
Create an App
When your developer account is approved, return to the developer site and create an app. The app contains the Twitter API keys and tokens you will need when configuring the integration account in your Bright Pattern Contact Center environment.
Note that either a Premium API or an Enterprise Account Activity API is needed for receiving webhook messages from Twitter. For more information, see Twitter's Developer site.
To create an app, click on your username in the upper right corner of the page and select Apps from the drop-down menu. From the Apps page, click Create an app and you will be directed to the app creation page.
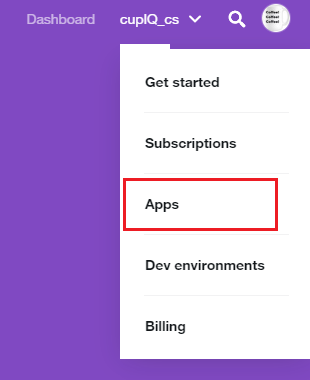
Navigate to the
Apps page
Step 1: App Details Tab
The first part of creating your app is filling out the App details tab; it is where you enter your app's basic information (e.g., name, websites, etc.). When filling out the app details, the following information is required:
- App name - This is the name of your app.
- Application description - Describe your app.
- Website URL - The URL of the website that you want your app’s Tweets attributed to; it will appear in user-facing authorization screens
- Tell us how this app will be used - This is where you detail the purpose and function of your app.
The following information, while not required, may be included:
- App icon
- The checkbox Enable Sign in with Twitter, which allows the app to be used to sign in with Twitter
- Callback URL (either https:// or scheme://) - Note that if the Enable Sign in with Twitter checkbox is selected, this field is required.
- Terms of Service URL
- Privacy Policy URL
- Organization Name
- Organization website URL
Step 2: Keys and Tokens Tab
Next, you will go to the the Keys and tokens tab; it contains the Consumer API keys as well as the Access token & access token secret. This information is required for configuring your Bright Pattern Contact Center's integration account.
For Consumer API keys, the API key and API secret key are already created; however, they may be regenerated here. You must make sure that the key contains no spaces; if the key contains a space, generate a new one that does not contain any spaces.
For Access token & access token secret, if nothing is listed, click the Create button. Like the Consumer API keys, the access token and access token secret can be regenerated as needed. If necessary, you may revoke these tokens by clicking Revoke.
Note: You will need to regenerate existing keys and access tokens when app permissions are changed.
Step 3: Permissions Tab
Finally, you will go to the Permissions tab; it is where you set the permissions for your app. Click the Edit button and change the Access permission setting to Read, write, and Direct Messages. Note: You will need to regenerate existing keys and access tokens when app permissions are changed.
Create a Dev Environment for App Testing
When you are finished creating your app, you will need to create a dev environment where you will test it.
Steps
- To create your dev environment, click on your username in the upper right corner of the page and select Dev environments from the drop-down menu.
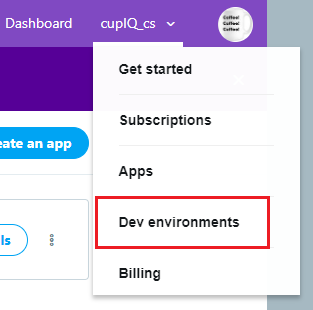
Navigate to the
Dev environments page
- From the Dev environments page, section Account Activity API / Sandbox, click Set up dev environment. For this step, you will need to create a Dev environment label and connect the app you created. If necessary, return to your app and regenerate the API key and secret as well as the access token and access token secret.
Note: The dev environment is a live environment that can reach any Twitter user; however, you may want to research account activity subscriptions and find the subscription that best meets the needs of your contact center.

Create a dev environment for your app
Create an Integration Account
NOTICE: This step does not work as of Feb. 18, 2020, because of a Twitter API issue. Until this issue is resolved, please follow the steps listed in Setting the Twitter Webhook Manually. If you continue to experience problems, please contact our support team.
After creating your app and a dev environment for testing, you will need to connect the information from these to your Bright Pattern Contact Center environment with an integration account.
Steps
- In the Contact Center Administrator application, section Call Center Configuration > Integration Accounts click + to create a new integration; select Messenger then type Twitter from the drop-down menu.
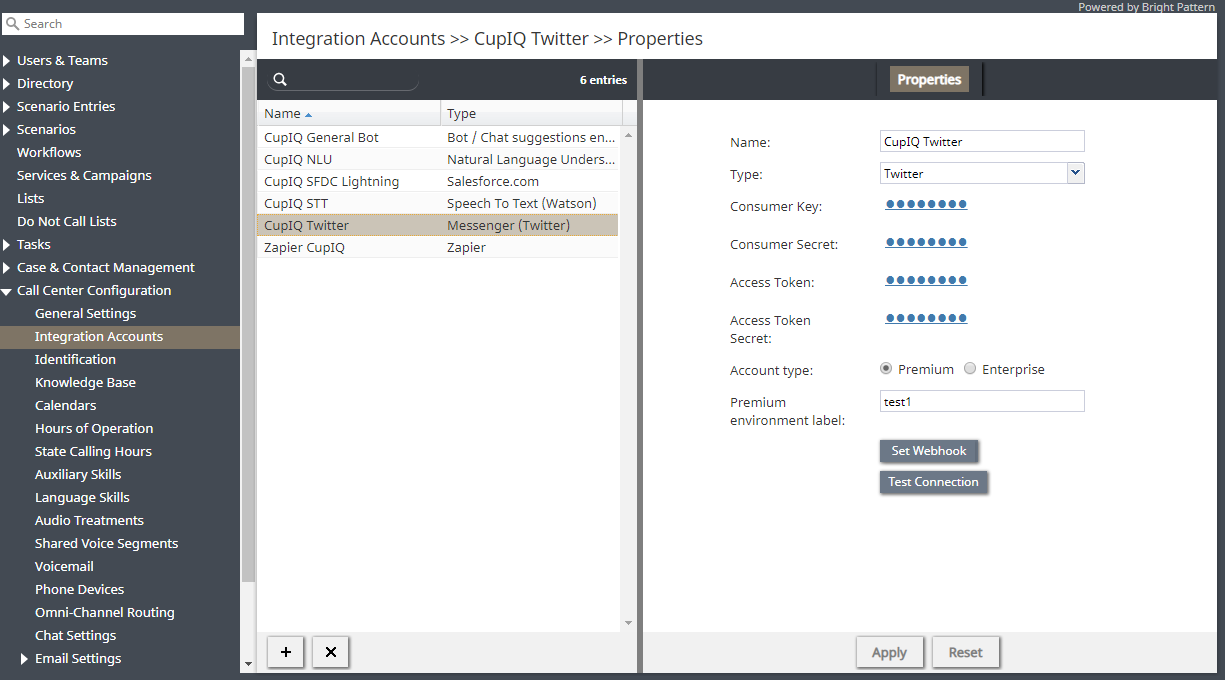
Create your integration account
- From here, enter the following:
* The name of the integration account
* The Consumer API key
* The Consumer API key secret
* The Access Token
* The Access Token Secret
* The account type: Premium or Enterprise
* If the account type is Premium, the name of the Dev environment label
- Click Apply to save the entered information, then click Test your connection; the results should pop the message, "Account credentials appear to be valid."
- Next, click the Set Webhook button. This sets the name of your contact center as the webhook URL (e.g., your_contact_center.brightpattern.com). When set, the following message will pop: "Webhook is set successfully." Note: This step should be done once for newly configured Twitter integration accounts or when there is a problem receiving messages from Twitter.
- NOTE: this step might not work because of Twitter API issue. Please try this manual workaround.
In the unlikely case that you're unable to set the Twitter webhook in the Contact Center Administrator application, section Integration Accounts (i.e., when your Twitter credentials are accepted but you receive an authentication error when setting webhook), please try following these manual steps, and then notify our support:
- Download the twurl application; instruction are found at the following link: https://developer.twitter.com/en/docs/tutorials/using-twurl
- Set the following credentials in the .twurlrc file; note that the tokens should match those entered in the Contact Center Administrator application for your Twitter integration account:
- In Windows, the path should be in Users/<windows username>/.twurlrc
- In Linux, the path should be in ~/.twurlrc
- (Optional) Verify twurl reads the .twurlrc file correctly using the following command: twurl accounts
- Example output:
- C:\Users\Edmund>twurl accounts
- <twitter-user-name>
- SB64DimDrkcE4m85yIfz23g3C (default)
- Set the webhook using the commands change <env_name>, <tenant host name>, and <access token secret> to the correct values. There is no need to URL encode the URL parameter (i.e., twurl does it automatically):
- twurl -X POST "/1.1/account_activity/all/<env_name>/webhooks.json?url=https://<tenant host name>/clientweb/twitter/webhook/<access token secret>"
- Note: If you are successful, you will receive a 2xx HTTP response status code.
- In the Contact Center Administrator, section Integration Accounts, click your Twitter integration's Set Webhook button again using the same credentials. This time, the "Could not authenticate you" error should be gone (i.e., if this is the same issue that was originally noted).
Example .twurlrc:
---
profiles:
 edmundwongbp:
   SB64DimDrkcE4m85yIfz23g3C:
     username: edmundwongbp
     consumer_key: SB64DimDrkcE4m85yIfz23g3C
     consumer_secret: ddss
     token: dss
     secret: 7xxx
configuration:
 default_profile:
 - edmundwongbp
 - SB64DimDrkcE4m85yIfz23g3C
Assign the Integration to a Service
After your integration account is configured, you will need to assign it to a configured chat service and configured chat scenario entry. For more information, see Administration Tutorials, section Chat Service Configuration.
Once the integration account is assigned to a service and scenario entry, you may test the integration.
Steps
- In section Services & Campaigns > Properties tab, select your Twitter integration for the setting Outbound chat accounts.

Assign the integration to a chat service
- Then, in section Scenario Entries > Messenger Accounts > Properties tab, select your Twitter integration for the Messenger Accounts setting.
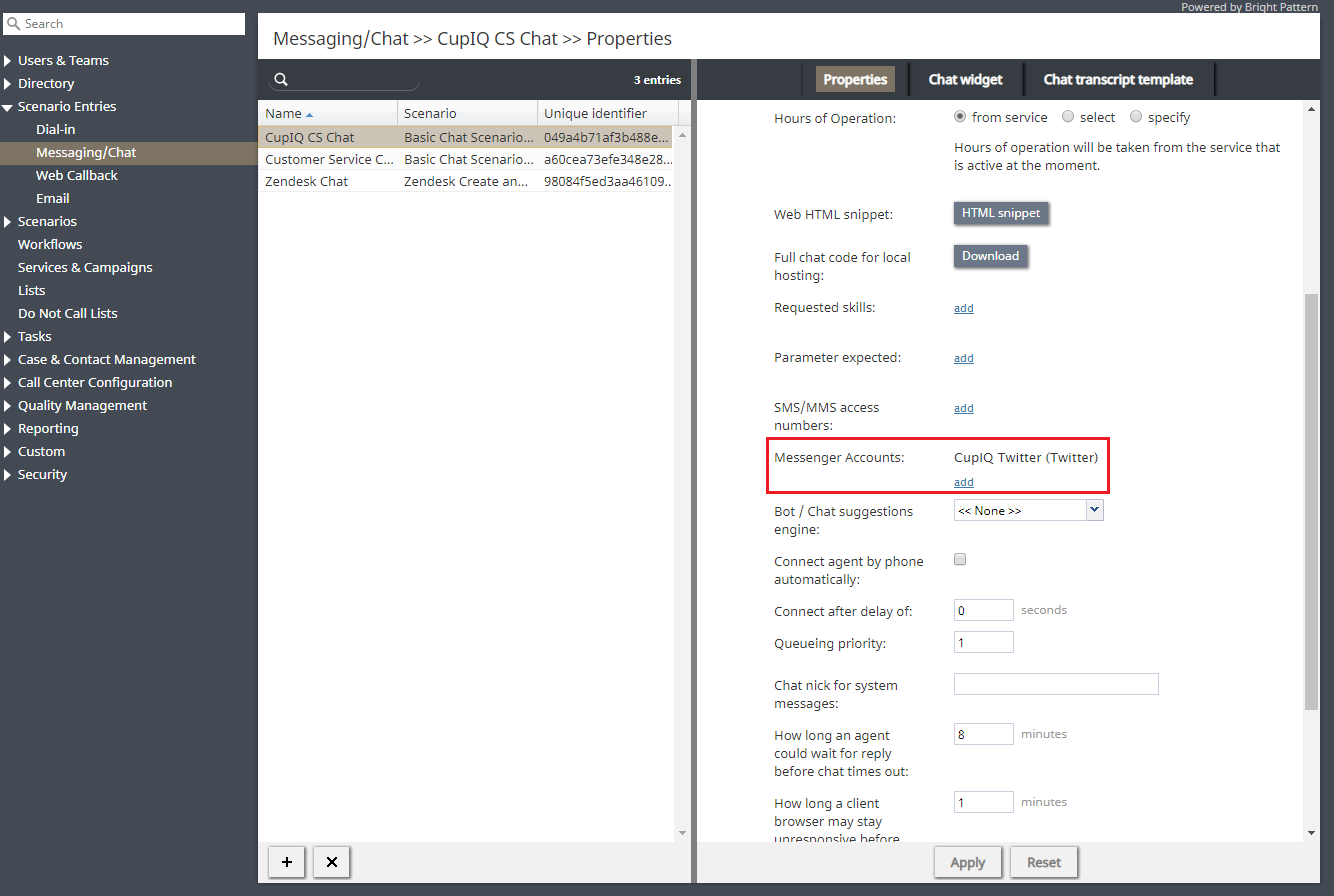
Assign the integration account to a chat scenario entry
Test the Integration
Using the separate regular Twitter account you created for test purposes, send a DM to your regular/developer Twitter account. In Agent Desktop, the Twitter DMs will arrive as chat messages and will have the Twitter logo next to each message in the interaction panel. Note that agents may switch between messenger types (e.g., SMS, MMS, Twitter) depending on the contact information available for a customer.

DMs as they appear in Agent Desktop
Troubleshooting
If your Twitter account is not receiving DMs, you may need to enable the Twitter setting Receive messages from anyone, located in Settings and privacy > Privacy and safety > Direct Messages.
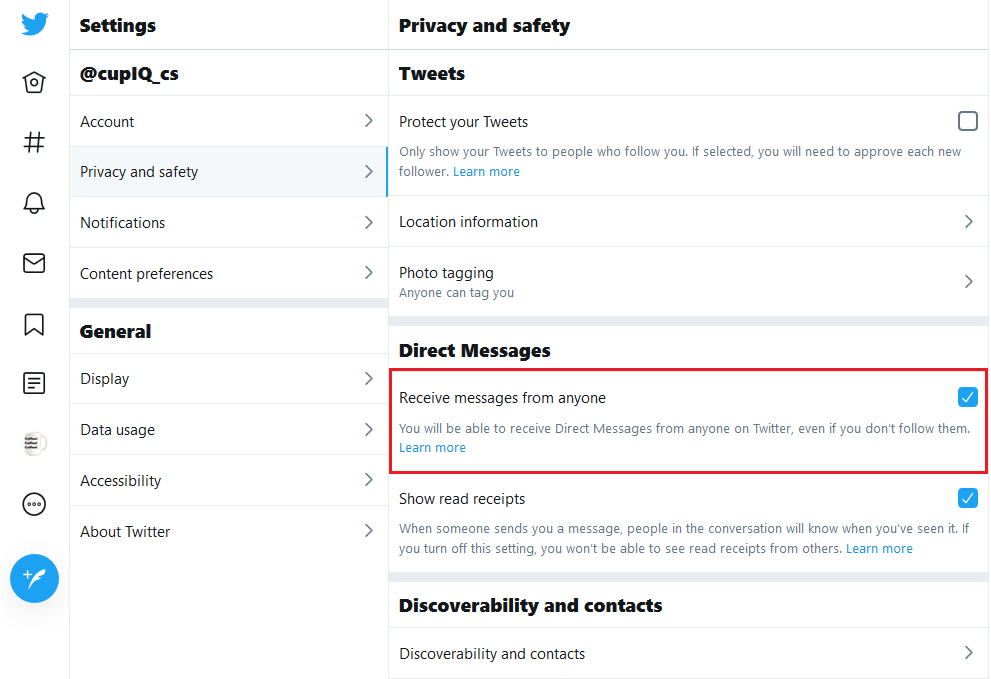
Direct Messages settings in Twitter
Receiving Messages in Bright Pattern Contact Center
If you can send and receive DMs in your Twitter accounts but cannot receive these messages in your Bright Pattern Contact Center environment, reset your integration account’s webhook. To do this, take the following steps:
- In the Contact Center Administrator application, section Call Center Configuration > Integration Accounts, locate your Twitter integration.
- Click Set Webhook, remove your contact center name (e.g., your_contact_center.brightpattern.com), click Set Webhook, then click Apply.
- Next, click Set Webhook, replace the tenant name, click Set Webhook, then click Apply.
Note: If the permissions for your Twitter app changed, you will need to regenerate the existing keys and access tokens and apply the changes to your integration configuration.

