From Bright Pattern Documentation
< 5.8:Faq
• 日本語
Email SMTP Settings
How do I update the SMTP settings and test connectivity?
In the Contact Center Administrator application, there are two places where SMTP connection settings are specified:
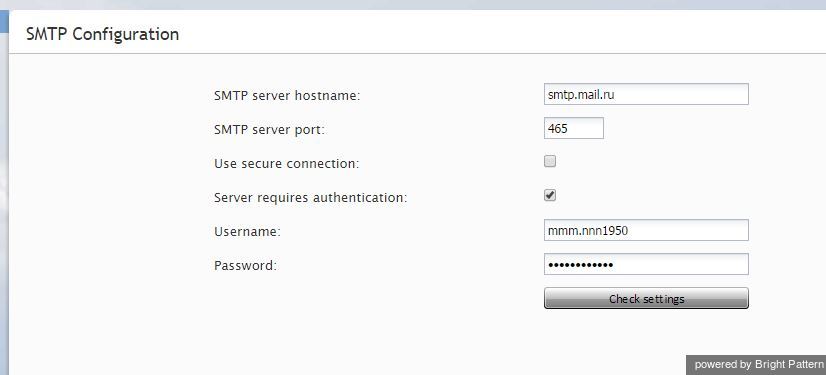
- Configuration > Email Settings > SMTP Configuration - For connection to the SMTP server used for auxiliary email communications, including transcripts of chat sessions, password reset instructions, scheduled reports, and voicemail audio files
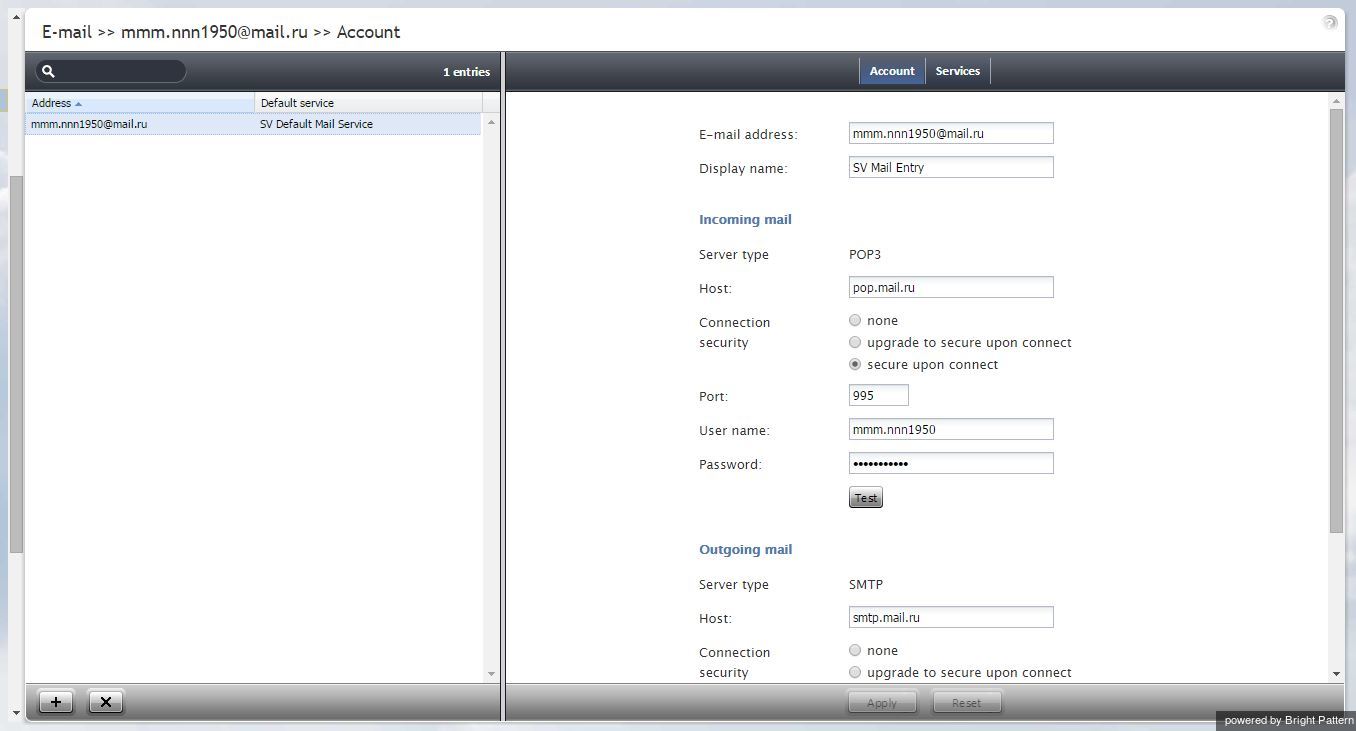
- Configuration > Scenario Entries > Email - For configuration of SMTP for inbound/outbound email interactions with customers
It is a good idea to set up SMTP in both places. Before you begin, read the SMTP Configuration and Email sections of the Contact Center Administrator Guide.
For option no. 1 (specifying SMTP server connection for aux email, chat transcripts, reports, etc.), you can configure SMTP connection settings by following these steps:
- From the Email Settings menu, select SMTP Configuration.
- Enter the screen properties. (For complete descriptions of the screen properties, refer to subsection SMTP Configuration Screen Properties of the Email Settings section of the Contact Center Administrator Guide.)
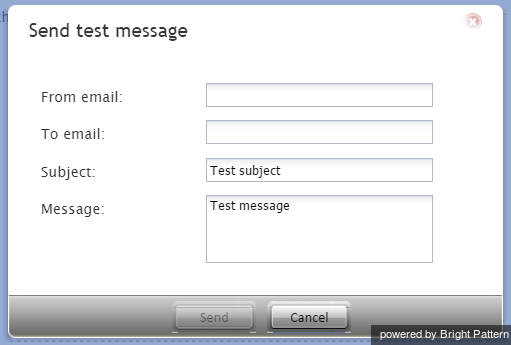
- Click the Check settings button to verify the correctness of your SMTP settings. This button will bring up an email window that allows you to send an email as a test.
For option no. 2 (configurating SMTP for inbound/outbound email with customers), you can configure SMTP connection settings by following these steps:
- From the Scenario Entries menu, select Email.
- If you have not already set up an email account, click the + button to add an account.
- Click the Account tab and enter the screen properties for incoming mail and outgoing mail. (Refer to the Screen Properties descriptions in the Email section of the Contact Center Administrator Guide.)
- Click the Test buttons for both incoming mail and outgoing mail to test your connection. Test until you receive the "Success" message.
- Do the "real" test: From an external email account, pretend that you are a customer and send an email message to the account you just configured. You should be able to open the email message and reply to it from the Agent Desktop application. For more information on Agent Desktop email, refer to the Agent Guide.


