提供: Bright Pattern Documentation
(Created page with "thumb") |
(Created page with "== 操作の流れ == === ステップ 1: チャットウィジェットタブを探します。 === # コンタクトセンター管理者アプリケーションでは、''...") |
||
| Line 8: | Line 8: | ||
| − | == | + | == 操作の流れ == |
| − | === | + | === ステップ 1: チャットウィジェットタブを探します。 === |
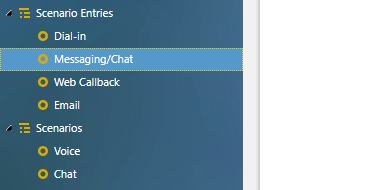
| − | # | + | # コンタクトセンター管理者アプリケーションでは、''設定 > シナリオエントリー > メッセージ送信/チャット''へ移動します。<br /><br />[[File:Scenario-Entries-Messaging-53.PNG|thumb|800px|center|設定 > シナリオエントリー > メッセージ送信/チャット]]<br /><br /> |
| − | # | + | # 必要なチャットシナリオエントリーを選択します。<br /><br /> |
| − | # | + | # ''チャットウィジェット'' タブをクリックします。 |
=== Step 2: Add a new contact tab === | === Step 2: Add a new contact tab === | ||
Revision as of 15:55, 25 October 2019
• English
コンタクトタブの追加
チャットシナリオエントリーのすべてのプロパティの編集が完了したら、ウェブチャットを機能させるために最後に実行しなければならないのは、チャットウィジェットにコンタクトタブを追加することです。
コンタクトタブ とは、ウェブサイトを閲覧しているお客様の画面で表示される小さなタブです。お客様はそれをクリックしチャット対話を開始します。チャットシナリオエントリーにコンタクトタブを追加しない場合、ウェブページにはチャットウィジェットがまったく表示されません。
操作の流れ
ステップ 1: チャットウィジェットタブを探します。
- コンタクトセンター管理者アプリケーションでは、設定 > シナリオエントリー > メッセージ送信/チャットへ移動します。
- 必要なチャットシナリオエントリーを選択します。
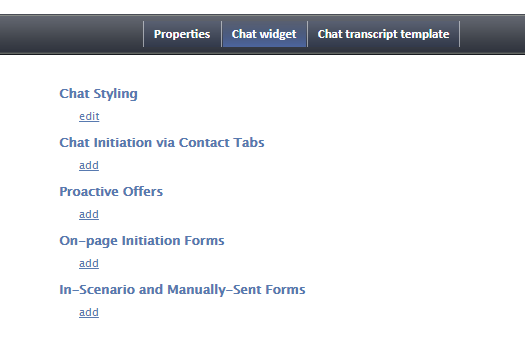
- チャットウィジェット タブをクリックします。
Step 2: Add a new contact tab
- Beneath Chat Initiation via Contact Tabs, click add.
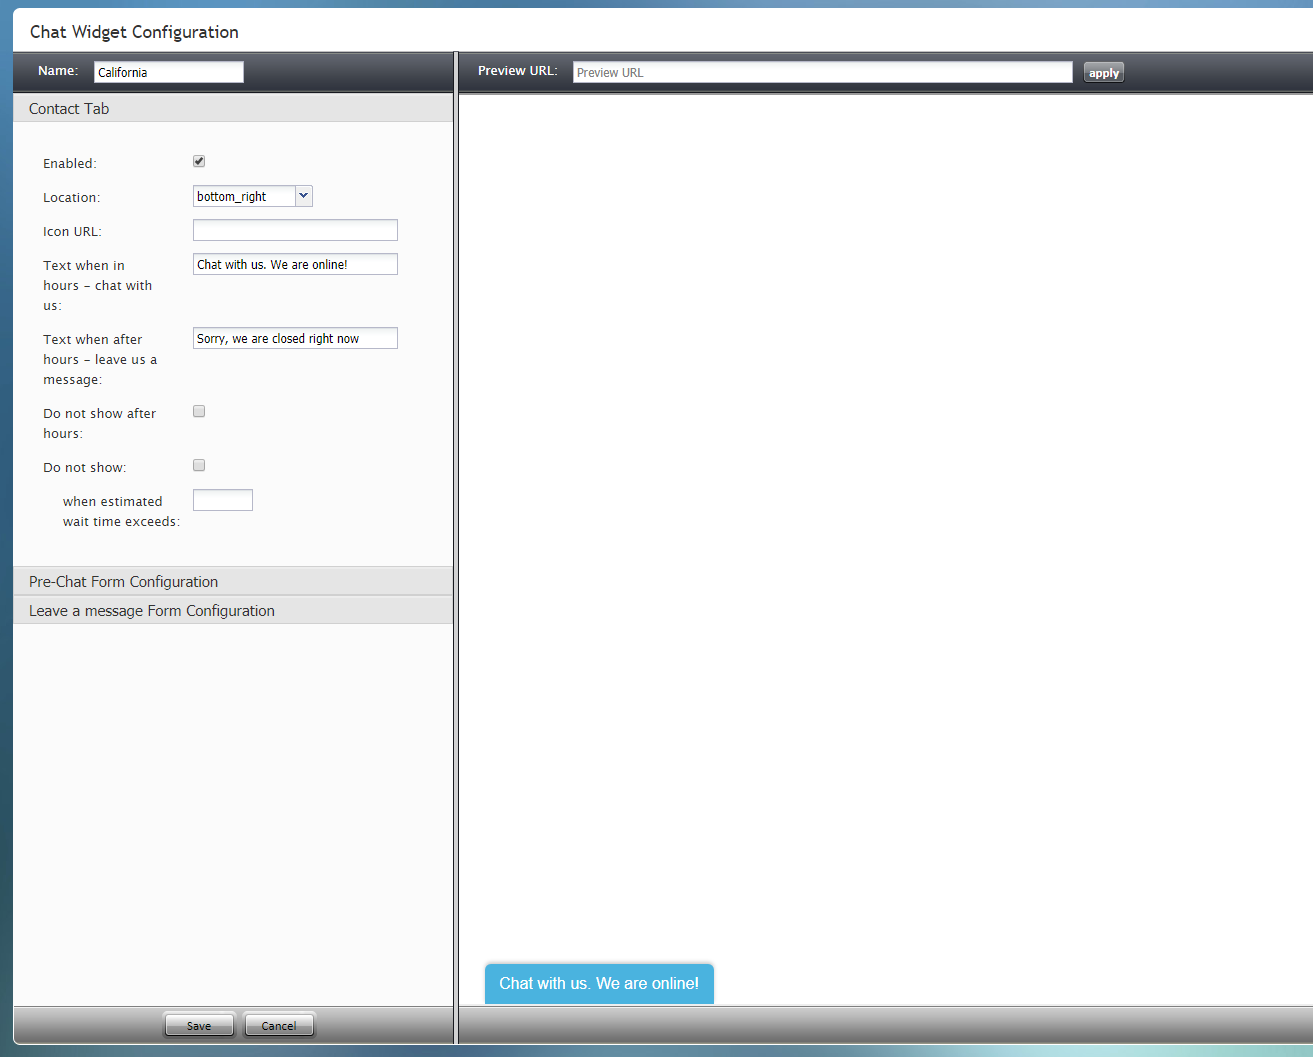
- The Chat Widget Configuration editor will open in a new browser tab or window.
Step 3: Edit contact tab properties
Edit the properties and fields as desired. You may revisit and edit your contact tab properties at any time.
At the most basic level, only two properties must be completed right now:
- Name - The unique name (any) for this new contact tab
- Enabled - Selecting this checkbox turns on the contact tab
Step 4: Save your changes
- Click Save to save your contact tab. Simply closing the browser window will not save your changes.
- Close the Chat Configuration Editor browser tab or window. You can only work on one such editor window open at a time.
Step 5: Add url
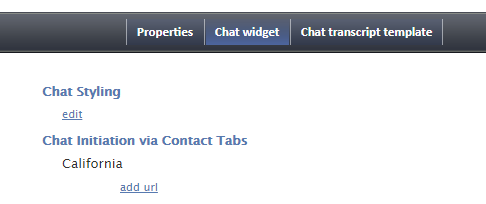
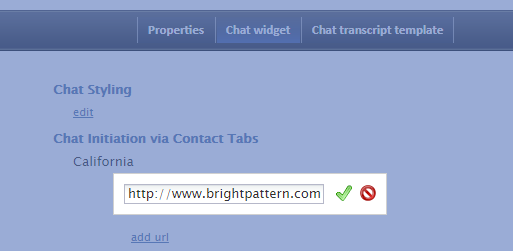
- Back in the scenario entry's Chat widget tab, go to Chat Initiation via Contact Tabs.
- Beneath the contact tab you just added, click add url.
- Enter the URL of the website where the chat widget will be placed, and click the green checkmark to apply your changes. If you do not know the URL, you can simply enter backslash (/) in this field.
Step 6: Save
At this time, you may add or edit any of the other Chat widget tab sections. You can always come back to this for further changes.
At the bottom of the screen, click Apply to save your changes.


