From Bright Pattern Documentation
imported>Tracy |
(Updated via BpDeleteTranslateTags script) |
||
| Line 1: | Line 1: | ||
| − | + | = Importing the Plug-in= | |
To import the plug-in, follow these steps. | To import the plug-in, follow these steps. | ||
| Line 42: | Line 42: | ||
<center>[[mobile-api-plugin-appery-io-tutorial/CreatingtheProject|< Previous]] | [[mobile-api-plugin-appery-io-tutorial/UsingtheJavaScriptAPI|Next >]]</center> | <center>[[mobile-api-plugin-appery-io-tutorial/CreatingtheProject|< Previous]] | [[mobile-api-plugin-appery-io-tutorial/UsingtheJavaScriptAPI|Next >]]</center> | ||
| − | |||
Latest revision as of 04:09, 29 May 2024
Importing the Plug-in
To import the plug-in, follow these steps.
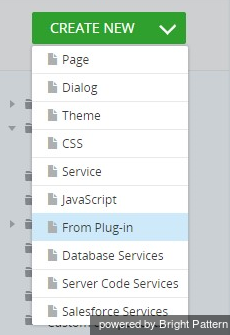
Step 1: Create new from plug-in.
Click Create New > From Plug-in.
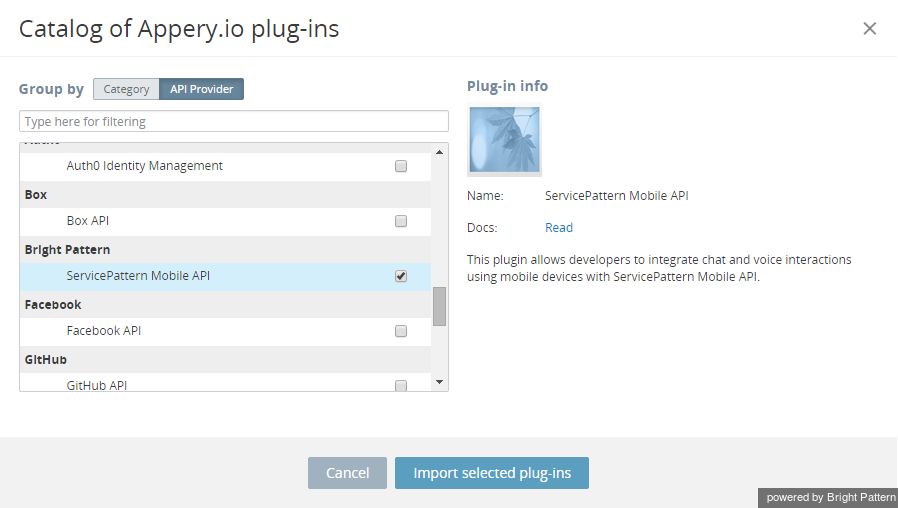
Step 2: Select the plug-in.
Select the Bright Pattern > ServicePattern Mobile API checkbox.
Step 3: Import the plug-in.
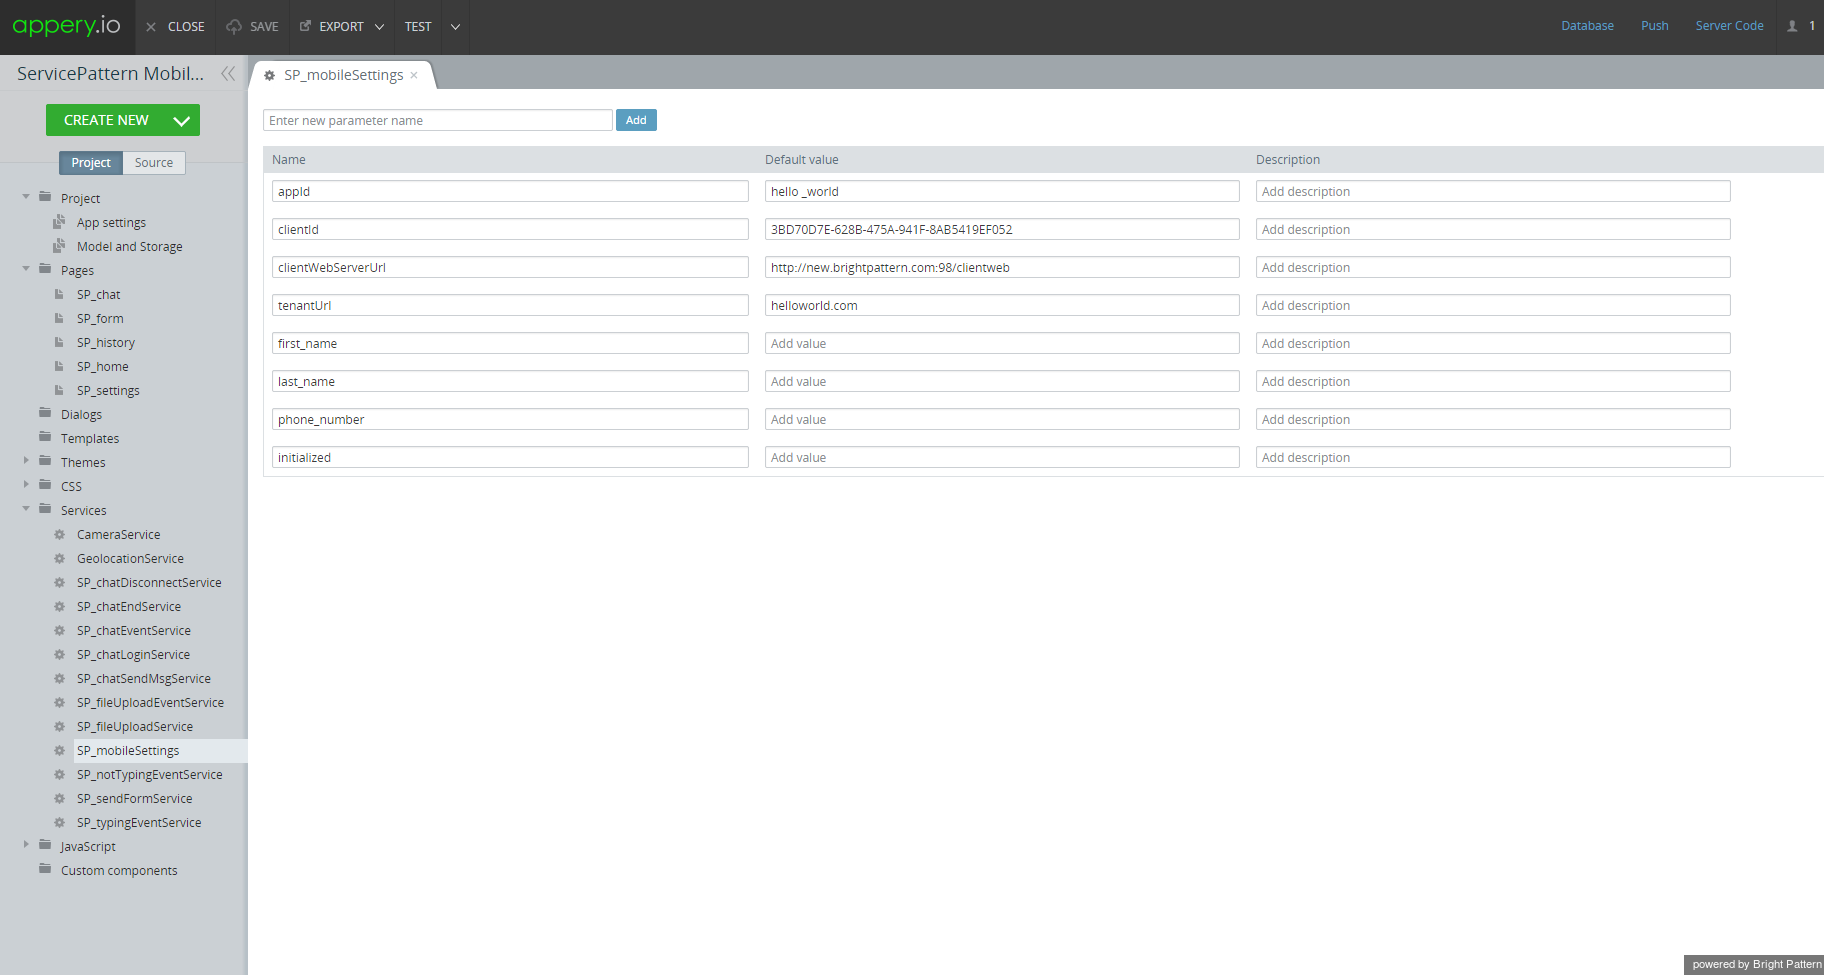
Click Import selected plug-ins. You should see a list of pages and services similar to this one:
Step 4: Specify values for the plug-in.
- Click Services > SP_mobileSettings.
- In the Contact Center Administrator application, copy the Unique identifier of your Bright Pattern Contact Center Mobile/Web scenario entry and paste it to appId.
- Set clientId to a unique value.
- Set the clientWebServerUrl value to be the URL of your Bright Pattern Contact Center Client Web Server. You can obtain this URL from your service provider.
- Set the tenantUrl value to be your particular tenant URL in Bright Pattern Contact Center . (Tenant URL corresponds to the domain name of your contact center that you see in the upper right corner of the Contact Center Administrator application after login.)


