How to Use Pinned Cases to Send a Follow-up Outbound Email
Depending on the type of service you provide, a single reply may not always be sufficient to fulfill the customer request. For example, the initial reply may simply inform the customer that the request has been received and advise the customer of the estimated processing time, while the actual request fulfillment will be communicated via one or more follow-up emails. Such follow-up emails are placed in Pinned Cases.
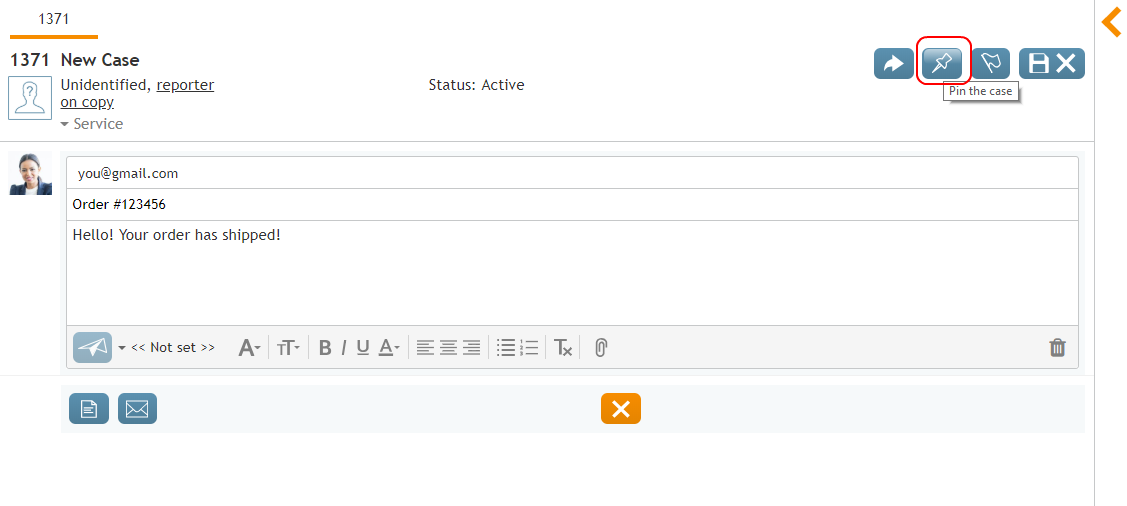
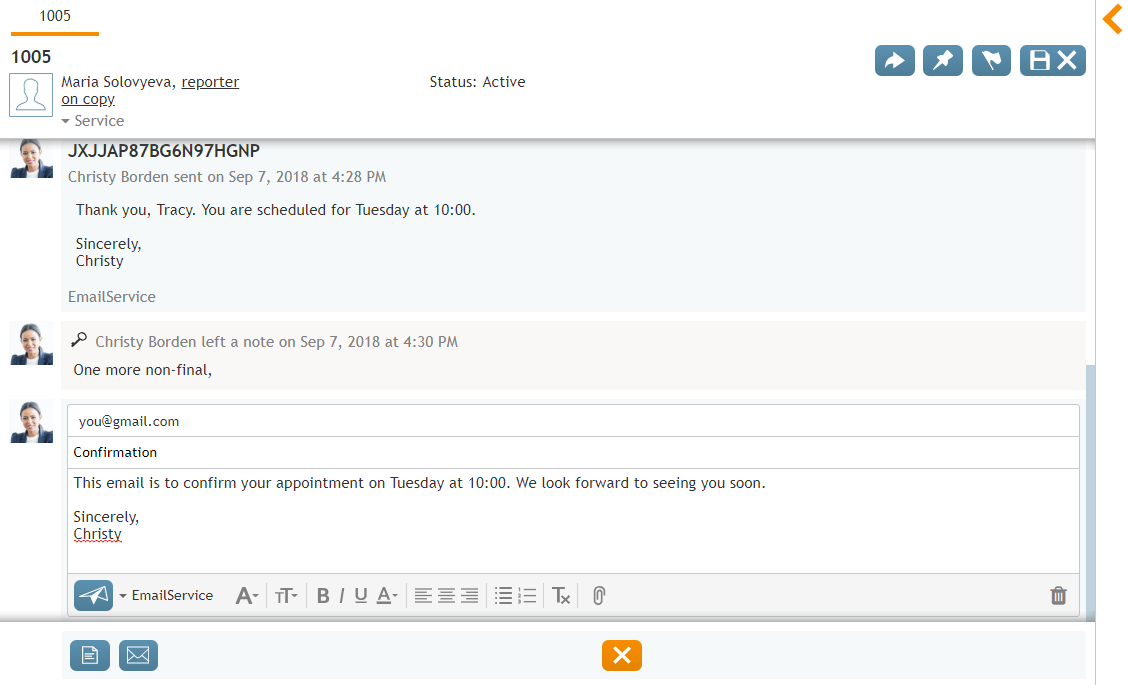
Pinned Cases is a section of My Cases that contains cases that have been marked for follow-up. A case is marked for follow-up when the agent sets a non-final disposition and when the agent clicks the pin button within the email preview or the opened email. Note that a pin acts as a bookmark and does not prevent multiple agents from accessing or resolving a given case (i.e., more than one agent can pin the same case).
Because the pin button is available in both Preview mode and Opened Email mode, it is possible to pin cases without taking the email item from a queue. The pin button is, by default, checked when replying or dispositioning emails. The pin becomes unchecked and hidden when a final disposition is selected.
Note: Only emails that do not have a final disposition can be pinned. For more information on dispositions, see section Dispositions and Notes.
Viewing Pinned Cases
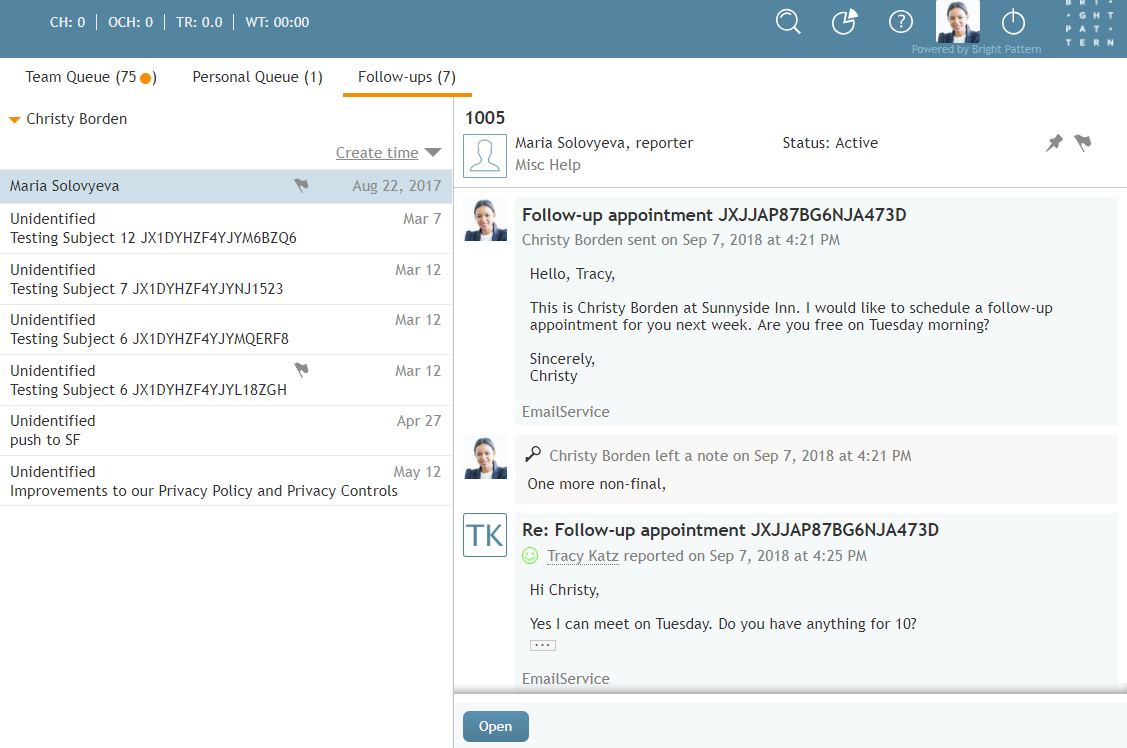
All cases marked for follow-up are listed in My Cases > Pinned Cases, which is located at the top of Agent Desktop.
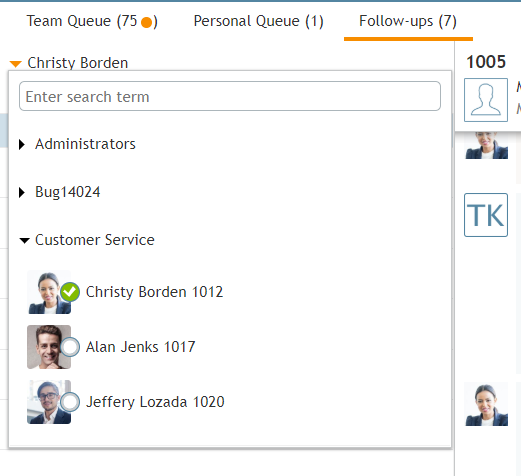
Note that your own pinned cases are shown first. You can view the pinned cases of other users in your contact center by clicking the down arrow beside your name and selecting the name of the user whose pinned cases you wish to view.
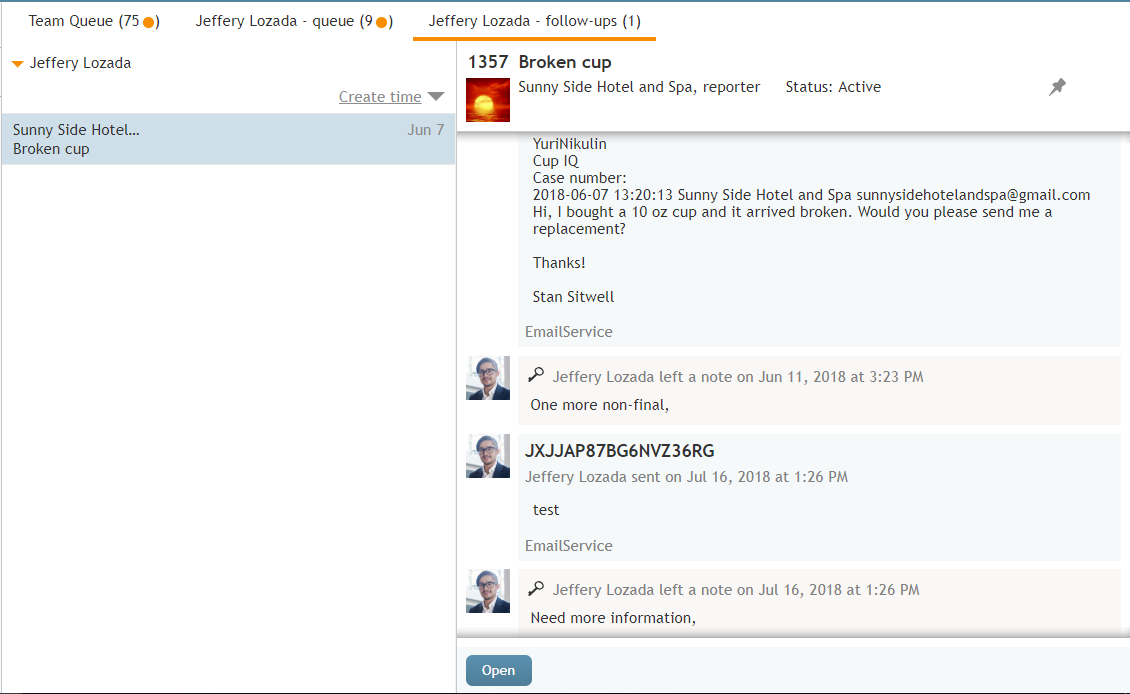
In the example shown, we selected user Jeffery Lozada from the Directory.
Enabling Pinned Cases
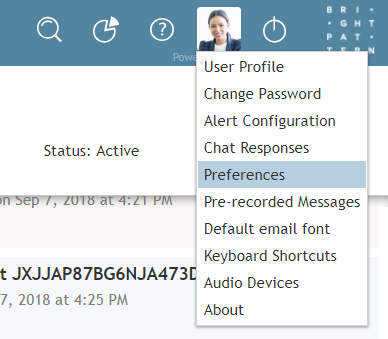
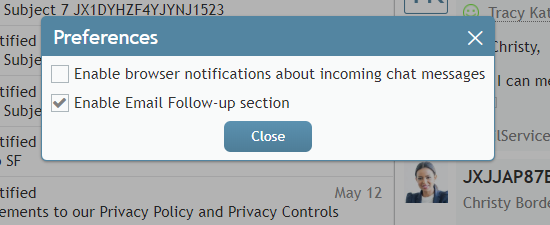
To view the Pinned Cases section in the Active Conversations List as well as to view the pin button, the Enable Email Follow-up section personal setting must be checked in Settings. From the Settings menu, select Preferences.
In Preferences, select the checkbox for Enable Email Follow-up section.
When checked, both the Pinned Cases section and pin button are shown. If you do not wish to view Pinned Cases, uncheck the box.
Using Pinned Cases
The Pinned Cases queue shows the properties (i.e., name, subject line, etc.) of the first received email. To view the email message body, select/click an email item in the queue. The email message will appear for viewing only.
To reply to a pinned email, either double-click the email item or click the Open button at the bottom. The email message will appear as a draft. Note that the pin button is visible only if the email has been marked with a non-final disposition. For more information on sending replies, refer to section How to Compose a Reply.
If multiple agents pin the same email, it will appear in the Pinned Cases section of all the agents who pinned it. When a final disposition is selected by one agent, the email becomes unpinned and disappears from the Pinned Cases section of all agents who pinned it.
Note: Pinned emails can also be sent by navigating to Cases in the Active Conversations List. For more information, see section How to Use Cases to Send a Follow-up Outbound Email.

