From Bright Pattern Documentation
Calendar Settings
Configure Time Zone and Display Settings
The calendar can display multiple time zones at once to facilitate coordination between agent and customer locations.
- Navigate to Settings > Calendar Settings, then click on Location.
- Configure one or more of the following settings:
- Select a day from the Start Week On drop-down menu to customize your calendar's Week and Month views.
- Select your local time zone from the Time Zone drop-down menu.
- To display multiple time zones at once:
- Enable the Display secondary time zone checkbox.
- Select a time zone (e.g. customer location, remote office, etc.) from the Secondary Time Zone drop-down menu.
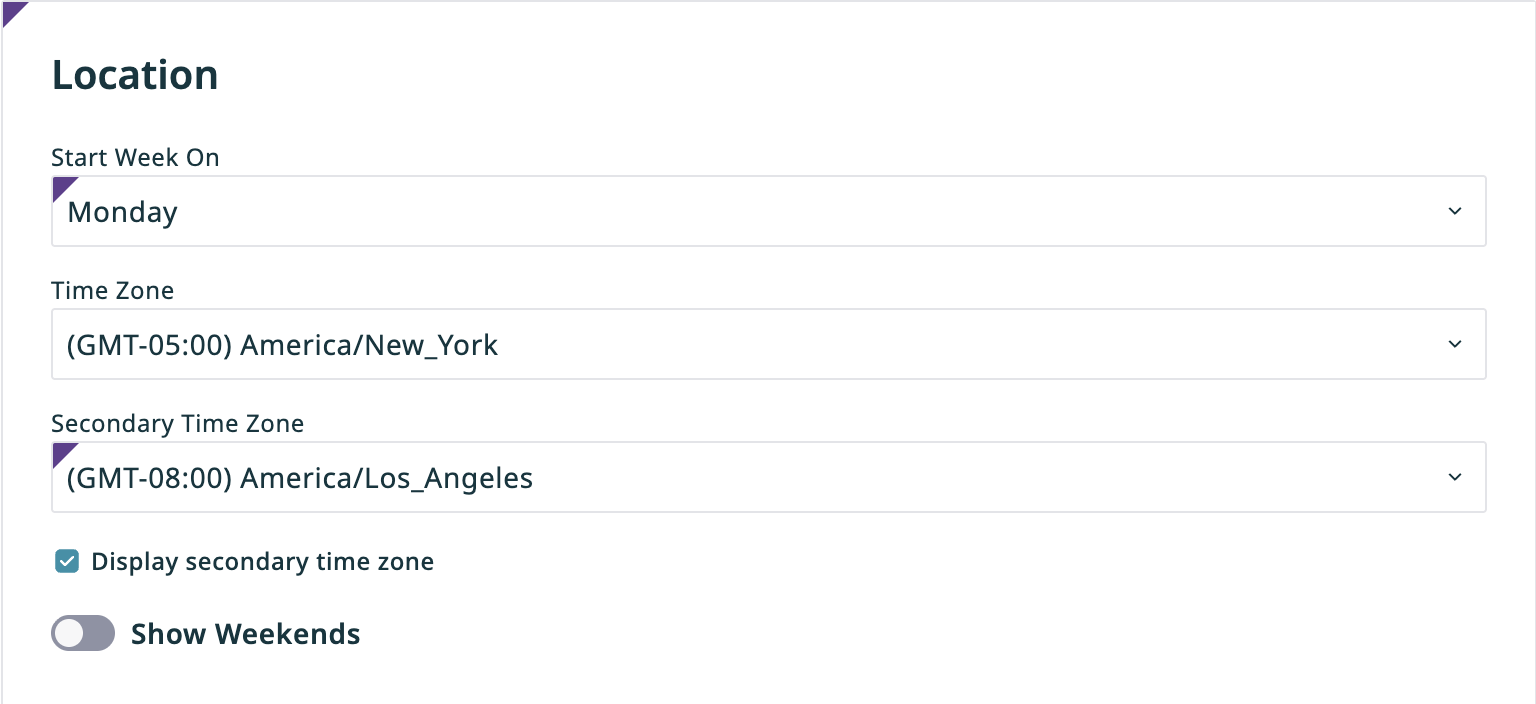
- Toggle on the Show Weekends switch to display Saturdays and Sundays in your calendar.
- Press the Save button in the bottom right of the page.


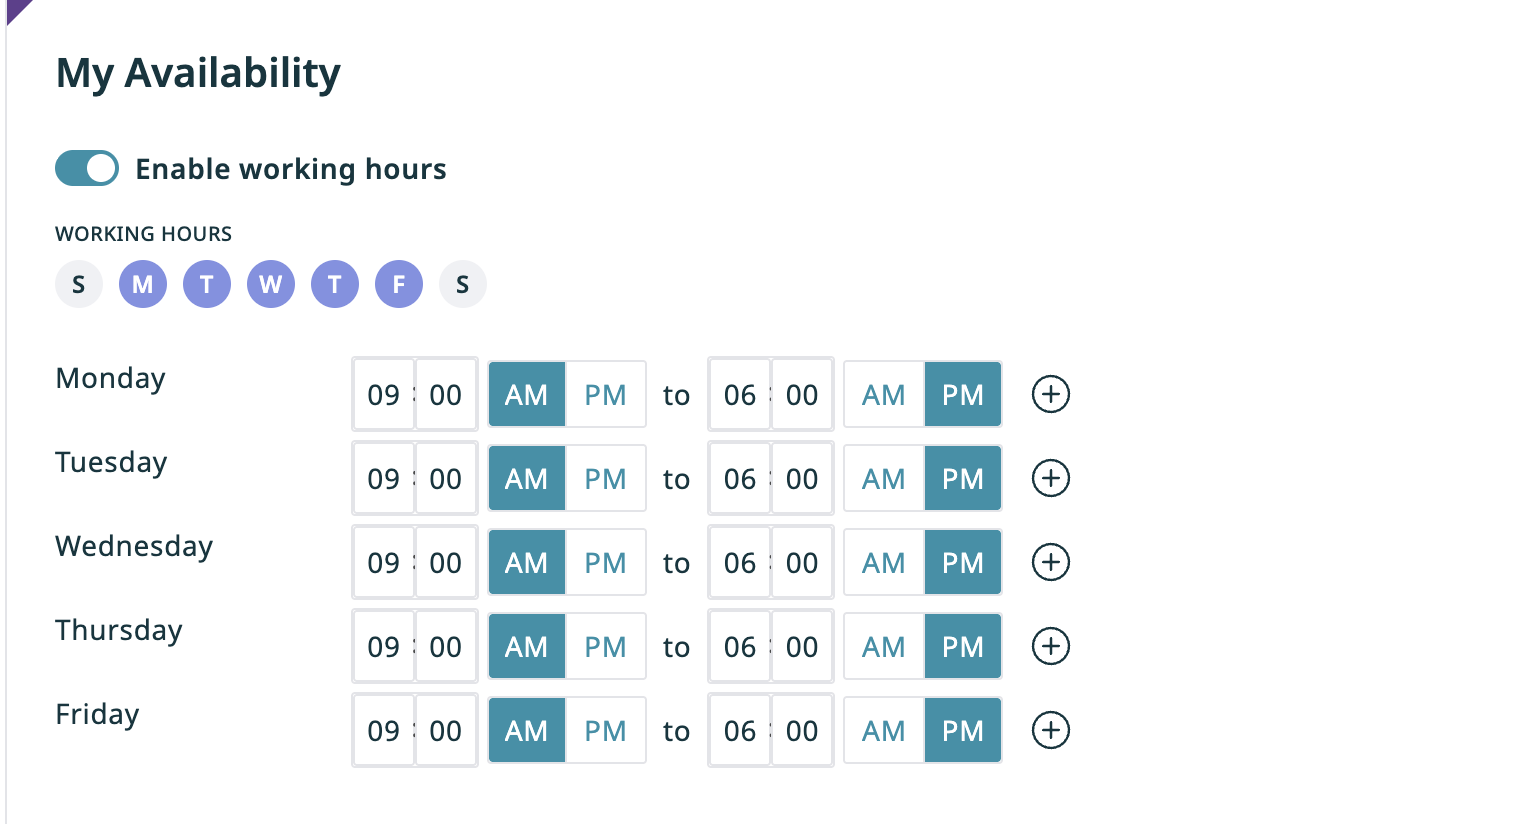
Highlight Your Working Hours
- Navigate to Settings > Calendar Settings, then click on My Availability.
- Toggle the Enable working hours switch on.
- Select the days you usually work (e.g. Monday to Friday). For each day, select your usual hours (e.g. 9 to 6).
- Press the Save button in the bottom right of the page.


Add or Edit Calendars
The Calendars section lists all public, team, and personal calendars you have access to.
- Navigate to Settings > Calendar Settings, then click on Calendars.
- Select an existing calendar to edit its time zone, color, and reminder settings.
- Click New Calendar to create a new calendar and configure its name, time zone, color, and reminder settings.
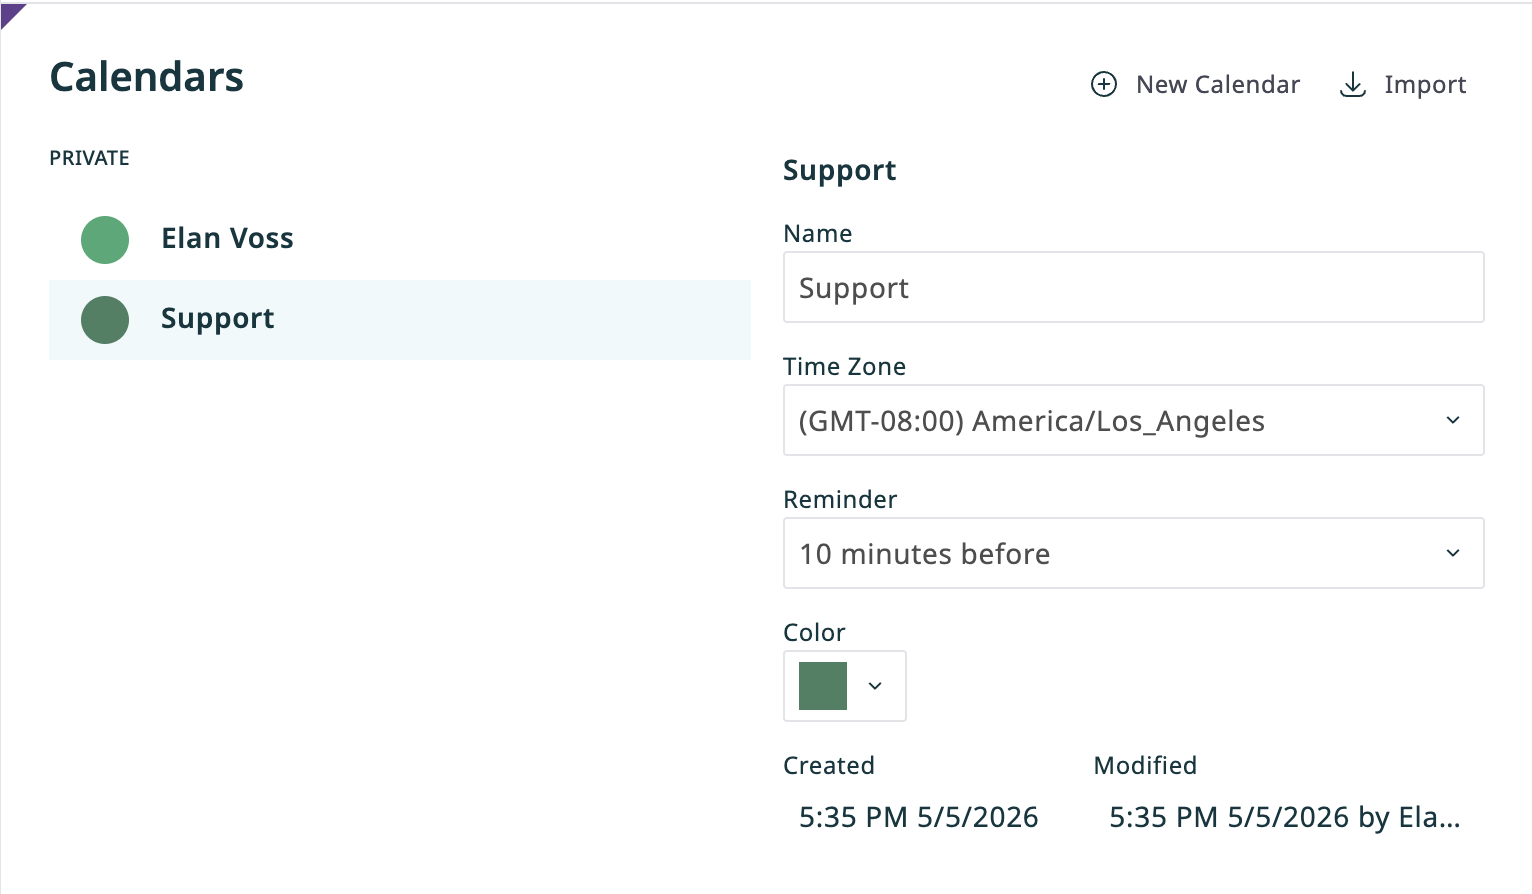
- Click Import to import an external calendar in iCal format.
- Press the Save button in the bottom right of the page.
< Previous | Next >
