<translate>= Example Chat Scenario: Search for and Pop a Zendesk User =
Click the following link to download an annotated version of this Zendesk chat scenario example.
File:App Zendesk Search and Pop User (Chat).zip
For instructions on how to import this file into your contact center, see the Contact Center Administrator Guide, section Scenarios Overview > How to Export and Import Scenarios.
For more information about scenarios, refer to the Scenario Builder Reference Guide.
Chat Scenario Flow
What follows is the sequence of actions that could occur in a basic Zendesk chat scenario flow. Please note this is an example scenario only and not intended for production use. All conditional exits should be defined with actions for production use.
Because this scenario works with a chat widget, you will need to configure all chat related settings in order for this scenario to work (e.g., a chat service, a Messaging/Chat scenario entry, a contact tab, a pre-chat form, the HTML snippet, etc.). For more information, see the Contact Center Administrator Guide, section How to Configuration Web Chat.
The Complete Chat Scenario
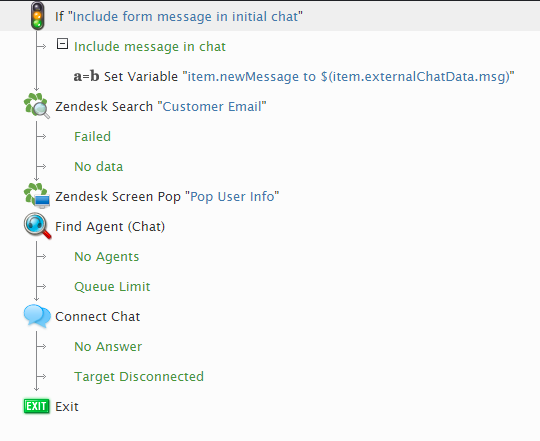
The diagram shown illustrates what a complete scenario looks like when designed in the Scenario Builder application.
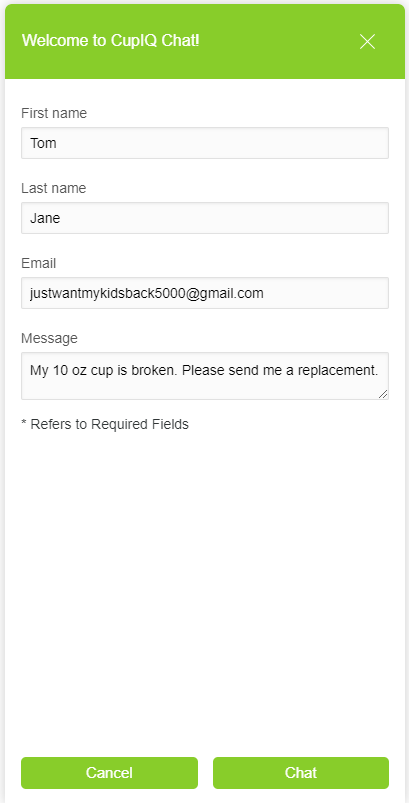
Action 1 (Optional): A customer fills out a pre-chat form with their first name, last name, email address, and a brief message; the brief message should go to the agent.
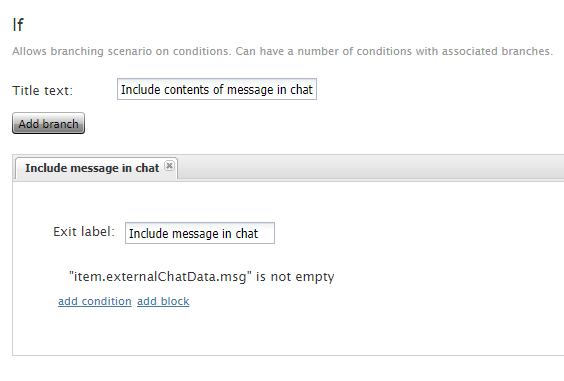
Using an If block, the scenario searches the pre-chat form to see if the message field is empty or not. Then, if the field is not empty, the Set Variable block is told to treat what was entered in the field as a chat message; this is done by resetting the value to item.newMessage.
While it is not necessary to include a message field on a pre-chat form, you may find it useful for your agents, as well as for reporting purposes.
Action 2: The scenario searches for matching customer information in Zendesk.
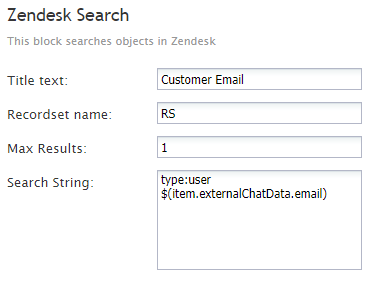
Next, using a Zendesk Search block, the scenario searches in your Zendesk account for customer information entered on the pre-chat form. In this instance, the block will search in Zendesk for a customer whose email address matches the one entered in the pre-chat form’s email field; the results are returned to the variable entered in the Recordset name field.
Action 3: The customer information from the Zendesk search is configured to pop to the agent.
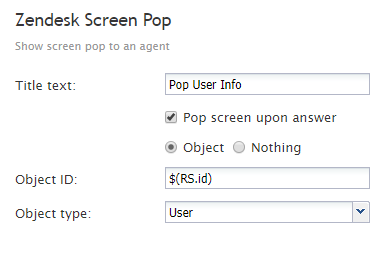
If the search for a matching customer email address is successful, you will want the search results to pop on the agent’s screen. This is done with the Zendesk Screen Pop block. In this example, the variable from the Recordset name field in the Zendesk Search block is used to pop the ID of the user (i.e., customer) to the agent. Note that if you want this information to pop, check the box Pop screen upon answer.
Action 4: The scenario finds an agent available to take the chat and pop the Zendesk search information to.
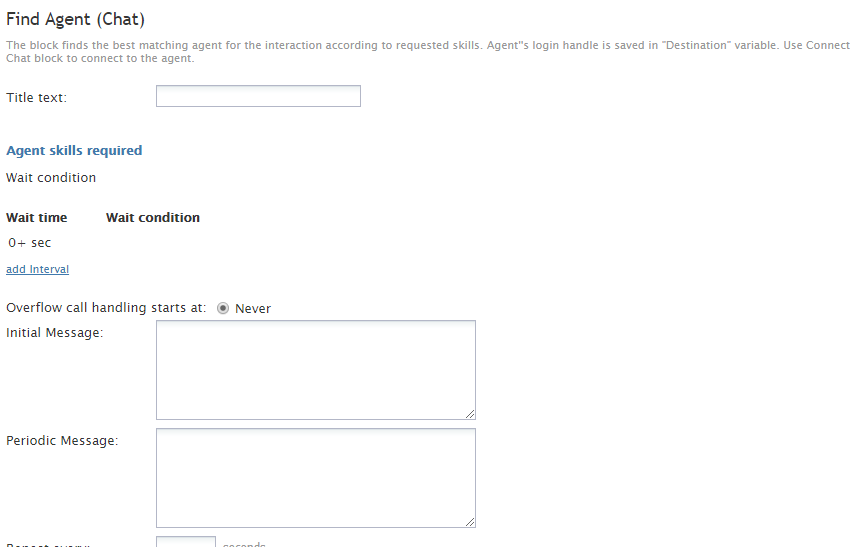
Next, the scenario searches for an available agent to receive the chat and the Zendesk search information using the Find Agent block. Note that this block is useful for skill-based routing. In this example, no settings are configured, so the interaction will be routed to the first available agent.
Action 5: The agent is connected to the chat with the customer.
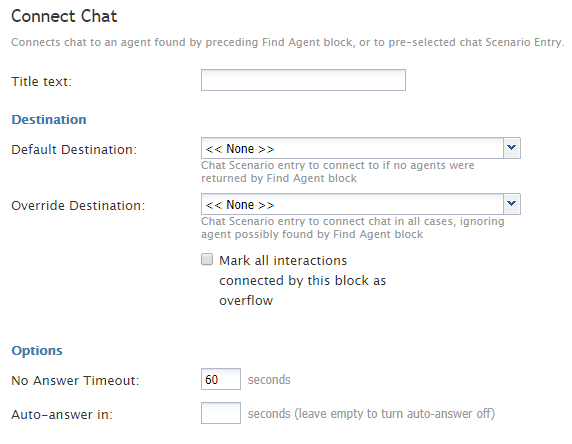
After finding an available agent, the scenario uses the Connect Chat block to connect the agent to the customer. It is at this time that the information from the Zendesk Search block is popped to the agent. Note that in this example no additional settings are configured.
As a general reminder, the Find Agent block and Connect Chat block (or Connect Call block, if in a voice scenario) are meant to work together. That is, these blocks should be arranged in a scenario with no other blocks between them.
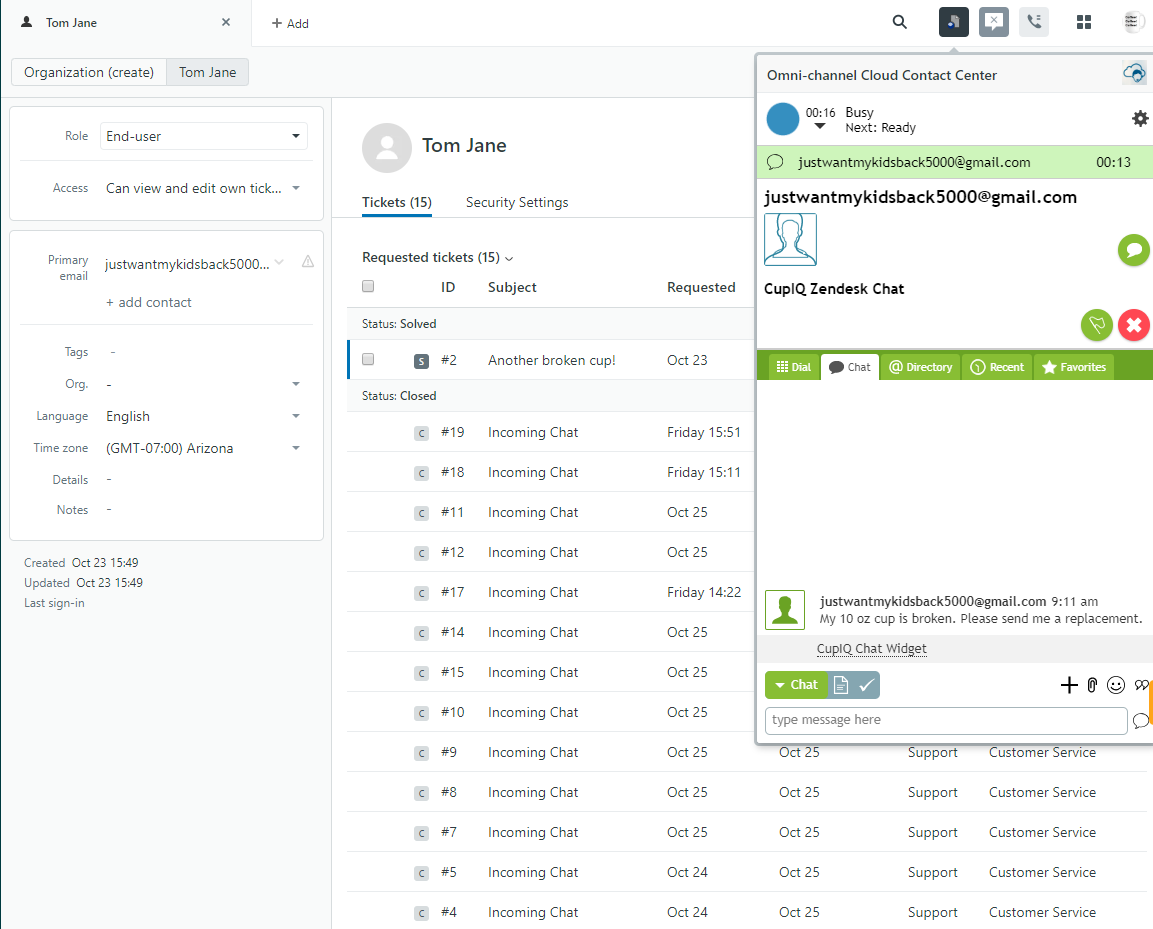
The following image is what the agent sees in Zendesk when the chat is connected and the screen pops with the customer's information.
Action 6: The scenario ends.
Finally, when either the agent or the customer ends the chat, the scenario will end; this is defined by using the Exit block. Bright Pattern generally recommends to always terminate a scenario or scenario branch that should not continue with an Exit and not rely on the customer to do so. That is, it is good practice to end scenarios and conditional exists because you always want to know what your scenario will do in any given situation. An Exit block will forcibly terminate the scenario wherever it is used.
</translate>

