提供: Bright Pattern Documentation
• English
問い合わせタブの追加
チャットシナリオエントリーのすべてのプロパティの編集が完了したら、ウェブチャットを機能させるために最後に実行しなければならないのは、チャットウィジェットに問い合わせタブを追加することです。
問い合わせタブ とは、ウェブサイトを閲覧しているお客様の画面で表示される小さなタブです。お客様はそれをクリックしチャット対話を開始します。チャットシナリオエントリーに問い合わせタブを追加しない場合、ウェブページにはチャットウィジェットがまったく表示されません。
操作の流れ
ステップ 1: チャットウィジェットタブを探します。
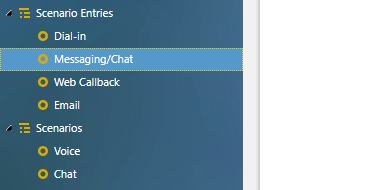
- コンタクトセンター管理者アプリケーションでは、設定 > シナリオエントリー > メッセージ送信/チャットへ移動します。
- 必要なチャットシナリオエントリーを選択します。
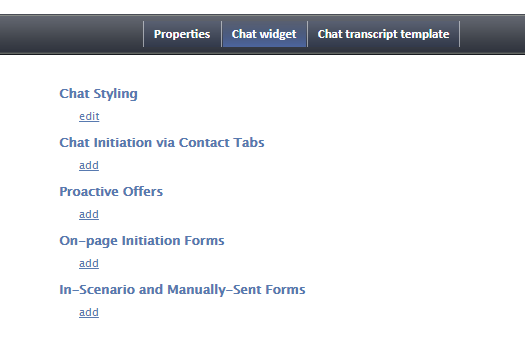
- チャットウィジェット タブをクリックします。
ステップ 2: 新しい問い合わせタブを追加します。
- 問い合わせタブを使ってチャットの開始の下にある追加をクリックします。
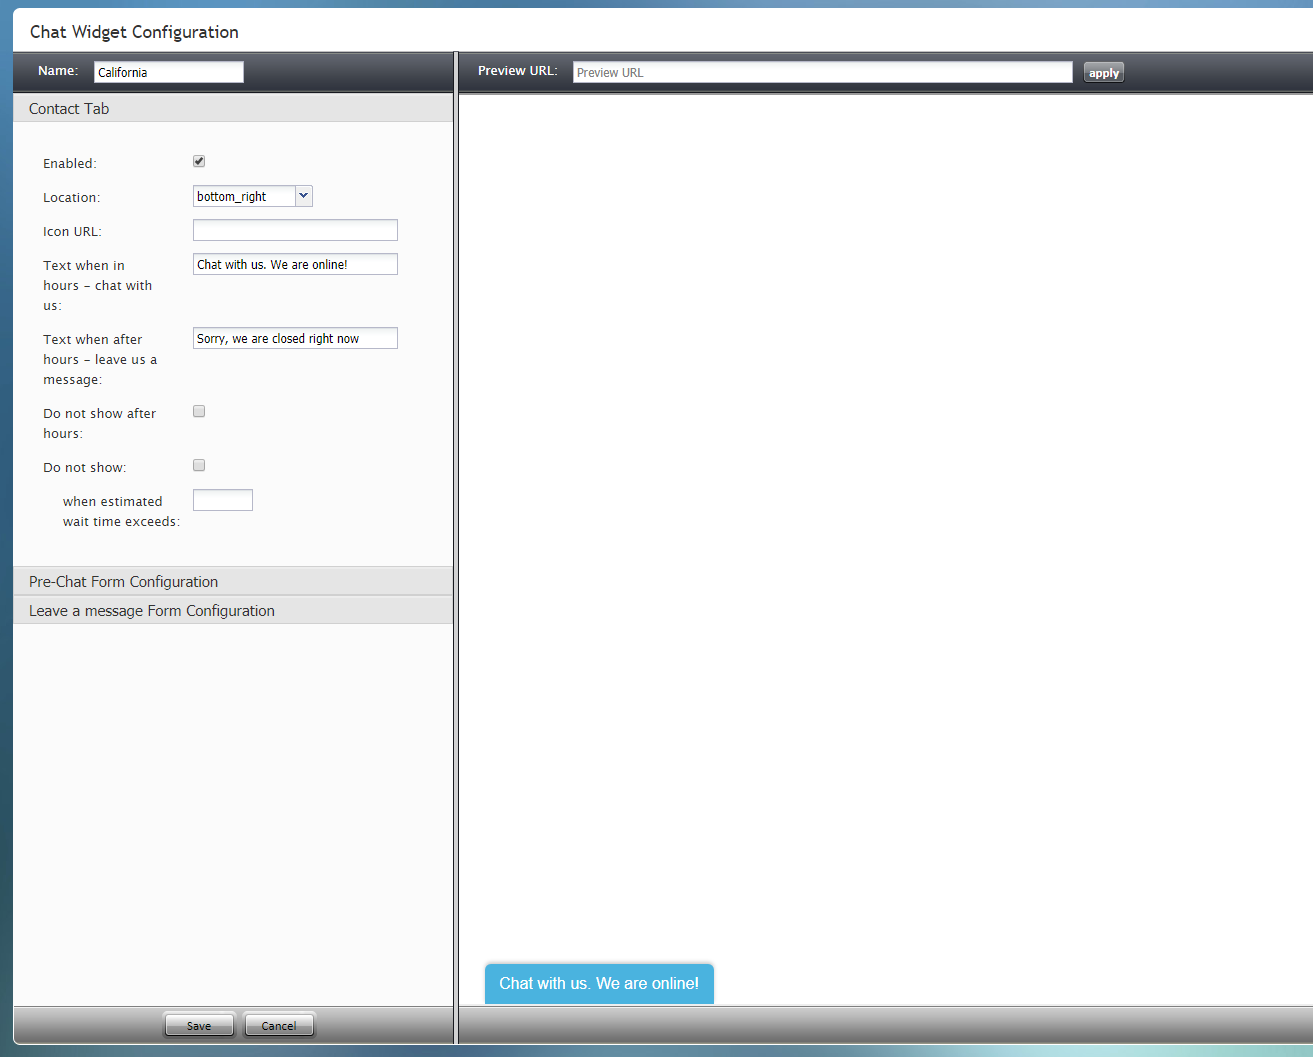
- チャットウィジェット設定エディターは新しいブラウザータブまたはウィンドウで開きます。
ステップ 3: 問い合わせタブプロパティを編集します。
プロパティ とフィールドを必要に応じて編集します。問い合わせタブプロパティはいつでも再確認と編集できます。
少なくとも以下の二つのプロパティはすぐに設定しなければなりません:
- 名前 :新しい問い合わせタブのユニークな名前
- 有効 :このチェックボックスをオンにすることによって問い合わせタブは有効になります。
Step 4: Save your changes
- Click Save to save your contact tab. Simply closing the browser window will not save your changes.
- Close the Chat Configuration Editor browser tab or window. You can only work on one such editor window open at a time.
Step 5: Add url
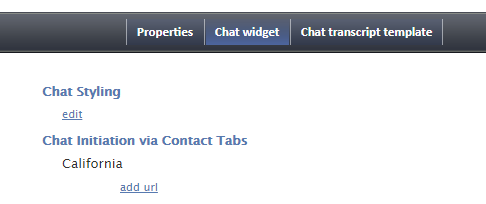
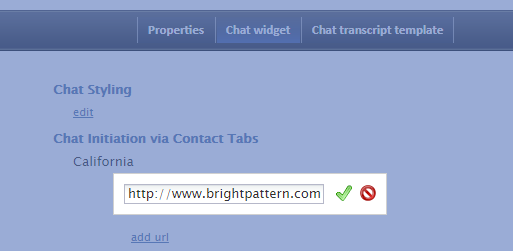
- Back in the scenario entry's Chat widget tab, go to Chat Initiation via Contact Tabs.
- Beneath the contact tab you just added, click add url.
- Enter the URL of the website where the chat widget will be placed, and click the green checkmark to apply your changes. If you do not know the URL, you can simply enter backslash (/) in this field.
Step 6: Save
At this time, you may add or edit any of the other Chat widget tab sections. You can always come back to this for further changes.
At the bottom of the screen, click Apply to save your changes.


