提供: Bright Pattern Documentation
• English
Web HTMLスニペットの使用方法
チャットウィジェットは、 企業のWebサイトに配置されるHTMLベースのアプリケーションで、お客様とコンタクトセンターのエージェントおよび/または統合ボットの間のアクティブなチャット対話を促進します。
Bright Patternコンタクトセンターは、コンタクトセンター用に設定されたすべてのチャットウィジェットに対してHTMLスニペット(およびローカルホスティング用のチャットコード)を提供します。HTMLスニペットは、チャットウィジェットの設定を定義するコードです。
このセクションでは、HTMLスニペットの取得方法および会社のウェブサイトでの使用方法について説明します。
手順
ステップ 1: チャットシナリオエントリーを探します。
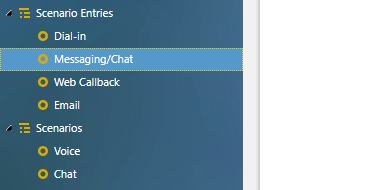
- コンタクトセンター管理者アプリケーションで設定 > シナリオエントリー > メッセージ送信/チャットへ移動します。
- プロパティを確認するには、必要なチャットシナリオエントリーを選択します。
Step 2: Get Web HTML snippet
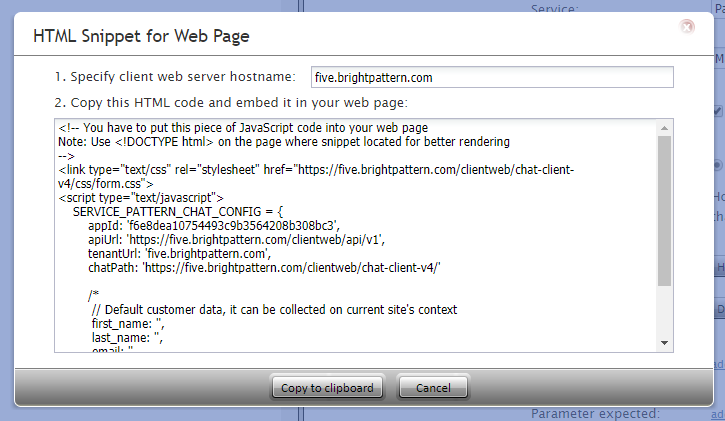
- In the Properties tab > Web HTML snippet, click the HTML snippet button. The HTML snippet is the code for the chat widget you have configured. If you have not already set up a chat widget, see How to Configure Web Chat.
- The HTML Snippet for Web Page dialog will open.
Step 3: Enter your contact center's hostname
- In the field Specify client web server hostname, enter your contact center’s name (i.e., “five.brightpattern.com”). If you don’t know what it is, look at the URL of your Contact Center Administrator application in the web browser. The hostname is the name that appears before “/admin”.
- Click Copy to clipboard to copy the HTML. This is the code of the chat widget.
Step 4: Paste the snippet into your HTML file
You may find it helpful to paste the HTML snippet into a plain text file first, before putting it into your webpage's HTML. You should paste the snippet underneath the closing <body> tags within your HTML.
Example Code
The following is an example of the HTML snippet placed into a basic Doctype HTML file. The snippet text is shown in blue.
<!DOCTYPE html>
<head>
    <meta charset="utf-8">
    <title>My Chat Widget</title>
  </head>

  <body>
  <p>This is my test page.</p>
  </body>

<link type="text/css" rel="stylesheet" href="https://five.brightpattern.com/clientweb/chat-client-v4/css/form.css">
<script type="text/javascript">
    SERVICE_PATTERN_CHAT_CONFIG = {
        appId: '123456789',
        apiUrl: 'https://example.brightpattern.com/clientweb/api/v1',
        tenantUrl: 'example.brightpattern.com',
        chatPath: 'https://example.brightpattern.com/clientweb/chat-client-v4/'

        /*
         // Default customer data, it can be collected on current site's context
         first_name: ,
         last_name: ,
         email: ,
         phone_number:
 		*/
    };
</script>
<script src="https://example.brightpattern.com/clientweb/chat-client-v4/js/init.js"></script>

</head>
</html>
Step 5: Publish your page and test the chat widget
- Place your HTML snippet in the appropriate place on your webpage and save.
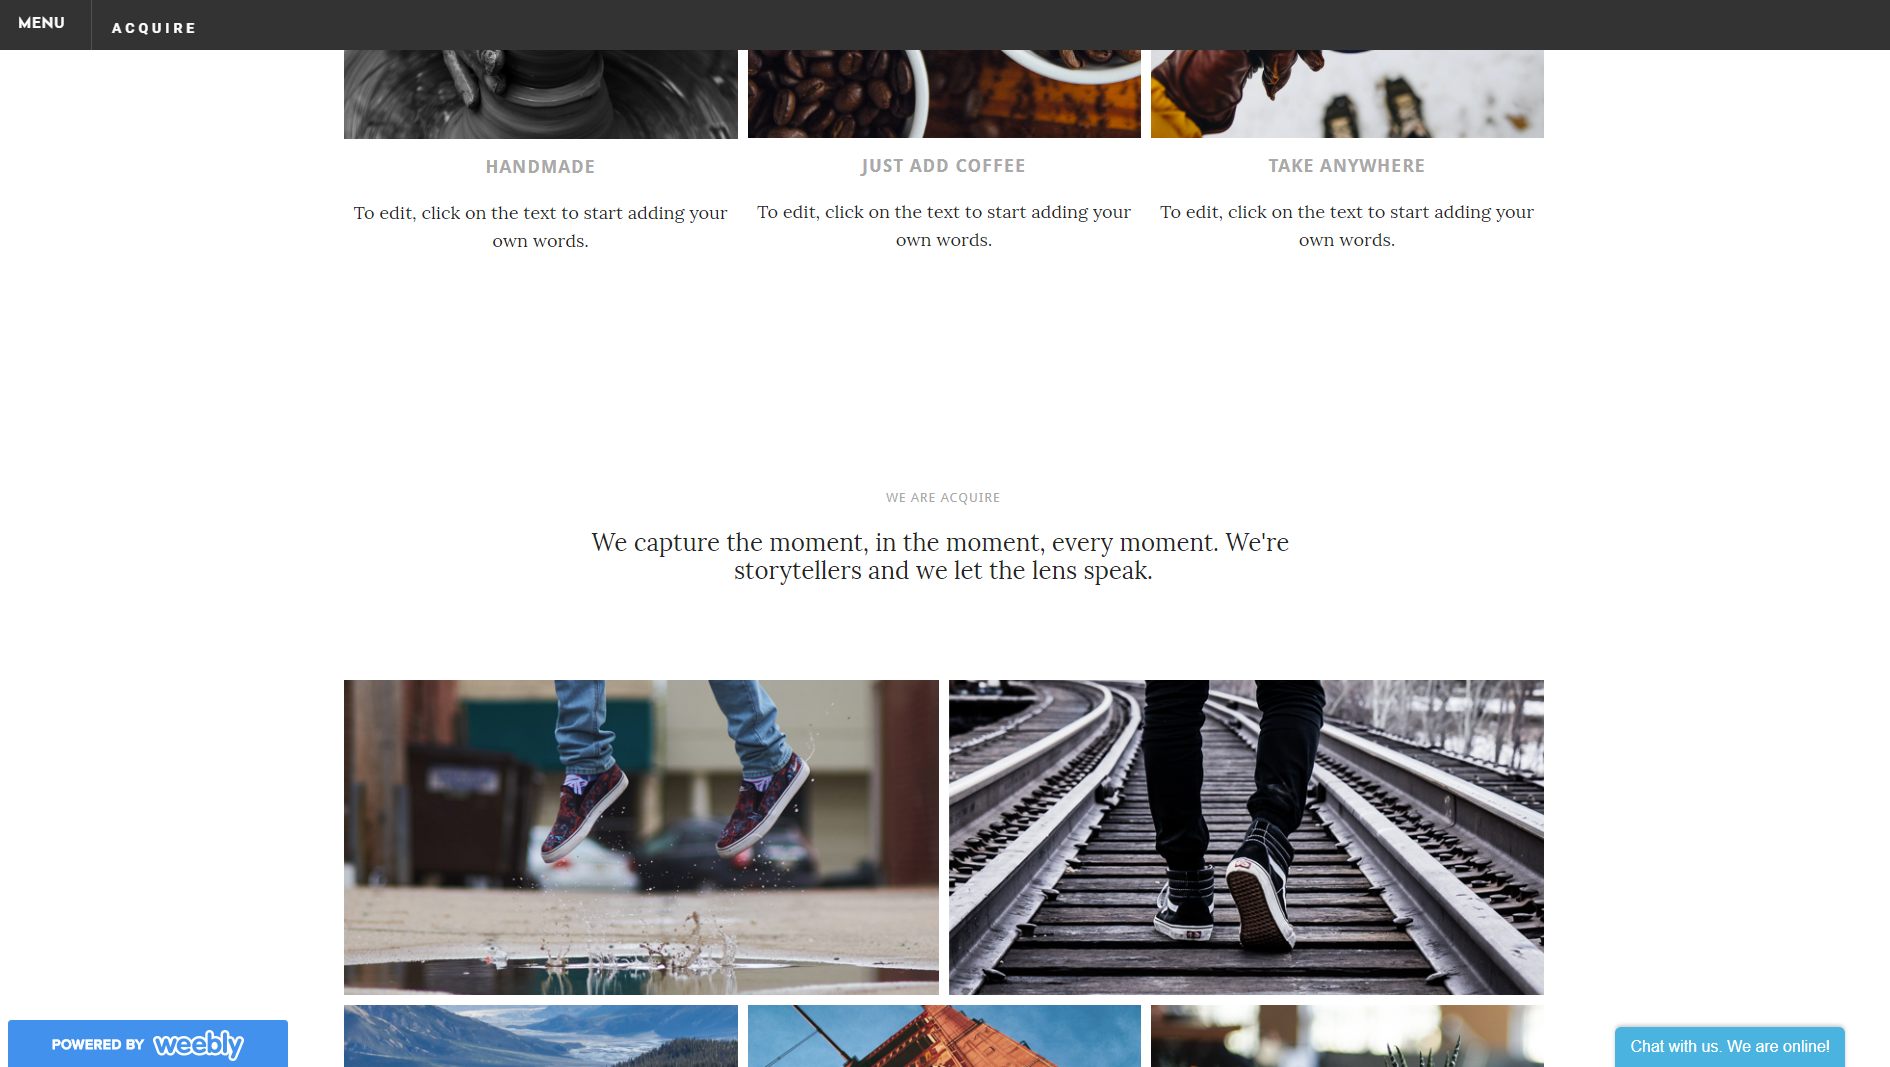
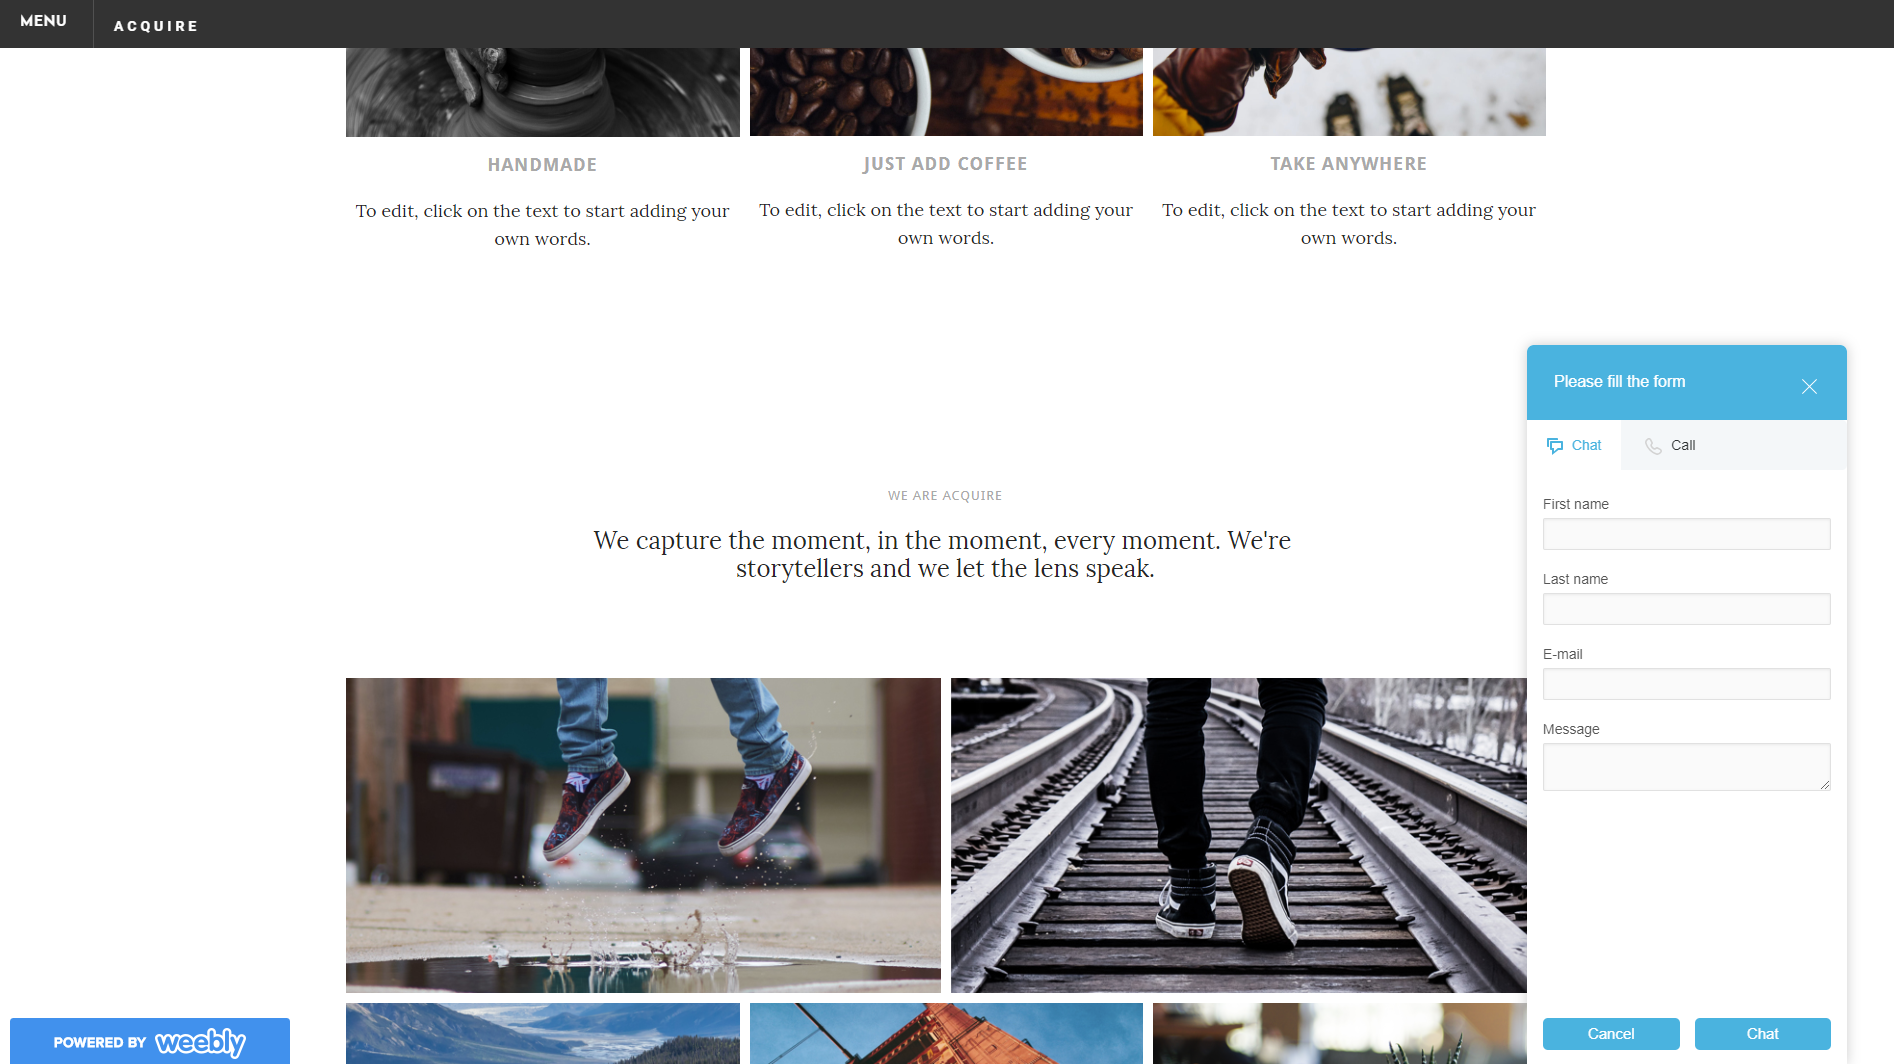
- Publish your page. In the examples shown, the HTML snippet was placed onto a webpage created on free website building application. The chat widget contact tab (and any other chat widget elements that added in chat widget configuration) appears on the page.
- On the webpage, clicking on the contact tab will expand the widget.
For more information on chat widget configuration, see the Chat Widget Configuration Guide.


