How to Use the Web HTML Snippet
A chat widget is an HTML-based application that's placed on your company's website to facilitate active chat interactions between customers and contact center agents and/or integrated bots.
Bright Pattern Contact Center provides an HTML snippet (as well as the full chat code for local hosting) for every chat widget configured for your contact center. The HTML snippet is the code that defines the chat widget's configuration.
In this article, you will learn how to grab the HTML snippet and use it on your company's website.
Procedure
Step 1: Locate your chat scenario entry
- In Contact Center Administrator, go to Configuration > Scenario Entries > Messaging/Chat.
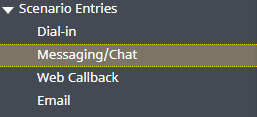
Configuration > Scenario Entries > Messaging/Chat - Select the desired chat scenario entry to view its properties.

Step 2: Get Web HTML snippet
- In the Properties tab > Web HTML snippet, click the HTML snippet button. The HTML snippet is the code for the chat widget you have configured. If you have not already set up a chat widget, see How to Configure Web Chat.

In the Properties tab, click "HTML snippet" - The HTML Snippet for Web Page dialog will open.
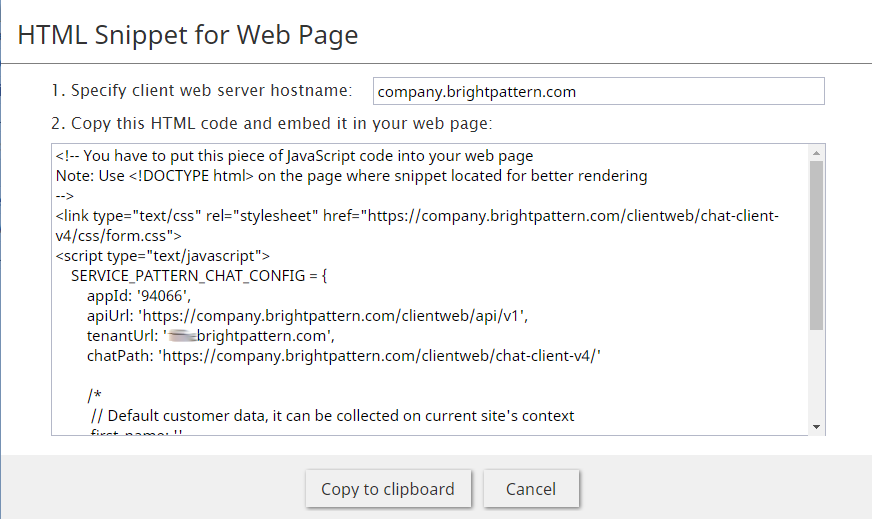
HTML Snippet for Web Page dialog


Step 3: Enter your contact center's hostname
- In the field Specify client web server hostname, enter your contact center’s name (i.e., “mycompany.brightpattern.com”). If you don’t know what it is, look at the URL of your Contact Center Administrator application in the web browser. The hostname is the name that appears before “/admin”.

Example of client web server hostname in browser address field - Click Copy to clipboard to copy the HTML. This is the code of the chat widget.

Step 4: Paste the snippet into your HTML file
You may find it helpful to paste the HTML snippet into a plain text file first, before putting it into your webpage's HTML. You should paste the snippet underneath the closing <body> tags within your HTML.
Example Code
The following is an example of the HTML snippet placed into a basic Doctype HTML file. The snippet text is shown in blue.
<!DOCTYPE html>
<head>
    <meta charset="utf-8">
    <title>My Chat Widget</title>
  </head>

  <body>
  <p>This is my test page.</p>
  </body>

<link type="text/css" rel="stylesheet" href="https://company.brightpattern.com/clientweb/chat-client-v4/css/form.css">
<script type="text/javascript">
    SERVICE_PATTERN_CHAT_CONFIG = {
        appId: '123456789',
        apiUrl: 'https://company.brightpattern.com/clientweb/api/v1',
        tenantUrl: 'company.brightpattern.com',
        chatPath: 'https://company.brightpattern.com/clientweb/chat-client-v4/'

        /*
         // Default customer data, it can be collected on current site's context
         first_name: ,
         last_name: ,
         email: ,
         phone_number:
 		*/
    };
</script>
<script src="https://company.brightpattern.com/clientweb/chat-client-v4/js/init.js"></script>

</head>
</html>
Step 5: Publish your page and test the chat widget
- Place your HTML snippet in the appropriate place on your webpage and save.
- Publish your page. In the examples shown, the HTML snippet was placed onto a webpage created on free website building application. The chat widget contact tab (and any other chat widget elements that added in chat widget configuration) appears on the page.
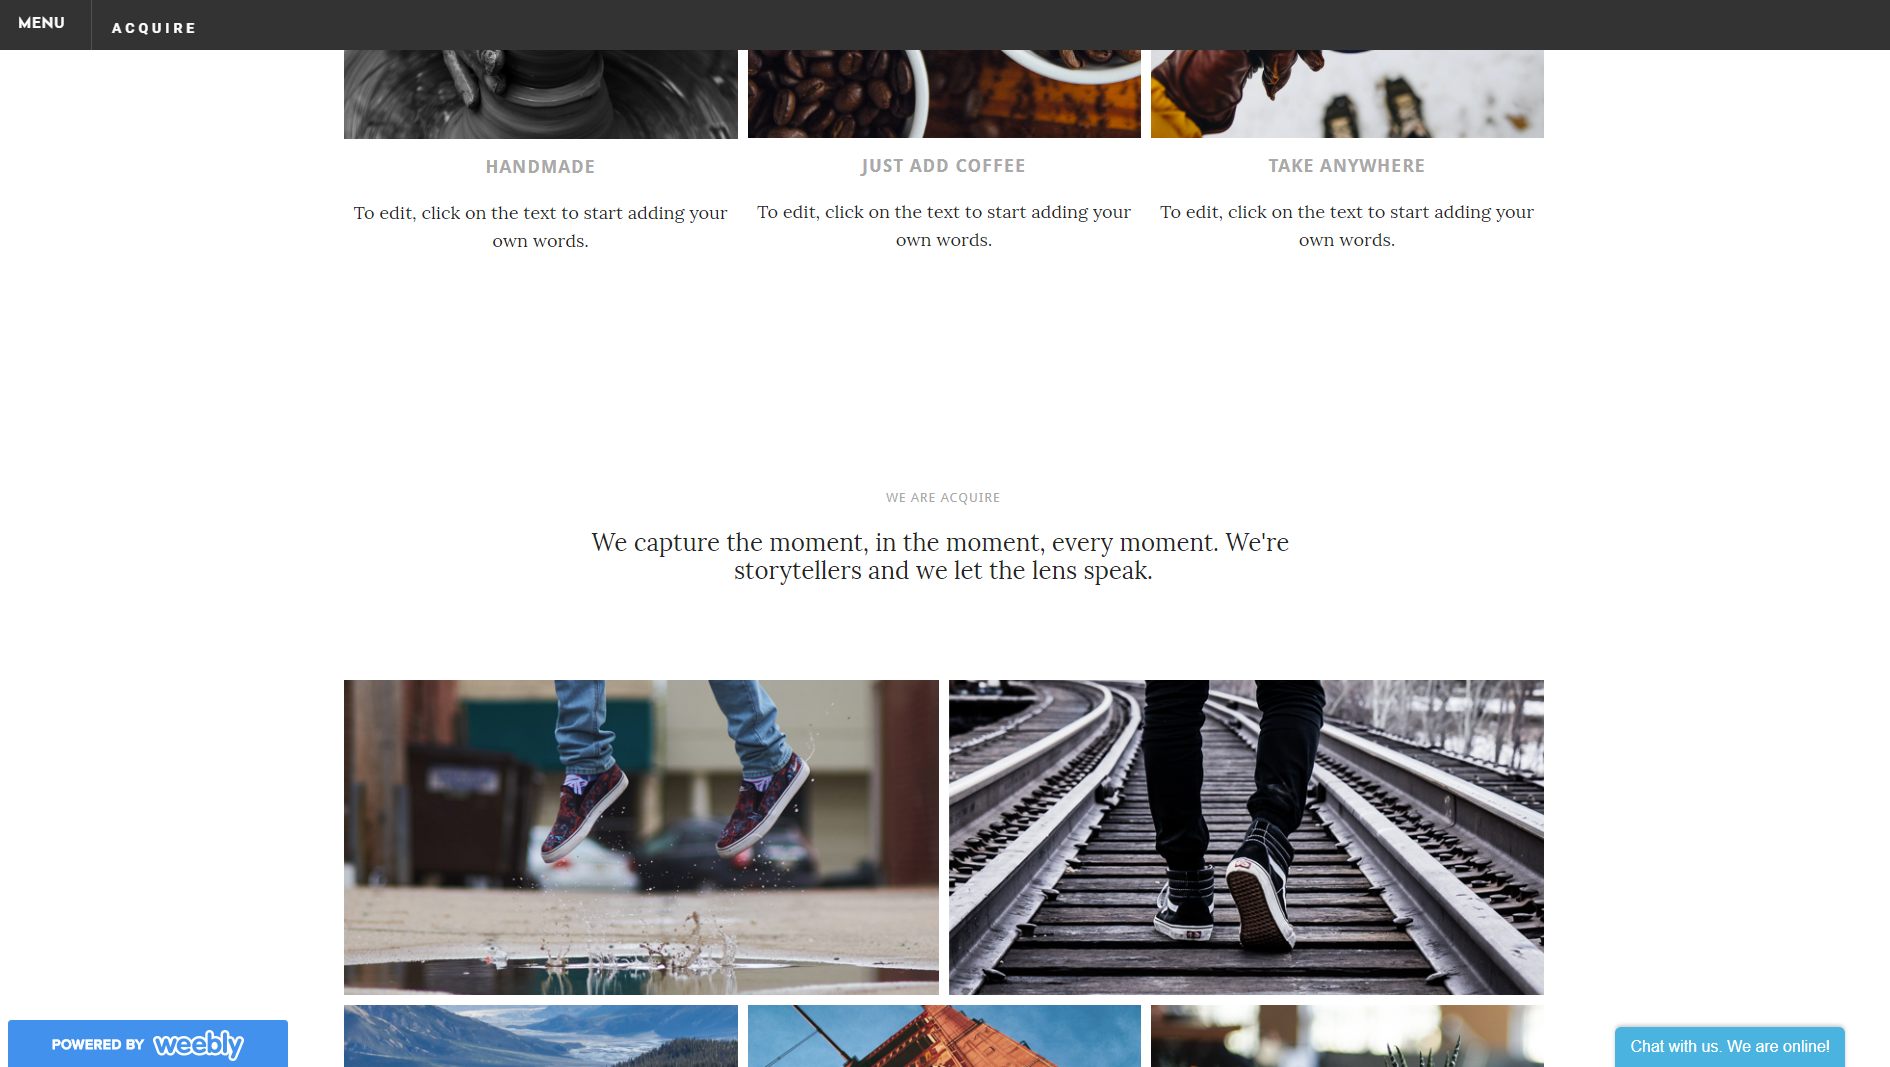
Chat widget on an example webpage - On the webpage, clicking on the contact tab will expand the widget.
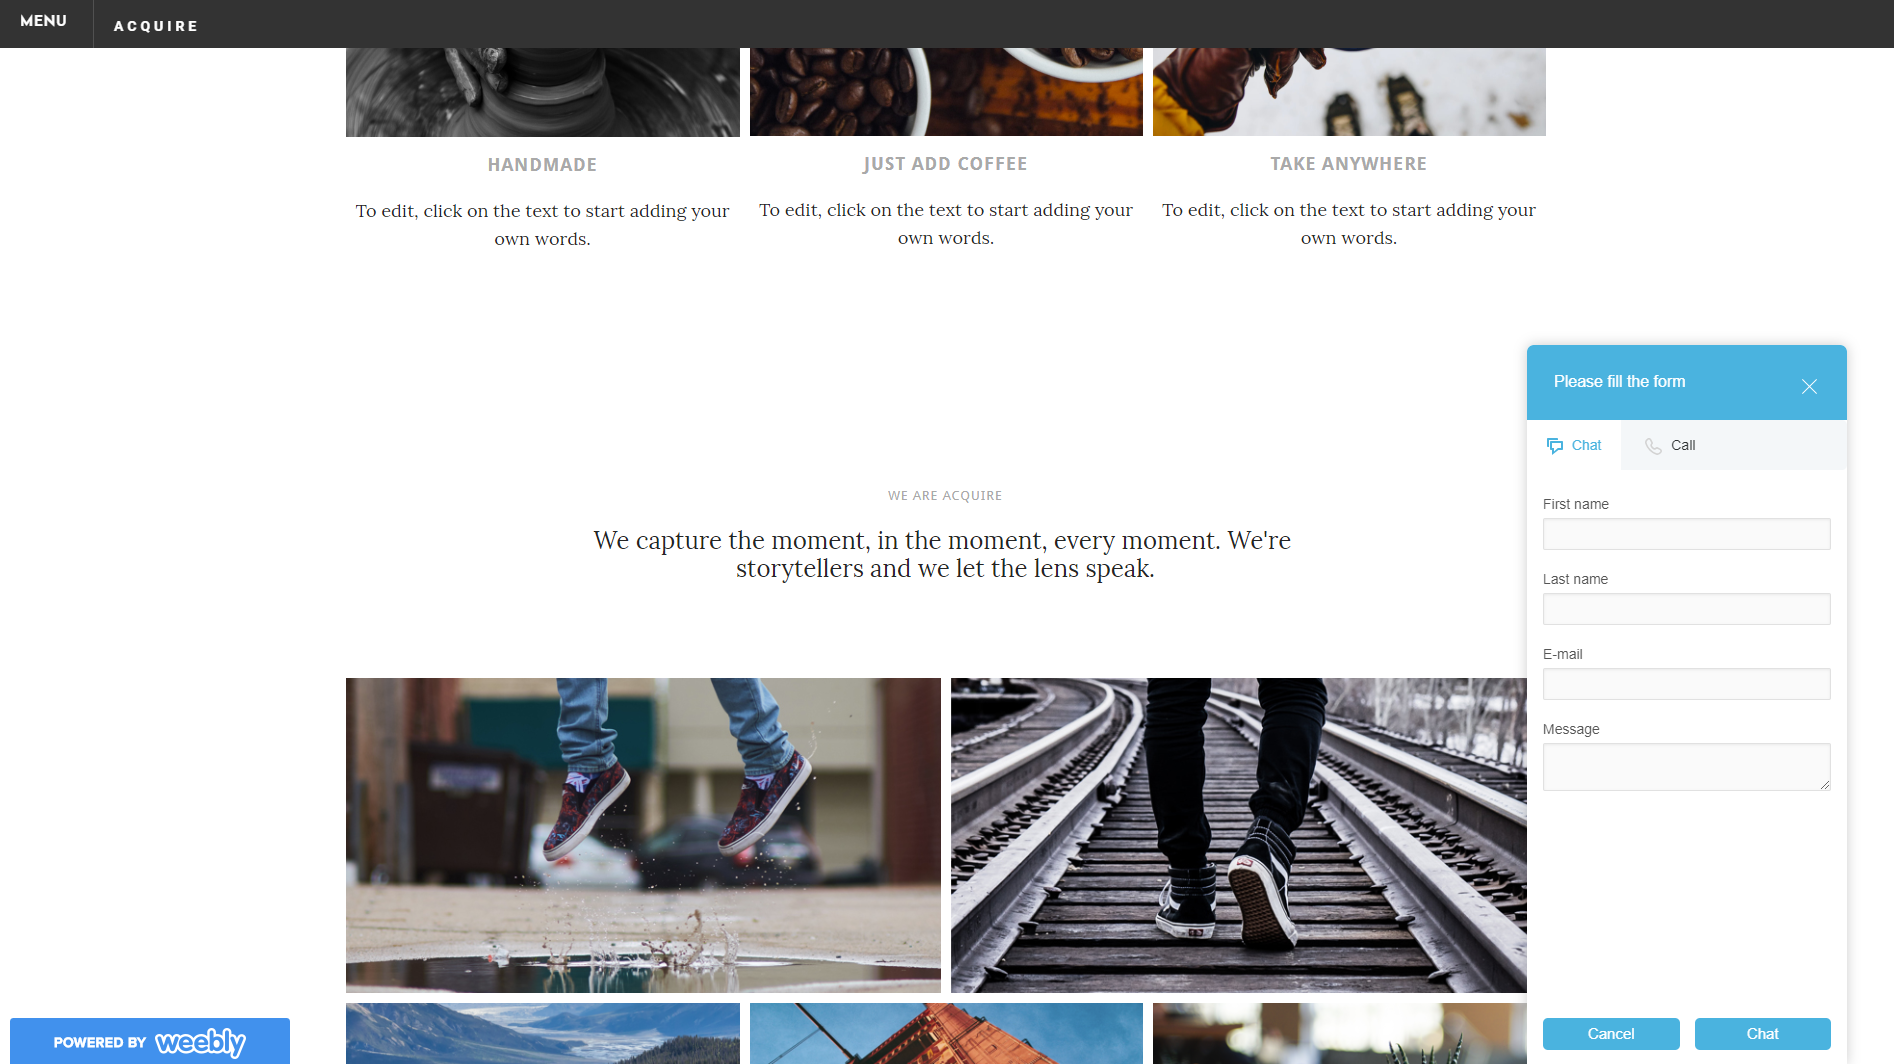
Chat widget expanded to show pre-chat form fields


For more information on chat widget configuration, see the Chat Widget Configuration Guide.