QM Configuration
In order for Omni QM features to be available in the Agent Desktop application, they must be configured in the Contact Center Administrator application first. The following is a list of the steps needed to configure Quality Management components. As a reminder, Omni QM features are enabled per contact center. For more information, contact your service provider.
Note: The following configuration process is meant to be implemented by users with the System Administrator role.
Prerequisites - Assigning QM Roles
In order for your agents and supervisors to access and use the Quality Management features in the Agent Desktop application, they must have the appropriate roles and privileges. When Omni QM is enabled in your contact center, certain roles (e.g., Agent, Supervisor, etc.) will have some Quality Management privileges automatically assigned, allowing these users to operate Omni QM features out of the box.
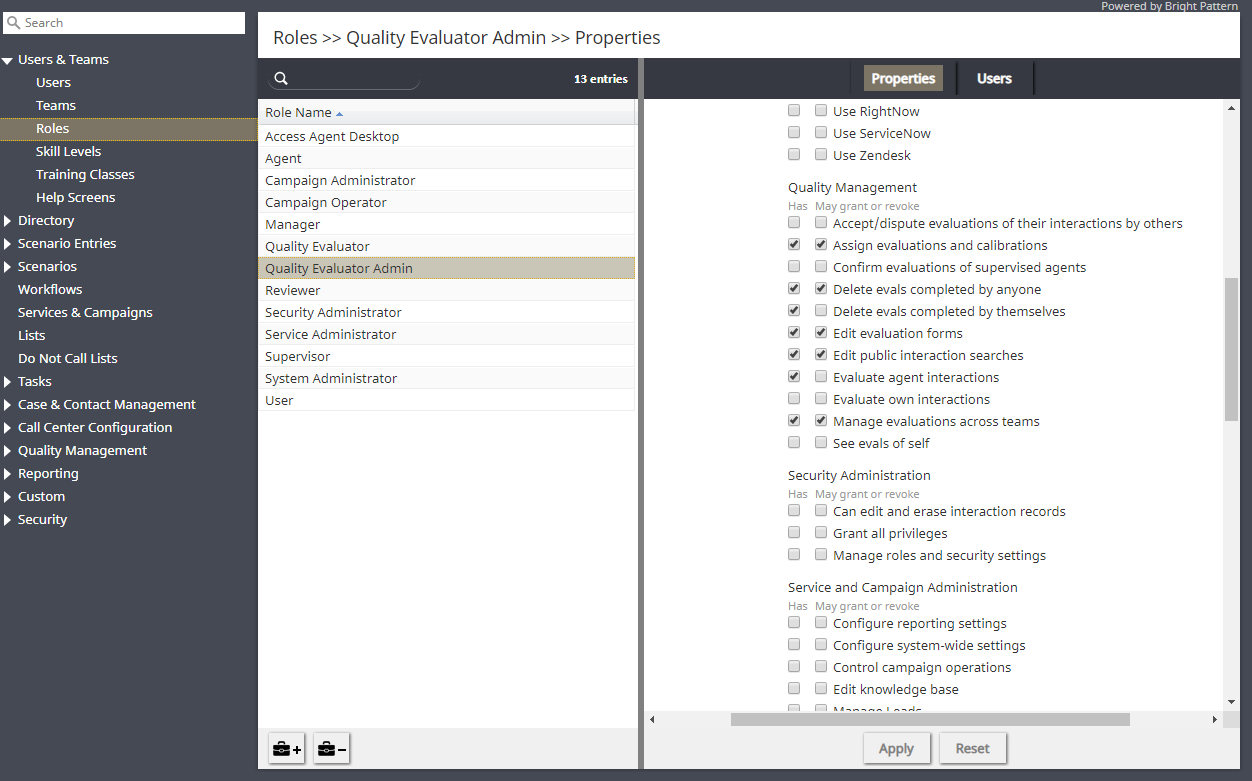
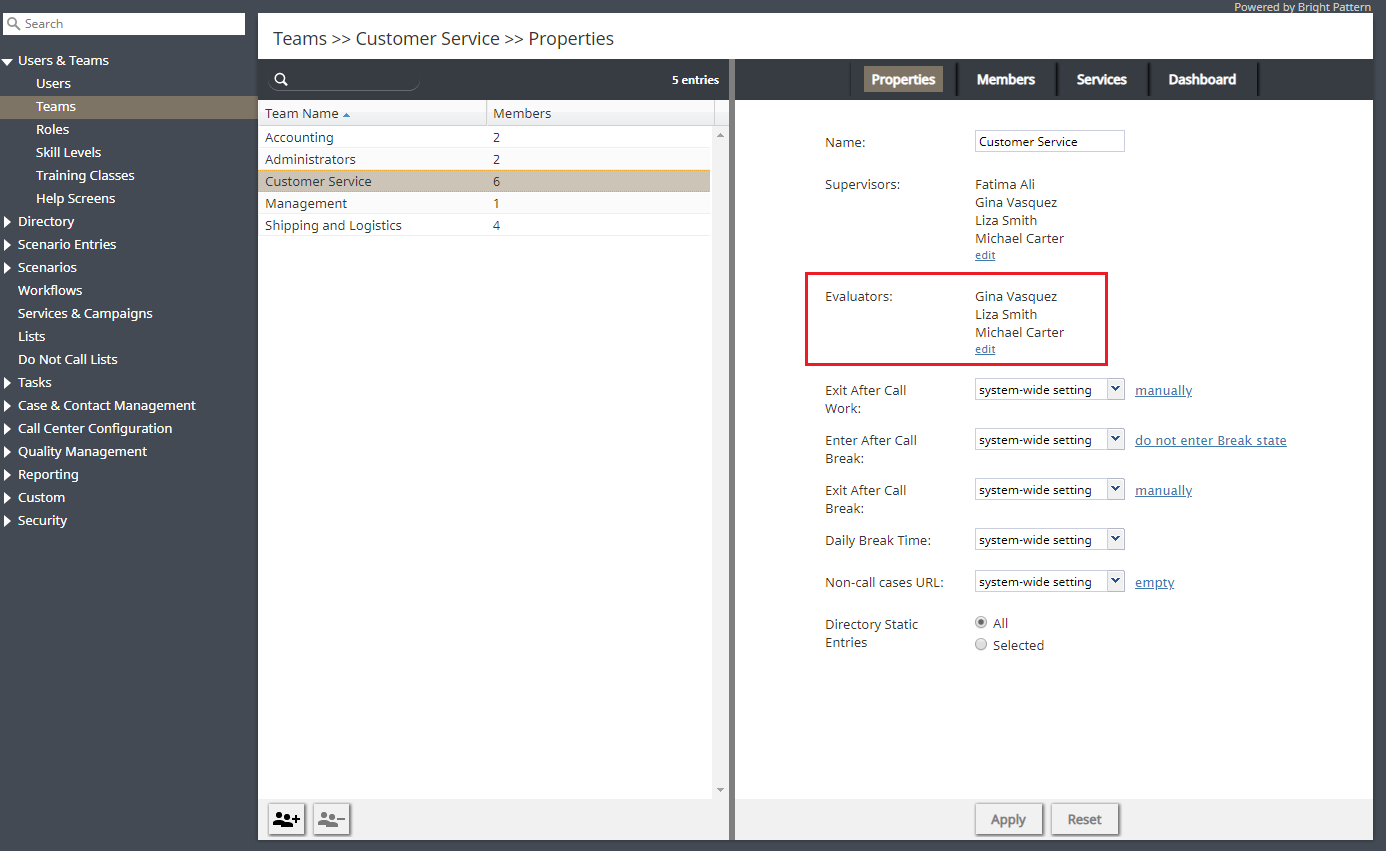
Additionally, Omni QM includes two new roles: Quality Evaluator and Quality Evaluator Admin. Both roles come with predefined privileges and are meant for users whose main job will be to perform evaluations in Eval Console. Evaluators should be assigned per Team. Note that both the Quality Evaluator and the Quality Evaluator Admin roles count toward your Supervisor licenses.
For more information about Quality Management privileges, see Privileges.
Configuration Steps
1. Create a Form
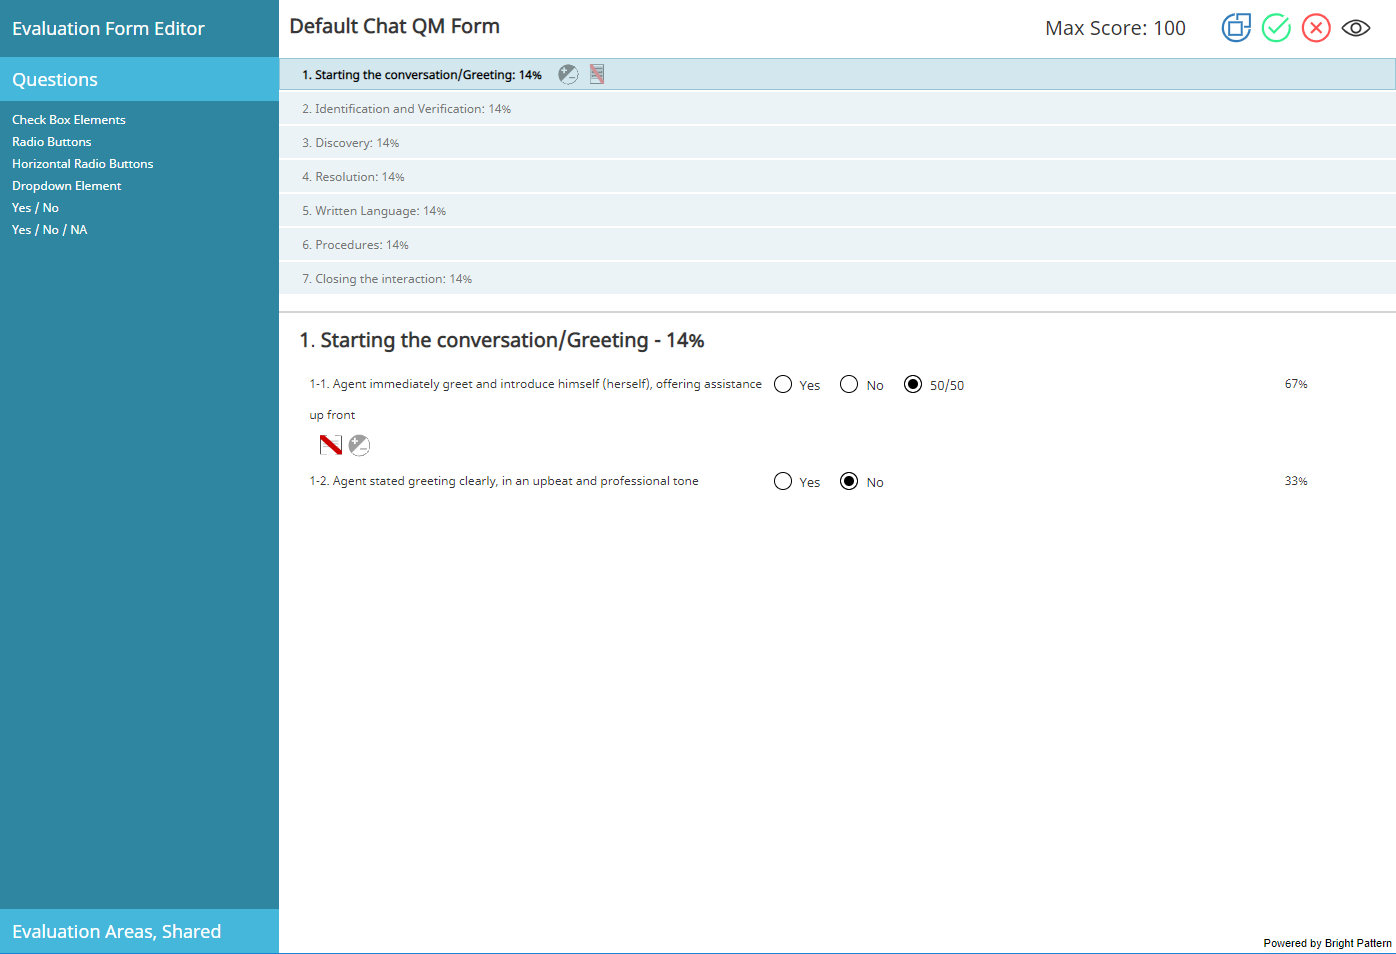
The first step you will need to take is to create an evaluation form. Evaluation forms are created in the Evaluation Form Editor application, which is accessible in section Quality Management > Evaluation Forms. For information about the application, including instructions for creating forms, see section Evaluation Forms.
2. Assign a Form to a Service
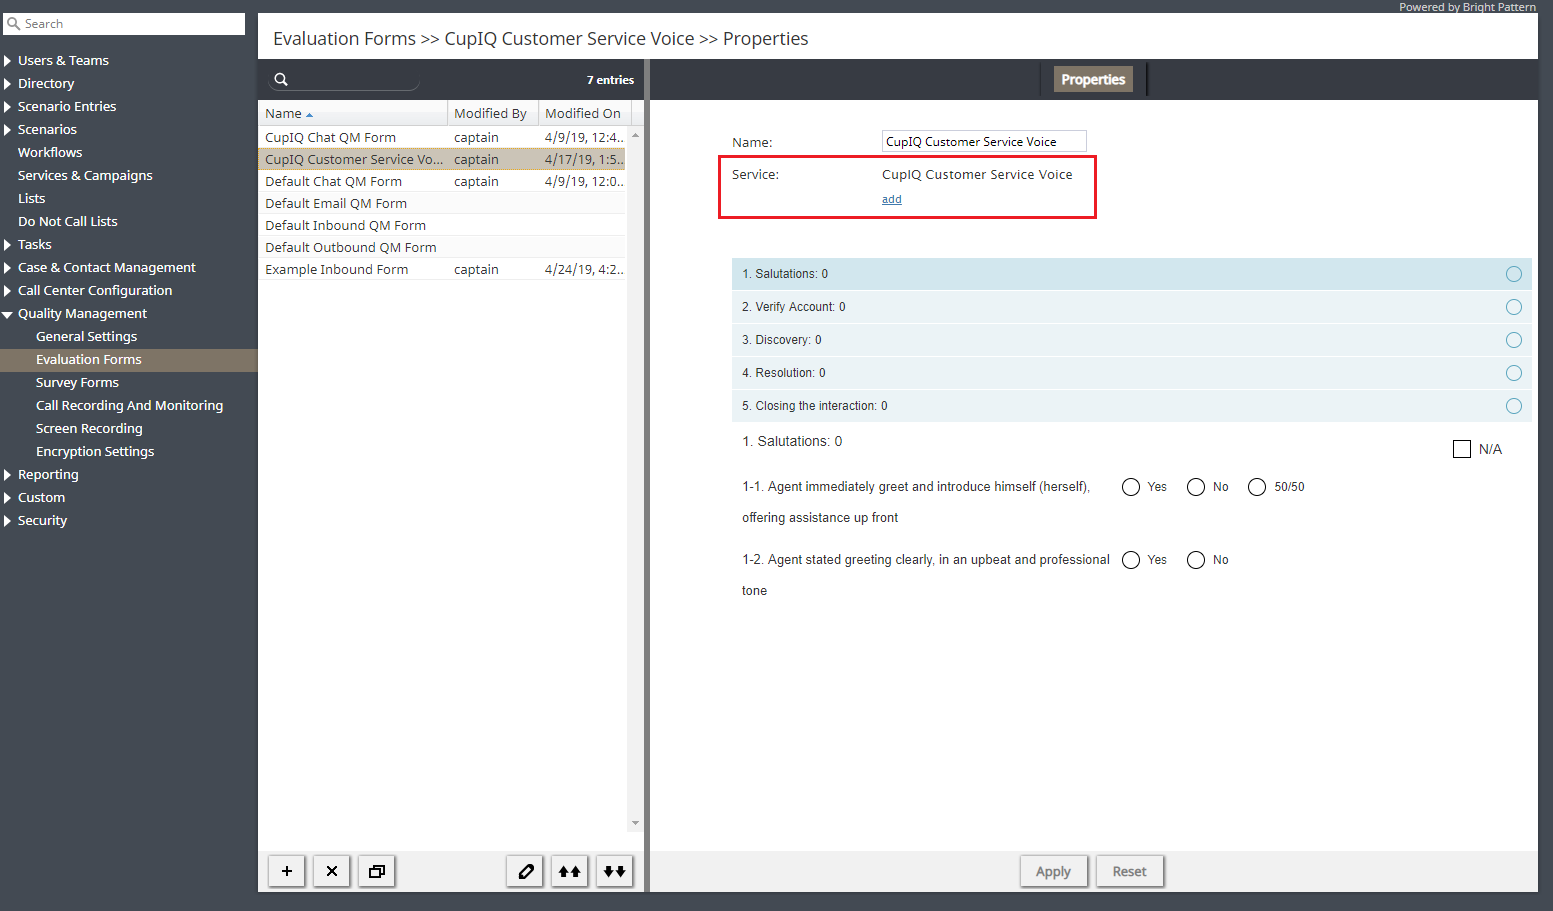
After creating your evaluation form, it will need to be assigned to a service or campaign. Note that multiple forms may be assigned to a service. There are two ways to assign a form to a service. The first way is in section Quality Management > Evaluation Forms > Properties tab. For the option Service, click add and select the service from the drop-down menu.
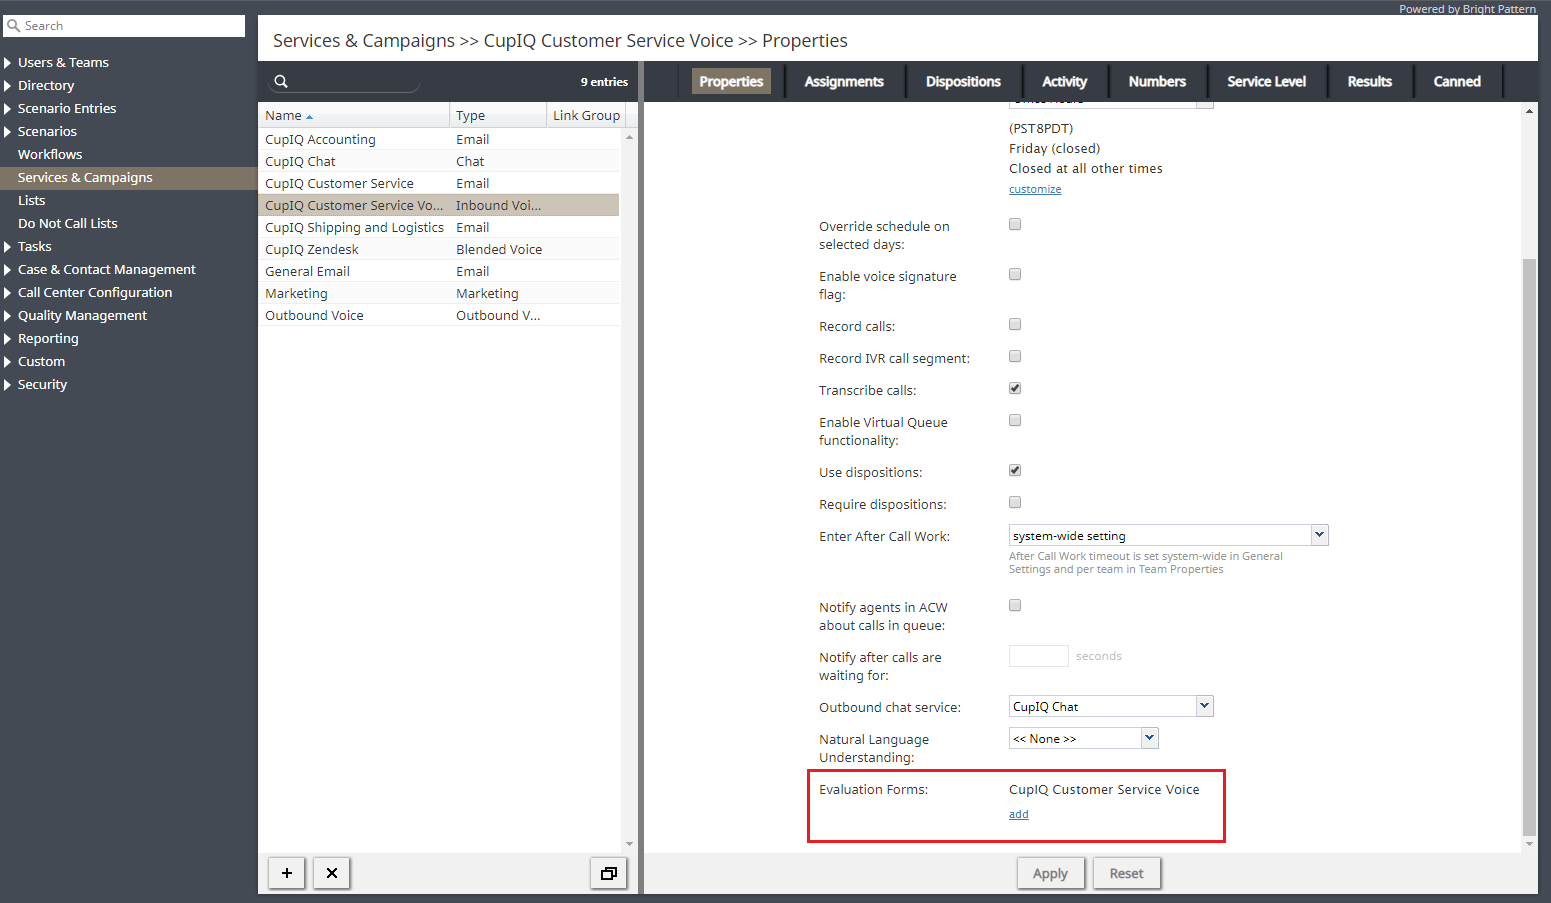
The second way to assign a form to a service or campaign is in section Services & Campaigns > Properties tab. For the option Evaluation Forms, click add and select the form from the drop-down menu.
3. Enable Confirmation Rules and Configure Optional Settings
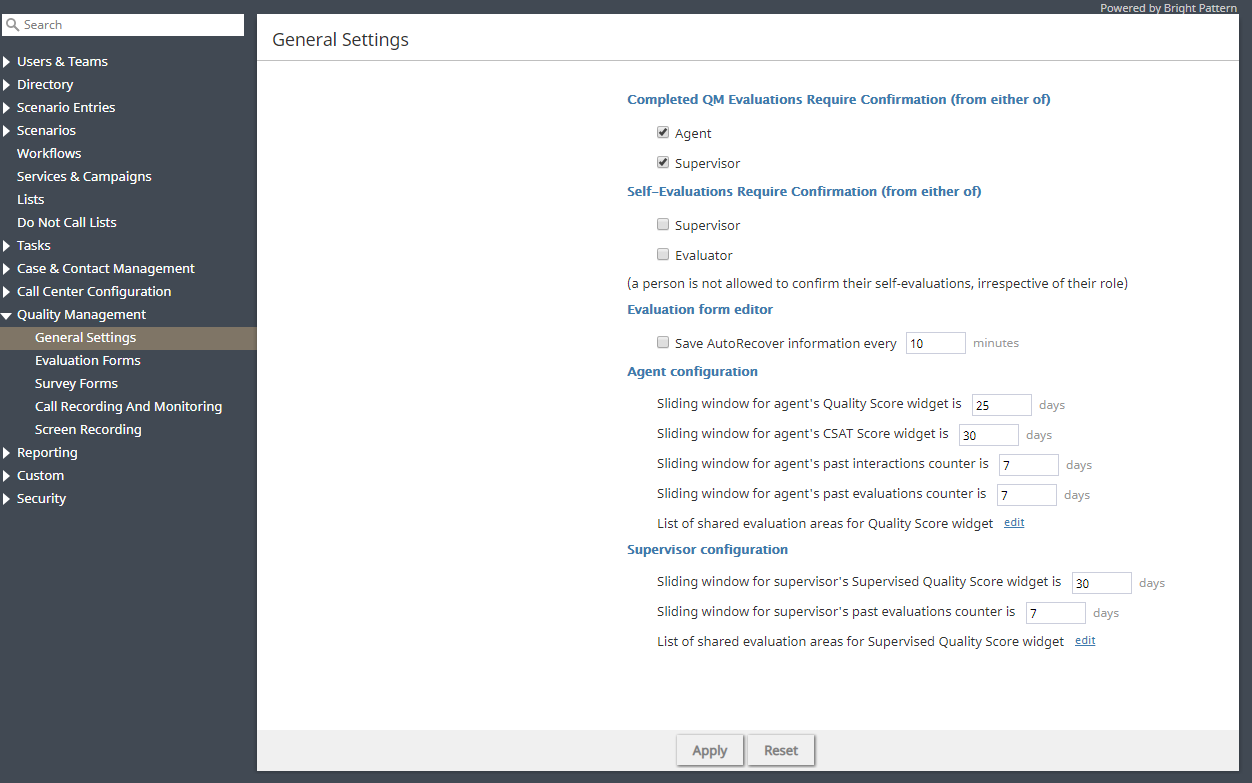
Finally, in section Quality Management > General Settings, you may enable confirmation rules and other optional settings. Confirmation rules are the settings that require users to either confirm or reject an evaluator's score of an interaction (i.e., when confirmation rules are enabled and an evaluation is not accepted, the evaluation goes back to the evaluator).
Confirmation rules are defined in the setting Completed QM Evaluations Require Confirmation (from either of); the setting may be applied to agents or supervisors. Additionally, if self-evaluations are allowed in your contact center, you may want to apply the setting Self-Evaluations Require Confirmation (from either of); the setting may be applied to supervisors or evaluators.
Other optional settings in this section include automatic evaluation form saving and reporting and search settings for agents and supervisors.
Additional Configuration
In order to maximize the effectiveness of your Omni QM features, if you have not already enabled the following settings for your contact center, it is highly encouraged.
Enable Call Recording
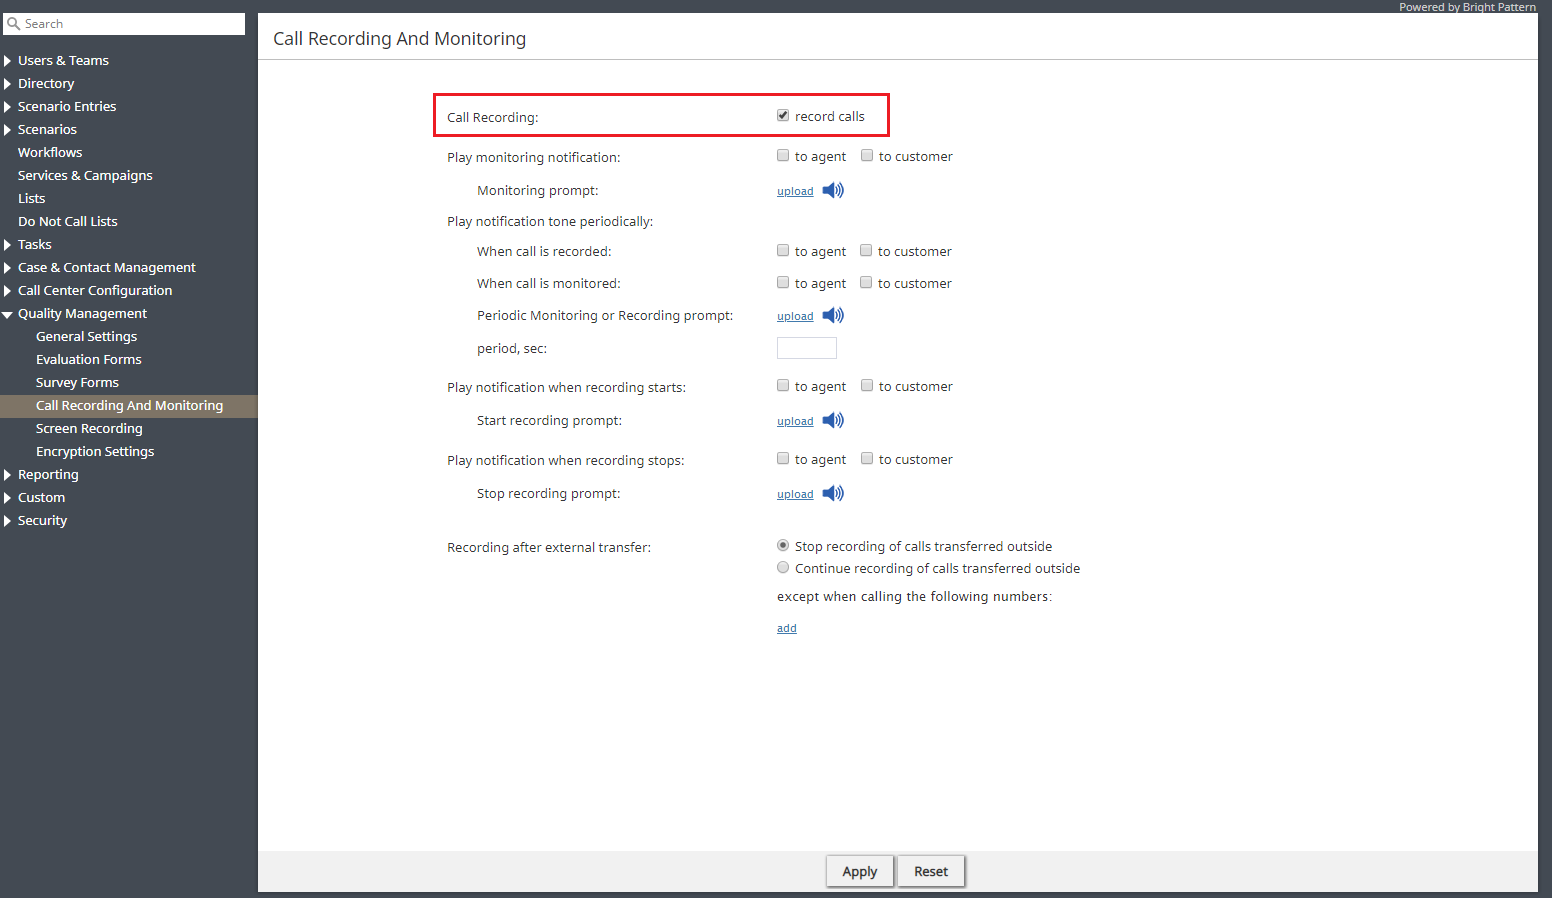
Enabling call recording allows supervisors or those with quality evaluator privileges to listen to recordings of calls for evaluation purposes in Eval Console's timeline. To enable call recording, go to section Quality Management > Call Recording and Monitoring and select the record calls option.
Configure a Speech to Text (STT) Account
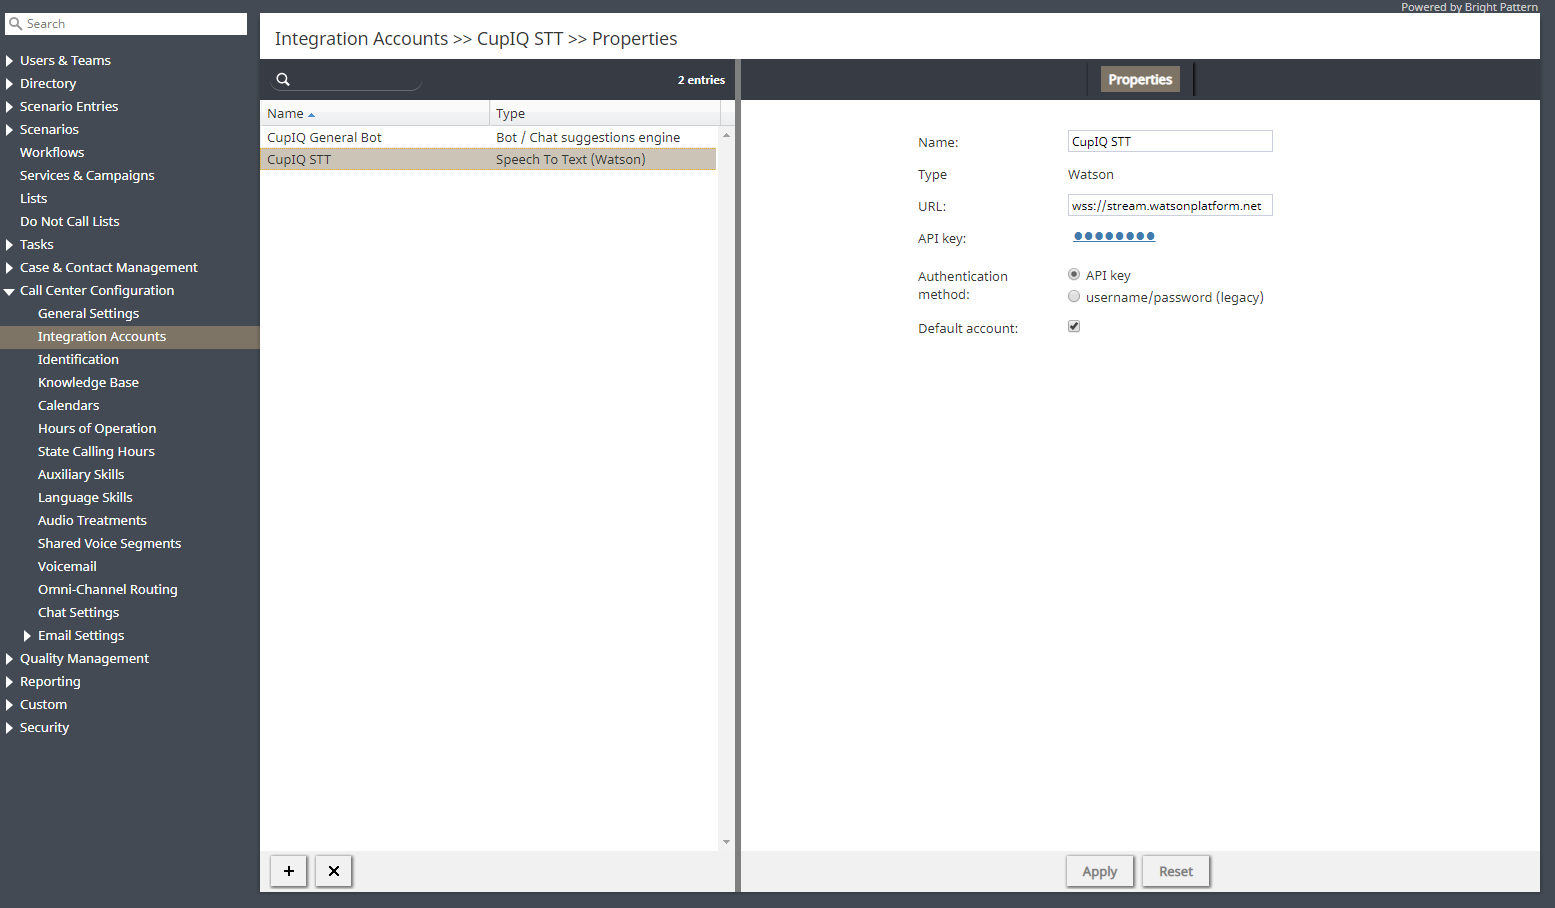
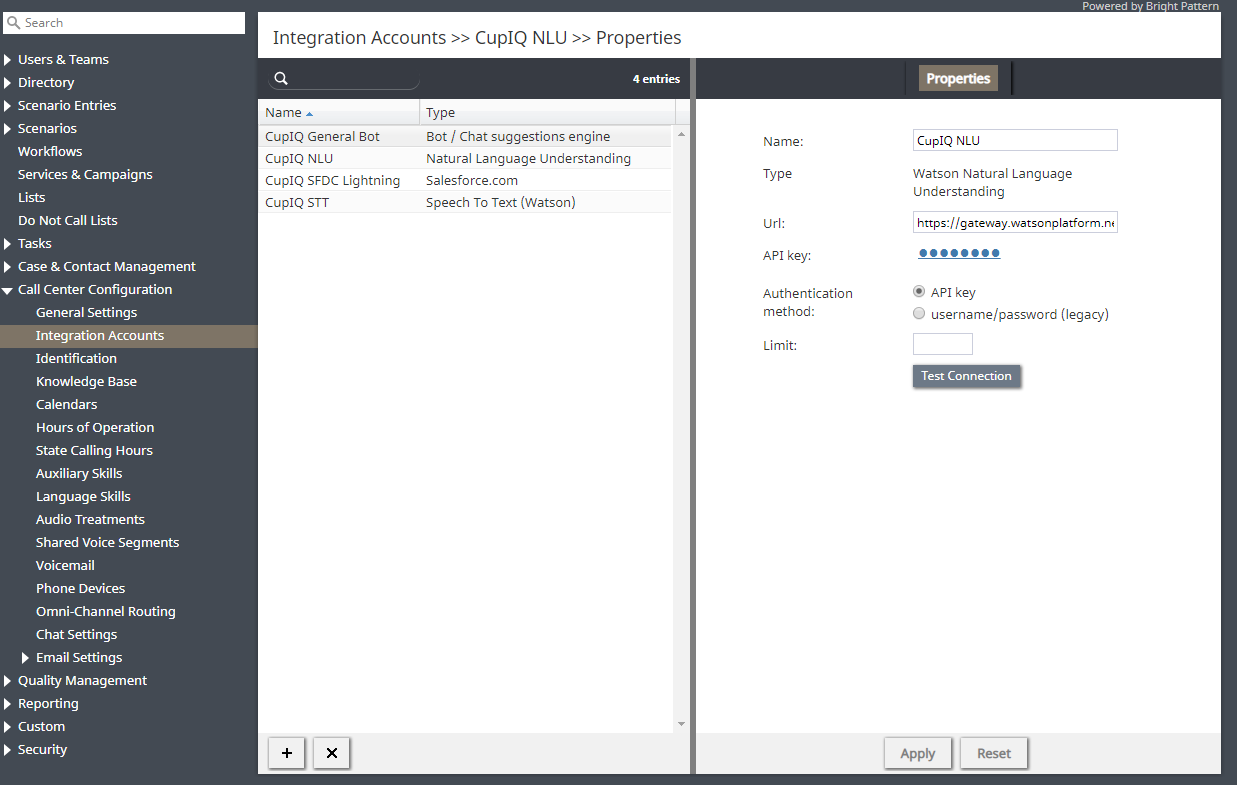
You may utilize a Speech to Text (STT) account to transcribe calls into text for evaluation purposes; transcripts can be seen in Eval Console's transcript display. To configure a STT account, go to section Call Center Configuration > Integration Accounts and select the Speech to Text (STT) option, then enter in your account details.
Enable Screen Recording
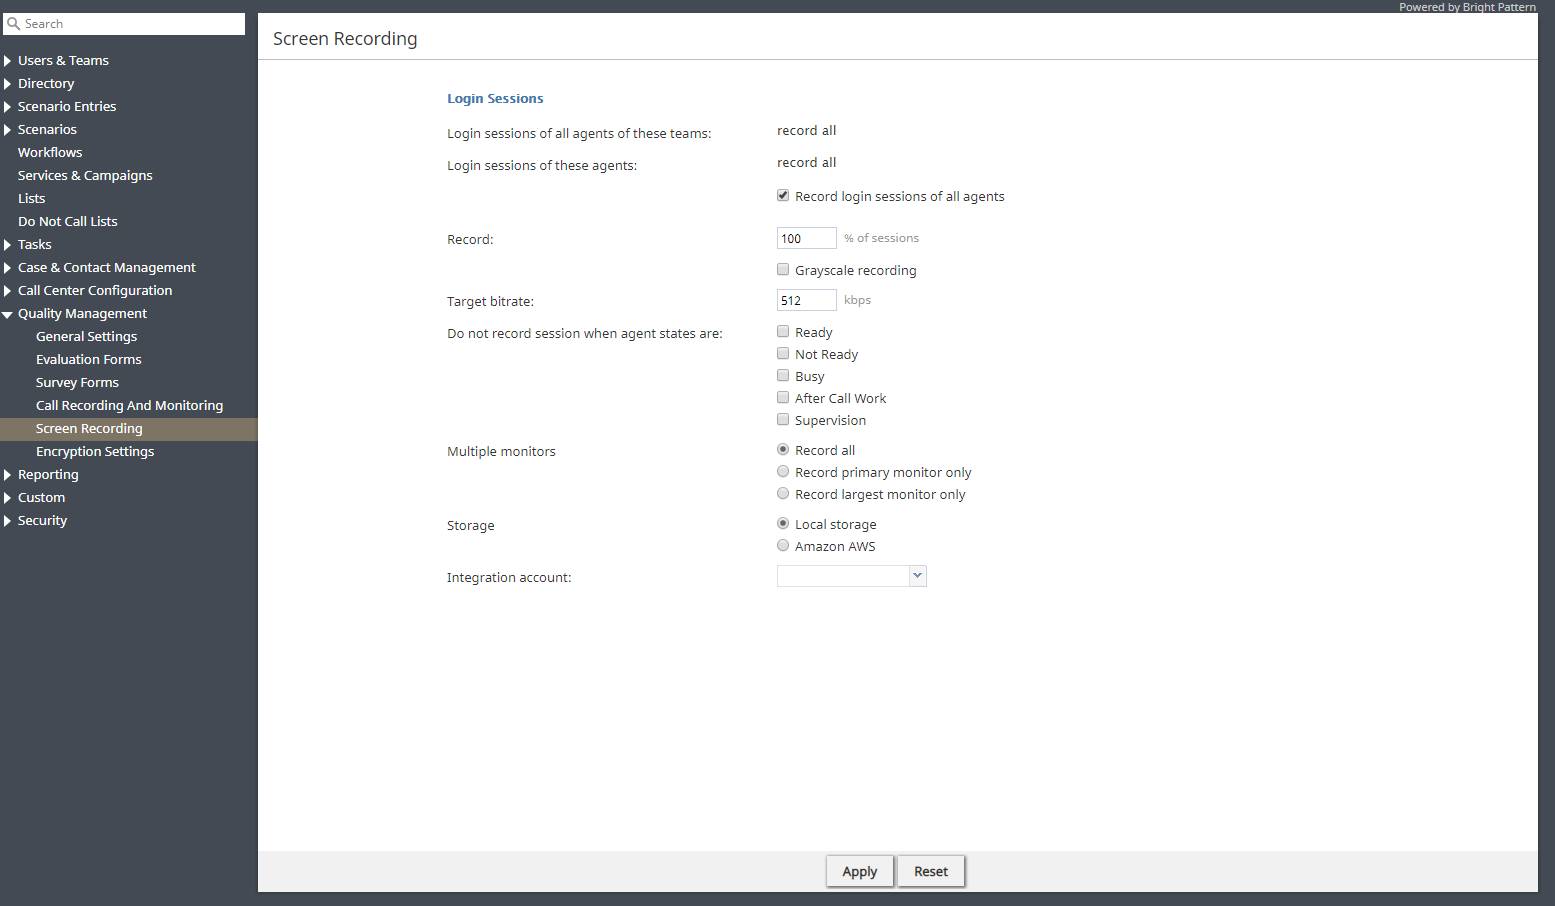
Enabling screen recording allows quality evaluators to watch an agent's screen during the time of an interaction in Eval Console's screen recording display; this can provide insight and context when examining the quality of the interaction. To enable screen recording, go to section Quality Management > Screen Recording. From here, configure screen recording settings to your contact center's needs.
Enable Natural Language Understanding
Natural Language Understanding (NLU) is used to determine the sentiment of a given interaction; sentiment may be displayed as a number or as a happy, neutral, or sad face icon. Whether a number or an icon, sentiment lets you analyze how your customer acted and reacted during the course of an interaction, allowing you to fine-tune agent training. NLU is enabled in section Call Center Configuration > Integration Accounts. For voice and chat, the integration account is defined per service; for email, the integration account is set per scenario entry. Sentiment results may be used as an interaction search condition or may be seen in search results.
Configure Training Classes and Supervisor in Charge
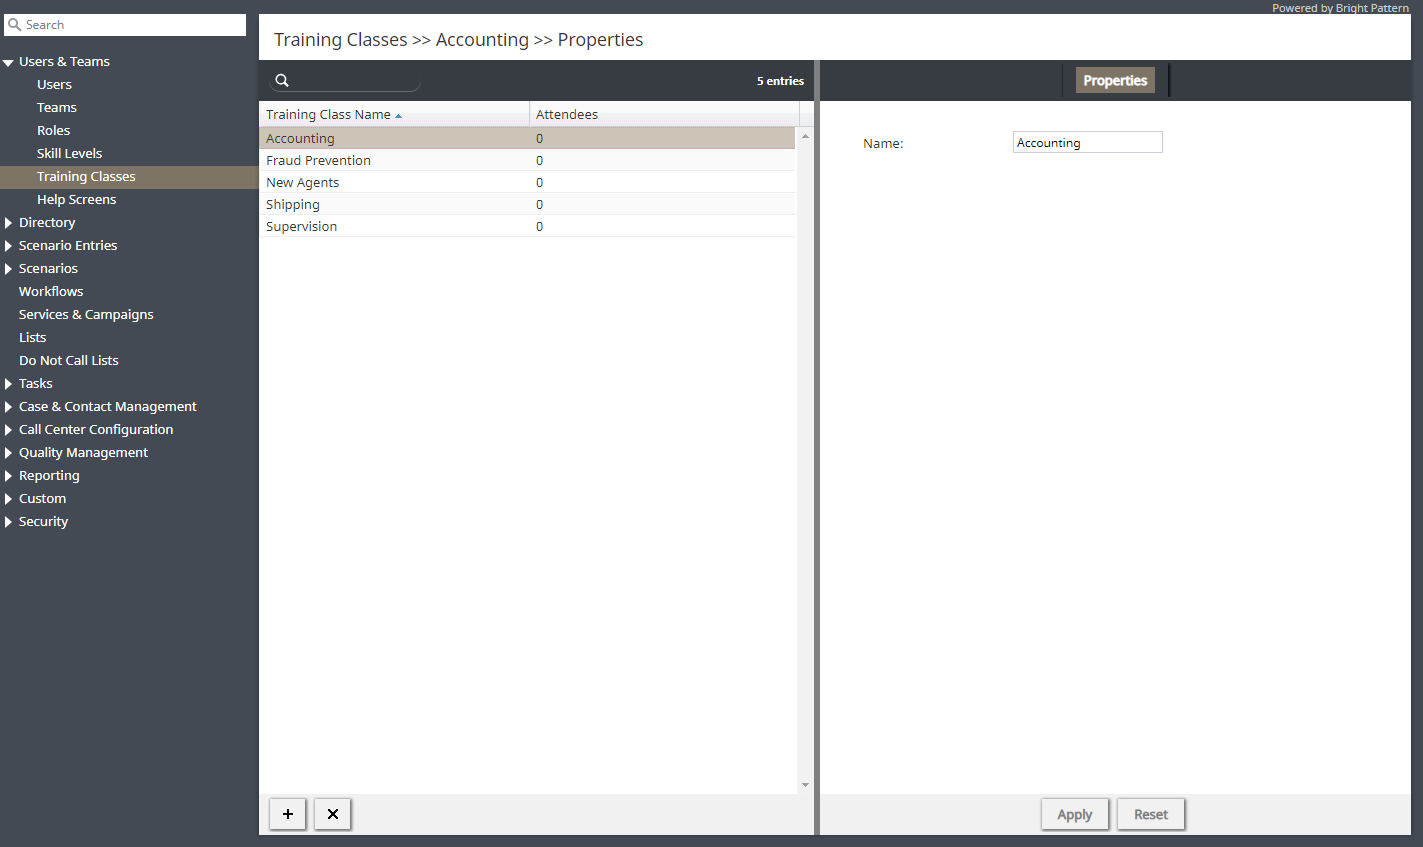
Training Classes and Supervisor in charge are optional features of Omni QM. Training Classes allows you to create training classes (i.e., in name only) that reflect actual training an agent has received or classes an agent actively attends in real life; Supervisor in charge lets you define a specific supervisor as being responsible for a given user.
Training Classes are created in the Contact Center Administrator application, section Users & Teams > Training Classes. Both the Training Class property and the Supervisor in charge property are defined per user in section Users > Person tab; they are used as optional search parameters in select QM Reports.
As report parameters, Training Class and Supervisor allow you to analyze these metrics by comparing them against other report data; if performance is lacking in a particular class or under a specific supervisor, quality evaluators can adjust training as necessary.

