From Bright Pattern Documentation
• 日本語
Prerequisites
To configure Twitter integration, you must have the following:
- A regular Twitter user account. You will need to have or create a regular Twitter account. This account will function both as your company's regular Twitter account and as your Twitter developer account. Note: In addition, you will need to add an email address to this account in your Twitter settings and confirm it.
- A Twitter developer account. Once your regular Twitter account is established, you will use it to apply for a developer account; the account is used to create the app that will send messages to your Bright Pattern Contact Center environment. For further instructions, see Applying for a Developer Account.
- A separate regular Twitter user account. This second user account will be for the purpose of sending test Direct Messages (DMs) to your first Twitter account.
- A configured chat service and chat scenario entry. Whether you are testing your configured Twitter integration or taking it live, you will need a configured chat service and chat scenario entry. For more information, see Administration Tutorials, section Chat Service Configuration.
Applying for a Developer Account
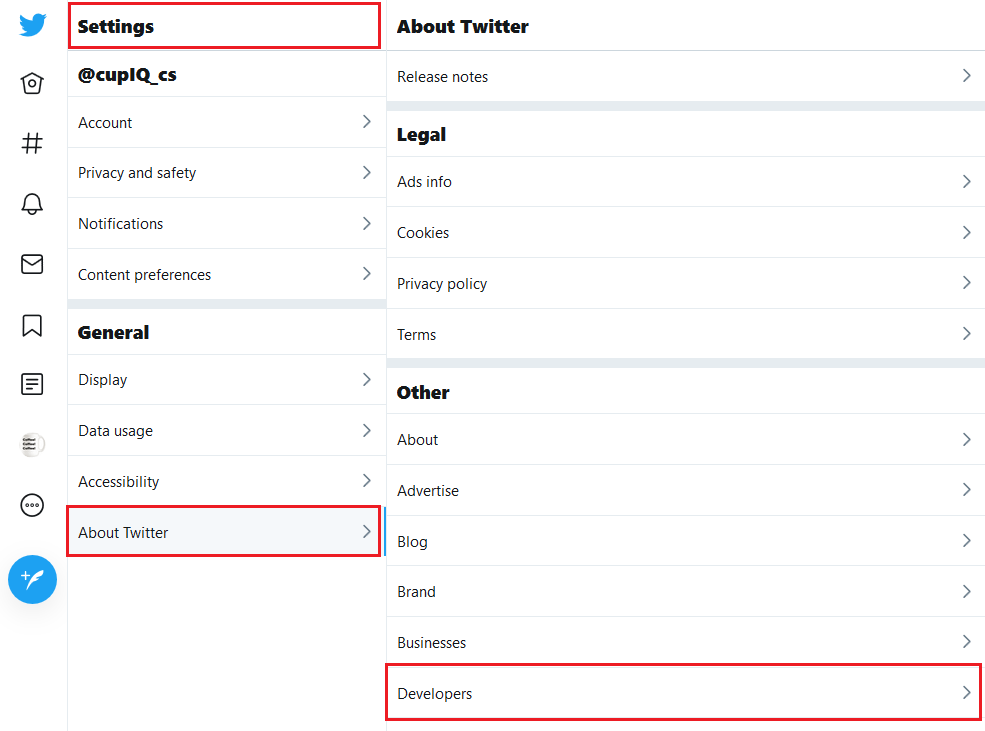
- From an existing Twitter account, go to Settings and privacy > General > About Twitter > Other > Developers. This will launch the developer site. Alternately, go directly to the developer site. Note: If you have not already done so, add an email address in your account settings; you will need a confirmed email address in order to create a developer account.
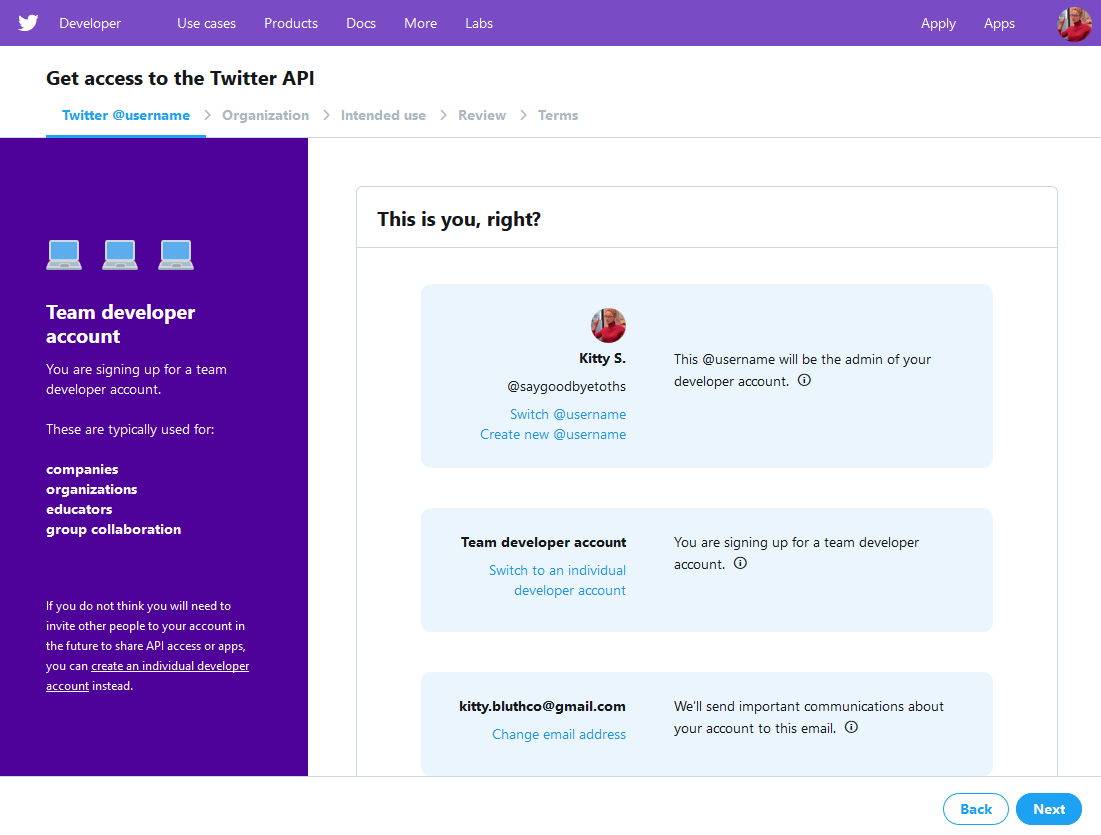
- On the developer site's homepage, click Apply in the upper right corner to begin filling out the developer account application. The application will ask why you're creating a developer account and what you plan to do. Fill in the application and wait for your developer account to be approved.
< Previous | Next >


