How to Use Group Chat
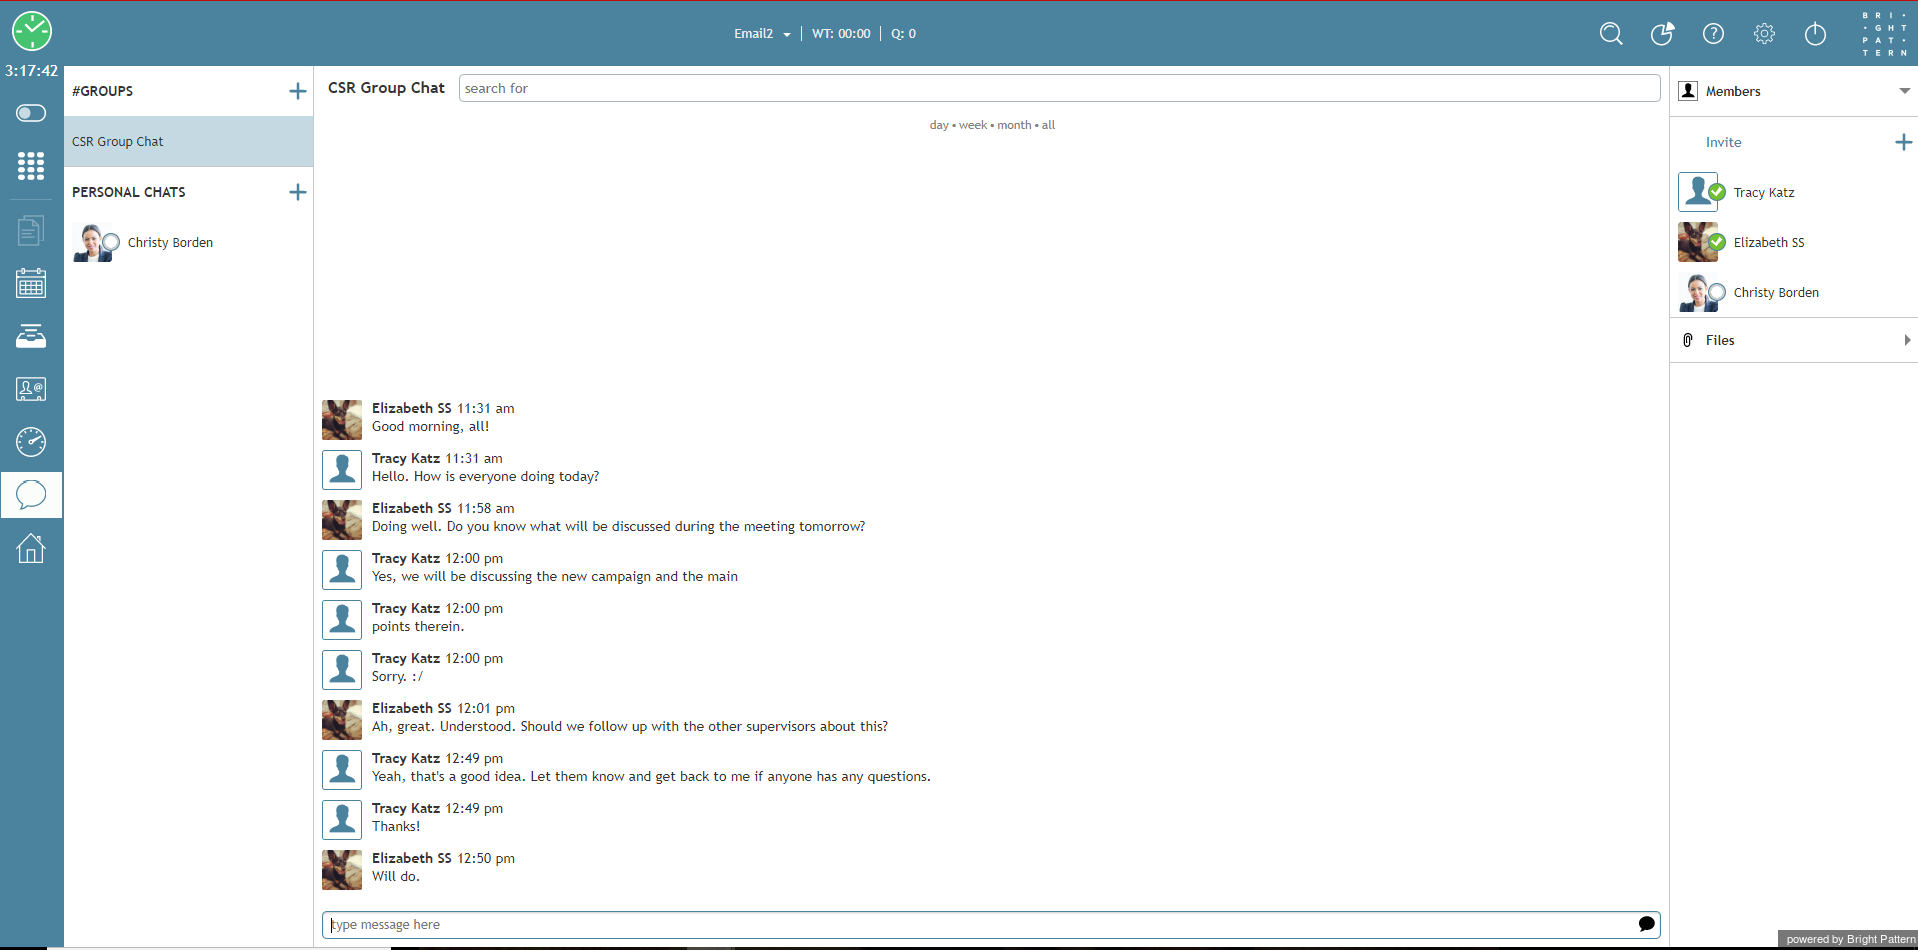
The Group Chat feature allows agents, supervisors, and other users to chat within your contact center. Many features of Group Chat are similar to Internal Chat and Service Chat; however, Group Chat is not for chatting with individual users or customers.
For more information on Internal Chat, see How to Use Internal Chat. For more information on Service Chat, see sections about Handling Service Chats.
How to Access Group Chat
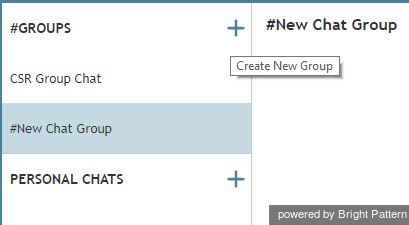
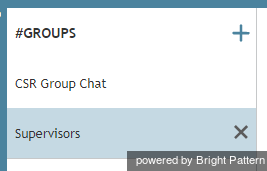
Group Chat is accessible through the Chat Center. To access the Chat Center, click on the icon. To initiate a Group Chat, click Create New Group (this is the + icon to the right of #Groups).
Renaming a Group Chat
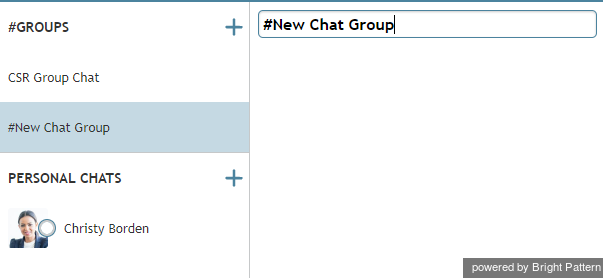
The default Group Chat channel name is #New Chat Group. To rename a Group Chat, click in the #New Chat Group field and type the new name. When you are finished, click anywhere outside of the field and the new name will save.
Managing Group Chat Members
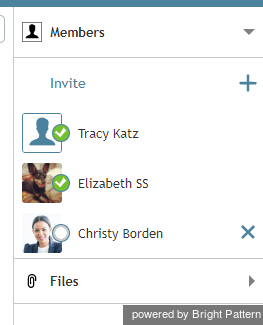
When you have created a Group Chat, you have the ability to add and remove members. Furthermore, any member in a Group Chat can Invite additional members.
Adding Group Chat Members
To add members to the new chat group, follow these steps:
- Click the + icon in the Invite area of the Chat Center.
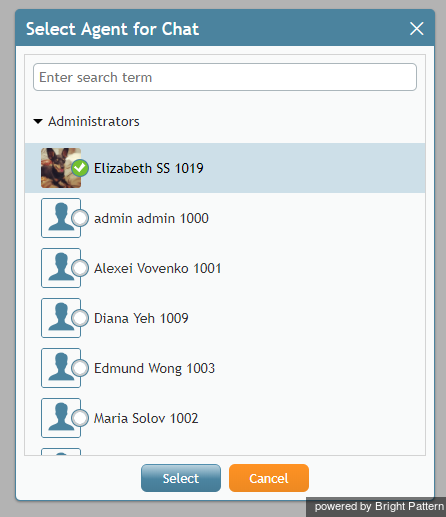
- The pop-up directory Select Agent for Chat will appear. Use the search bar at the top of the directory or scroll down the list to find a user.
- Click on the user you would like to add to your Group Chat and then click Select. Members may be added one at a time.
Removing Group Chat Members
While anyone in a Group Chat can invite additional users, the creator of the group can remove any or all specific members. Additionally, any user can remove themself from a chat.
To remove a member from the chat Group, click the X icon to the right of their name.
To remove yourself from a group, click the X to the right of any Group Chat.
If you removed yourself from a group you did not create, the creator can Invite you again and all previous messages can be viewed. If you are the creator of a Group Chat and delete it, the group will be removed for all users.
Messaging and Notifications
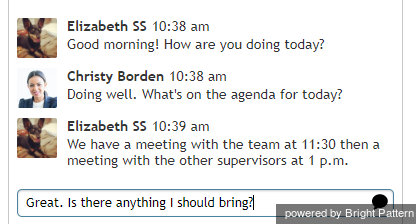
Once you have created or are added to a Group Chat, you can send and receive messages regardless of of your state (e.g. Ready, Not Ready, Supervising, etc.). To send a message, type in the Text Input Area area, then press the Enter key or click on the Send the message icon.
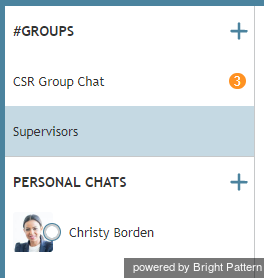
If you have been active in another chat or even logged out of Agent Desktop, when you return you will see the number of missed messages next to a given group.
Adding Attachments in Group Chat
This feature is reserved for future use.

