From Bright Pattern Documentation
(Created page with "<translate>= Service Overview = This section of the ''Salesforce Integration Guide'' explains how to integrate Bright Pattern Contact Center with Salesforce in Service Cloud v...") |
|||
| Line 11: | Line 11: | ||
#[[sfdc-integration-guide/Lightning/EnablingSingleSign-On | Enable Single Sign-On]] | #[[sfdc-integration-guide/Lightning/EnablingSingleSign-On | Enable Single Sign-On]] | ||
#[[sfdc-integration-guide/Lightning/IntegrationAccount | Add Salesforce Integration Account in Bright Pattern]] | #[[sfdc-integration-guide/Lightning/IntegrationAccount | Add Salesforce Integration Account in Bright Pattern]] | ||
| + | #[[Sfdc-integration-guide/Service/ScreenPop | Enable Screen Pop]] | ||
Revision as of 00:06, 14 September 2019
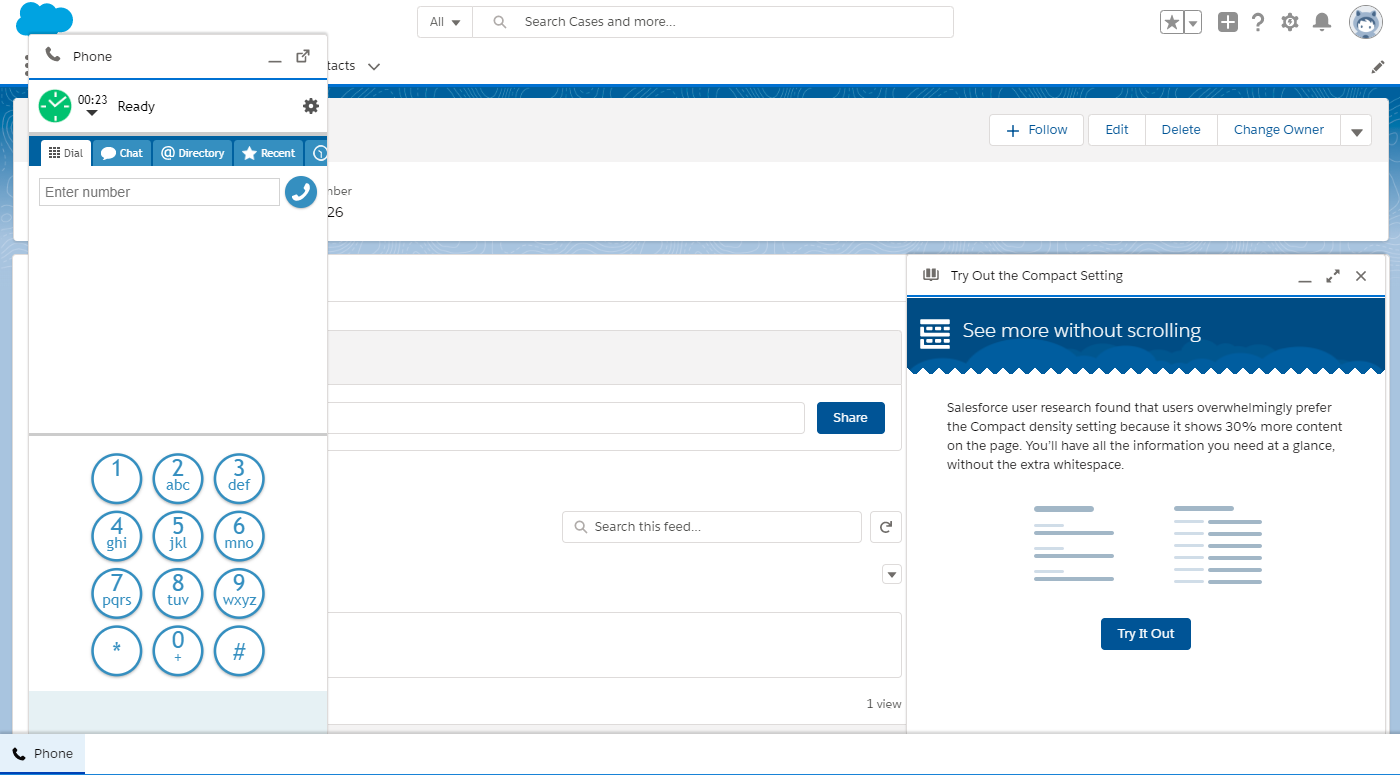
<translate>= Service Overview = This section of the Salesforce Integration Guide explains how to integrate Bright Pattern Contact Center with Salesforce in Service Cloud view, placing the embedded Agent Desktop in your Service apps.
Service integration configuration is almost identical to Lightning integration configuration, with one exception when creating a new Lightning app to make the embedded Agent Desktop widget appear in your Service app. We recommend following Lightning integration configuration steps (see the following list), being sure to read the instructions carefully in section Add Connected App to Enable Scenarios to Access Salesforce Data.
Integration Steps
- Install Managed Package
- Set up Call Center
- Create a Lightning App
- Add Connected App to Enable Scenarios to Access Salesforce Data
- Enable Single Sign-On
- Add Salesforce Integration Account in Bright Pattern
- Enable Screen Pop
</translate>

