From Bright Pattern Documentation
No edit summary |
Updated via BpDeleteTranslateTags script |
||
| Line 1: | Line 1: | ||
= How to Create a New Contact= | |||
There are several ways to create a new contact (i.e., add a new record) in Agent Desktop. You can enter details for a new contact manually via the Contacts search results, or you can add a new record quickly from a number of contact summary pop-ups. The ways to create a new contact are described as follows. | There are several ways to create a new contact (i.e., add a new record) in Agent Desktop. You can enter details for a new contact manually via the Contacts search results, or you can add a new record quickly from a number of contact summary pop-ups. The ways to create a new contact are described as follows. | ||
== Search Results == | == Search Results == | ||
# On the Contacts Search results list, click the '''Create''' button at the bottom of the screen.[[File:Managing-Contacts-Search-50.png|800px|thumbnail|center|Filling in the contact Details form]] | # On the Contacts Search results list, click the '''Create''' button at the bottom of the screen.[[File:Managing-Contacts-Search-50.png|800px|thumbnail|center|Filling in the contact Details form]] | ||
# The Contact Details form will open, and from there, you can enter all contact information.[[File:AD-New-Contact-Form-Edit-5399msg.PNG|800px|thumbnail|center|Filling in the contact Details form]] | # The Contact Details form will open, and from there, you can enter all contact information.[[File:AD-New-Contact-Form-Edit-5399msg.PNG|800px|thumbnail|center|Filling in the contact Details form]] | ||
| Line 9: | Line 9: | ||
== "Add New" Option on Contact Pop-Up == | == "Add New" Option on Contact Pop-Up == | ||
# On the Active Conversations List, click the ''Recent'' tab. | # On the Active Conversations List, click the ''Recent'' tab. | ||
# Hover your mouse cursor over the contact's name. | # Hover your mouse cursor over the contact's name. | ||
| Line 18: | Line 18: | ||
== Calendar == | == Calendar == | ||
# On your calendar, add a new event. | # On your calendar, add a new event. | ||
# Click the + sign at the bottom of the pane where you edit event details. The + sign allows you to assign a contact to the event.[[File:Calendar-Assign-Contact-50.png|800px|thumbnail|center|Assign a contact to a calendar event]] | # Click the + sign at the bottom of the pane where you edit event details. The + sign allows you to assign a contact to the event.[[File:Calendar-Assign-Contact-50.png|800px|thumbnail|center|Assign a contact to a calendar event]] | ||
| Line 24: | Line 24: | ||
# Enter the name of the new contact and select the checkbox for '''create contact'''.[[File:Calendar-Contact-Name-Create-50.png|450px|thumbnail|center|Type in the name of your contact]] | # Enter the name of the new contact and select the checkbox for '''create contact'''.[[File:Calendar-Contact-Name-Create-50.png|450px|thumbnail|center|Type in the name of your contact]] | ||
# At the top of the pane, click '''Save'''. If you do not save the event details, your new contact will not be created.[[File:Save-Create-Contact-50.png|450px|thumbnail|center|Save details]] | # At the top of the pane, click '''Save'''. If you do not save the event details, your new contact will not be created.[[File:Save-Create-Contact-50.png|450px|thumbnail|center|Save details]] | ||
Revision as of 04:00, 29 May 2024
How to Create a New Contact
There are several ways to create a new contact (i.e., add a new record) in Agent Desktop. You can enter details for a new contact manually via the Contacts search results, or you can add a new record quickly from a number of contact summary pop-ups. The ways to create a new contact are described as follows.
Search Results
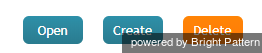
- On the Contacts Search results list, click the Create button at the bottom of the screen.
Filling in the contact Details form - The Contact Details form will open, and from there, you can enter all contact information.
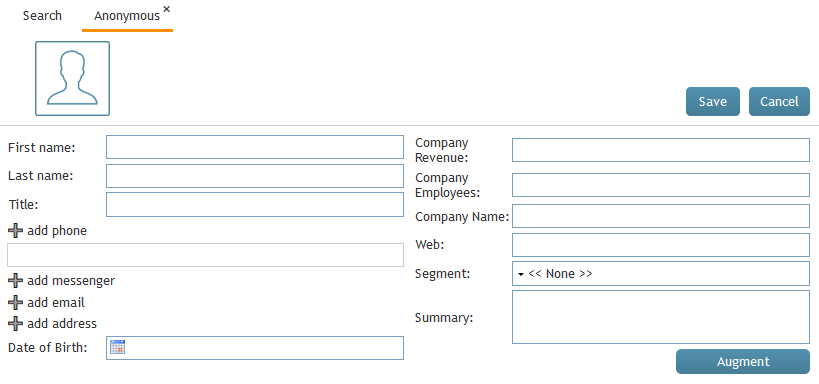
Filling in the contact Details form - Click Save.


"Add New" Option on Contact Pop-Up
- On the Active Conversations List, click the Recent tab.
- Hover your mouse cursor over the contact's name.
- If no details have been saved for that contact, the contact summary pop-up will provide links labeled new contact and add to existing.
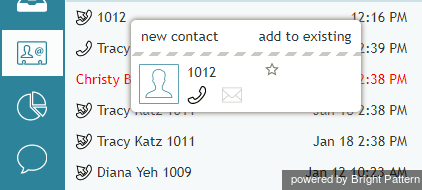
Click "new contact" - Click new contact.
- The Add New Record pop-up will appear with four basic fields to complete: name, phone extension (which may be pre-filled for you), email, and photo.

Add New Record - Click Create to create a simple record quickly, or click Add and Edit to add more information to an existing contact.


Calendar
- On your calendar, add a new event.
- Click the + sign at the bottom of the pane where you edit event details. The + sign allows you to assign a contact to the event.
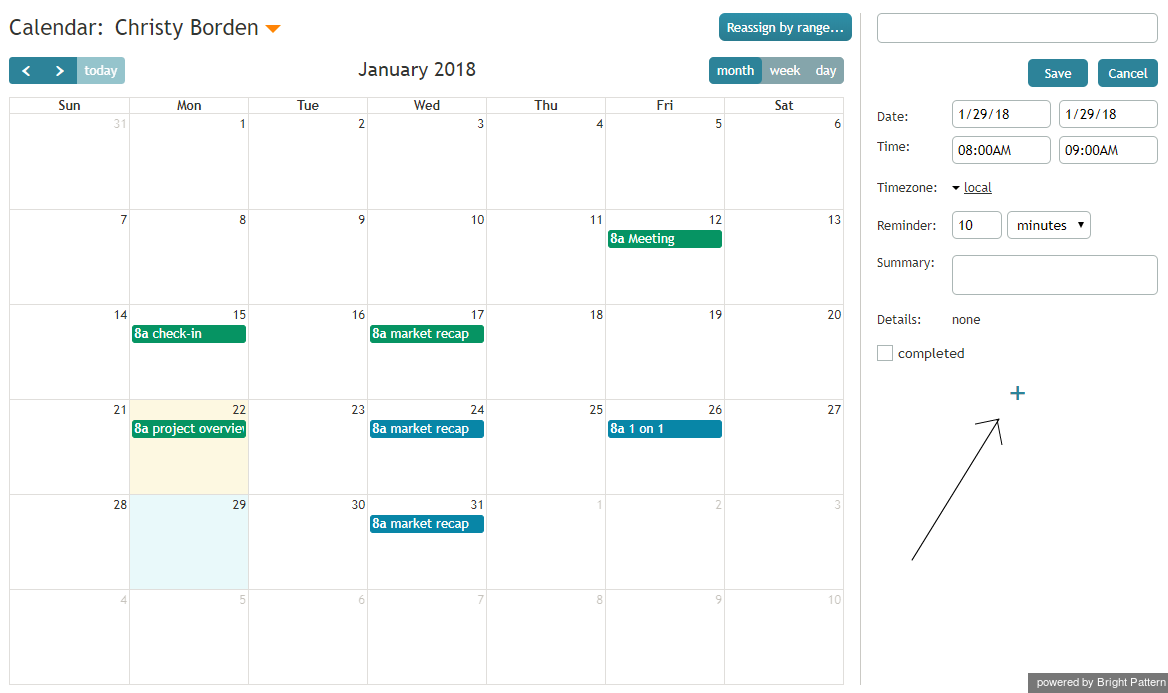
Assign a contact to a calendar event - Click Enter manually (or directory).
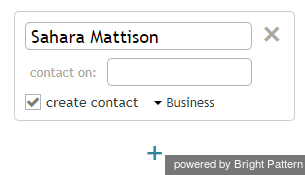
Assign a new contact by typing in the name - Enter the name of the new contact and select the checkbox for create contact.
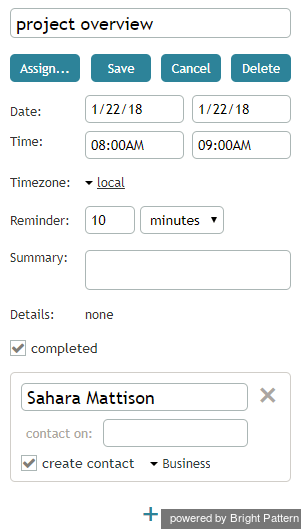
Type in the name of your contact - At the top of the pane, click Save. If you do not save the event details, your new contact will not be created.
Save details < Previous | Next >


