(Marked this version for translation) |
(Updated via BpDeleteTranslateTags script) |
||
| Line 1: | Line 1: | ||
| − | + | = How to Access the Chat Widget Configuration Application = | |
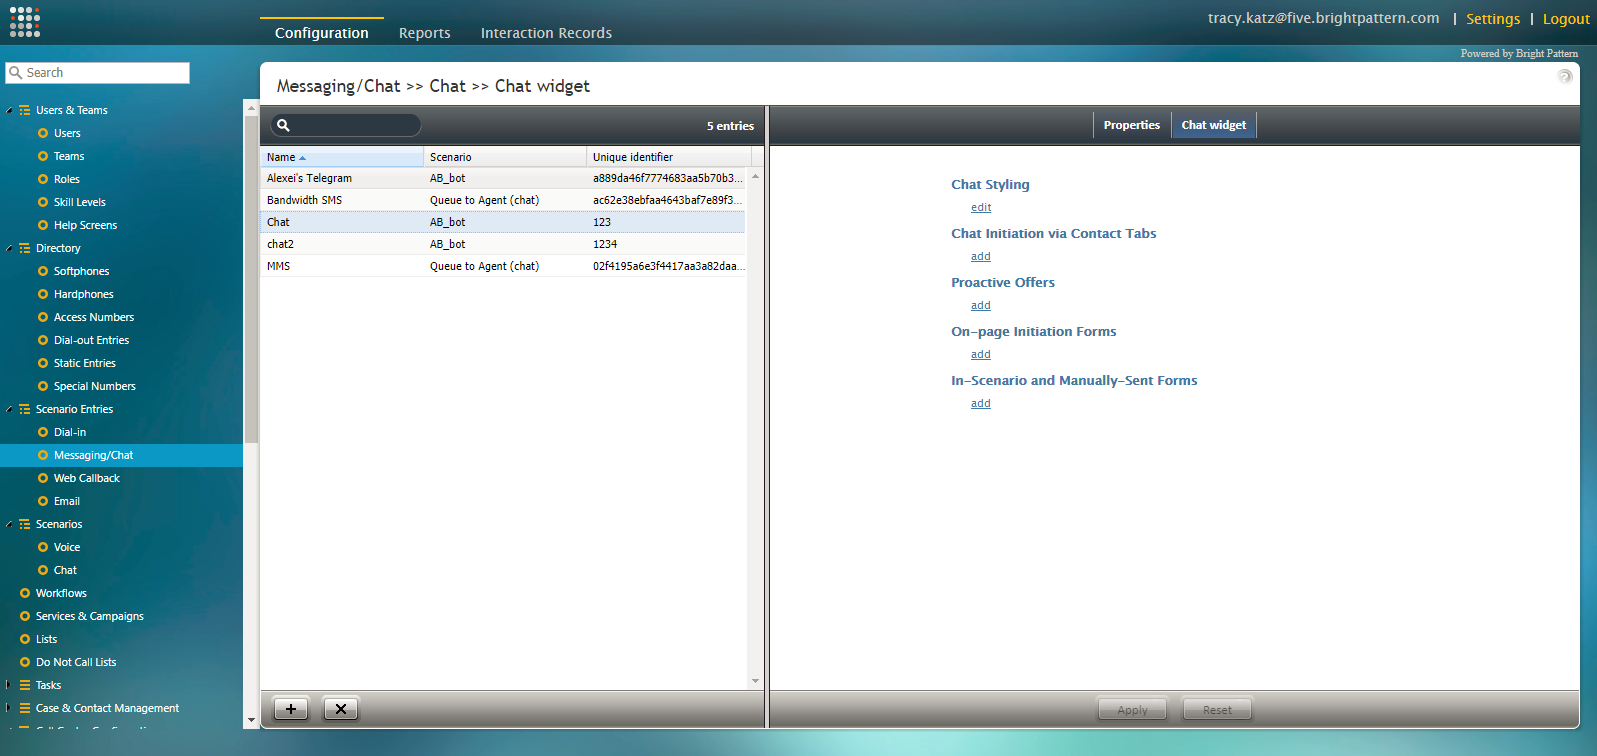
Chat widgets are configured for each Messaging scenario entry in the Contact Center Administrator application at ''Configuration > Scenario Entries > Messaging/Chat'' in the ''Properties'' tab, and they are customized in the ''Chat widget'' tab. Note that the requested skills and chat scenario for the chat are specified in the entry. | Chat widgets are configured for each Messaging scenario entry in the Contact Center Administrator application at ''Configuration > Scenario Entries > Messaging/Chat'' in the ''Properties'' tab, and they are customized in the ''Chat widget'' tab. Note that the requested skills and chat scenario for the chat are specified in the entry. | ||
| − | |||
[[File:Chat-Messaging-Ch-50.PNG|800px|thumbnail|center|Contact Center Administrator > Scenario Entries > Messaging/Chat > Chat Widget]] | [[File:Chat-Messaging-Ch-50.PNG|800px|thumbnail|center|Contact Center Administrator > Scenario Entries > Messaging/Chat > Chat Widget]] | ||
| − | == Chat Widget Tab == | + | == Chat Widget Tab == |
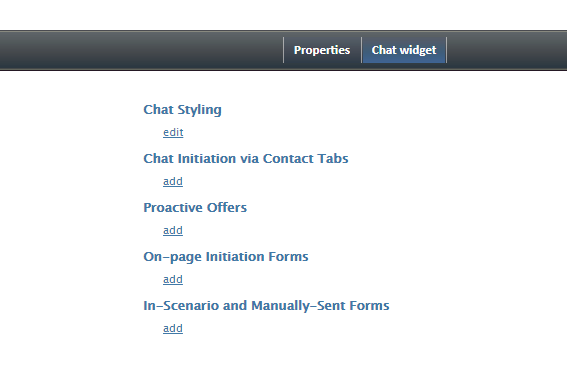
On the Chat Widget tab, there are five options to take when customizing a chat widget for your scenario entry: | On the Chat Widget tab, there are five options to take when customizing a chat widget for your scenario entry: | ||
* Chat Styling | * Chat Styling | ||
| Line 16: | Line 15: | ||
| − | |||
[[File:Messaging-Chat-Widget1-50.PNG|650px|thumbnail|center|Scenario Entries > Messaging > Chat Widget tab]] | [[File:Messaging-Chat-Widget1-50.PNG|650px|thumbnail|center|Scenario Entries > Messaging > Chat Widget tab]] | ||
| − | |||
Beneath each option, there is a link to '''edit''' the widget or '''add''' an item to the widget. Clicking either link will open the Chat Widget Configuration application in a new browser tab or window, depending on your settings. | Beneath each option, there is a link to '''edit''' the widget or '''add''' an item to the widget. Clicking either link will open the Chat Widget Configuration application in a new browser tab or window, depending on your settings. | ||
| − | |||
Note that you can have only one element open in the Chat Widget Configuration application at a time. | Note that you can have only one element open in the Chat Widget Configuration application at a time. | ||
| − | |||
The next sections of this guide describe the properties of each part of the Chat Widget Configuration application. | The next sections of this guide describe the properties of each part of the Chat Widget Configuration application. | ||
| − | |||
| − | |||
| − | |||
| − | |||
| − | |||
| − | |||
| − | |||
| − | |||
Latest revision as of 04:01, 29 May 2024
How to Access the Chat Widget Configuration Application
Chat widgets are configured for each Messaging scenario entry in the Contact Center Administrator application at Configuration > Scenario Entries > Messaging/Chat in the Properties tab, and they are customized in the Chat widget tab. Note that the requested skills and chat scenario for the chat are specified in the entry.
Chat Widget Tab
On the Chat Widget tab, there are five options to take when customizing a chat widget for your scenario entry:
- Chat Styling
- Chat Initiation via Contact Tabs
- Proactive Offers
- On-page Initiation Forms
- In-Scenario and Manually-Sent Forms
Beneath each option, there is a link to edit the widget or add an item to the widget. Clicking either link will open the Chat Widget Configuration application in a new browser tab or window, depending on your settings.
Note that you can have only one element open in the Chat Widget Configuration application at a time.
The next sections of this guide describe the properties of each part of the Chat Widget Configuration application.


