How to Configure Activity History Forms
Activity History forms contain specific information from the activity forms agents fill out during interactions; this information is then saved to the case and contact history corresponding to the interaction.
This article will show you how to configure an Activity History form with custom Activity History fields. Note that an activity form must be configured with information related to that found in the Activity History form in order for the information to show up in the case and contact history corresponding to the interaction.
What is the difference between an activity form and an Activity History form?
Where an activity form is something an agent interacts with directly in Agent Desktop, an Activity History form is an exact opposite; that is, it is a static form containing only data that was collected in a related activity form. Activity History forms are not editable.
Prerequisites
If you wish to include custom Activity History fields in your form, you must configure them first. For more information, see the Contact Center Administrator Guide, section Custom Fields > Activity History.
Procedure
1. Create an Activity Form
In order for an Activity History form to work, we must configure an activity form first. Reminder: Activity History forms are populated with information entered in activity forms.
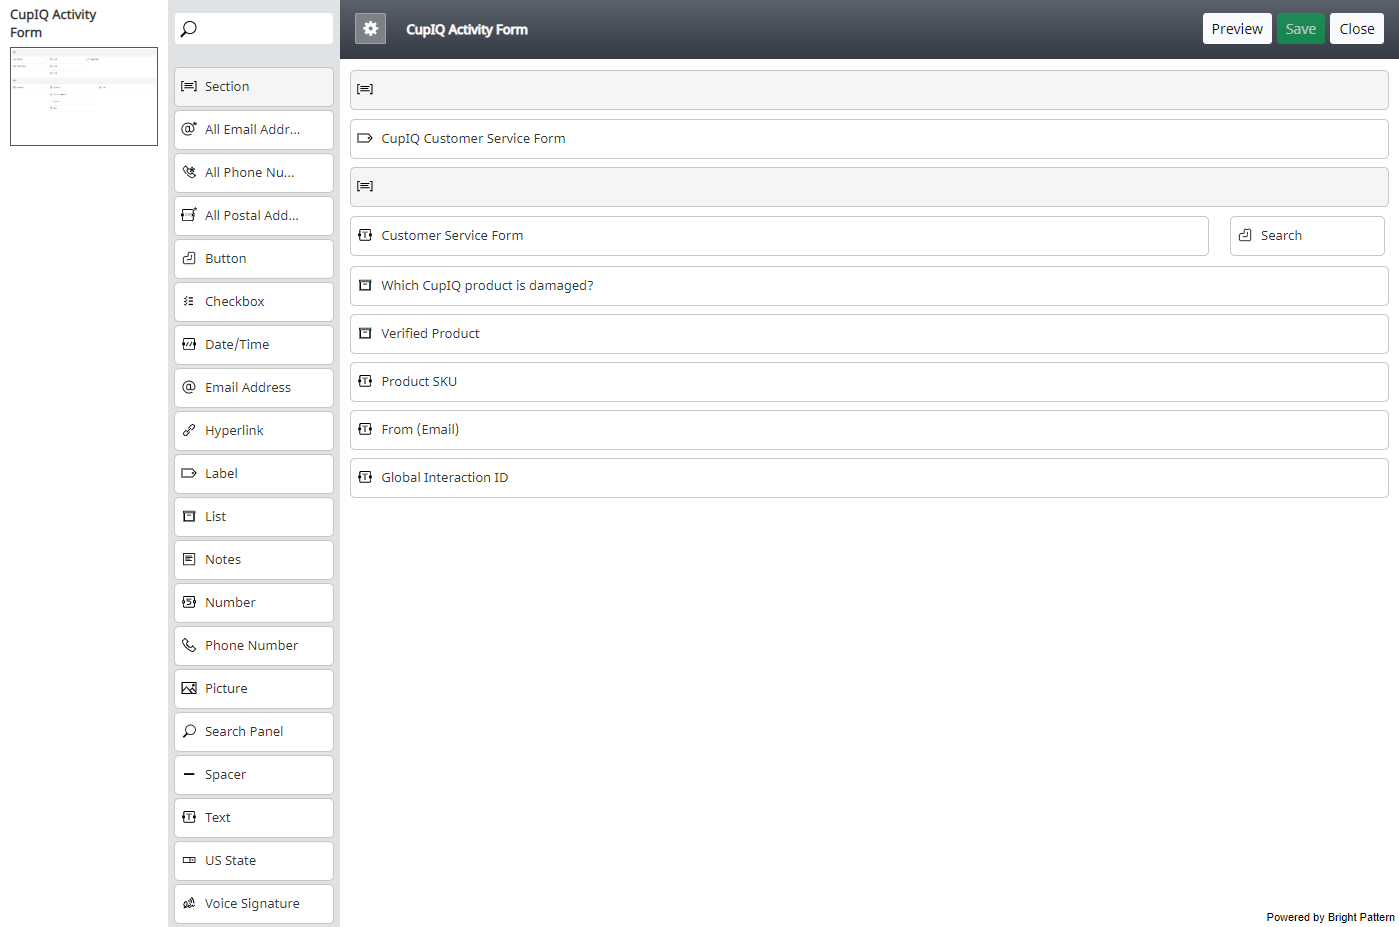
Beginning in the Contact Center Administrator application, section Forms > Activity, configure a form then launch the Form Builder application.
2. Map Activity History Values to Form Fields
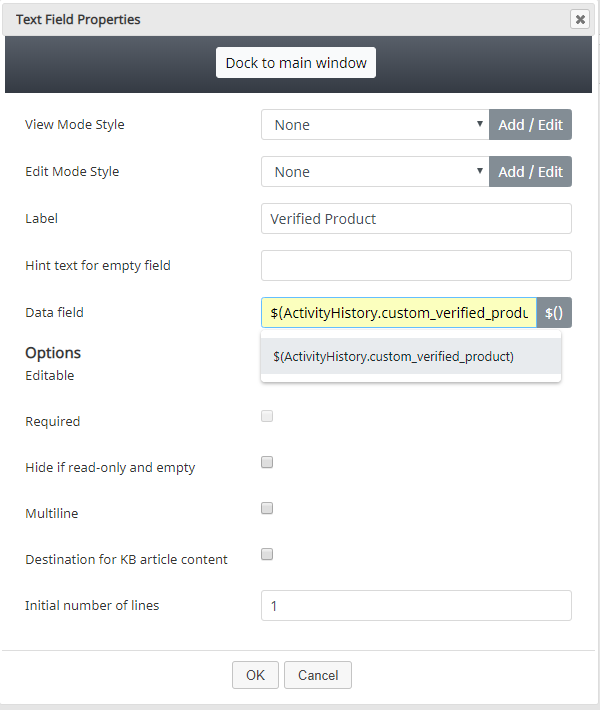
In the Form Builder application, begin adding the types of fields you want your agents to fill out. When editing the field properties, you will need to map Activity History field values to your form fields.
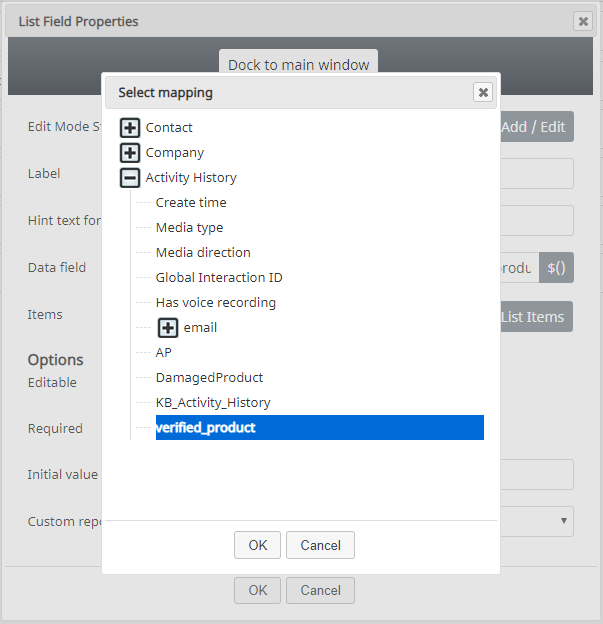
To do this, select the data field button. This will pop a window with the data fields you can map to a given form field. From here, you will choose from the selection available under Activity History, including any custom Activity History fields.
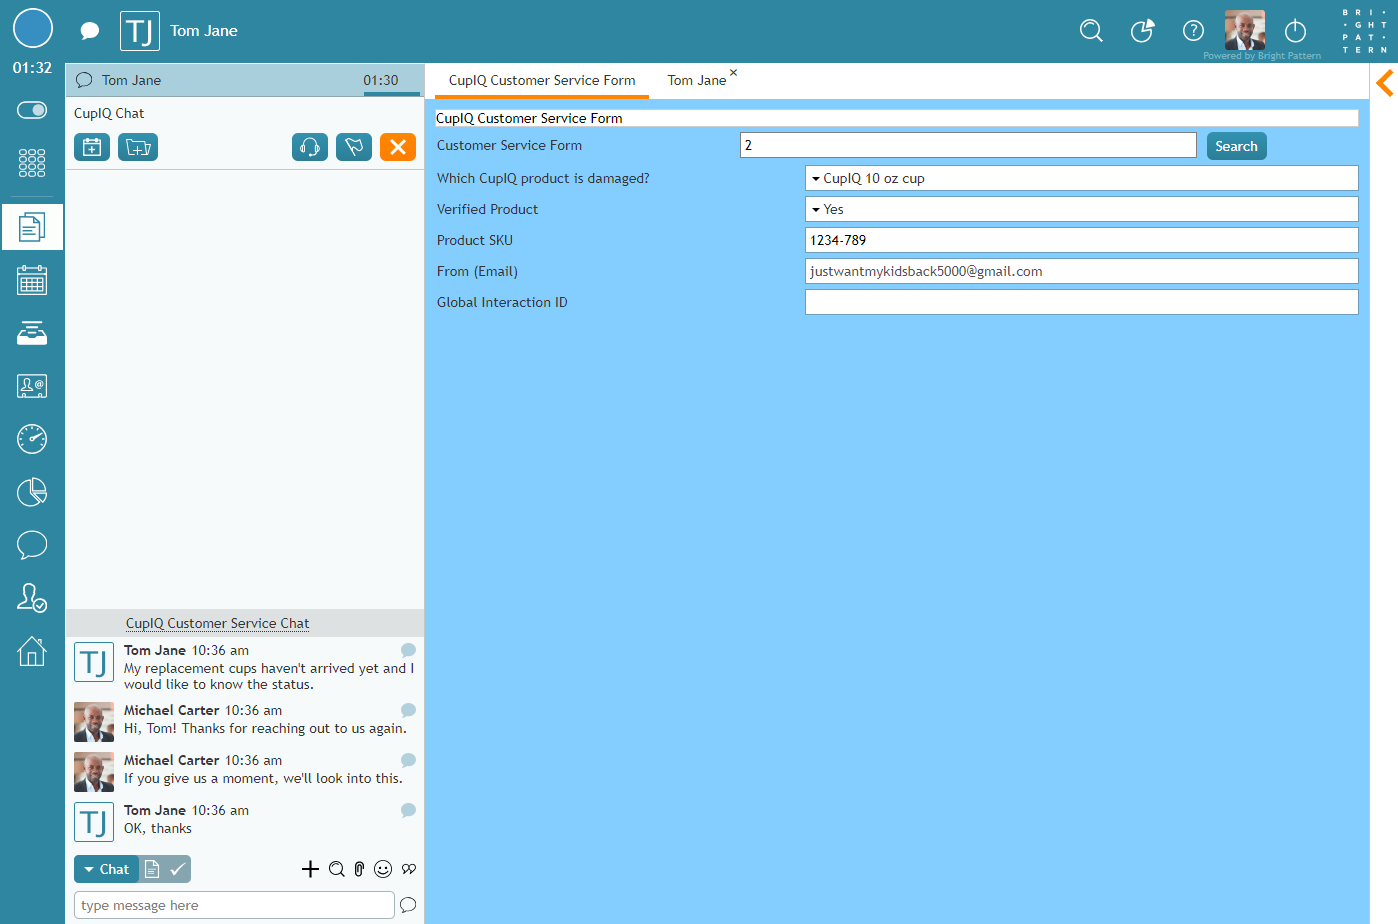
In our example, we added a list field to our form and mapped a custom Activity History field "verified_product" to it. Additionally, we added a non-editable Global Interaction ID field to the form. Note that your form fields will behave in the way you configured them to; however, the value of whatever is entered in the field is associated with Activity History.
3. Create an Activity History Form
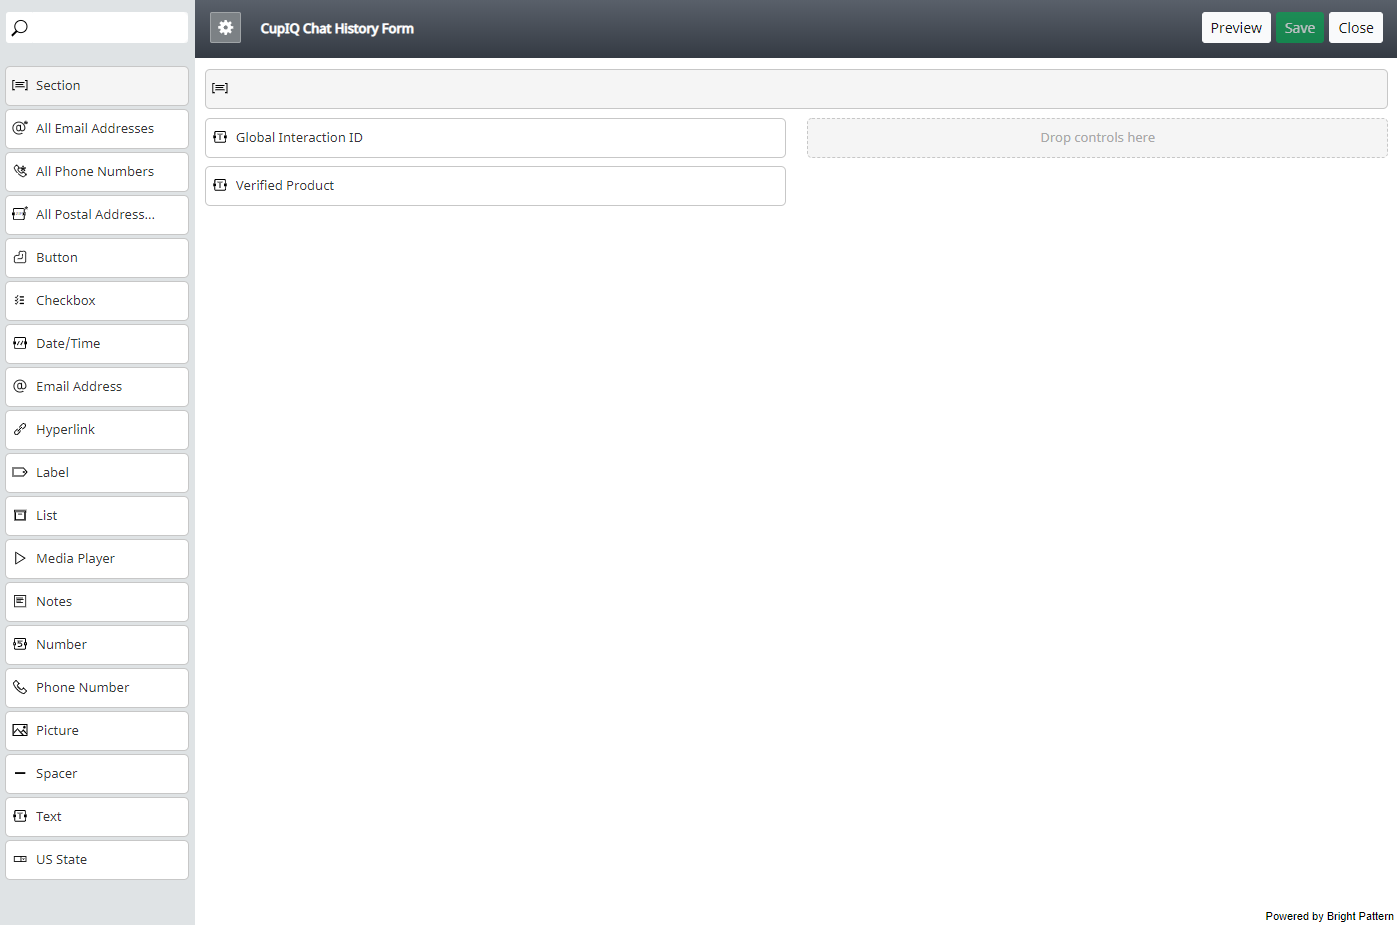
Back in the Contact Center Administrator application, section Forms > Activity History, configure a form then launch the Form Builder application. As a reminder, Activity History forms are configurable per service type (i.e., chat, email, voice).
4. Map the same Activity History Values to the New Form Fields
In the Form Builder application, begin adding the desired fields. Because Activity History forms are connected to activity forms, we will configure our new form fields to contain the same Activity History mapping and information. In this example, our Activity History form contains the same "verified_product" and Global Interaction ID field mapping.
When configuring Activity History forms, it is important to note that they are ultimately displayed in Agent Desktop as read only. So, while it is possible to add field types to the form that are normally editable (e.g., list, phone number, text, etc.), they will not function this way for Activity History forms.
5. Assign the Activity History Form to the Desired Service
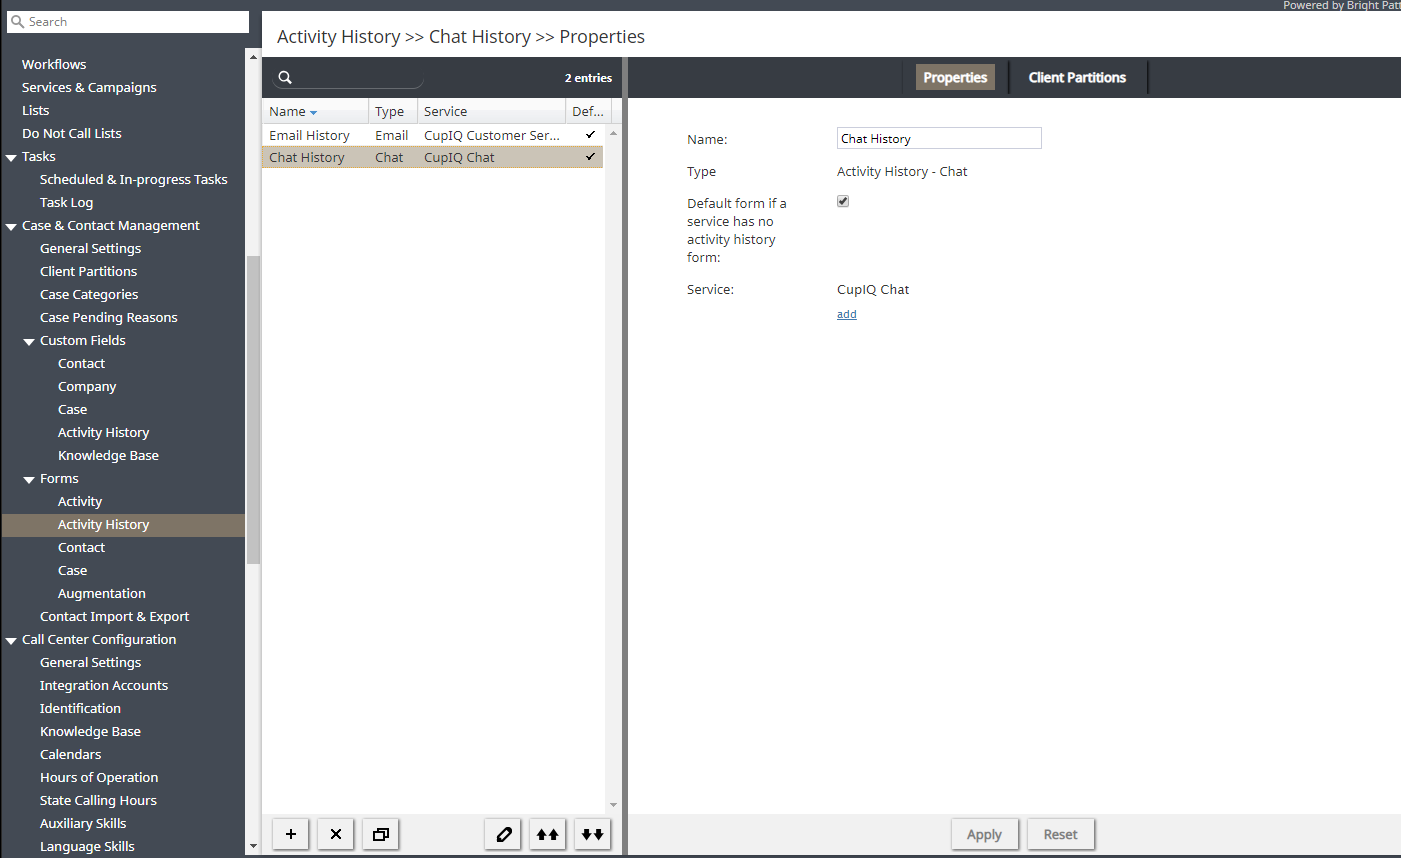
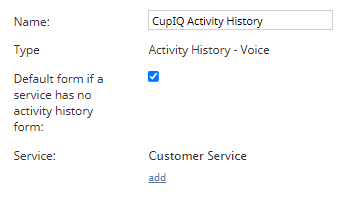
When you are finished designing your activity history form, you will assign it to the desired service in the activity history form Properties tab. Click Apply to save your settings.
Your Forms In Action
Activity History forms contain data from activity forms, so you will want to review how both forms function in the Agent Desktop application. First, ensure the behavior of your activity form is correct, making sure the fields mapped with Activity History values are filled out. In our example, the Verified Product list field has the option "Yes" selected.
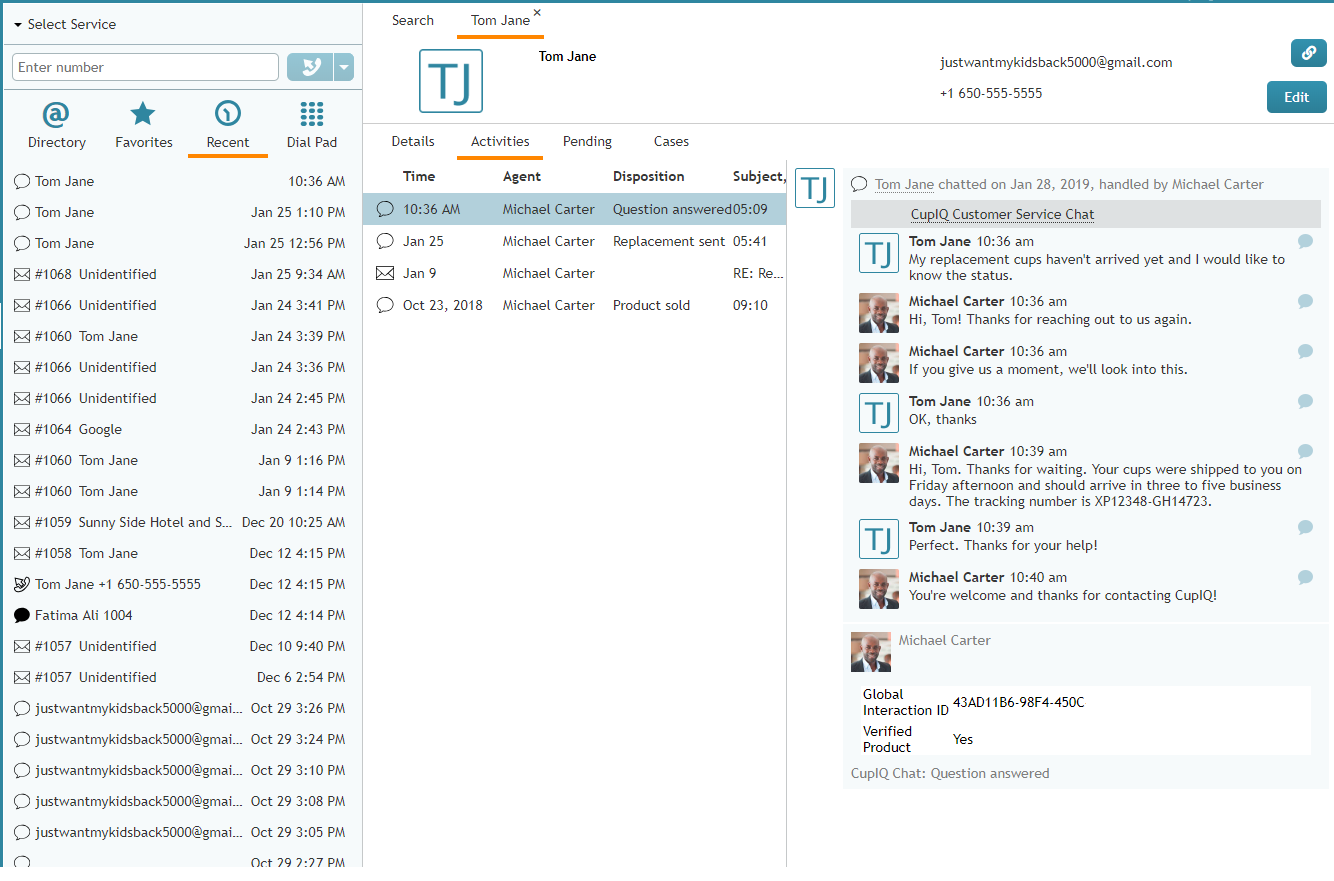
Next, going to section Search & Preview records, we find the appropriate contact, select the Activities tab, and under the most recent interaction, we see the Activity History form with the information from two matching fields on the activity form.

