Create an App
When your developer account is approved, return to the developer site and create an app. The app contains the Twitter API keys and tokens you will need when configuring the integration account in your Bright Pattern Contact Center environment.
Note that either a Premium API or an Enterprise Account Activity API is needed for receiving webhook messages from Twitter. For more information, see Twitter's Developer site.
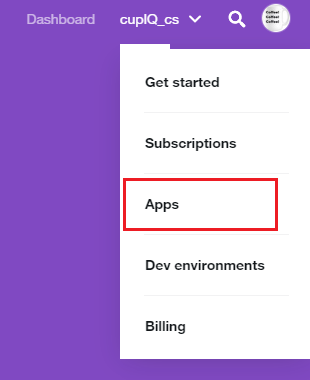
To create an app, click on your username in the upper right corner of the page and select Apps from the drop-down menu. From the Apps page, click Create an app and you will be directed to the app creation page.
Step 1: App Details Tab
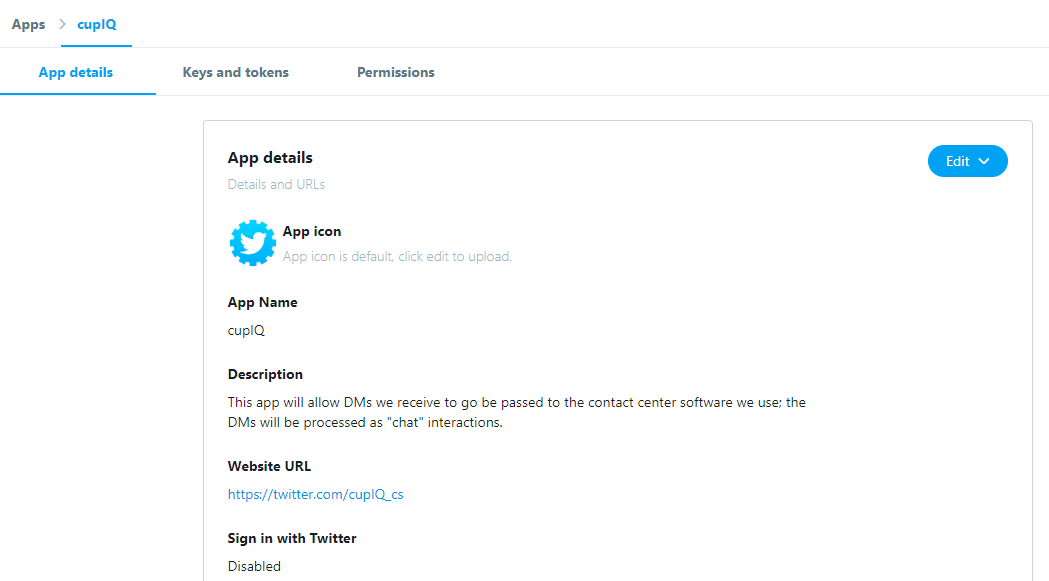
The first part of creating your app is filling out the App details tab; it is where you enter your app's basic information (e.g., name, websites, etc.). When filling out the app details, the following information is required:
- App name - This is the name of your app.
- Application description - Describe your app.
- Website URL - The URL of the website that you want your app’s Tweets attributed to; it will appear in user-facing authorization screens
- Tell us how this app will be used - This is where you detail the purpose and function of your app.
The following information, while not required, may be included:
- App icon
- The checkbox Enable Sign in with Twitter, which allows the app to be used to sign in with Twitter
- Callback URL (either https:// or scheme://) - Note that if the Enable Sign in with Twitter checkbox is selected, this field is required.
- Terms of Service URL
- Privacy Policy URL
- Organization Name
- Organization website URL
Step 2: Keys and Tokens Tab
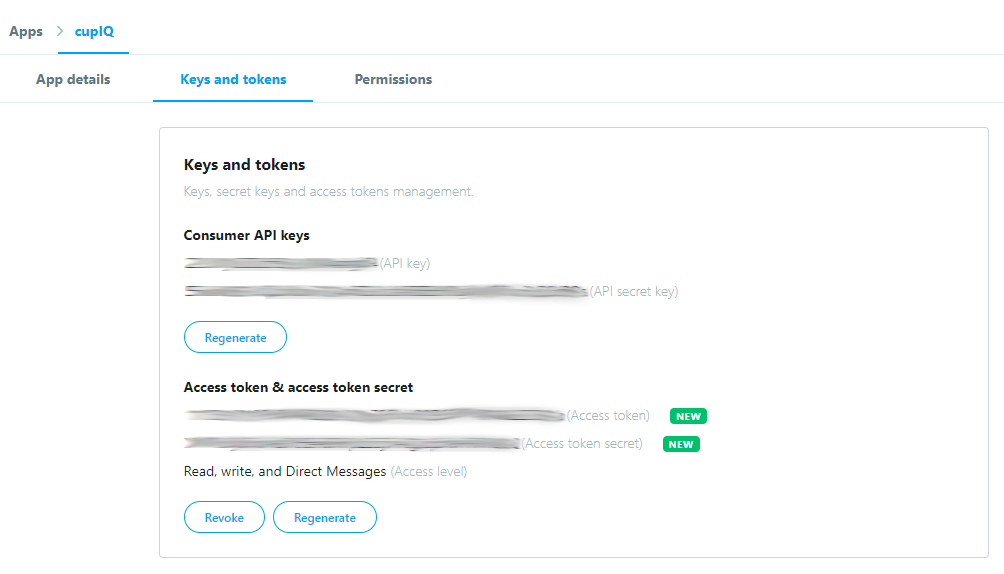
Next, you will go to the the Keys and tokens tab; it contains the Consumer API keys as well as the Access token & access token secret. This information is required for configuring your Bright Pattern Contact Center's integration account.
For Consumer API keys, the API key and API secret key are already created; however, they may be regenerated here. You must make sure that the key contains no spaces; if the key contains a space, generate a new one that does not contain any spaces.
For Access token & access token secret, if nothing is listed, click the Create button. Like the Consumer API keys, the access token and access token secret can be regenerated as needed. If necessary, you may revoke these tokens by clicking Revoke.
Note: You will need to regenerate existing keys and access tokens when app permissions are changed.
Step 3: Permissions Tab
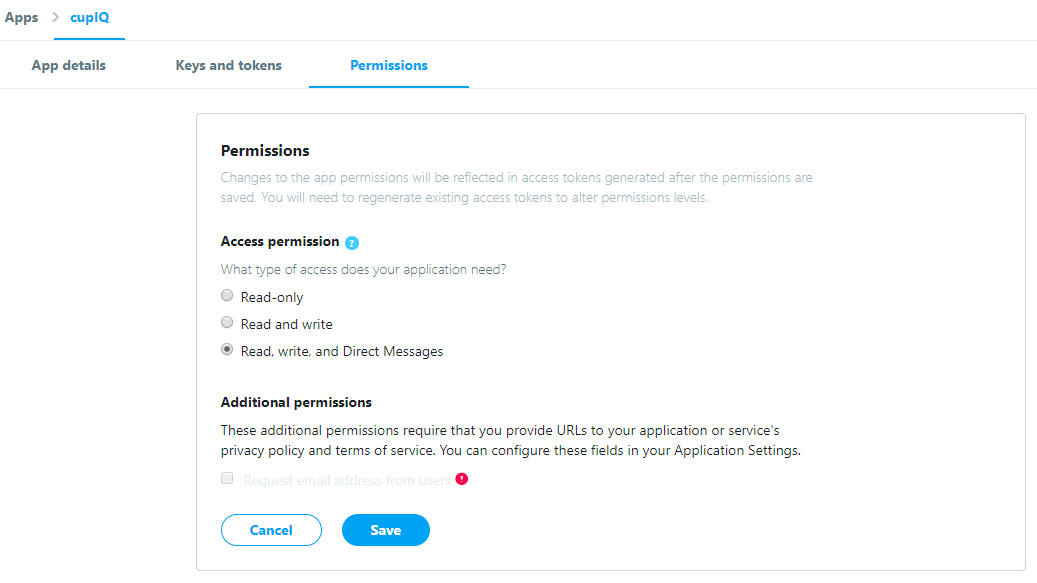
Finally, you will go to the Permissions tab; it is where you set the permissions for your app. Click the Edit button and change the Access permission setting to Read, write, and Direct Messages. Note: You will need to regenerate existing keys and access tokens when app permissions are changed.


