From Bright Pattern Documentation
< 5.3:Chat-widget-configuration-guide
Revision as of 04:08, 29 May 2024 by BpDeeplTranslateMaintenance (talk | contribs) (Updated via BpDeleteTranslateTags script)
• 日本語
How to Use Amazon CloudFront to Speed up Chat Widget Loading
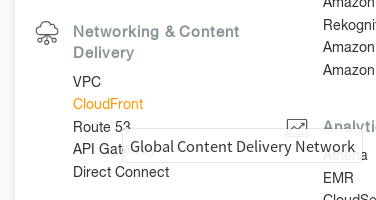
Amazon CloudFront is a global content delivery network (CDN) designed to optimize static content delivery. It uses DNS to resolve the domain name to an IP address closest to the requester and serve content from that address. To populate the CDN, one of the simplest approaches is to use CloudFront as a caching proxy (i.e., using CloudFront delivery method Web).
It is possible to use CloudFront to deliver Bright Pattern Contact Center chat components, such as scripts, CSS, and images. The following procedure describes the setup process.
Procedure
Step 1: Create a chat snippet
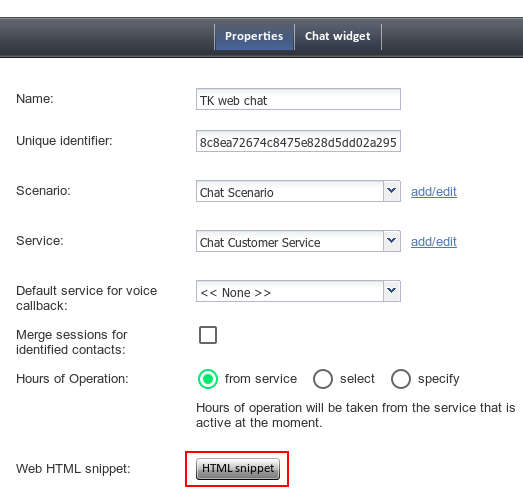
- In the Contact Center Administrator application, create a new Messaging/Chat scenario entry, or use an existing one to copy the Web HTML Snippet. The Web HTML Snippet is the HTML code that provides access to the web elements of the chat application that customers will use to access your contact center via the given scenario entry.
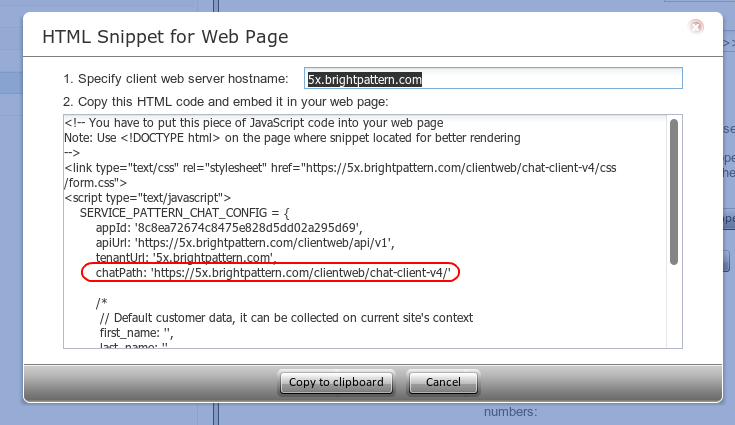
- In the Web HTML Snippet, note the line "chatPath: 'https://5x.brightpattern.com/clientweb/chat-client-v4/'”. This is the location of static chat files. We will need to update the domain in this URL to point to the CloudFront domain that will be created in the next steps. After modification, the snippet will have to be added to all the website pages.
Step 2: Create a new CloudFront distribution
- Login into your AWS console (https://aws.amazon.com) and select CloudFront.
- Click Create Distribution.
- Select a Delivery method. Choose Web.
- In Origin Settings, enter the Origin Domain Name (i.e., the Web HTML Snippet client web server hostname in Step 1.2 of this procedure) and Origin Path (i.e., the "chatPath" from the Web HTML Snippet in Step 1.2 of this procedure).
- Select the checkbox for Compress Objects Automatically.
- Click Create Distribution.
- Note the Domain Name in the list of active CloudFront Distributions.
- Wait until the distribution is ready (i.e., when the status is Deployed).
Step 3: Update the snippet on your website
- In the Web HTML Snippet, in the line “chatPath: 'https://5x.brightpattern.com/clientweb/chat-client-v4/'”, update the domain to point to the domain name from CloudFront distribution created above.
- After this modification, the Web HTML Snippet will have to be added to all the website pages that use it (or, the already existing snippet has to be modified to reflect the new "chatPath").
< Previous


