Chat
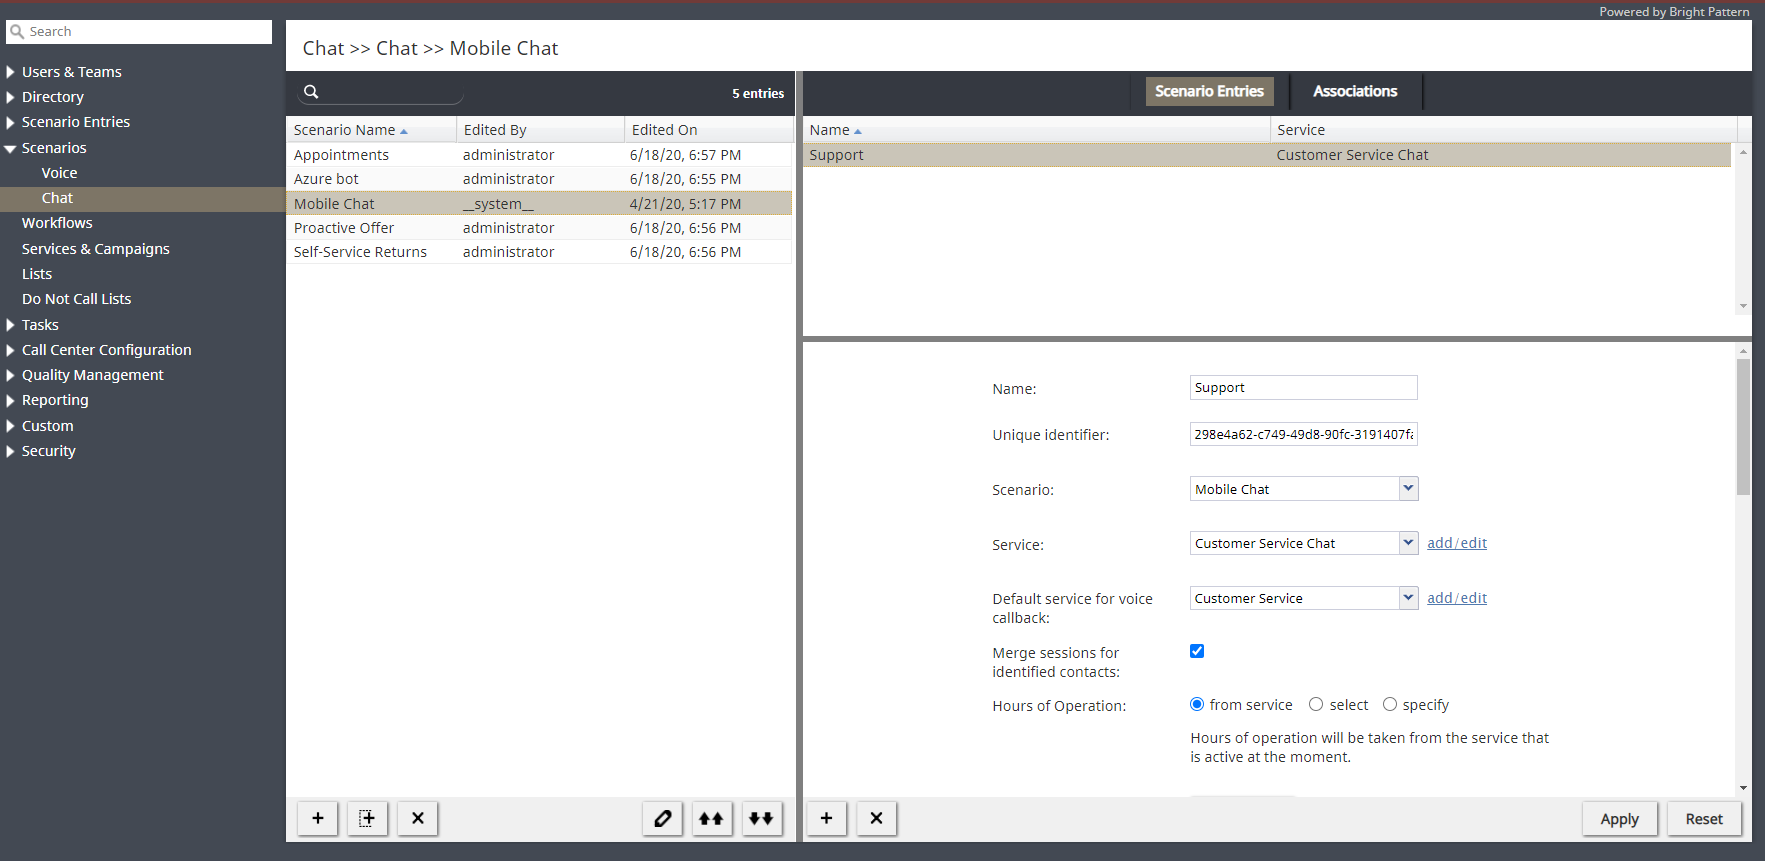
To create or edit chat scenarios, select the Chat option from the Scenarios menu. This covers Zendesk live chat as well as Salesforce.com chat integrations. Upon selecting Chat, your screen will be updated as shown.
You can use the right pane of the Scenarios > Chat view to manage associations of chat scenarios with web pages (i.e., to create and edit chat scenario entries).
The Chat screen properties are provided in two tabs: Scenario Entries and Associations. The properties for each tab are described as follows.
Scenario Entries tab
List of Messaging/Chat Scenario Entries
This is a list of the Messaging/Chat scenario entries where the selected scenario is used.
Messaging/Chat Scenario Entry Properties
These are the properties of the messaging/chat scenario entry selected in the List of Messaging/Chat scenario entries. For a description of these properties, see section Messaging/Chat.
You can edit these properties or define a new entry for the selected scenario in this view.w.
Associations tab
List of associations
List of associations is a list of all contact resources that are referred to in this scenario, such as skills and services. This may be useful, for example, when you use the same scenarios in several separate environments (e.g., development, testing, and production).
Chat Scenario Templates
A template is a great place to start if you have not already created a chat scenario, or if you need a quick way to create a new scenario.
In the following scenario example, the Mobile Chat template is used to support the development of chat scenarios.
The Mobile Chat scenario can be adjusted to be used for either web or mobile chats. It starts when a customer requests a chat conversation with a contact center. It requests customer data via a web form, and it connects a qualified agent. At the end of the chat session, if offers a survey form to the customer and sends the transcript to the customer.
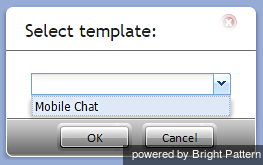
To use a template, click the Add from template icon ![]() at the bottom of the screen. In the pop-up window that appears, select the desired template to use. Click OK. In this example, the selected template is "Mobile Chat."
at the bottom of the screen. In the pop-up window that appears, select the desired template to use. Click OK. In this example, the selected template is "Mobile Chat."
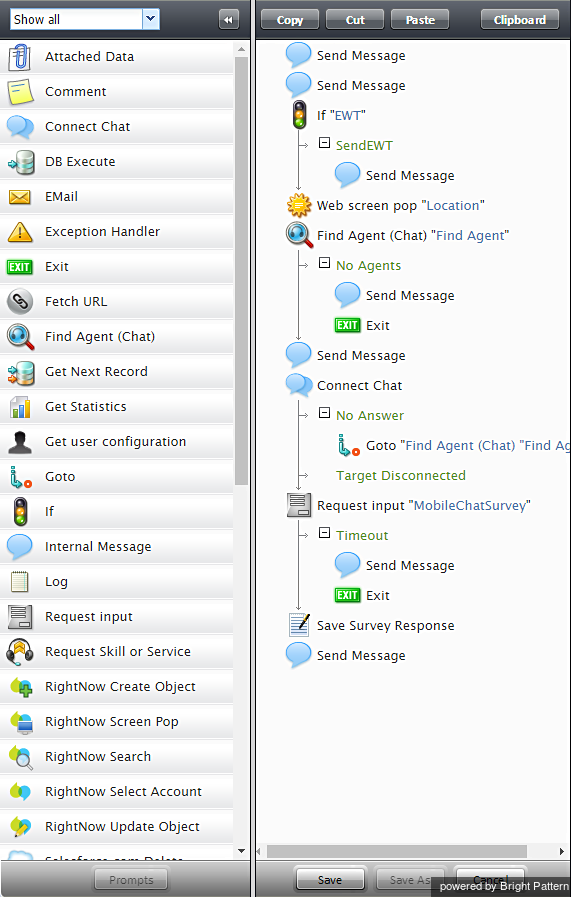
Clicking OK will launch the Scenario Builder application in a separate browser window or tab (depending on your settings).
Scenario Builder provides a powerful way to customize the sequence of actions in a scenario. This is where you view the template and customize its building blocks (i.e., prompts) to suit your workflow. The Scenario Builder displays all available building blocks (e.g., Find Agent, Send Message, Connect Chat, etc.) in a list on the left-hand panel of the screen. These represent the actions that could occur during an interaction with a customer, and they are dragged and dropped from the Prompts list on the left onto any area on the scenario panel to the right. To remove a block, simply drag it to the left, back onto the Prompts list.
Refer to the Scenario Builder Overview Reference Guide for detailed descriptions of scenario blocks and how to use them.


