How to Create New Cases
Cases are automatically created from emails inbound to your contact center. But what do you do if you need to reach out to a contact and need a record of it, or want to create a case from another type of interaction?
New cases can be created from either existing cases or contacts saved in your contact center or during non-email interactions. For more information, see Additional Ways to Initiate Interactions.
During Interactions
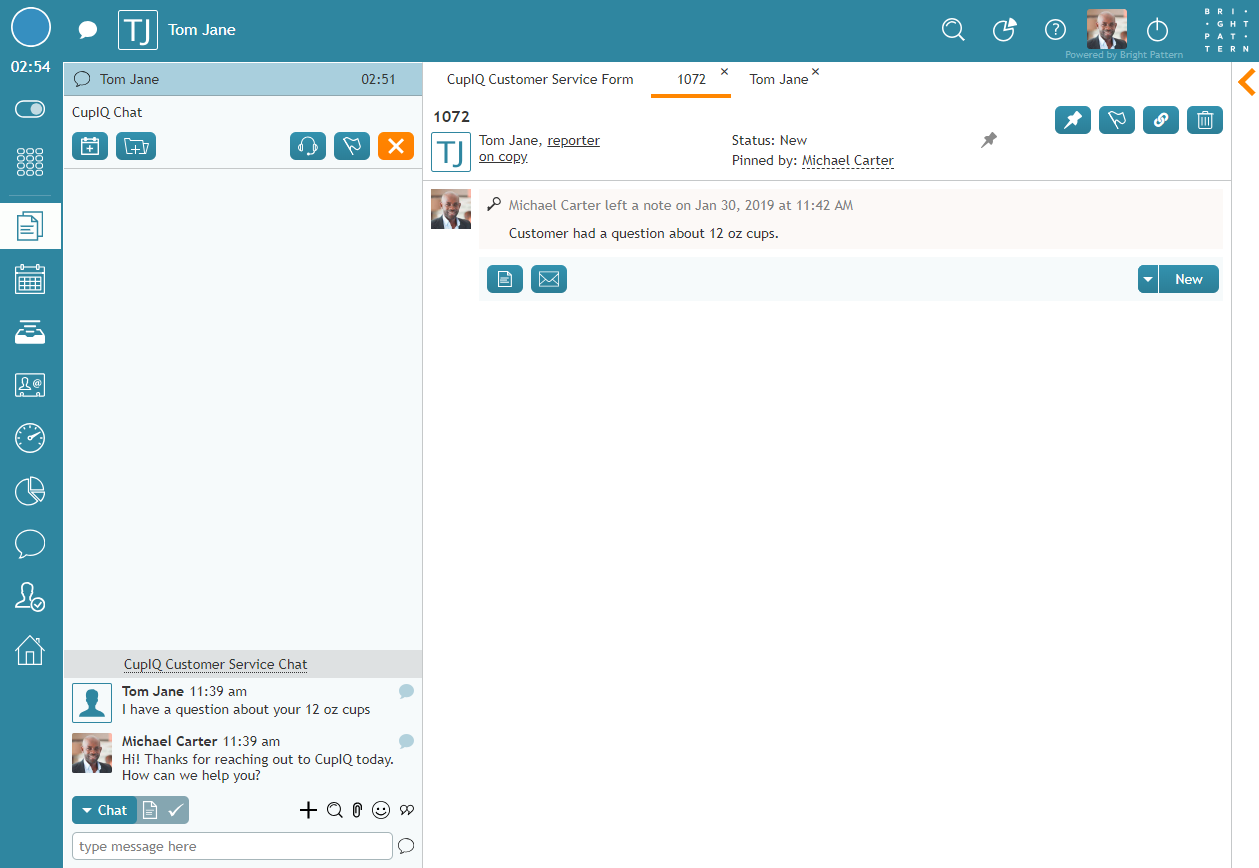
New cases can be created during active voice or chat interactions by clicking the Add new case button. After clicking this button, a case tab will open a draft note; you may also send an email at this time. Additionally, you can apply various case states to the case.
From Existing Cases
Personal Queue
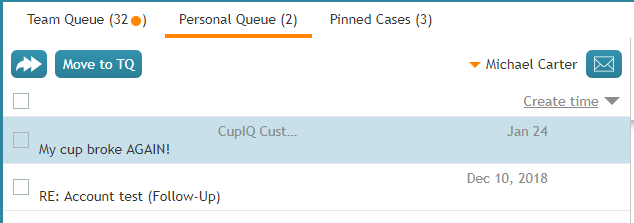
New cases can be created from your Personal Queue by clicking the Compose email button. After clicking this button, a new draft email opens with the option to create a note. Note that creating an email this way will place you in a Busy state.
Team Queue and Pinned Cases
It is also possible to create new cases from the Team Queue and Pinned Cases sections; however, the contact information must already be saved in your contact center. To create a new case from these sections, hover your cursor over a contact; this will pop a contact card with clickable interaction icons. Clicking the email icon will create a new case in a draft email state wth the option to create a note. Note that creating an email this way will place you in a Busy state.
From Existing Contacts
From the Cases Tab
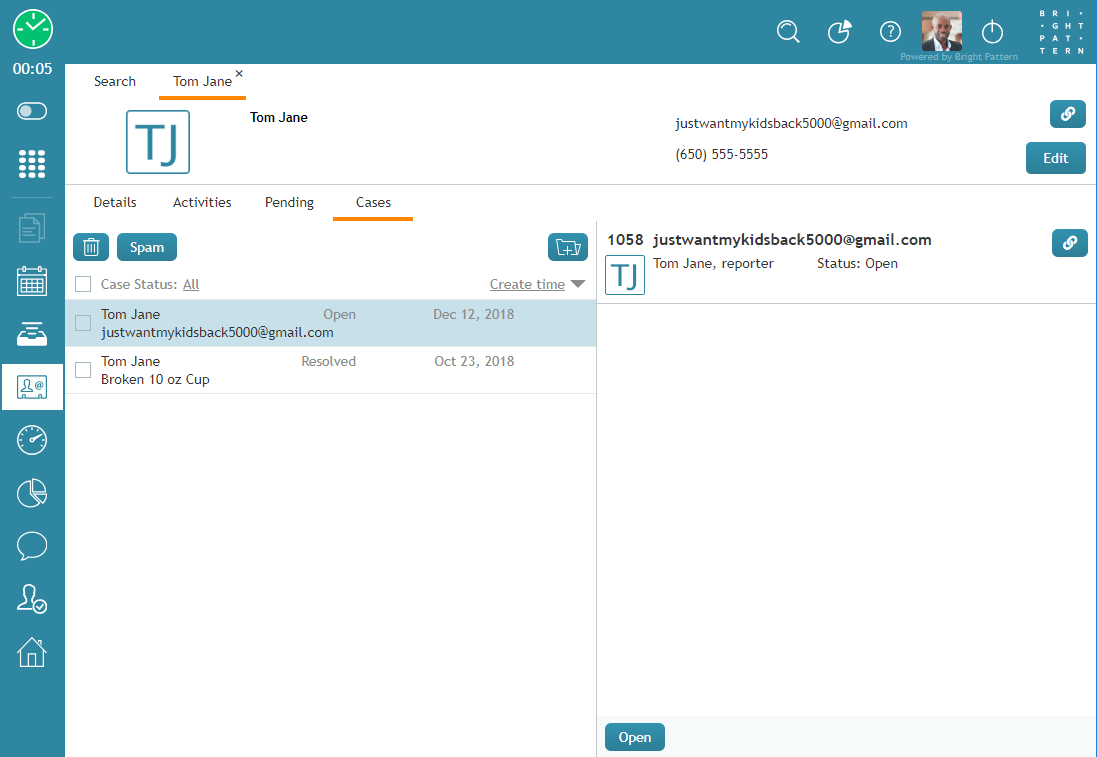
In section Search & Preview records, Cases tab, the Add new case button allows you to create a case for a saved contact. Note that this option is available for existing contacts only.
Adding a new case in this way gives you several options:
- You may choose to create a note for the contact only.
- You can send the contact an email.
- You can create a note and send an email.
- You can apply various case states to the case.
Note that when a case is created in this way, you will be placed in a Busy state in preview mode.
From a Contact's Saved Email Address
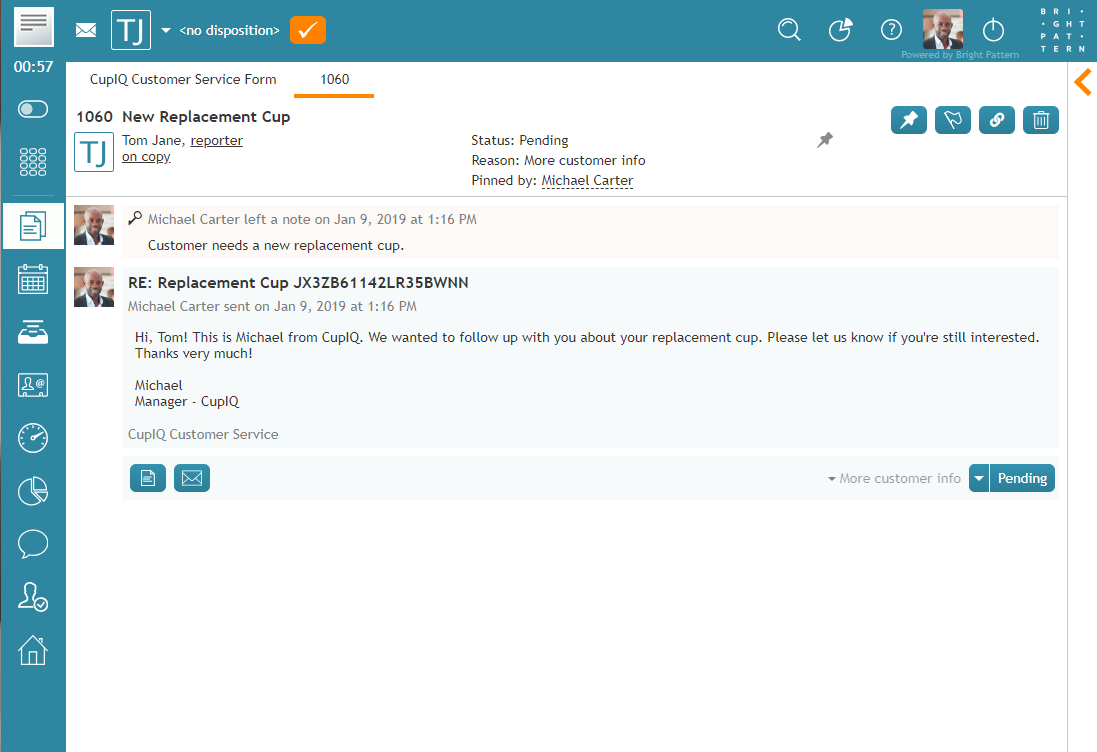
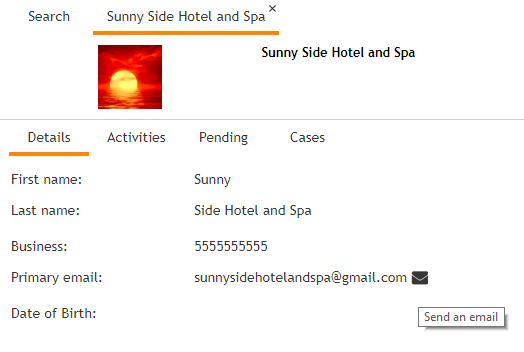
New cases can be created from email addresses saved to a contact's record. To create a new case, click the email ![]() icon that appears when you hover your cursor over the contact's email address; this will open a new draft email. You may also create a note for the case at this time.
icon that appears when you hover your cursor over the contact's email address; this will open a new draft email. You may also create a note for the case at this time.
Note that creating an email this way will place you in a Busy state. For more information, see Additional Ways to Initiate Interactions.

