From Bright Pattern Documentation
Scenario Configuration
The following steps will walk you through the process of creating a scenario.
Step 1: Create a web chat scenario
- In the Contact Center Administrator application, navigate to Configuration > Scenarios > Chat.
- At the bottom of the screen, click the Add "+" button to add a new chat scenario. Alternatively, you may select and edit the web chat scenario template called "Mobile Chat."
Step 2: Specify screen properties for the scenario
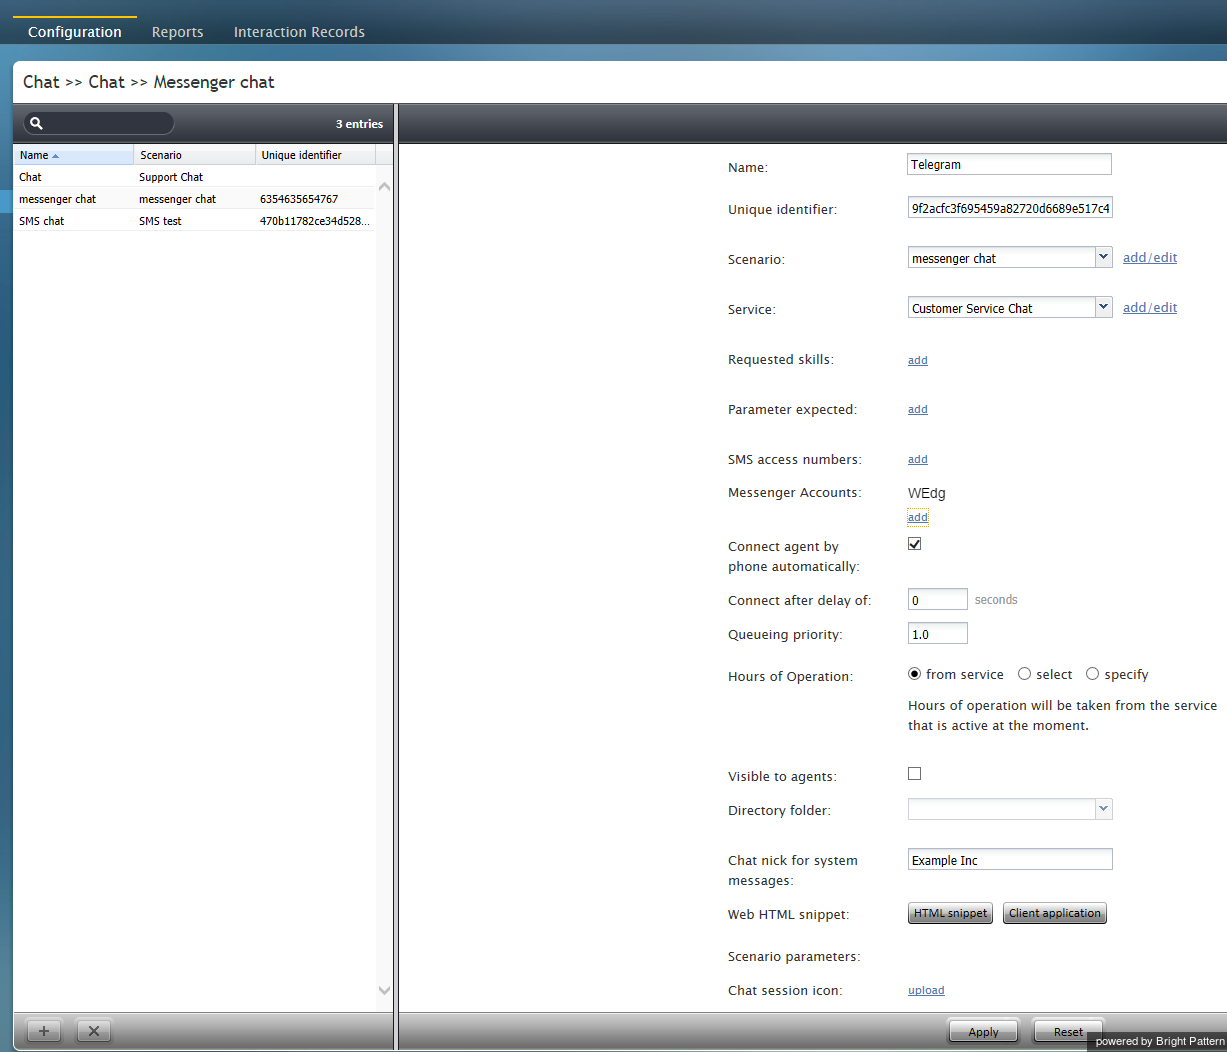
Screen properties for the scenario are displayed on the right side of the screen. Specify all values as you would for any other chat scenario. For more information on such screen properties, see the Contact Center Administrator Guide, section Chat.
Pay particular attention to the field called Messenger Accounts. In this field, select the username of your Telegram account or add a new one by clicking the add/edit link.
Step 3: Customize your scenario in Scenario Builder
- Open your new scenario by double-clicking its name in the Chat list on the left. The scenario will open in the Scenario Builder application.
- Before you do anything else, save your scenario by clicking the Save As button and giving this scenario a unique name, such as "Messenger Chat," to differentiate the new scenario from the scenario template.
< Previous | Next >

