Evaluation Forms Overview
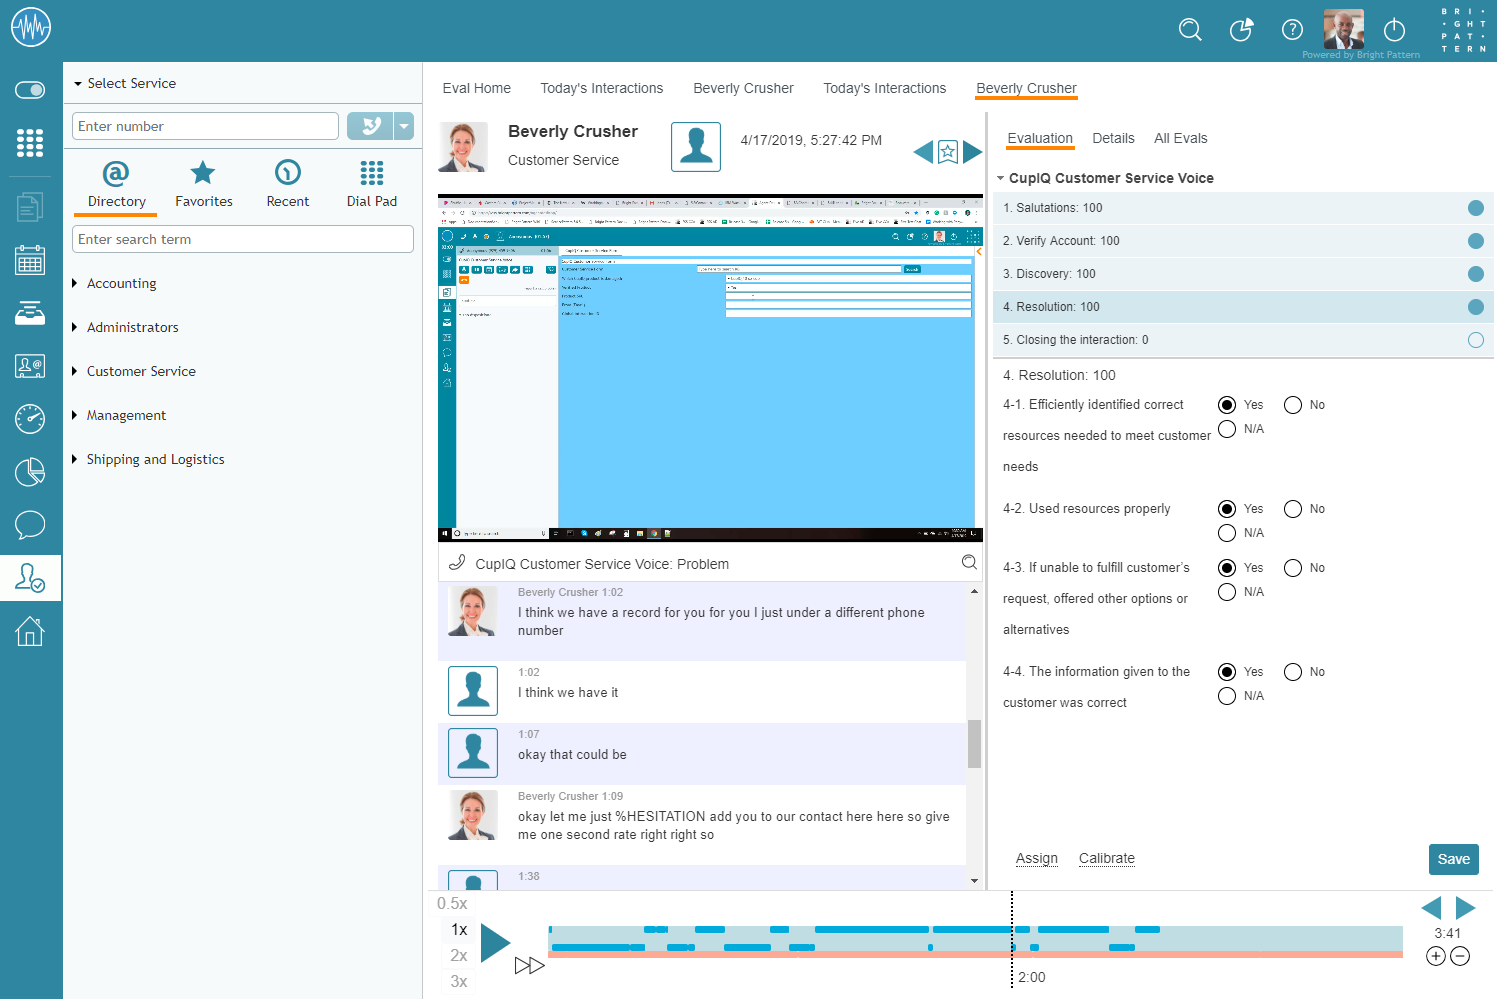
Evaluation forms are used to evaluate and grade interactions between agents and customers. Forms are found in the Agent Desktop application, section Quality Management and are defined per service.
Evaluation forms are created by quality evaluation admins and edited in the Evaluation Form Editor application; forms consist of evaluation areas and each area contains questions. Evaluation areas may be shared across forms; note that this is useful for general evaluation categories (e.g., greetings, etiquette, ending calls, etc.).
Evaluation forms are filled out by users with Quality Management privileges and the results of filled-out forms are available in QM reports. It is possible to sum up interaction-level data to display aggregated scores for agents, teams, and services over an extended period. Note that forms and form evaluation areas are identified by name, so deleting a form and recreating it with the same name would continue the same historical reporting data stream.
The following is an overview of the Evaluation Form Editor application, including form controls and areas.
User Interface
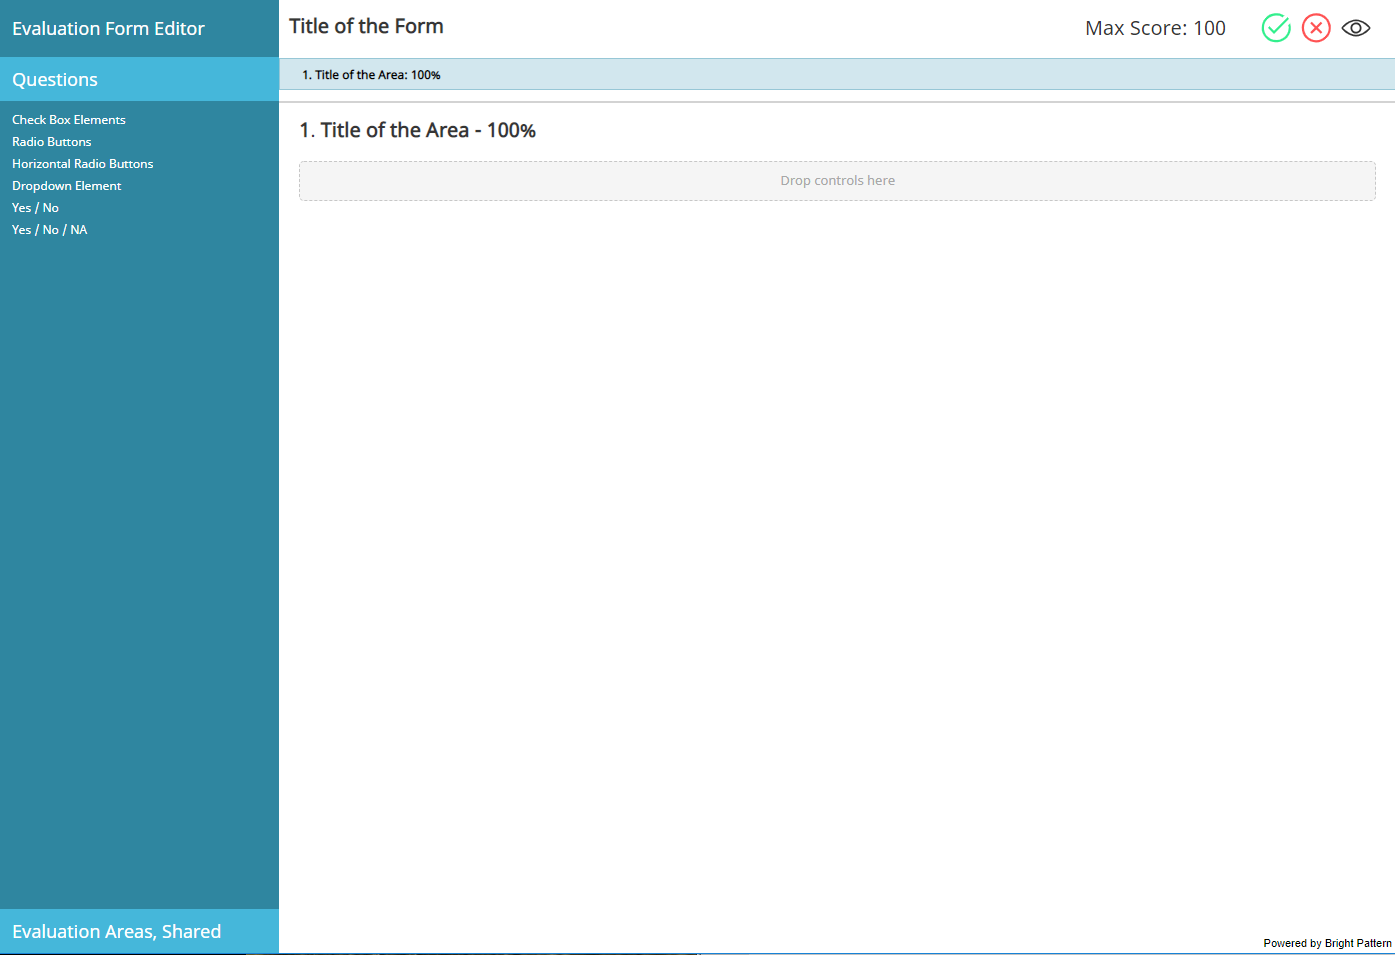
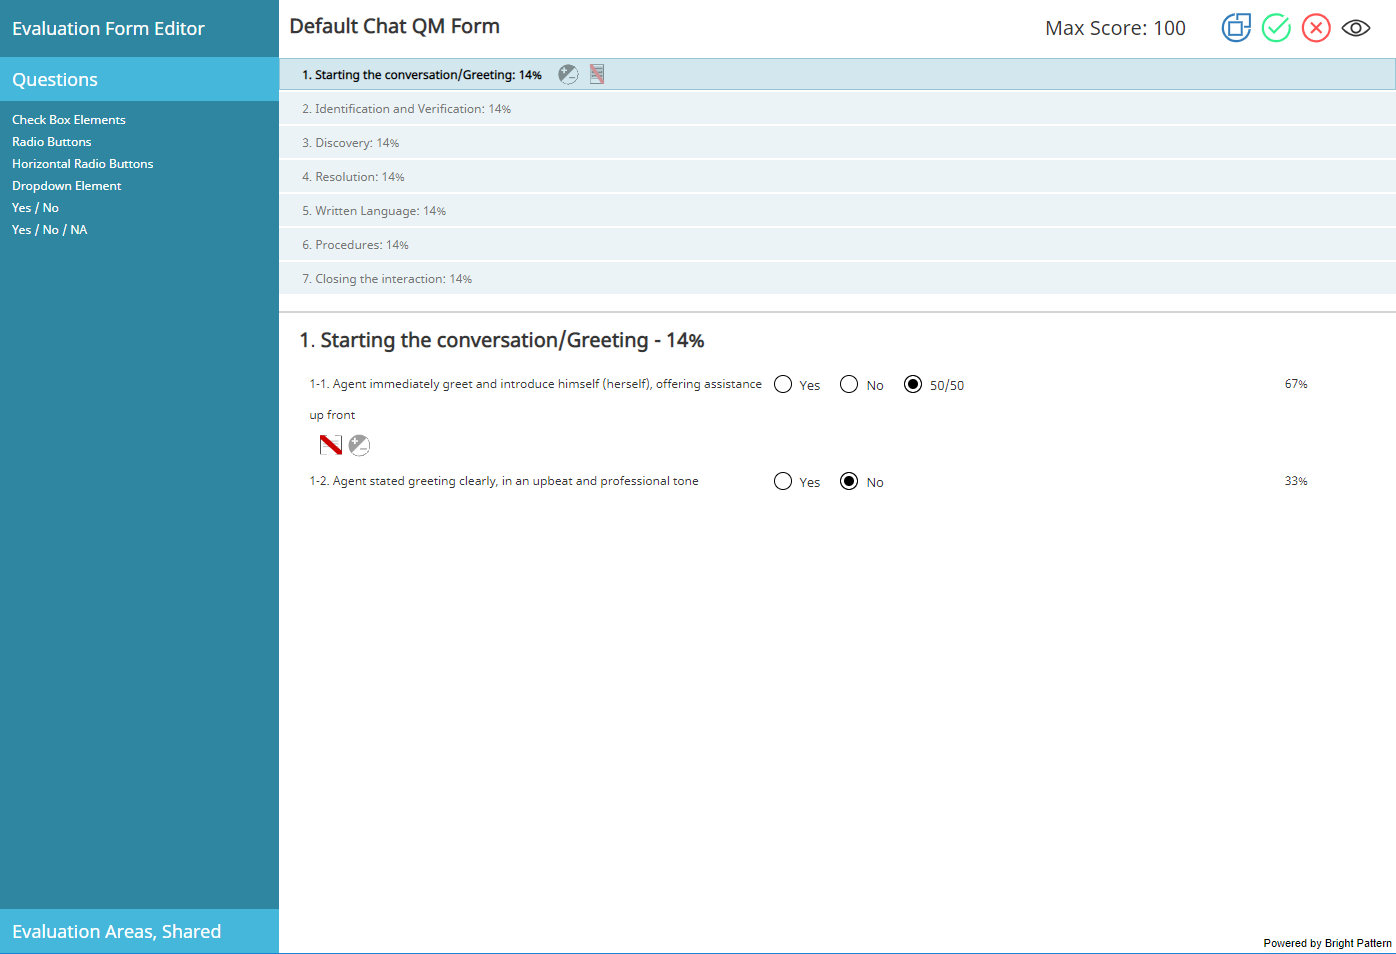
The Evaluation Form Editor's interface is divided into the following sections:
- Form controls, shown in the upper right-hand corner of the screen
- Form canvas (where the form is built and edited), shown in the middle of the screen
- Evaluation areas, shown above the form canvas
- The clipboard, which is beneath the name of the application
- Questions controls, shown on the left-hand side of the screen
- Evaluation Areas, Shared, if configured, shown on the left-hand side of the screen
Form Controls
The Evaluation Form Editor's form controls manage basic form functionality, such as saving the form, previewing it, and so forth. The following is a list of form controls, what they do, and how they operate.
Form Properties Editor
The form properties editor allows you to define the minimum score and maximum score for a form. The minimum score must be met in order for the evaluation to be considered passed; if it is not, the score is considered failed. Note that the default minimum score is 20 and the default maximum score is 100. To edit the form properties, mouse over the evaluation title area, click the edit icon, and enter the desired text in the pop-out window.
Save as ...
This button allows you to save a copy of a saved form. To save a copy of the form, select the Save as ... icon; you will be prompted to name your form in a pop-out window.
Save
Selecting the Save icon allows you to save your form. When saving a form for the first time, you will be prompted to name your form in a pop-out window.
Cancel
Selecting the Cancel icon cancels any changes you made to your form.
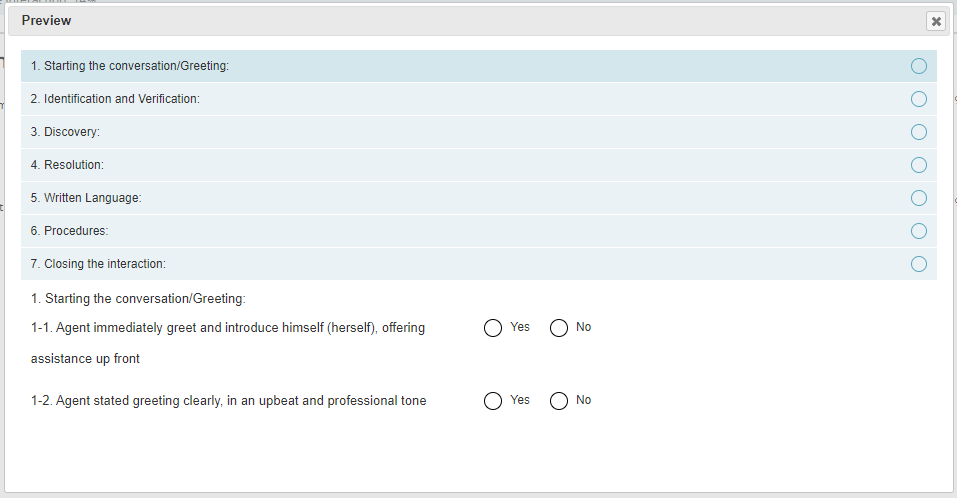
Preview
This button allows you to see how your final form will be displayed in Eval Console. To preview a form, select the Preview icon; your form will pop in a preview window. To close the window, click the close
button.
Form Canvas
The form canvas is the area where you design your form by dragging and dropping the questions controls into areas. When working with a new form, you will see the Drop controls here message in the middle of the canvas.
To add a new area to a form, click the add ; a new area will appear at the bottom of the area list. To add questions to a form area, click on the question name, drag it over the canvas, and drop it in the area.
Note that when attempting to add new questions to an area where multiple questions are present, or when rearranging the order of areas or questions, a thick black bar will indicate the position of where the question or area will go.
Evaluation Areas
Evaluation areas are groups of questions designed to assess specific areas of agent performance (e.g., phone etiquette, salutations, writing skills, etc.). Each evaluation area allows you to define grading options. Evaluation areas have system-wide unique names and may be reused in multiple forms when shared. Note that area weight is specific to each area-form combination. For more information, see section Evaluation Areas.
Clipboard
The clipboard is the section where copied questions or evaluation areas copy to. To copy an item, click the copy icon; the question or area will appear below the name of the application. From here, you may drag and drop the item into your form as many times as you like; the item will stay on the clipboard until another is selected.
Questions Controls
The Questions controls are the editable elements you can drag and drop onto your form. The controls are located in the left pane of the editor and include the following elements:
The Evaluation Areas, Shared controls are existing evaluation areas that have been enabled to be shared across forms and services, allowing you to accurately measure agent performance. Note that if you make a change to a shared evaluation area on one form, the change will occur in all forms containing the same evaluation area.
To create a shared evaluation area, click the edit icon to edit an area's properties, then select Share the area to report across other forms
. A pop-out window will prompt you to enter a new area name. Click save and the area will be available in this section of the form editor to drag and drop onto other forms.


