From Bright Pattern Documentation
Configure a Messaging/Chat Scenario Entry
After you are finished creating a Co-browsing integration account, you will add it to an existing messaging/chat scenario entry. If you have not yet created a chat entry, please see Administration Tutorials, section How to Configure Web Chat.
1. Edit scenario entry's Properties
If you have an existing chat scenario entry, you will need to take the following steps to complete co-browsing configuration.
- In the Properties tab, enable the setting Enable co-browsing.
- For the Co-browsing account setting, select the name of your Surfly integration account.

Enable co-browsing settings - When you are finished, click Apply.

Note: If you previously configured co-browsing, note that you will need to enable new settings.
2. (Optional) Edit co-browsing dialog text
When the agent requests a co-browsing session, the customer will be prompted to accept and start the session. The message shown in this prompt is called the co-browsing dialog text, and you have the option to edit this text in chat widget configuration.

- In the Contact Center Administrator application, go to Scenario Entries > Messaging/Chat > Chat Widget tab > Chat Styling and click edit.
- In the Chat Widget Configuration window that opens, make sure that Enable co-browsing is selected. Then find Co-browsing dialog text and enter the desired message in the text entry field.
Note that the following default co-browsing dialog text will be shown to customers if no changes are made to this property: "By clicking Accept, an agent will join you on the page you are currently viewing. The agent can view and help you as you browse the web in this tab. The agent will not see login details, passwords, other browser tabs or programs you have opened. You can stop co-browsing at any time, by clicking X in the menu or by closing this tab in your browser."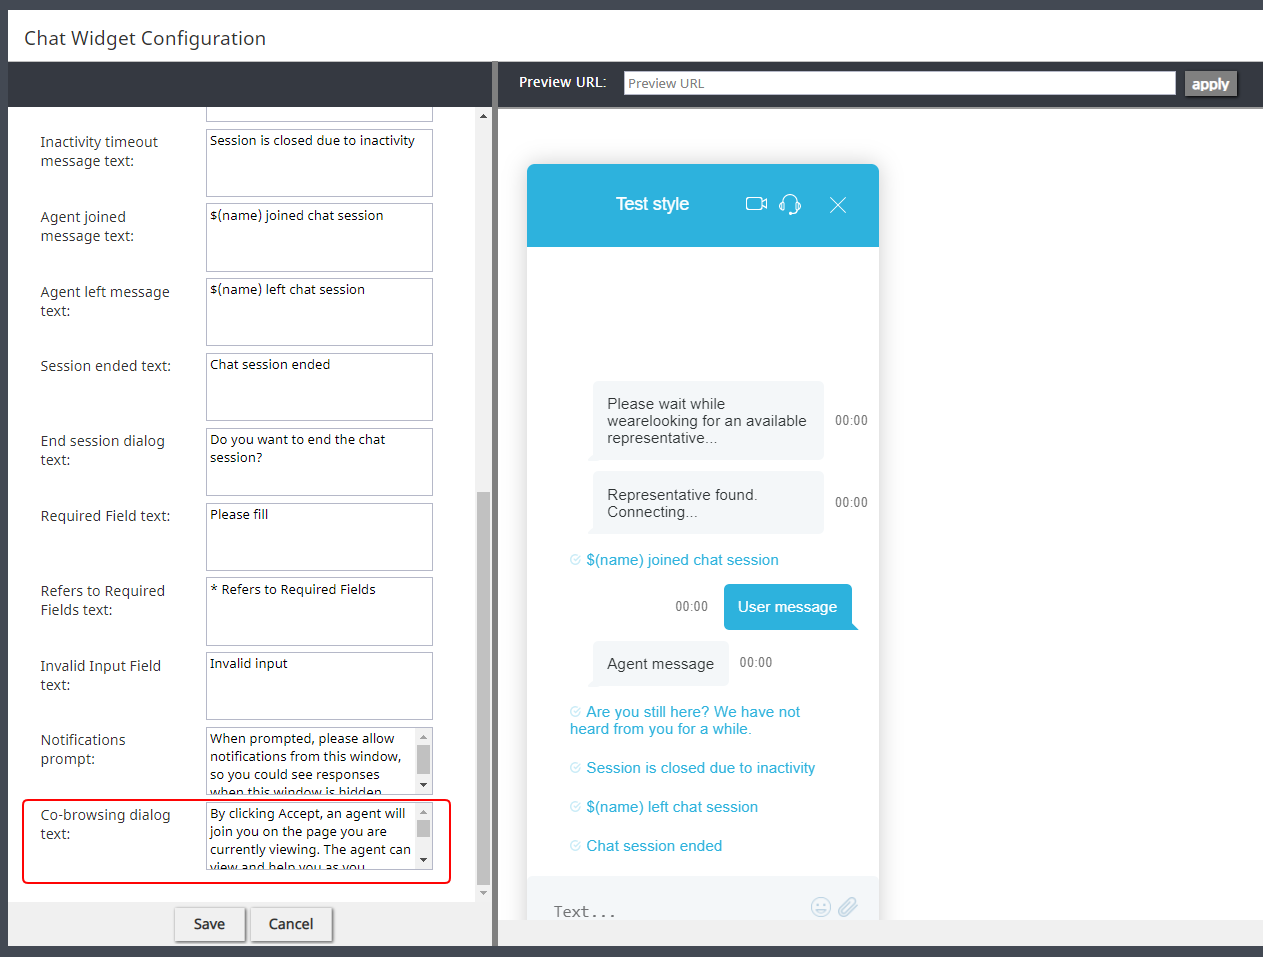
Co-browsing dialog text in Chat Widget Configuration editor - Click Save.
< Previous | Next >
