From Bright Pattern Documentation
How to Upload a List
Before you can launch a campaign, you will need to either upload a preconfigured list or import and create a new list. In this article, you will learn how to upload a list in the Contact Center Administrator application.
Procedure
- In Contact Center Administrator > Configuration > Lists, click the + Import Lists button to add a new list. A list import wizard will open.
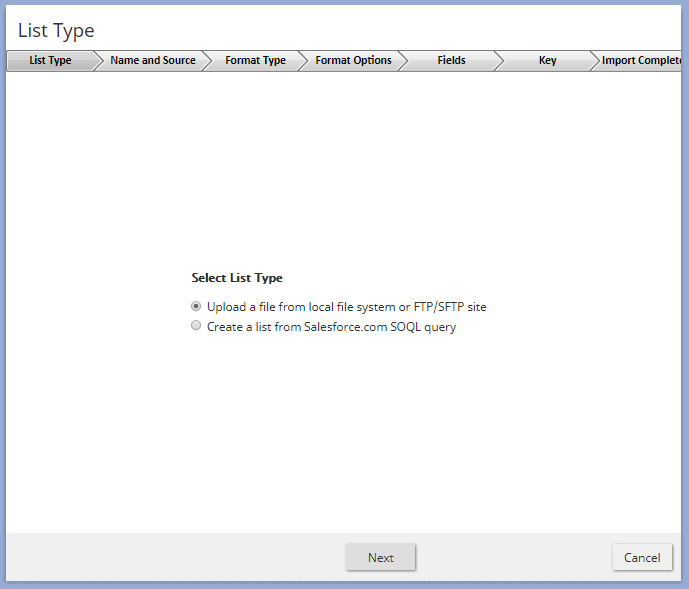
- In List Type, you can choose whether you will upload a list from file or create a list from scratch. Select Upload a file from local file system or FTP/SFTP site, and click Next.
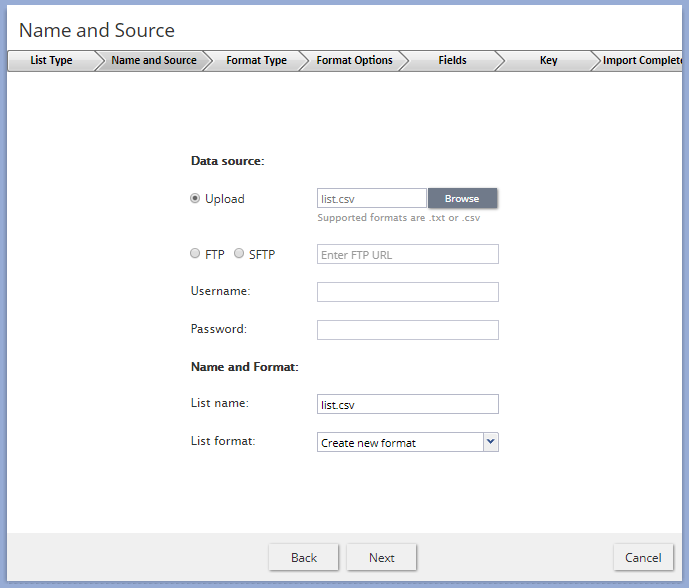
- In Name and Source, specify where the list is coming from and the list name. Select Upload and Browse for the file on your computer. You can only upload .CSV or .TXT files.
If you do not already have a list file, it’s time to create one. An easy way to create a list is to export a list from the system, revise it in Excel or Google Sheets, and save it with a new name.
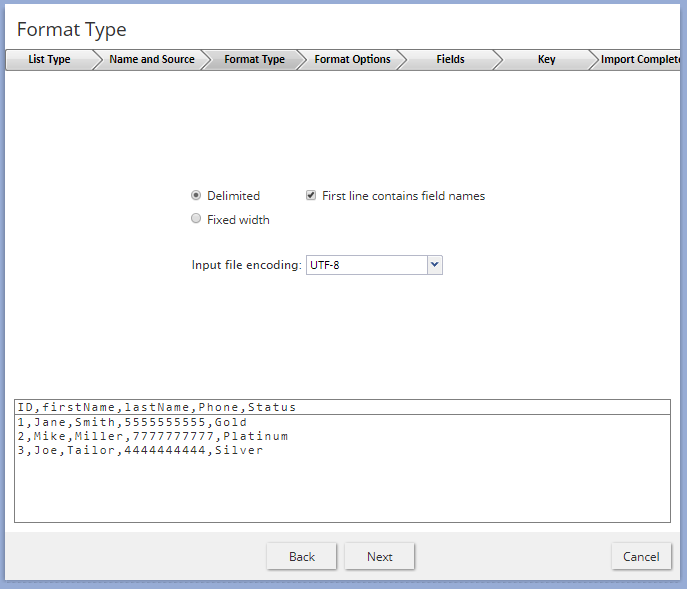
- In Format Type, set your options so you know how the data will be displayed in the list.
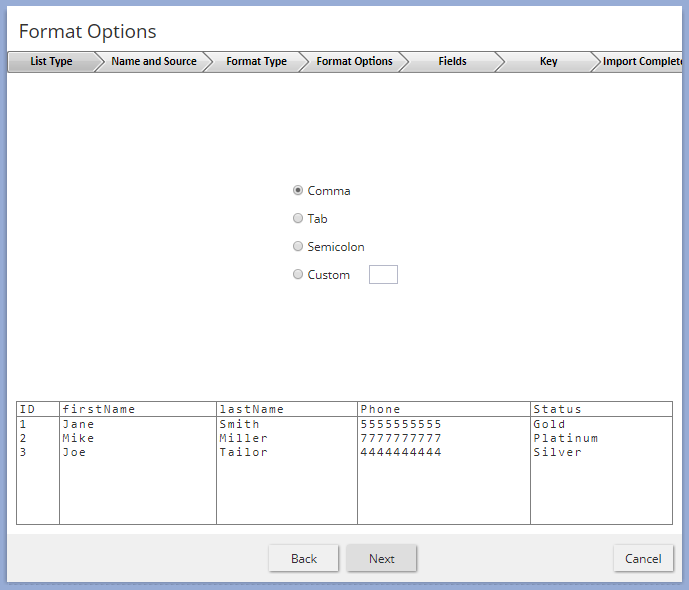
- In Format Options, choose how the data values will be separated in the file. Select Comma to separate data values with a comma.
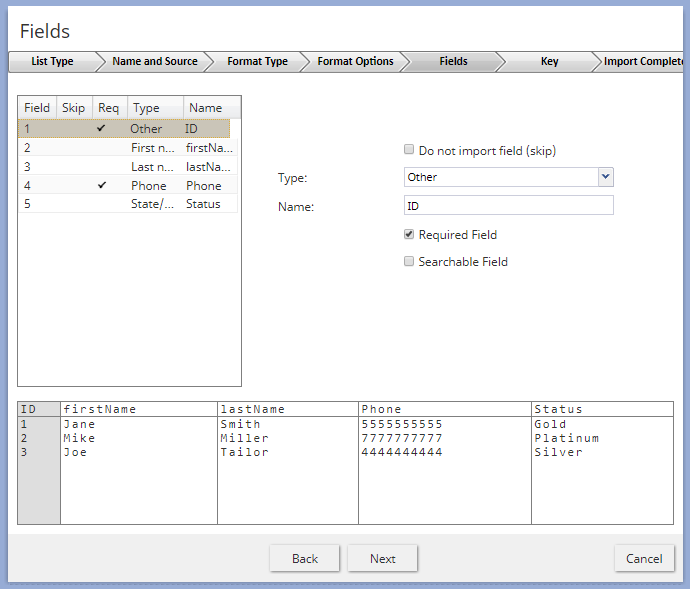
- In Fields, set the field that is required or searchable.
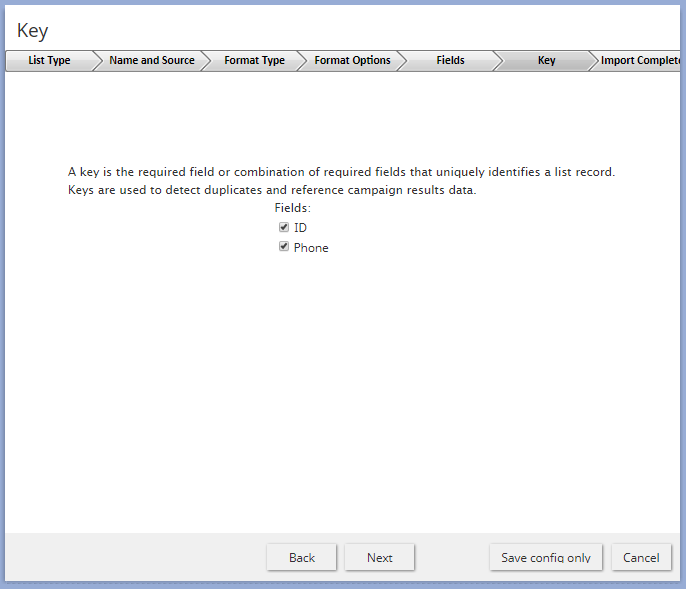
- In Key, select the list field names that are required. Then click Next.
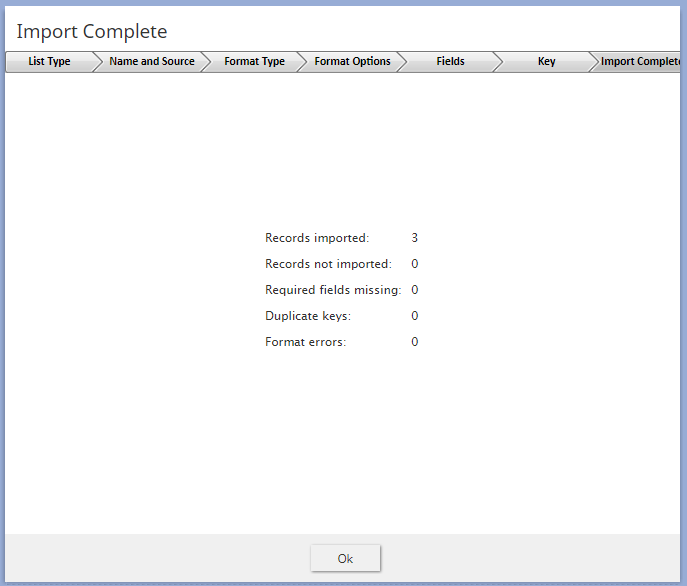
- In Import Complete, review the information given and correct any errors. Click Ok to close the import wizard dialog.
You are now done uploading a list. For more information, see the Contact Center Administrator Guide, section Lists.

