From Bright Pattern Documentation
How to Reschedule Campaign Calls Manually from the Integrated Agent Desktop Widget
This article describes how to accept a campaign call and manually reschedule it on the integrated Agent Desktop widget in Salesforce Lightning.
Note that this tutorial is written for agents using the rescheduling feature. For help with configuration, please see Configuring Manually Rescheduled Preview Campaign Calls in Salesforce Lightning.
Procedure
- In Salesforce, click the Phone tab at the bottom of the screen to open the integrated Agent Desktop, and log in.
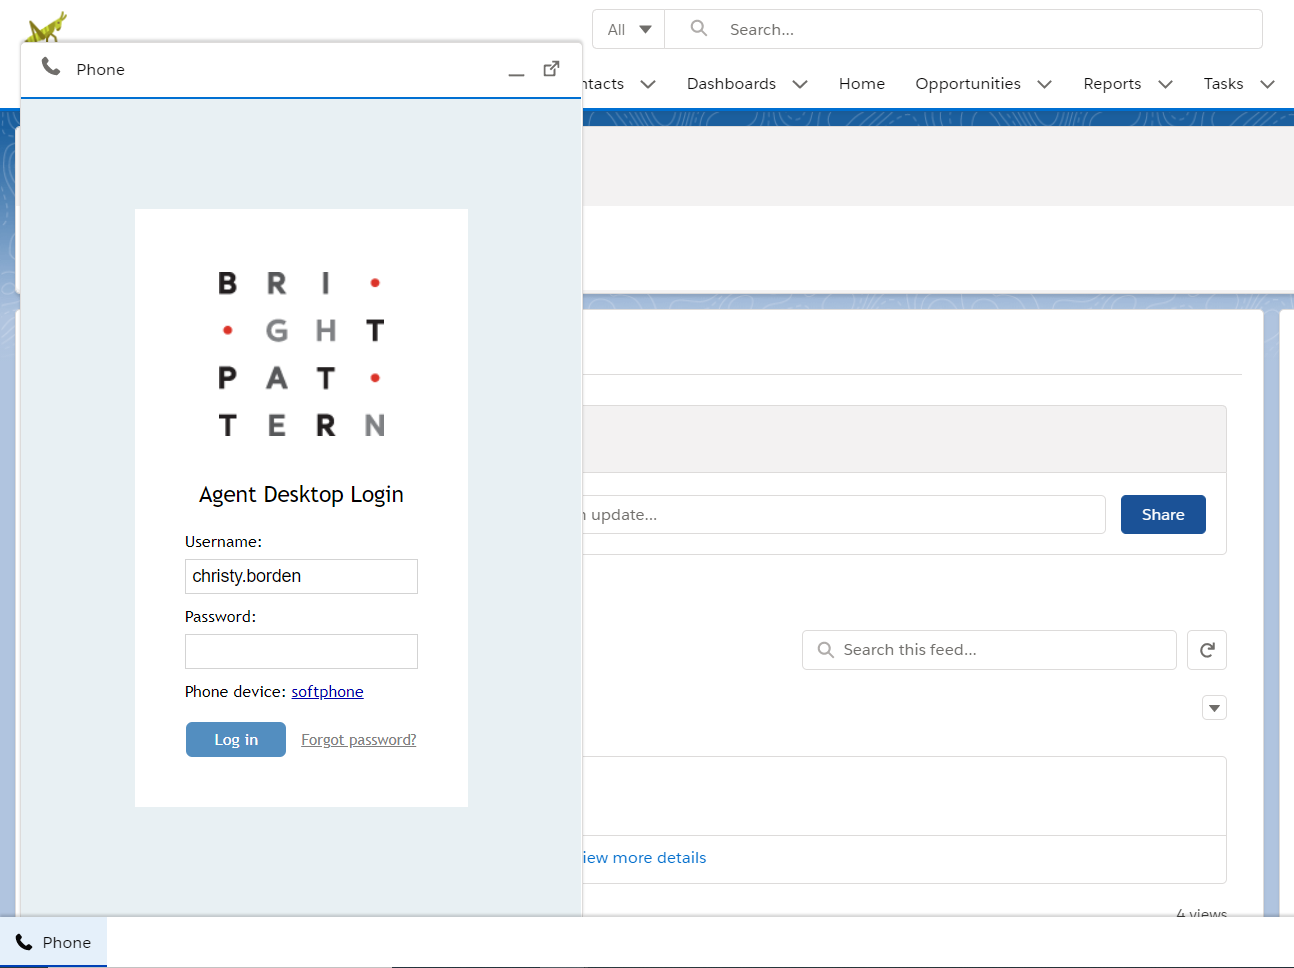
Agent Desktop login screen in the integrated widget - Make yourself Ready.
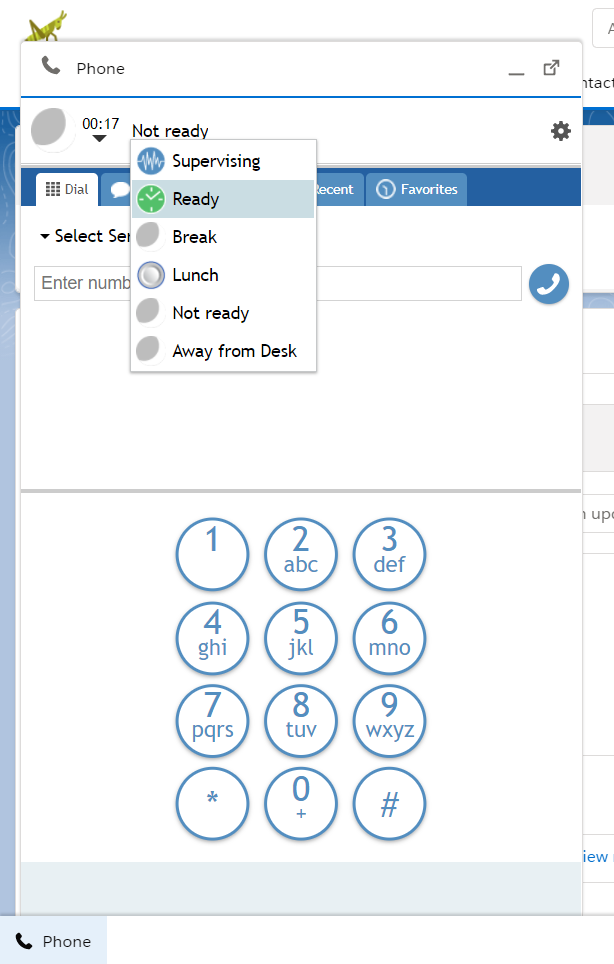
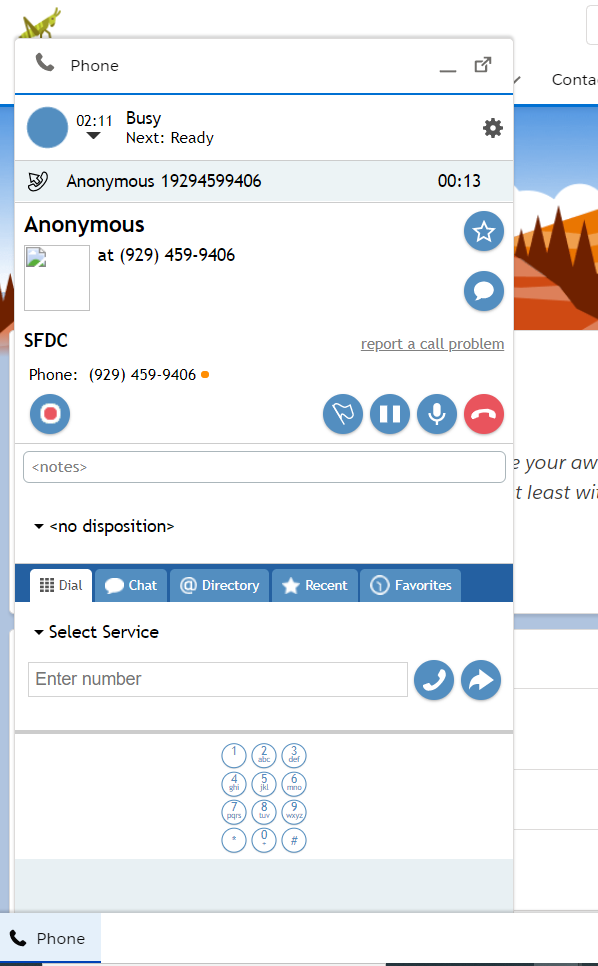
Changing agent state to “Ready” - Accept the incoming campaign call. The widget will show the campaign/service name, the customer’s name (if known), and the customer’s phone number or ID.
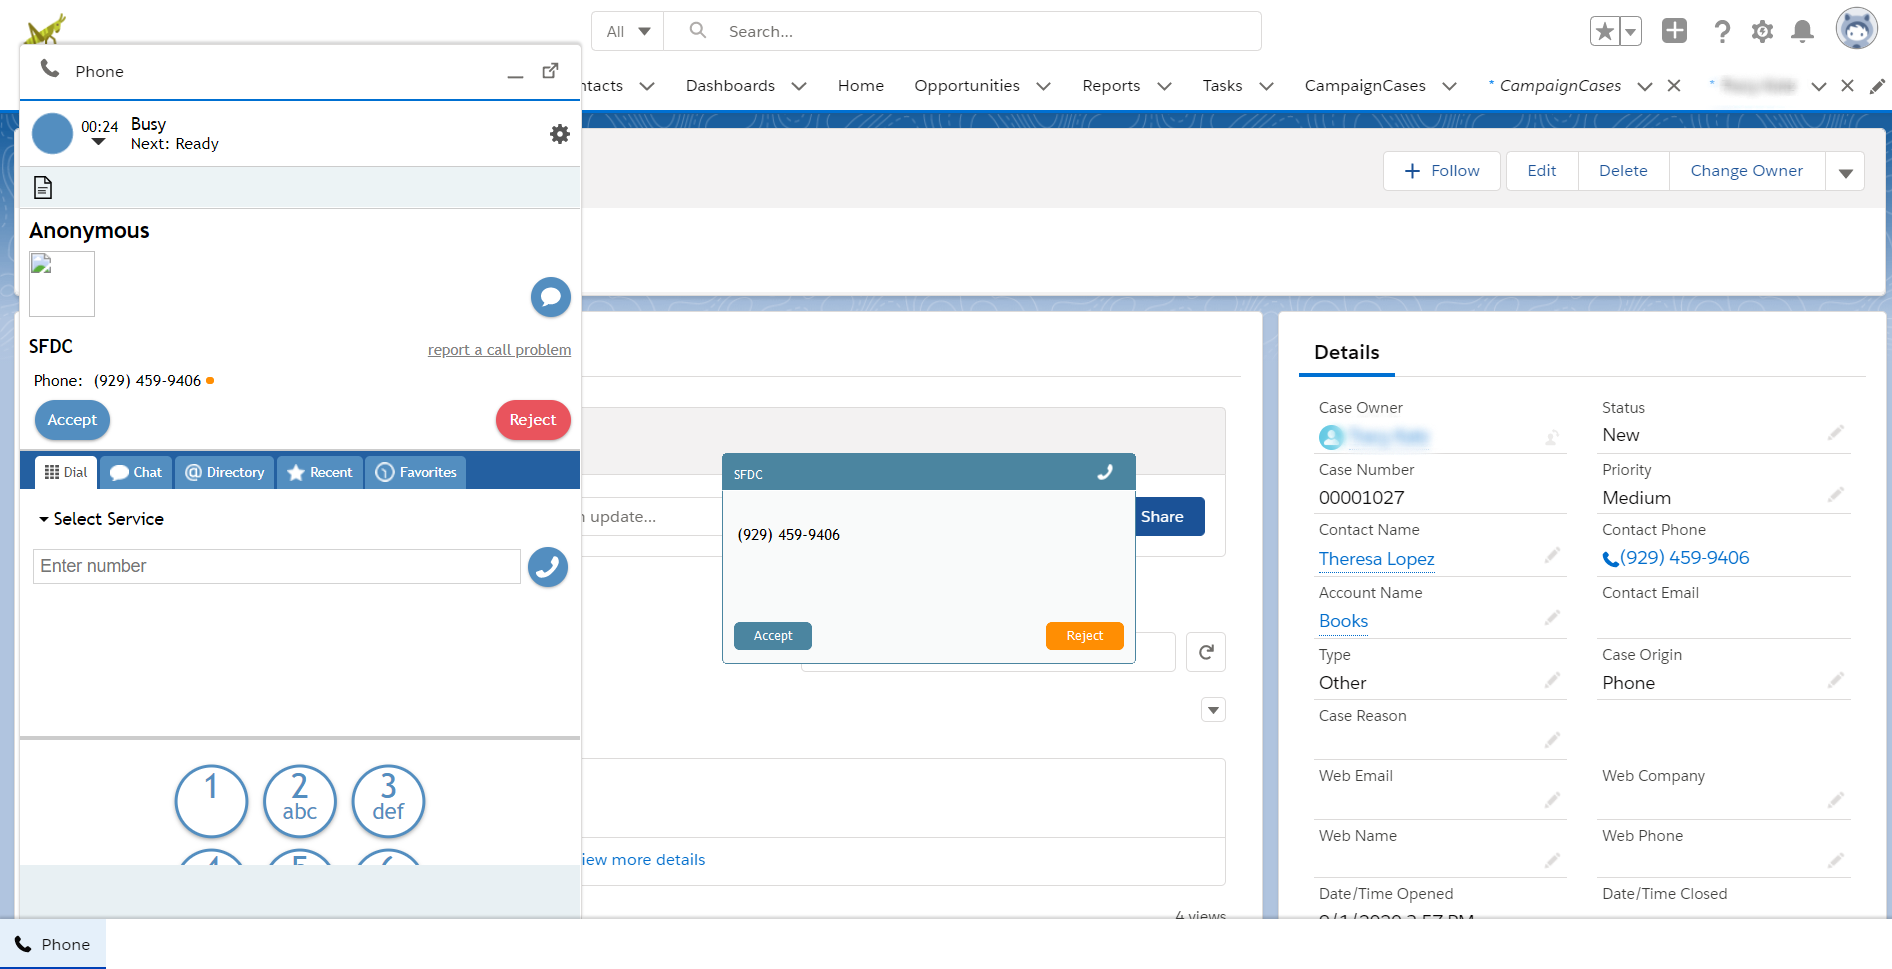
Incoming call notification on screen - Hover your cursor next to the phone number or ID, and click the Initiate call icon to start the call with the customer.
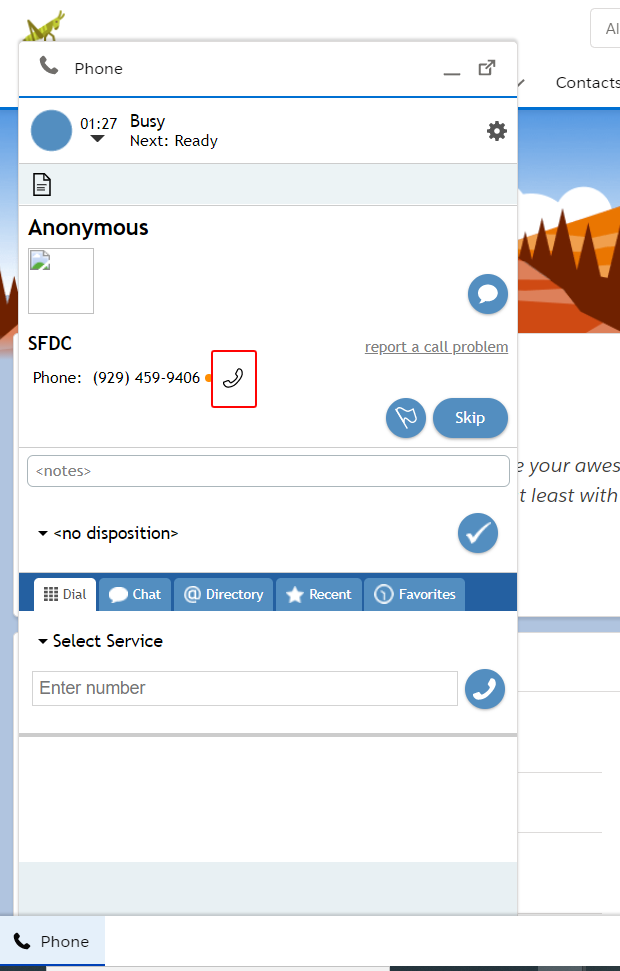
Click the phone icon to initiate the call - During the active call, you can set the disposition and reschedule the call, or you can do that in After Call Work.
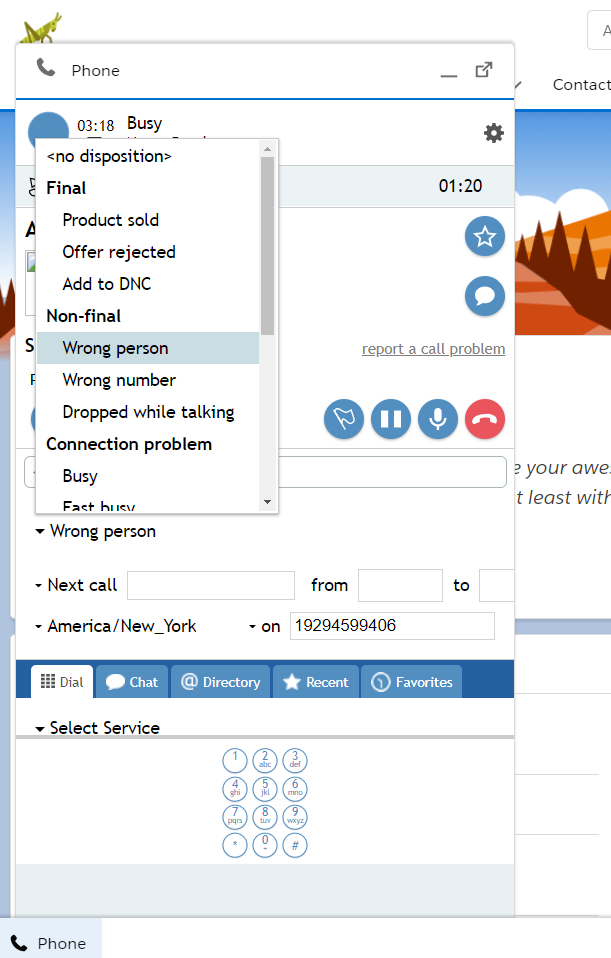
Active call in integrated Agent Desktop widget - From the Disposition selector, select the appropriate disposition. That will cause the reschedule options to display. If you do not know which disposition to select, please ask your supervisor.
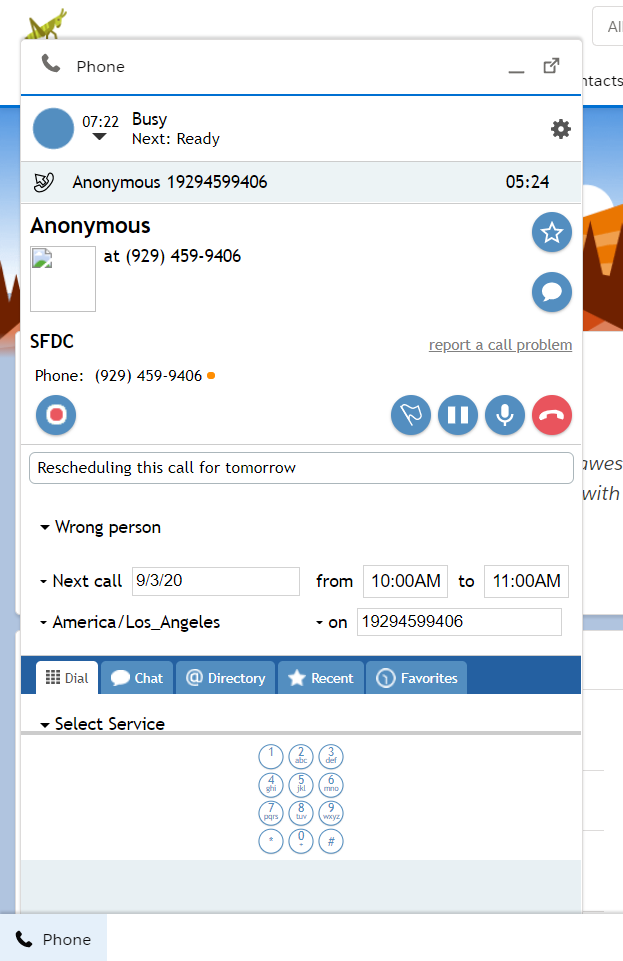
Selecting a disposition from the Disposition selector - To reschedule the call, set the following:
- Next call - Set the month/day to reschedule the call
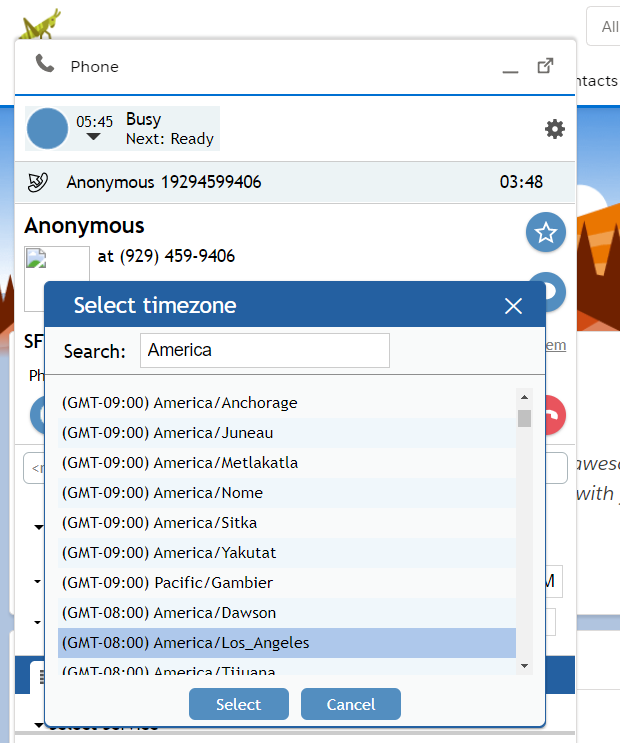
- Timezone selector - Select the desired timezone (e.g., “America/Los Angeles). Note that changing the timezone will also change the time in the “from/to” fields; we recommend that you always double-check that the correct time is set before completing the interaction.
Selecting a timezone - From/to - Set the time range for the call (e.g., “from 09:00AM to 10:00AM”)
- On - Set the phone number or ID to be called by clicking the small arrow. If you do not select the number, the system will set it to be the customer’s number from the original outbound call.
- Next call - Set the month/day to reschedule the call
- After you have filled in all the reschedule fields, click the Hang Up button to end the call.
Example of all reschedule fields completed during the active interaction - In After Call Work, if you have not already dispositioned the call as above, do so now and then complete the call.
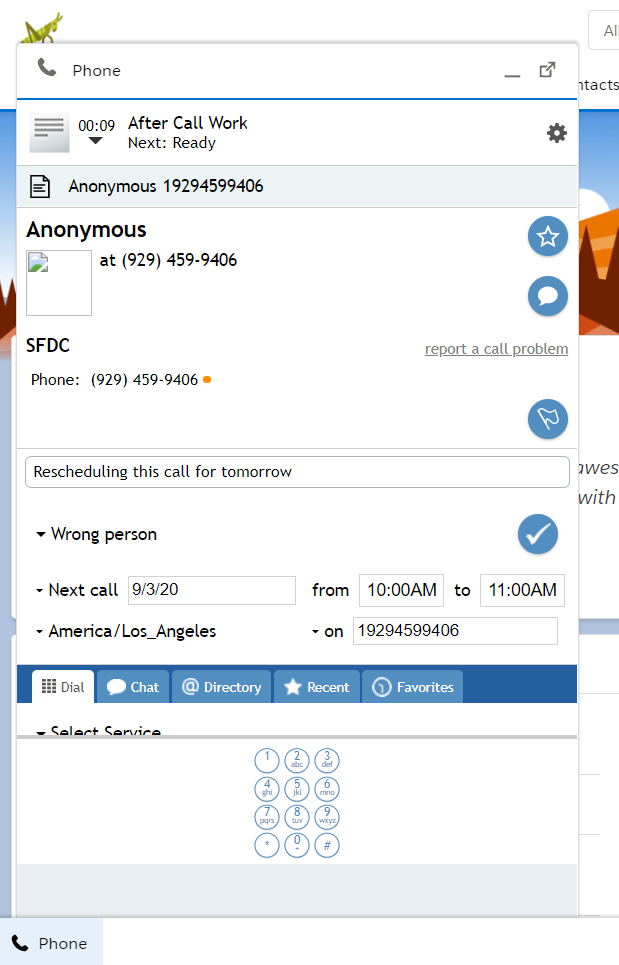
Click the check mark to complete the call in After Call Work < Previous | Next >


