提供: Bright Pattern Documentation
• English
チャットウィジェットの読み込みのスピードを上げるためAmazon CloudFrontの使用方法
Amazon CloudFrontは、静的コンテンツ配信を最適化するように設計されたグローバルコンテンツ配信ネットワーク(CDN)です。 このネットワークは、DNSを使って、ドメイン名を要求者に最も近いIPアドレスに変更し、そのアドレスからコンテンツを提供します。 CDNを入力するための最も簡単なアプローチは、CloudFrontをキャッシングプロキシとして使うことです(つまり、CloudFront配信方法である ウェブ を使います)。
CloudFrontを使って、スクリプト、CSS、画像などのBright Pattern コンタクトセンターのチャットコンポーネントを配信することができます。次の手順では、セットアッププロセスについて説明します。
手順
ステップ 1: チャットスニペットを作成します。
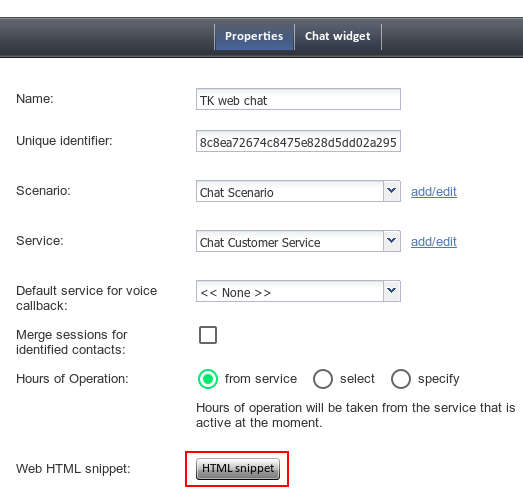
- コンタクトセンター管理者アプリケーションで、メッセージ送信/チャットシナリオエントリーを新しく作成するか、既存のエントリを使ってウェブ HTML スニペットをコピーします。 ウェブHTMLスニペットは、お客様が特定のシナリオエントリーを介してコンタクトセンターにアクセスするためのチャットアプリケーションのウェブ要素へのアクセスを提供するHTMLコードです。
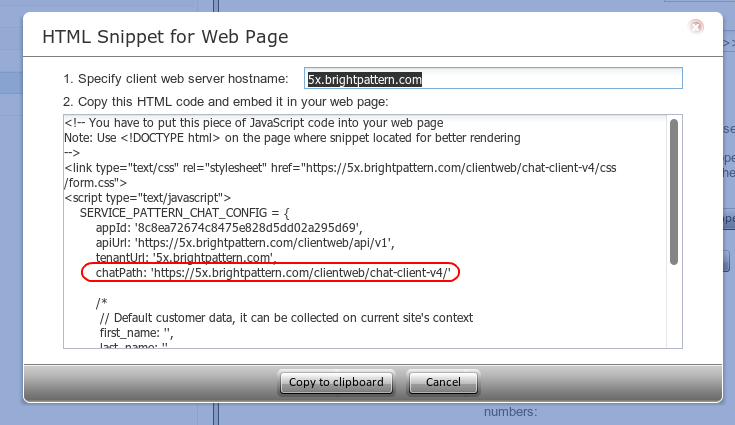
- ウェブHTMLスニペットには、"chatPath: 'https://5x.brightpattern.com/clientweb/chat-client-v4/'”というのが含まれています。これは静的チャットファイルの保存場所です。次のステップで作成されるCloudFrontドメインを指定するには、このURLのドメインを更新しなければなりません。変更後、スニペットをすべてのウェブサイトページに追加しなければなりません。
Step 2: Create a new CloudFront distribution
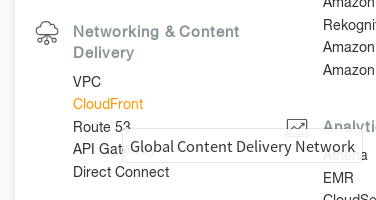
- Login into your AWS console (https://aws.amazon.com) and select CloudFront.
- Click Create Distribution.
- Select a Delivery method. Choose Web.
- In Origin Settings, enter the Origin Domain Name (i.e., the Web HTML Snippet client web server hostname in Step 1.2 of this procedure) and Origin Path (i.e., the "chatPath" from the Web HTML Snippet in Step 1.2 of this procedure).
- Select the checkbox for Compress Objects Automatically.
- Click Create Distribution.
- Note the Domain Name in the list of active CloudFront Distributions.
- Wait until the distribution is ready (i.e., when the status is Deployed).
Step 3: Update the snippet on your website
- In the Web HTML Snippet, in the line “chatPath: 'https://5x.brightpattern.com/clientweb/chat-client-v4/'”, update the domain to point to the domain name from CloudFront distribution created above.
- After this modification, the Web HTML Snippet will have to be added to all the website pages that use it (or, the already existing snippet has to be modified to reflect the new "chatPath").
< 前へ


