How to Create a New Zendesk Ticket on Behalf of Another Zendesk User in Workflows
You can use the Zendesk API Request workflow block to make API requests on behalf of any end user, and because you are an authenticated admin, the end user's email does not need to be verified. If a record is created, updated, or deleted, the change is associated with the end user, not you.
This article will show you how to use the Zendesk API Request workflow block to create a new Zendesk ticket on someone else’s behalf.
Prerequisites
- Have administrator privileges for Bright Pattern Contact Center.
- Use Bright Pattern Contact Center version 5.5.x or later.
- Have a Zendesk integration account configured for your contact center.
- In the integration account properties, set OAuth access token as the authorization type.
- Have administrator access to the Zendesk user interface and API.
Procedure
Step 1: Create a workflow
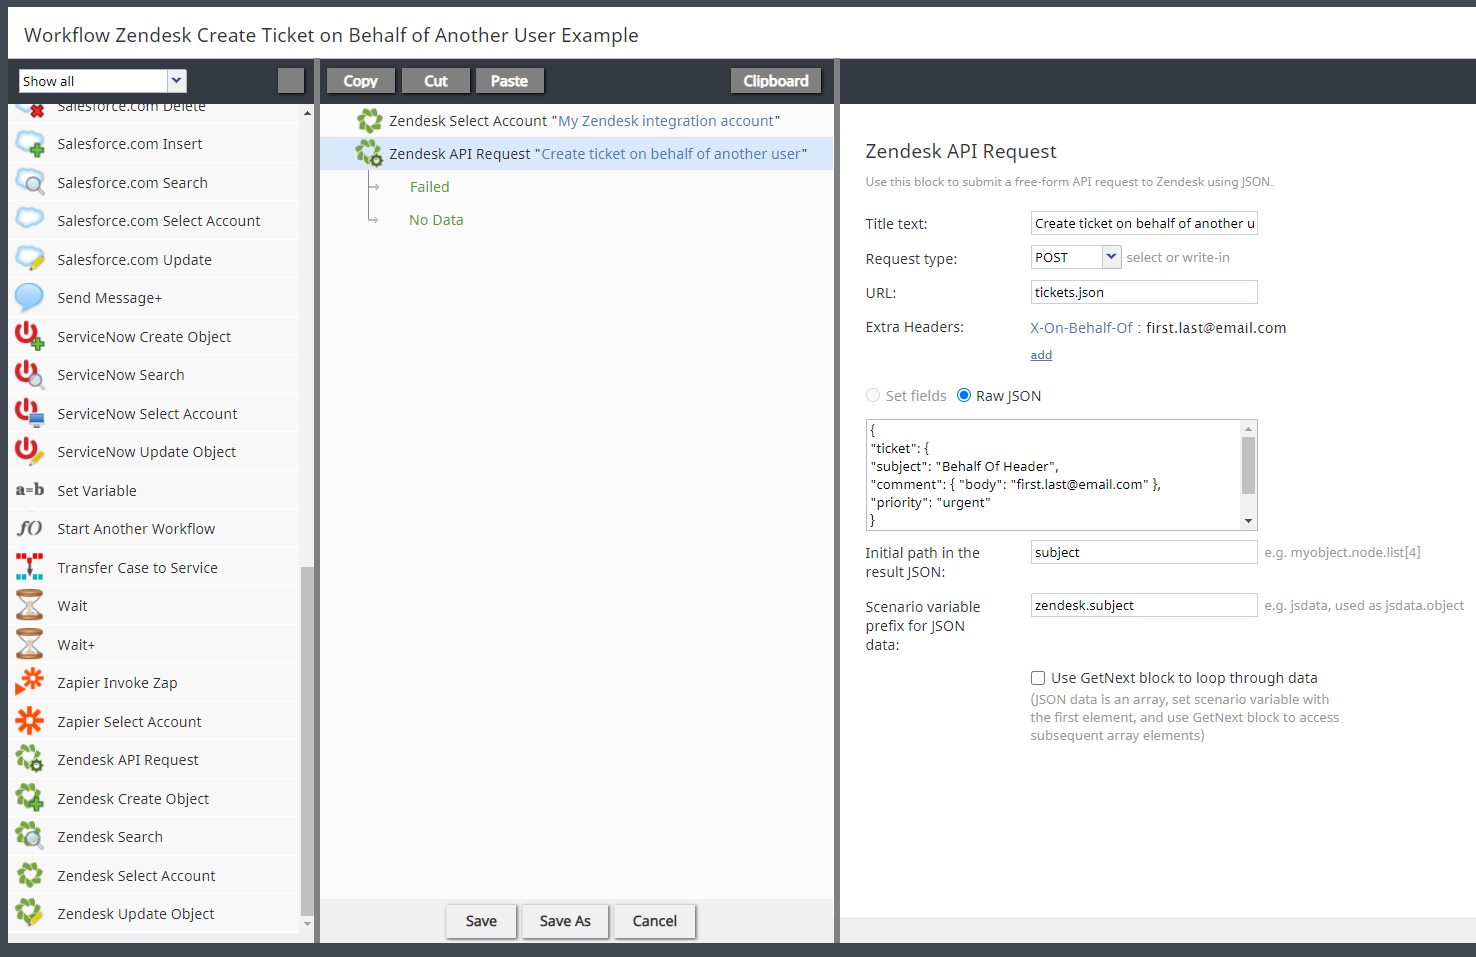
In the Contact Center Administrator application, section Workflows, create a new workflow that includes the following workflow blocks: Zendesk Select Account and Zendesk API Request.
Step 2: Specify a Zendesk integration account
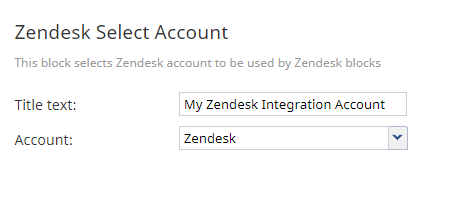
In the Zendesk Select Account block properties, select a Zendesk integration account that is configured for your contact center.
Step 3: Configure Zendesk API Request properties
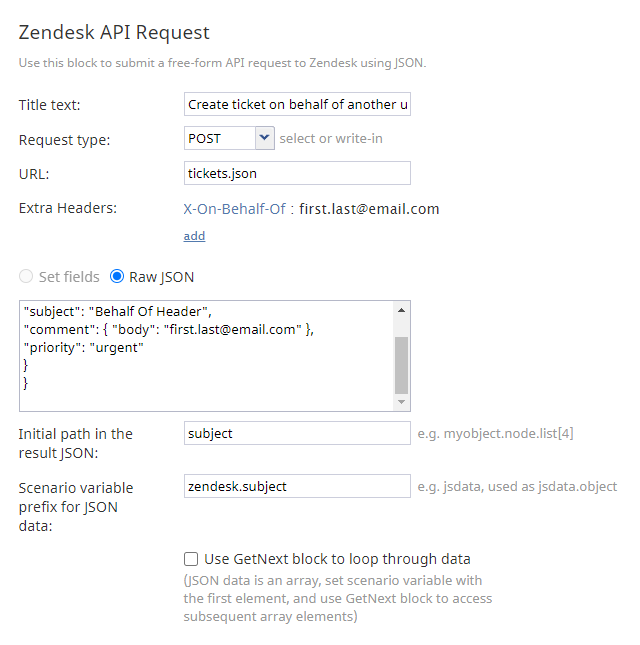
In the Zendesk API Request scenario block properties, set the following:
- Title text - Type a name for this block.
- Request type' - Set POST.
- URL - Set tickets.json.
- Extra headers - Click add to add the an extra header with the following name (key) and value:
- Name - Set X-On-Behalf-Of.
- Value - Set the email address of the user who you are making the request for in the Zendesk system (e.g., "first.last@email.com"); note that the value must be a real user in the Zendesk system.
- Raw JSON - Paste your ticket object properties as raw JSON (see Sample Raw JSON below):
- Initial path in the result JSON - Set subject.
- Scenario variable prefix for JSON data - Set zendesk.subject.
- Use GetNext block to loop through data - Leave unchecked.
Sample Raw JSON:
{
"ticket": {
"subject": "Behalf Of Header",
"comment": { "body": "first.last@email.com" },
"priority": "urgent"
}
}
Step 4: Save the workflow
When you are done setting up the workflow, click Save to save your changes.
Step 5: Test the workflow
Test the workflow by doing the following steps:
- In Zendesk, log in to the integrated Agent Desktop widget as an agent who is assigned to a team that can handle service calls, and make yourself Ready.
- From a separate phone, call your contact center’s access number. The call should be routed to you and at the same time, the Zendesk system should then contain a new ticket with the correct information. The ticket requester should be the user that was set in the extra header of the Zendesk Request API block.
- Look up the ticket in Zendesk and check that the requester is the correct user.
< Previous | Next >


