How to Review and Assign Emails to Agents
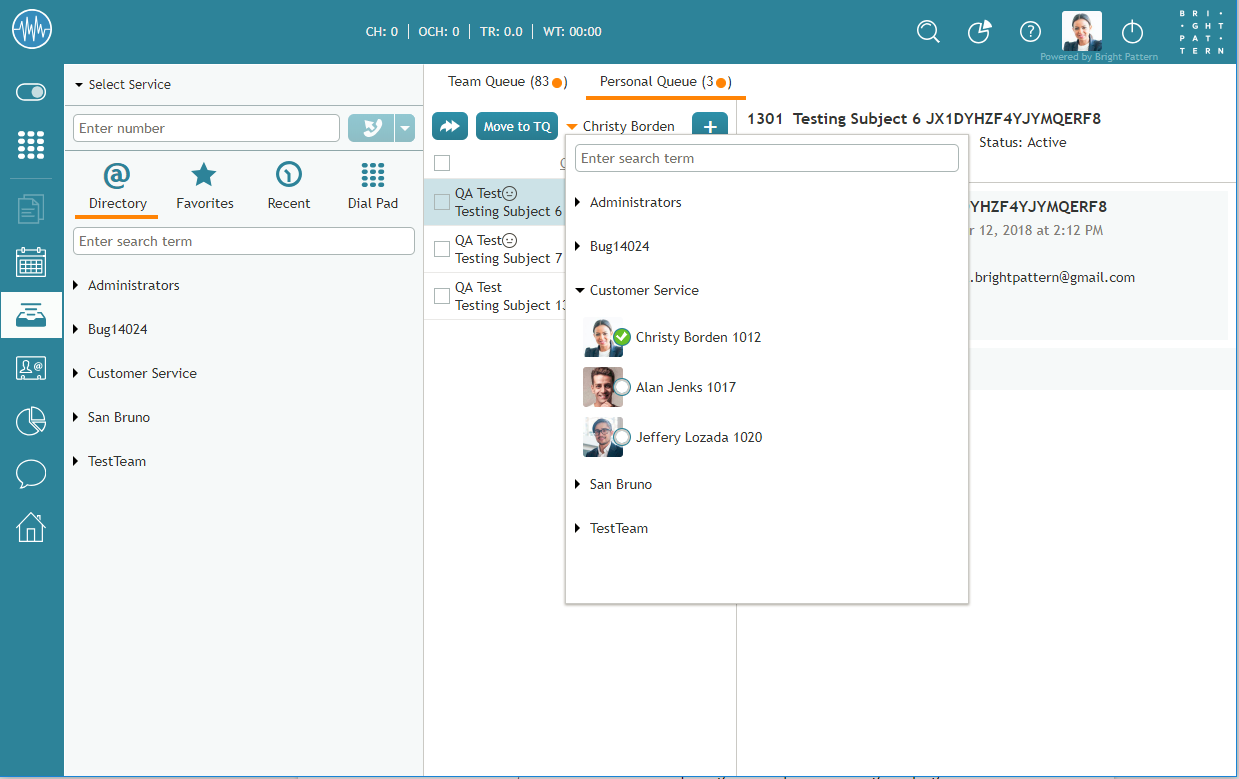
To review the contents of an email, click it once. The email will appear in the reading pane on the right side of the screen. For more information about reviewing email content, including case history, attachments, and supplemental web pages and forms, see the Agent Guide, section How to Review an Incoming Email.
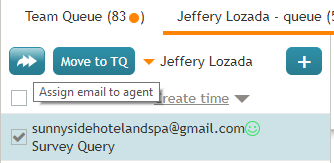
To assign the selected email to a member of your team, select the checkbox next to the email then click the Assign email to agent button.
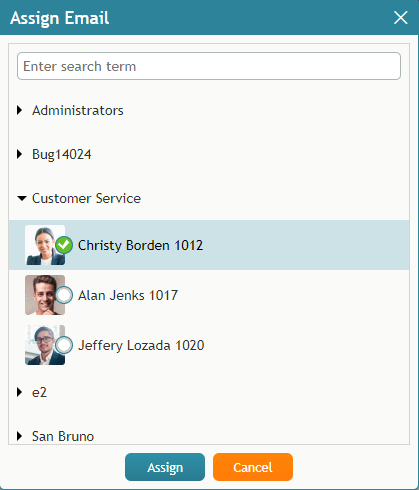
In the dialog window that appears, open your team folder, and select the desired agent. Alternatively, you can enter agent’s name in the Search field. Click Assign to confirm the assignment, or click Cancel to close the dialog window.
The email will be moved to the agent’s Personal Queue. Note that the position of this email in the agent’s queue will be determined by the remaining time to SLA breach (see above) relative to the other emails that the agent may have in the queue. If you wish to get agent’s immediate attention to the assigned email, consider sending the agent an internal chat message. For more information, see section Personal Chat.
If you wish to process the selected email yourself, click the Grab button in the reading pane. The email will be moved to your Personal Queue.


