提供: Bright Pattern Documentation
• English
チャットサービスの設定
このセクションでは、Bright Patternコンタクトセンター管理者アプリケーションにおける一般のチャットサービスの設定方法について説明します。
前提条件
このセクションで記載された操作をする前に、コンタクトセンターの 初期設定を完了させます。
操作の流れ
ステップ 1: チャットサービスを作成・設定します。
- コンタクトセンター管理者アプリケーションにログインし、サービスとキャンペーンへ移動します。
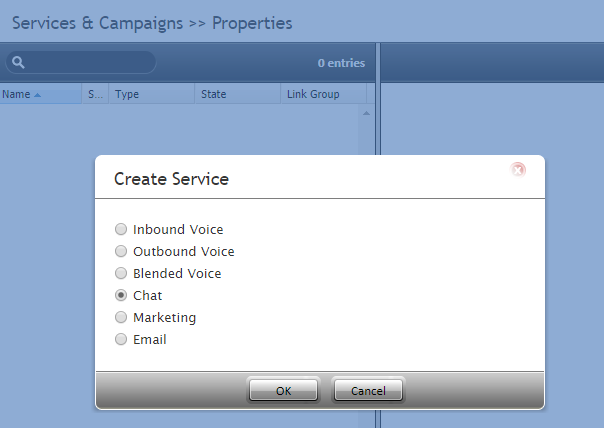
- 新しいチャットサービスを作成するには、サービスの追加 (+) ボタンをクリックします。
- サービスタイプとしてチャット を選択します。
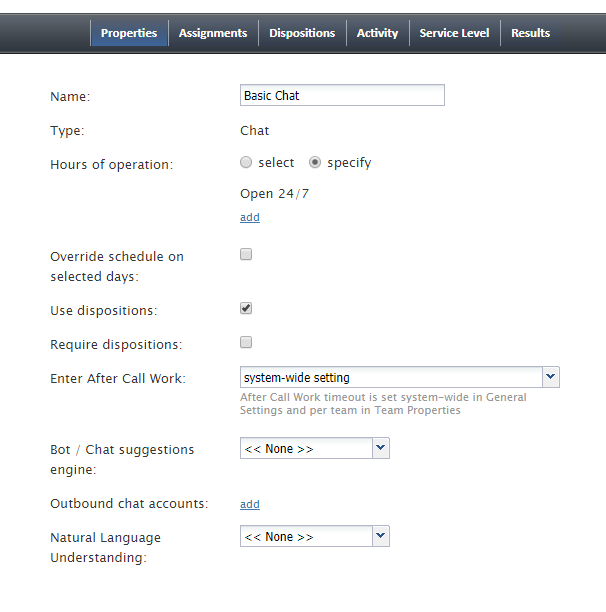
- 表示された プロパティタブ では、チャットサービスのプロパティを更新します。その時、サービスにユニークな名前を付けます(必須項目)。この時点では、他のプロパティの設定は任意です。この手順を複雑にしないために、プロパティをなるべく簡単なものにします。
- 適用をクリックし、変更を保存します。
ステップ 2: サービスにチームを割り当てます。
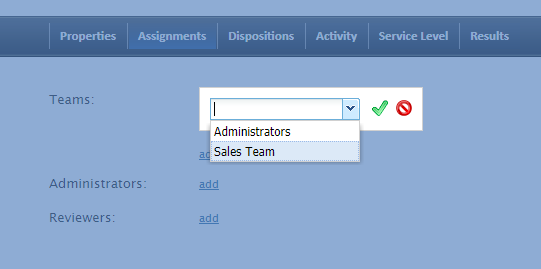
- 割り当てタブでは、このサービスにチームを割り当てます。 初期設定上、このサービスが作成された時点で、既定のサービススキルが関連するチームの全メンバーに自動的に割り当てられます。
- さらに、このサービスに管理者とレビュアーを割り当てることができます(オプション)。
- 適用をクリックし、変更を保存します。
ステップ3: 追加のスキルを作成し、割り当てます。
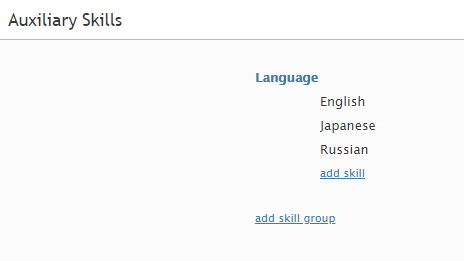
- 追加のスキルとは、補助スキルです。コールセンター設定 > 補助スキルで、このチャットサービスに必要なエージェントスキルを追加します。
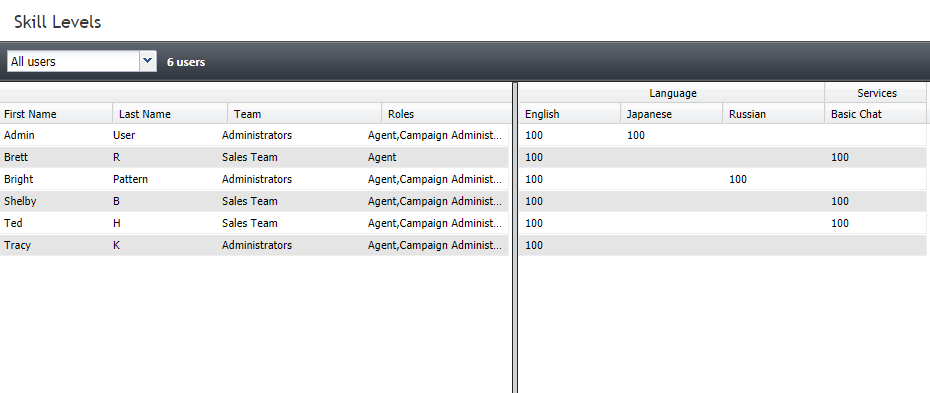
- ユーザー & チーム> スキルレベルでは、補助スキル をエージェントに対して必要なスキルとして割り当てます。数値が高いほどユーザのスキルレベルが高いです。
- 適用をクリックし、変更を保存します。
ステップ 4: サービスレベルの閾値を指定します。
- サービス & キャンペーンへ戻り、先ほど作成したチャットサービスを選択します。
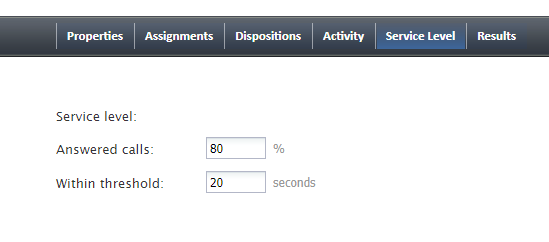
- サービスレベルタブでは、このサービスに関連付けられたチャットに対して、一定の時間内に応答が予定されるチャットの割合を指定します。
Step 5: Create the scenario for the service
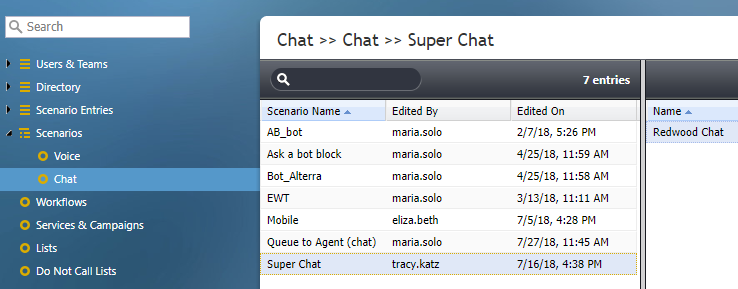
- Go to Configuration > Scenarios > Chat to create the chat scenario for this service.
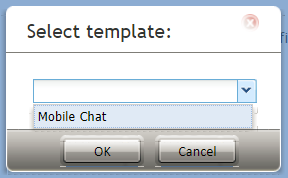
- Either select an existing chat scenario from the list, or click the Add from template
 button at the bottom of the screen to create a new chat scenario from the “Mobile Chat” template.
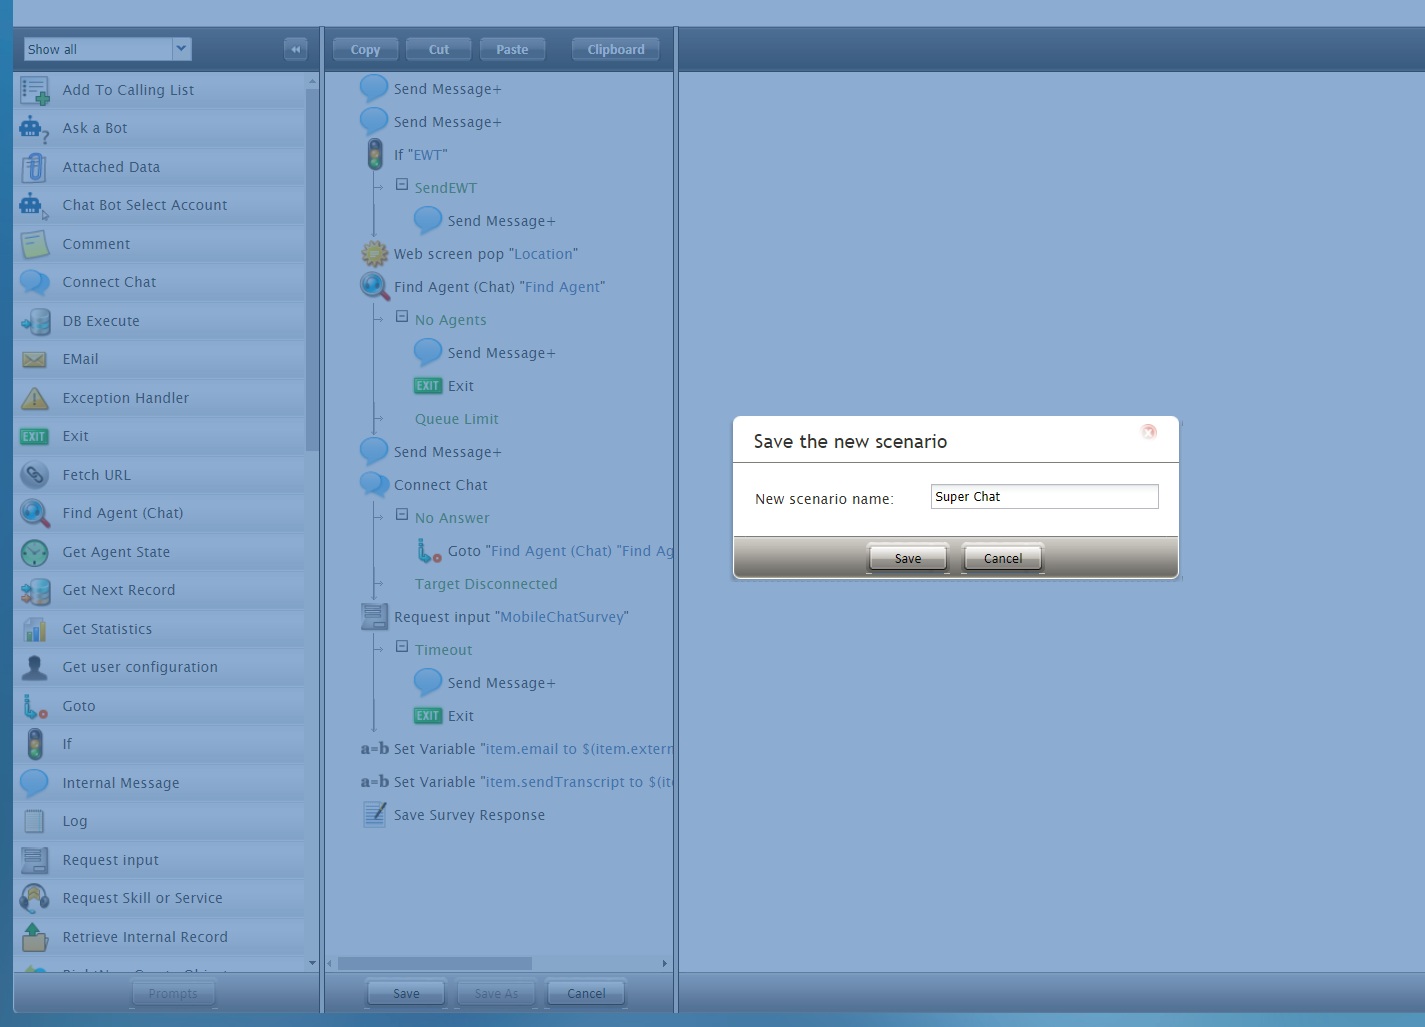
 - Creating a new chat scenario from a template will open the Scenario Builder application in a new browser tab or window. For the purpose of this simple setup, leave the scenario as-is and click Save.
- Give the scenario a unique name (e.g., "Sales Chat") and click Save again. Your new scenario will appear in the list of scenarios.
Step 6: Add a chat scenario entry to associate the scenario and service with chat
- Go to Scenario Entries > Messaging/Chat.
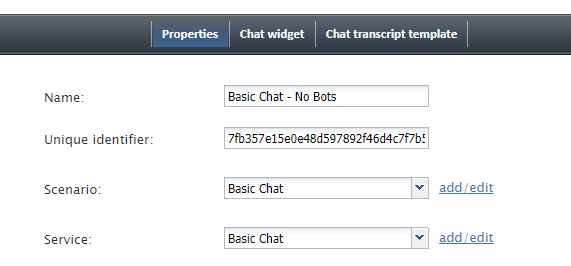
- Either select an existing chat scenario entry or click the Add chat scenario entry (+) button to create a new one.
- If this entry is brand new, the following properties are required right now:
- Name - Give this entry a unique name.
- Scenario - Select the chat scenario you previously created.
- Service - Select the chat service you previously created.
- Name - Give this entry a unique name.
- Click Apply to save your changes.
Step 7: Configure SMS/MMS access numbers
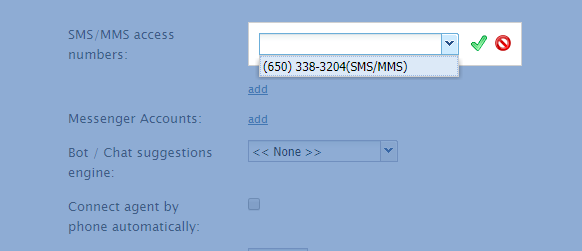
- Still in Scenario Entries > Messaging/Chat properties, scroll down to SMS/MMS access numbers.
- Click add.
- Select an SMS/MMS access number for inbound SMS/MMS communications. If you do not see any phone numbers, contact your service provider to get SMS enabled.
- Click the green checkmark.
- Again click Apply to save your changes.
Step 8: Update omnichannel routing settings
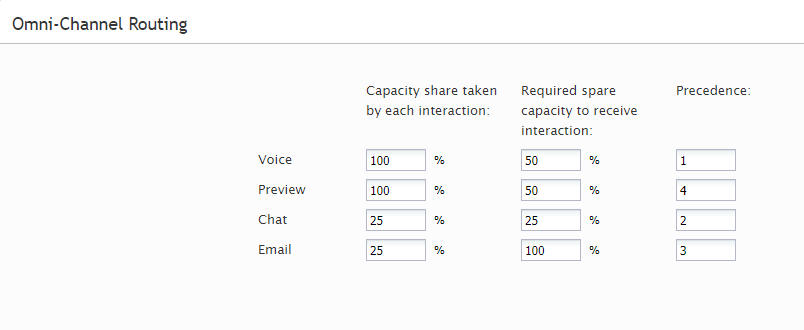
- Go to Call Center Configuration > Omnichannel Routing.
- Specify the number of sessions that agents can handle simultaneously. The default settings are shown.
This completes chat service configuration.
Service Configuration Quickstarts
Be sure to read Bright Pattern's other service configuration quickstarts, which will help you to set up bot-assisted chat, voice, and email services for your contact center:

