Inbound Voice Service Configuration
This article describes how to configure inbound voice service within Bright Pattern’s Contact Center Administrator application.
For inbound voice services with virtual queuing (callback option), see also Bright Pattern's Virtual Queue Tutorial.
Prerequisites
This article assumes that you have already completed initial configuration for your contact center.
Procedure
1. Create and configure an inbound voice service
- Log in to Contact Center Administrator, and go to Services and Campaigns.
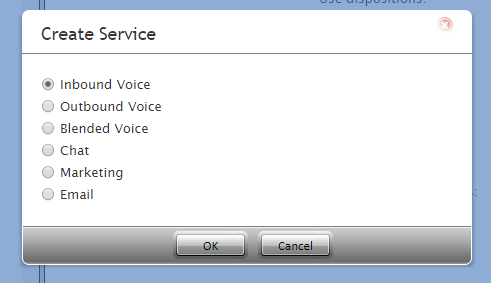
- Click the Add service (+) button to create a new inbound voice service.
- Select Inbound Voice as the type of service.
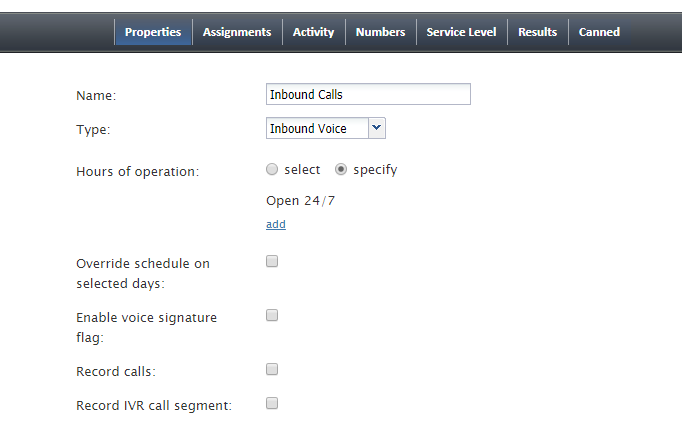
- In the Properties tab that appears, update the service properties, being sure to give the service a unique name (required). At this point, all other properties are optional. For the sake of this procedure, we are going to keep the properties simple, as shown.
- Click Apply to save your changes.
2. Assign teams to the service
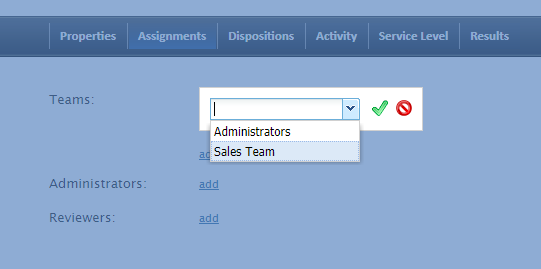
- In the Assignments tab, assign teams to this service. Note that the service will be created with a default service skill that can be assigned automatically to all members of the associated teams.
- Optionally assign administrators and reviewers to this service.
- Click Apply to save your changes.
3. Create additional skills and assign them
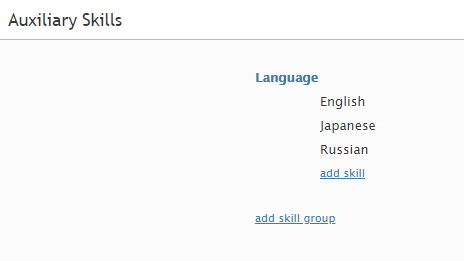
- If necessary, create language skills and any other auxiliary skills that may have to be taken into account when routing calls requesting this service.
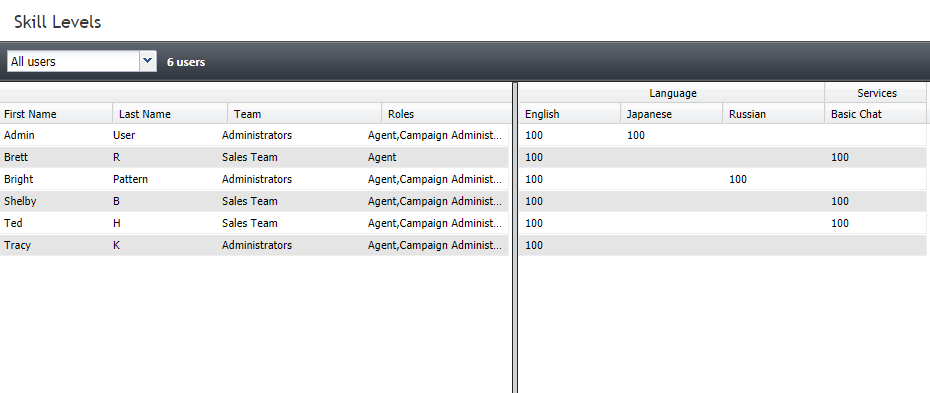
- In Users & Teams > Skill Levels, use skill levels to assign the language and/or auxiliary skills to agents who will provide this service. The higher the numeric value, the more skilled that user is.
- Click Apply to save your changes.
4. Create the scenario for the service
- Go to Configuration > Scenarios > Chat to create the voice scenario for this service.
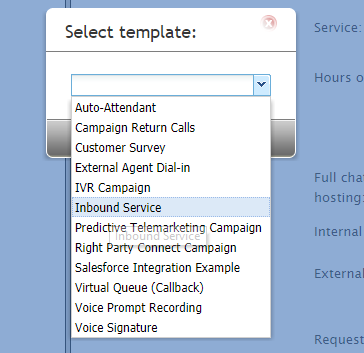
- Either select an existing voice scenario from the list, or click the Add from template
 button at the bottom of the screen to create a new chat scenario from the “Inbound Voice” template.
 - Creating a new scenario from a template will open the Scenario Builder application in a new browser tab or window. For the purpose of this simple setup, leave the scenario as-is and click Save. You can come back to Scenario Builder later to edit the scenario.
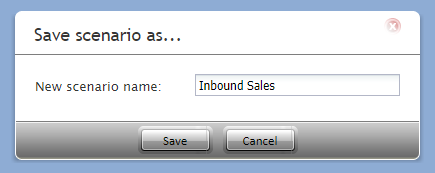
- Give the scenario a unique name (e.g., "Inbound Sales") and click Save again. Your new scenario will appear in the list of scenarios.
5. Associate the scenario with a service
- Go to Scenario Entries > Dial-in.
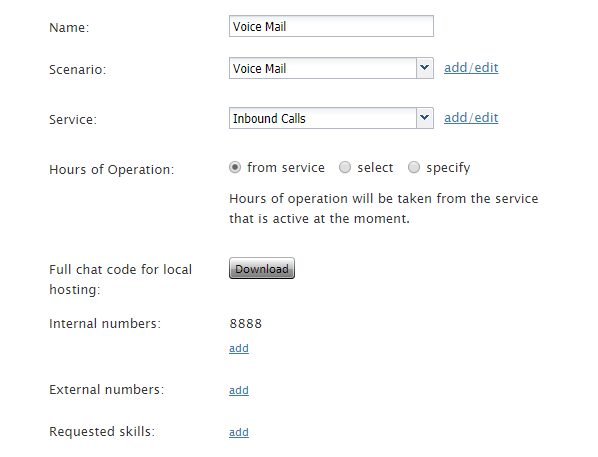
- Select the dial-in scenario entry that has been preconfigured for your contact center (typically “Voicemail”).
- In the Service property, select the inbound voice property that you created earlier in this procedure. This associates the scenario entry with the inbound voice service.
- Click Apply to save your changes.
Note: The remaining steps are optional and depend on your workflows and reporting requirements.
6. Specify service level thresholds
- Go back to Services & Campaigns and select the chat service you just created.
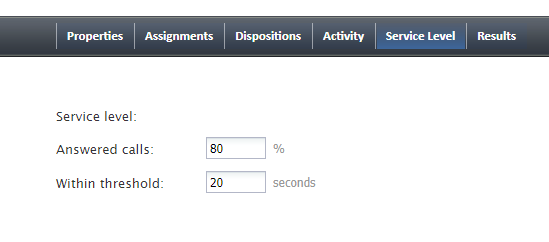
- In the Service Level tab, set the percentage of chats associated with this service that are expected to be answered within a certain amount of time.
7. Specify dial-out information
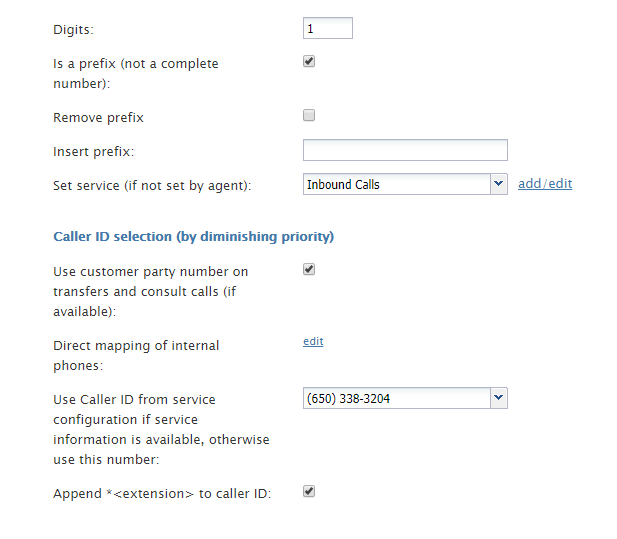
- Go to Directory > Dial-out Entries and select an entry from the list. A dial-out entry is an access number that has been assigned to your contact center by your service provider.
- Update the entry properties, including phone number prefixes and caller ID, for outbound consultation calls.
8. Set up periodic call recording exports
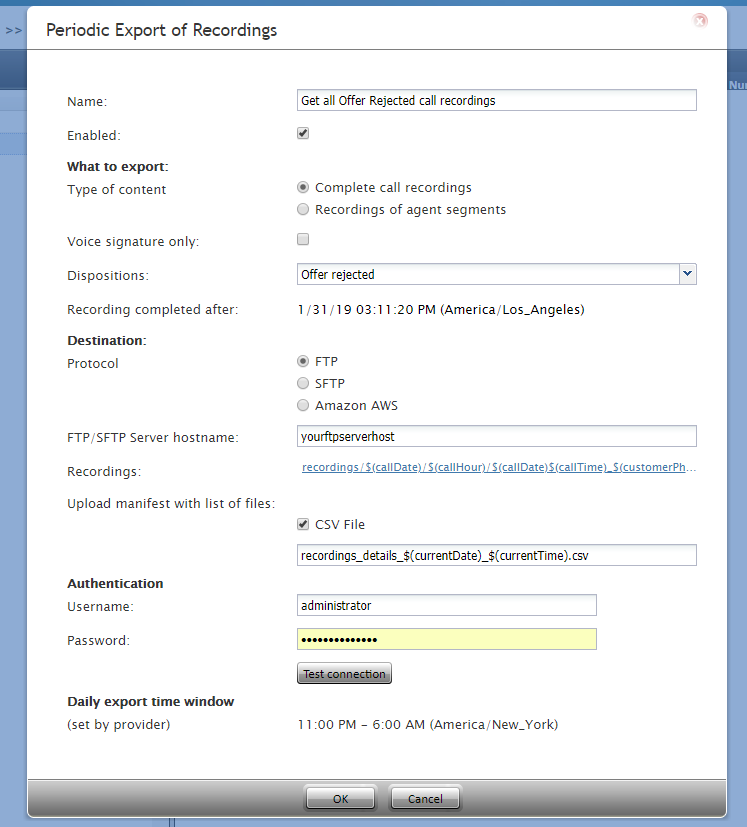
- Go to Services & Campaigns > Results tab.
- Under Periodic Recording Export Jobs, click add.
- Update all the properties, specifying which call recordings should be exported and where they should go.
9. Configure caller ID
- Go to Services & Campaigns and select your inbound voice service from the list of services.
- Click on the Numbers tab and then on the Caller ID button to configure a caller ID for outbound SMS communications.
- Click the Add caller ID (+) button.
- Select your phone number from the list, and enter a state/province to be displayed.
- Click Apply to save your changes.
10. Customize historical reports
Review the available service reports and, if necessary, customize them to your specific reporting needs.
Your inbound voice service configuration is now complete.
Service Configuration Quickstarts
Be sure to read Bright Pattern's other service configuration quickstarts, which will help you to set up bot-assisted chat services, campaigns, and email services for your contact center:

