Testing a Messenger Integration
Messenger integrations allow your organization's agents to accept and respond to chat interactions from different sources within the Agent Desktop application. Messenger interactions are delivered as “Customer Service Chats” and look no different than other web or mobile chats that are sent to agents.
Prerequisites
To access messages through these third-party messenger applications, you'll need to acquire the necessary credentials from your messenger account, and use these credentials to configure a messenger integration in Bright Pattern Contact Center Administrator. For every type of messenger you're integrating, use the corresponding Messenger Integration and Configuration Guides.
Customizing Interactions Using Scenarios
After the Bright Pattern Contact Center Administrator connection is completed, you need to specify how interactions should be handled. In this section, you will create a Scenario and then a Scenario Entry for each of your messenger integrations so that agents are able to respond to user requests.
| Learn more about using the Scenario Builder | ||
Create A New Scenario
Scenarios > Chat
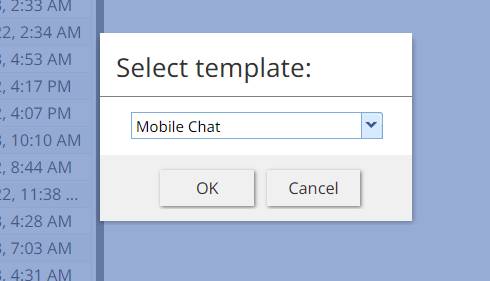
1. Click the "Add from Template" button to create a new Scenario from a template.
2. Choose the "Mobile Chat" template
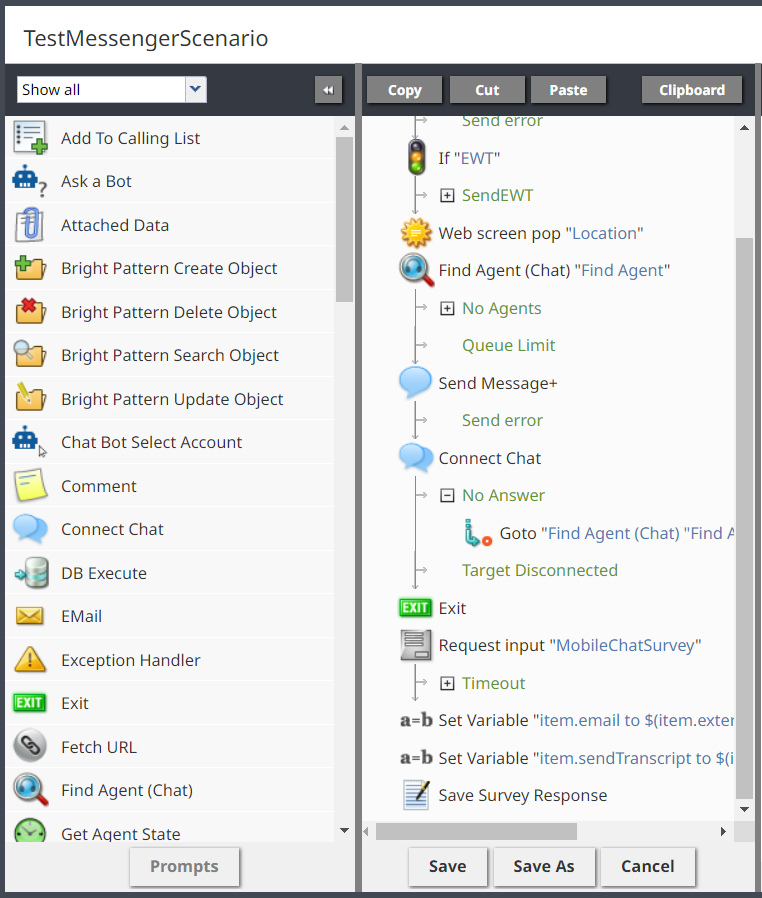
3. This will open a new Scenario in the Scenario Builder with some basic logic already defined. You can use the template as is, but by adding an "Exit" block after the "Connect Chat" block (as shown in the image below) you will be able to exit the chat without being prompted to complete a survey. Everything after this "Exit" block can then be deleted.
Create A New Scenario Entry
Scenarios Entries > Messaging/Chat
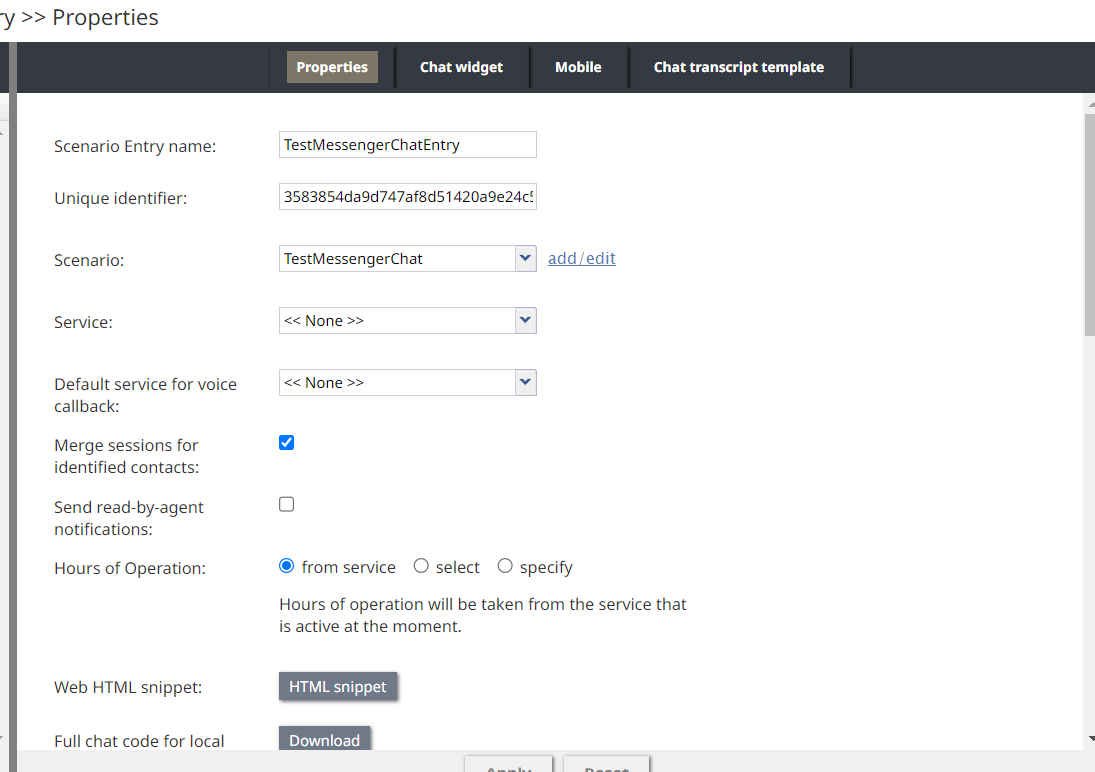
1. Add a new Scenario Entry, and give it a name in the "Properties" panel on the right.
2. In the "Scenario" field, choose the Scenario you created in the previous section.
3. In the "Messenger Accounts" field, choose the messenger integration you want to test.
4. Make any other adjustments to the properties, then click the "Apply" button.
Responding to Customers
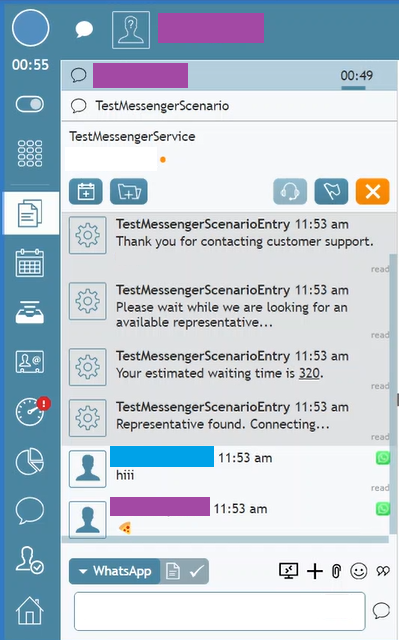
With the Scenario configured, agents will be able to respond to incoming chat interactions. To test this, you'll need to send a message to the messenger integration and ensure your status is set to "Ready" so that you will be available to receive this new interaction.
1. Open Agent Desktop and ensure your status is "Ready".
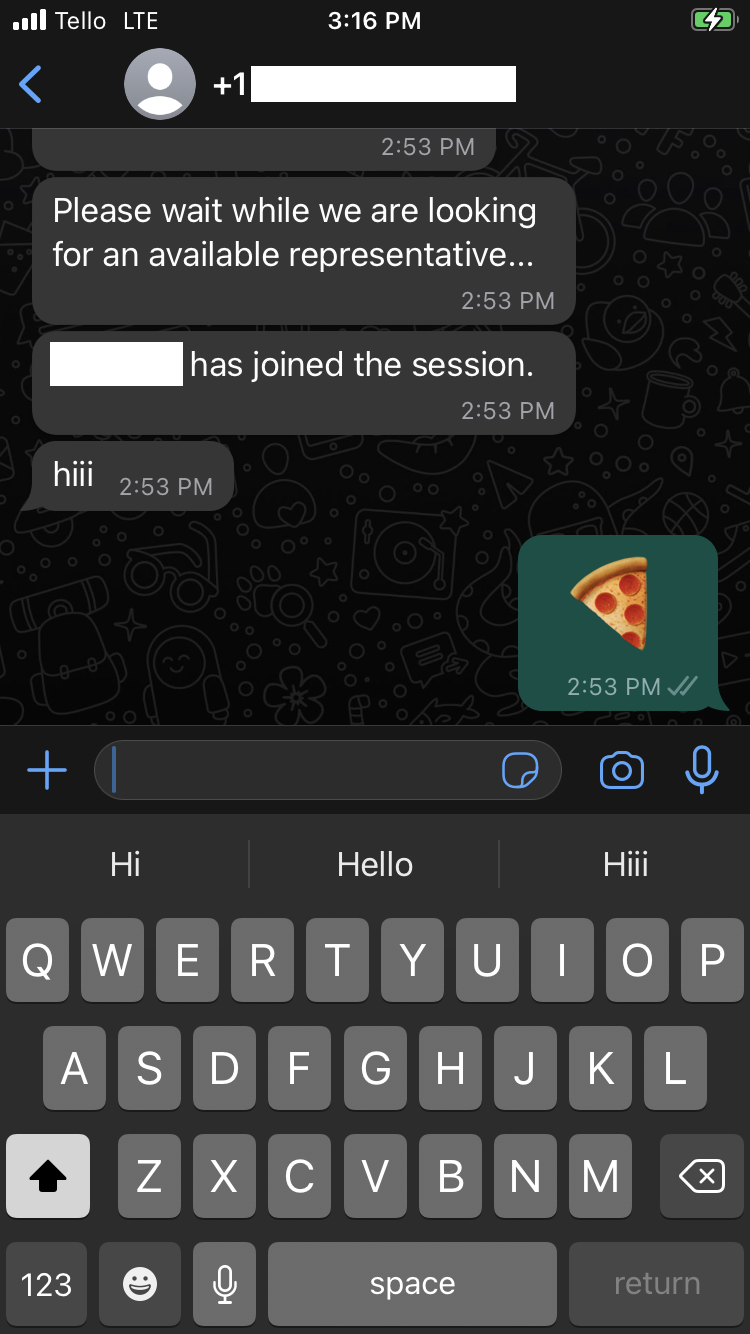
2. Open the messenger app and send a message to the phone number for your messenger integration.
3. A chat notification should appear and an interaction will be initiated in Agent Desktop if you accept it.

