From Bright Pattern Documentation
• 日本語
(Redirected from latest:Tutorials-for-admins/ChatServiceConfiguration)
• 日本語
Chat Service Configuration
This article describes how to configure a general chat service within Bright Pattern’s Contact Center Administrator application.
Prerequisites
This article assumes that you have already completed initial configuration for your contact center.
Template:5.19:Snippets/reference-10DLC
Procedure
Step 1: Create and configure a chat service
- Log in to Contact Center Administrator, and go to Services and Campaigns.
- Click the Add service (+) button to create a new chat service.
- Select chat as the type of service.
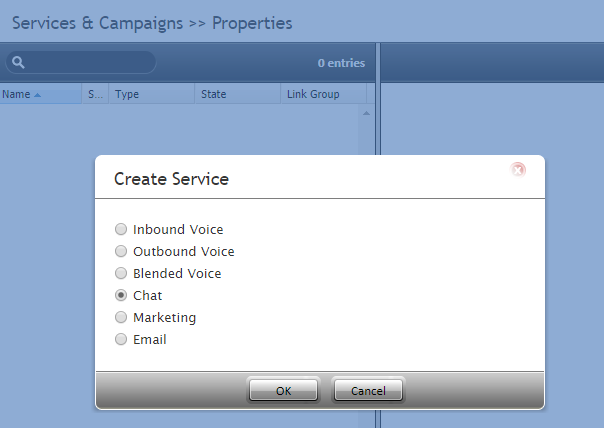
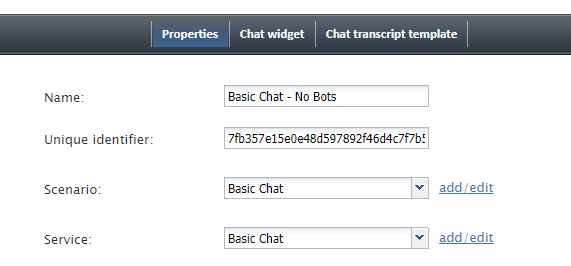
Choose from the available services - In the Properties tab that appears, update the chat service properties, being sure to give the service a unique name (required). At this point, all other properties are optional. For the sake of this procedure, we are going to keep the properties simple, as shown.
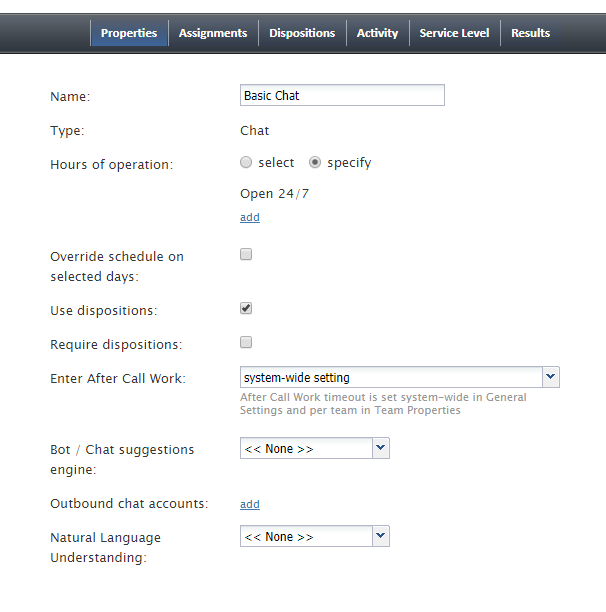
Chat service properties - Click Apply to save your changes.


Step 2: Assign teams to the service
- In the Assignments tab, assign teams to this service. Note that the service will be created with a default service skill that can be assigned automatically to all members of the associated teams.
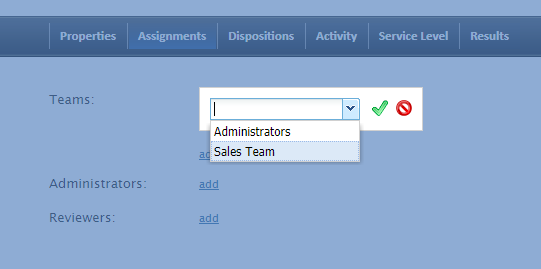
Assign users to teams - Optionally assign administrators and reviewers to this service.
- Click Apply to save your changes.

Step 3: Create additional skills and assign them
- Additional skills are called auxiliary skills. In Call Center Configuration > Auxiliary skills, add any other required agent skills for this chat service.
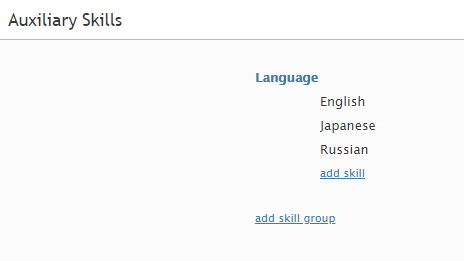
You have to add skills before you can assign them - In Users & Teams > Skill Levels, assign auxiliary skills to agents as required skill levels. The higher the numeric value, the more skilled that user is.
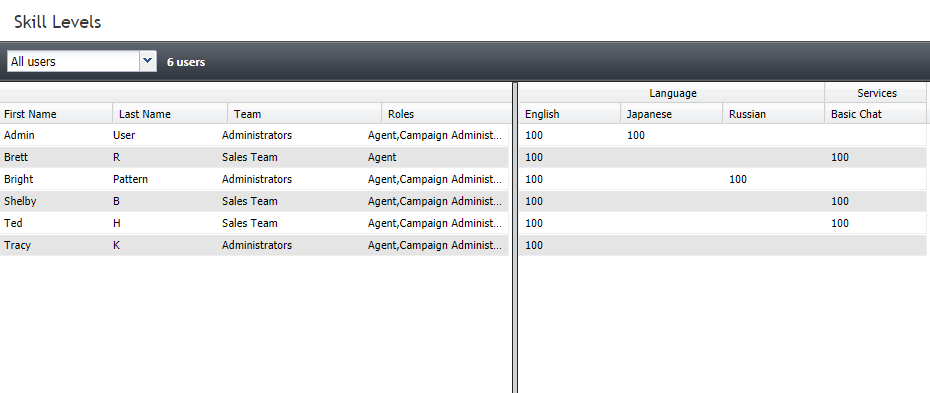
Skills are assigned as percentage values (e.g., "100" or "50") - Click Apply to save your changes.


Step 4: Specify service level thresholds
- Go back to Services & Campaigns and select the chat service you just created.
- In the Service Level tab, set the percentage of chats associated with this service that are expected to be answered within a certain amount of time.
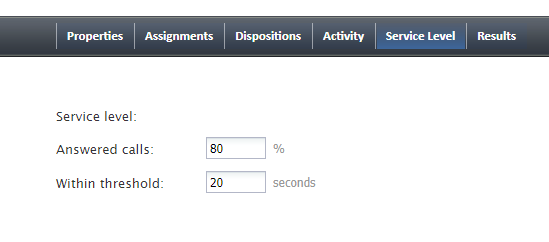
Set service level thresholds

Step 5: Create the scenario for the service
- Go to Configuration > Scenarios > Chat to create the chat scenario for this service.
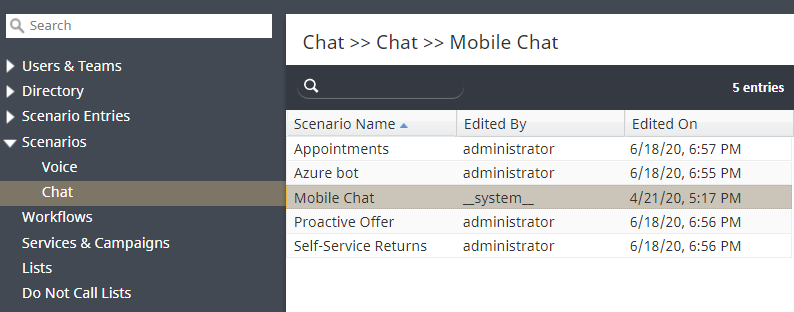
Configuration > Scenarios > Chat - Either select an existing chat scenario from the list, or click the Add from template
 button at the bottom of the screen to create a new chat scenario from the “Mobile Chat” template.
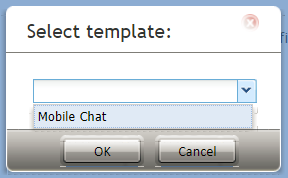
Select the "Mobile Chat" template - Creating a new chat scenario from a template will open the Scenario Builder application in a new browser tab or window. For the purpose of this simple setup, leave the scenario as-is and click Save.

Name the scenario - Give the scenario a unique name (e.g., "Sales Chat") and click Save again. Your new scenario will appear in the list of scenarios.


Step 6: Add a chat scenario entry to associate the scenario and service with chat
- Go to Scenario Entries > Messaging/Chat.
- Either select an existing chat scenario entry or click the Add chat scenario entry (+) button to create a new one.
- If this entry is brand new, the following properties are required right now:
- Name - Give this entry a unique name.
- Scenario - Select the chat scenario you previously created.
- Service - Select the chat service you previously created.
Required properties
- Name - Give this entry a unique name.
- Click Apply to save your changes.

Step 7: Configure SMS/MMS access numbers
- Still in Scenario Entries > Messaging/Chat properties, scroll down to SMS/MMS access numbers.
- Click add.
- Select an SMS/MMS access number for inbound SMS/MMS communications. If you do not see any phone numbers, contact your service provider to get SMS enabled.
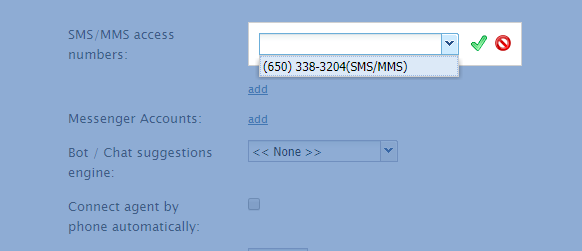
Phone number selection - Click the green checkmark.
- Again click Apply to save your changes.

Step 8: Update omnichannel routing settings
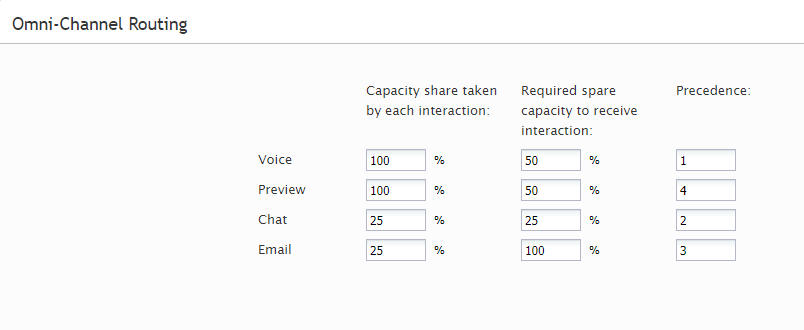
- Go to Call Center Configuration > Omnichannel Routing.
- Specify the number of sessions that agents can handle simultaneously. The default settings are shown.
Phone number selection

This completes chat service configuration.
Service Configuration Quickstarts
Be sure to read Bright Pattern's other service configuration quickstarts, which will help you to set up bot-assisted chat, voice, and email services for your contact center: