How to Pass JavaScript Variables Through Web HTML Snippet
As you learned in our tutorial, How to Use the Web HTML Snippet, the web HTML snippet is the code that defines your chat widget's configuration.
The snippet contains the formatting and style of your configured chat widget, the path to your chat application, the mobile/web API endpoint, the URL of your contact center, and a path to the chat. You can edit the snippet to pass some standard variables through the chat, such as first_name, last_name, email, and phone_number. It is also possible to pass custom variables through the snippet.
In this article, you will learn how to format such custom variables in the snippet.
Procedure
Step 1: Locate your chat scenario entry
- In Contact Center Administrator, go to Configuration > Scenario Entries > Messaging/Chat and Select the desired chat scenario entry to view its properties.
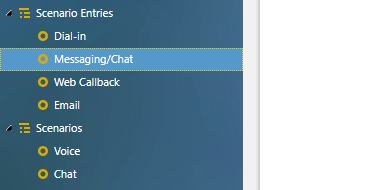
Configuration > Scenario Entries > Messaging/Chat - In the Properties tab, under Web HTML snippet, click the HTML snippet button.
- The HTML Snippet for Web Page dialog will open.
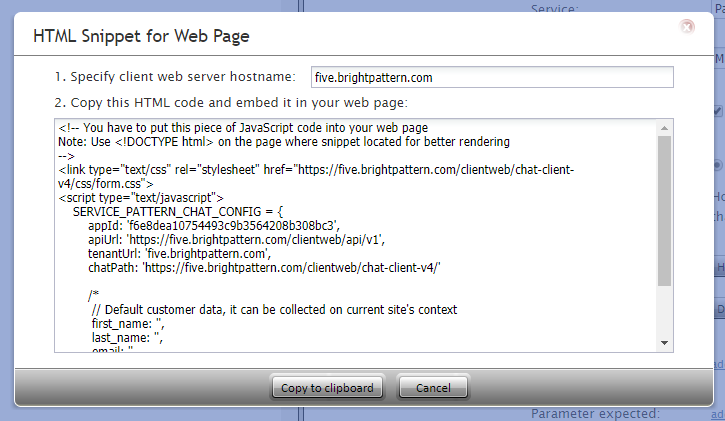
HTML Snippet for Web Page dialog


Step 2: Enter your contact center's hostname and copy snippet
- In the field Specify client web server hostname, enter your contact center’s name (i.e., “example.brightpattern.com”). This action will populate the snippet with the hostname, making it ready to be copied.
- Click Copy to clipboard to copy the snippet.
- It looks like this:
<link type="text/css" rel="stylesheet" href="https://example.brightpattern.com/clientweb/chat-client-v4/css/form.css">
<script type="text/javascript">
SERVICE_PATTERN_CHAT_CONFIG = {
	appId: '94066',
	apiUrl: 'https://example.brightpattern.com/clientweb/api/v1',
	tenantUrl: 'five.brightpattern.com',
	chatPath: 'https://example.brightpattern.com/clientweb/chat-client-v4/'
	/*
		// Default customer data, it can be collected on current site's context
		first_name: ,
		last_name: ,
		email: ,
		phone_number: */
};
</script>
<script src="https://example.brightpattern.com/clientweb/chat-client-v4/js/init.js"></script>
Step 3: Edit default customer data parameters
Notice that in the code comments, some customer data parameters are given: first_name, last_name, email, and phone_number. This customer information is the default set of data collected from the chat's pre-chat form and is passed to the system during the chat interaction.[1]
To pass custom variables through the chat, simply replace this:
/*
// Default customer data, it can be collected on current site's context
first_name: ,
last_name: ,
email: ,
phone_number:
*/
With the following, where "variable_name" is the name of your variable, and "Value" is the value:
parameters:{
    variable_name: 'Value',
}
For example:
 <link type="text/css" rel="stylesheet" href="https://example.brightpattern.com/clientweb/chat-client-v4/css/form.css">
 <script type="text/javascript">
    SERVICE_PATTERN_CHAT_CONFIG = {
        appId: '70a6624585ef2b0981fed84fcd12d4db',
        apiUrl: 'https://example.brightpattern.com/clientweb/api/v1',
        tenantUrl: 'example.brightpattern.com',
        chatPath: 'https://example.brightpattern.com/clientweb/chat-client-v4/',
        parameters:{
            test_var: 'Hello World',
		 }
    };
 </script>
 <script src="https://example.brightpattern.com/clientweb/chat-client-v4/js/init.js"></script>
Note: You should use either the default customer data parameters or your own parameters, but not both. Customer parameters use variable $(item.externalChatData) to collect all customer data from the pre-chat form. If you include both default and custom parameters, you will have duplicate entries of first_name, last_name, email, and phone_number.
For more information, see the Scenario Builder Reference Guide, section Variables.
Step 4: Paste the snippet into your HTML file
Once you are done with step 3, paste the snippet into your HTML for use on your webpage.
- ↑ Note that default variables like "name" can be passed without using parameters declaration.