How to Create and Configure a New Evaluation Form
The Evaluation Form Editor contains four, ready-to-use default forms for each main service type (i.e., chat, email, inbound, and outbound); these forms may be edited and optimized for your contact center.
But what if these forms don't quite fit your center's needs or you have a great idea for a better form? The editor allows you to create forms from scratch, customized exactly as you like. This article describes the basic steps required for creating new evaluation forms.
Note that multiple forms may be assigned per service.
Procedure
1. Launch the Editor
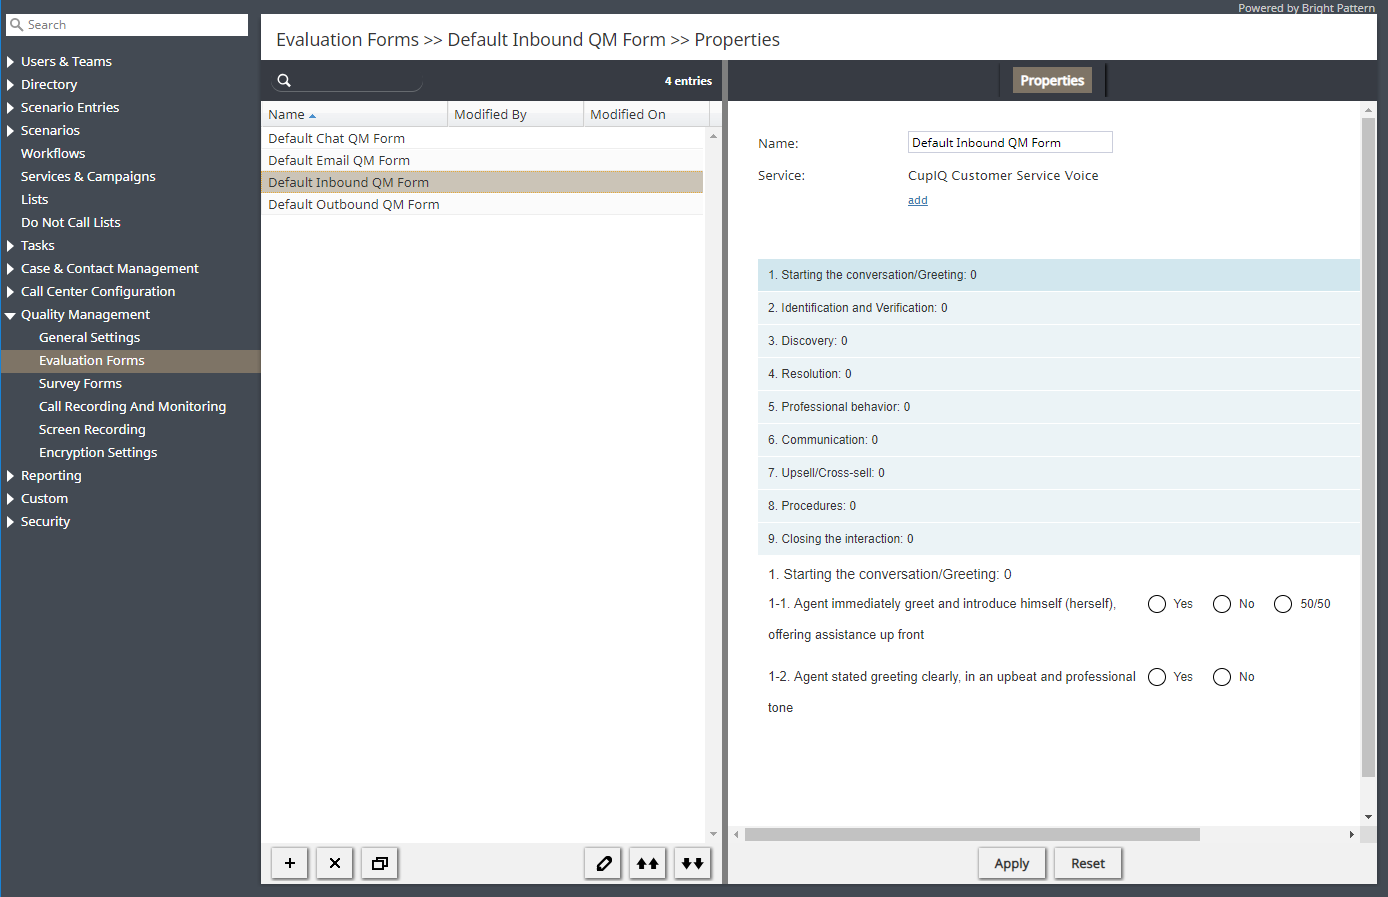
To create a new form, beginning in the Contact Center Administrator application, navigate to section Quality Management > Evaluation Forms. To create a new form, click the Add new form button and the Evaluation Form Editor application will launch with a blank canvas.
2. Assign a Minimum and a Maximum Score
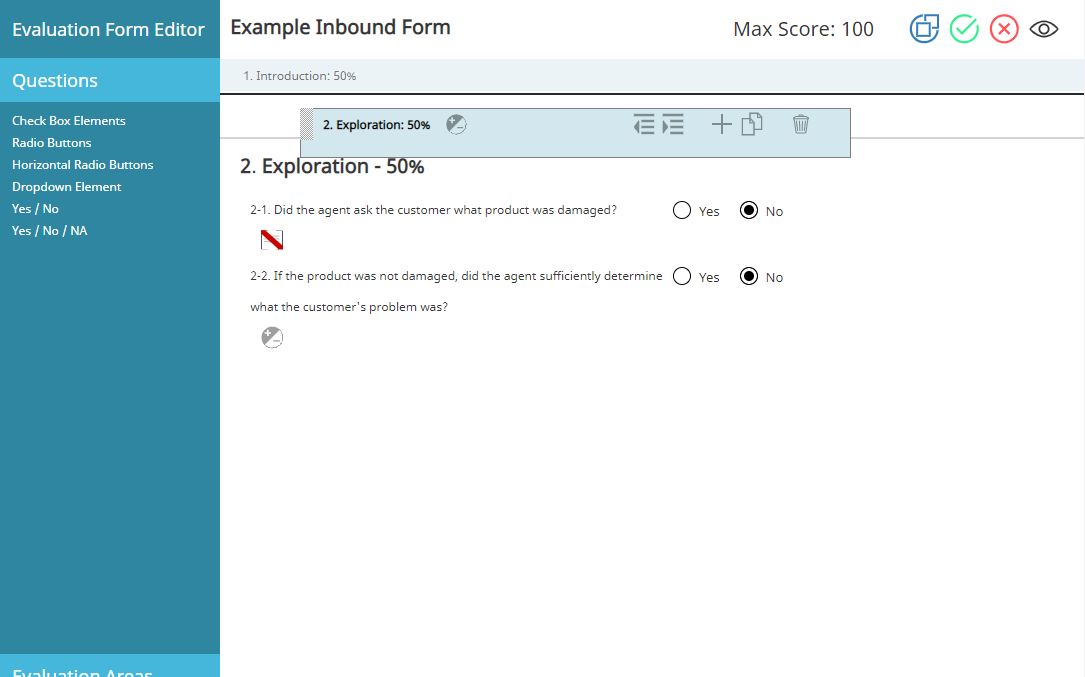
First, you will want to assign a minimum and a maximum score to your form. Assigning minimum and maximum scores lets you define what score is considered passing or failing. Note that the default minimum score is 20 and the default maximum score is 100. Hover your cursor over the default title then click the edit icon to edit the area. When you have finished configuring the area, click save
.
3. Configure the First Evaluation Area
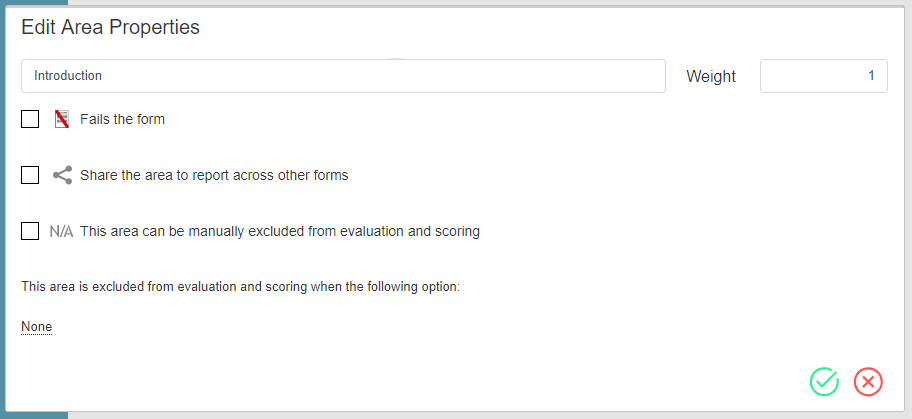
When creating a new form, the system has one evaluation area available by default. Click the edit icon to edit the area, then determine if the area will have any weight, if you want the area to be shared across forms, and so forth. When you have finished configuring the area, click save
. Note that if you wish to exclude a question from evaluation or scoring of this area, it must be done after the questions are configured.
For more information about configuration options, see Evaluation Areas.
4. Configure the First Area's Questions and Answers
Next, drag and drop question controls into the form canvas. The control options comprise shortcuts to the four types of answer buttons (Check Box Elements, Radio Buttons, Horizontal Radio Buttons, and Dropdown Element) and two preconfigured answer options (Yes / No and Yes / No / NA).
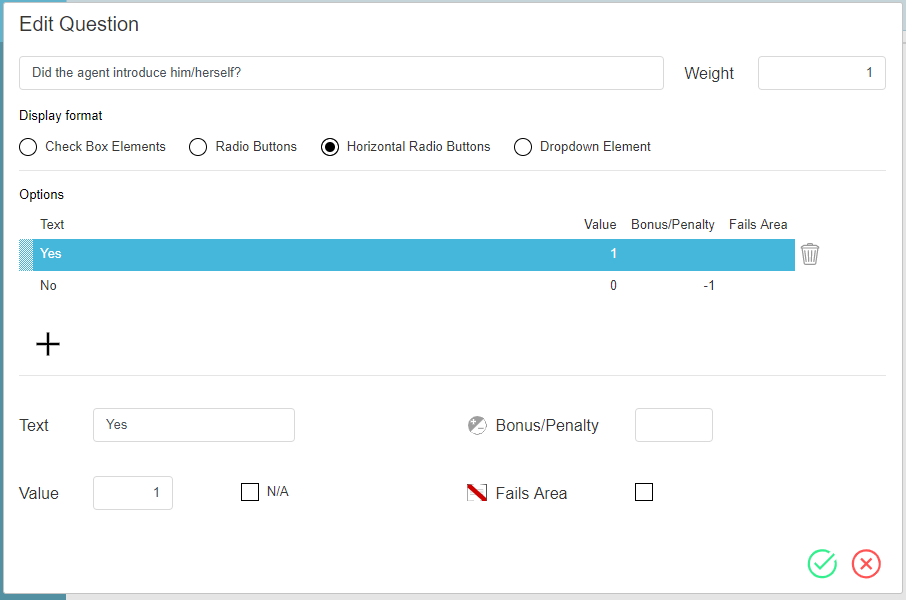
To configure a question and its answers, click the edit icon, enter the question and its answers, making sure to apply any options (i.e., bonus/penalty, answer value, etc.). When you have finished configuring the area, click save
.
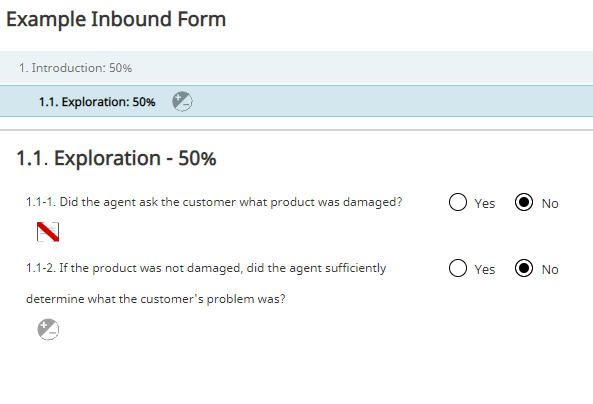
If you configured options for your answers, icons will indicate this in the form canvas. For more information about question configuration options, see Evaluation Questions.
4a. Reordering Areas, Questions, and Answers
It is possible to reorder the placement of areas, questions, and answers. To do this, hover your cursor over the area/question, or click on the selected answer, then drag the item to its new place; a thick, black bar will indicate the item's new position.
5. Create More Areas and Questions
When you are finished creating your first area and questions, you may want to add more areas and questions. To add a new area to a form, hover your cursor over the first area until controls appear and click the add ; a new area will appear at the bottom of the area list.
When creating a new area, note that when you click Evaluation Areas, Shared, some default shared areas may be available for you to drag and drop into your form.
If you wish to make your new area a subsection of the first area, hover your cursor over the area until controls appear and click the indent icon; if you wish to undo the indent, click the outdent
icon.
5a. Utilize the Clipboard to Copy Areas or Questions
It is possible to copy an area or a question to the editor's clipboard. To do this, click the copy icon; the question or area will appear below the name of the application. From here, you may drag and drop the item into your form as many times as you like; the item will stay on the clipboard until another is selected.
6. Save and Name Your Form
When you are finished (or at any point in time), click the save icon to save your form. A window will pop and you will be prompted to name your form. If your form has a title, the title will populate the form name area. When you are finished, click the save
icon. After your form is saved, it will be available to assign to a service.

