Dispositions and Notes
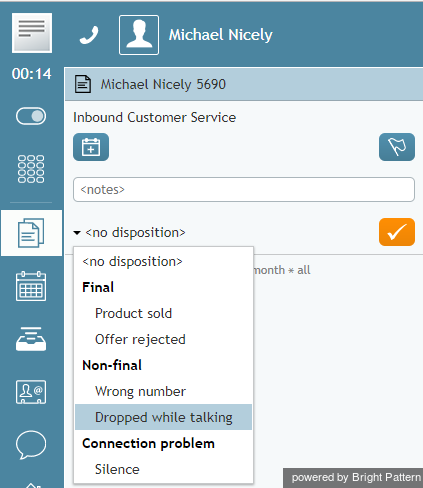
Dispositions are custom interaction results defined by your contact center management. When handling a service interaction, you may be required to select one of the dispositions that define the outcome of the interaction. If dispositions are defined for the services that you provide, the Contact Info Panel of your Agent Desktop will display the Disposition Selector for every associated service interaction.
If you are required to set dispositions, you will receive detailed instructions for their use from your system administrator. Learn more about dispositions and how they are managed in the Contact Center Administrator Guide.
In addition to dispositions, you can also enter free-form text notes to provide more information about the outcome of the interaction.
How to Enter Dispositions and Notes
To enter a disposition for an interaction and/or related notes, follow these steps:
- At any time during the interaction with the customer or while in the After Call Work state, click the Disposition selector.
- From the drop-down menu, select the disposition that corresponds to the result of the interaction. Some dispositions specific to outbound campaigns may require additional parameters, such as scheduling of another call attempt. If such parameters are required, they will be displayed in the Contact Info Panel.
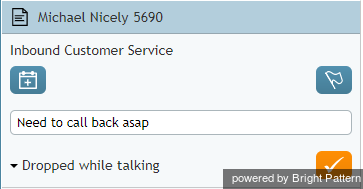
- If necessary, enter free-form notes in the text field.
- Continue to process the interaction normally. For more information about finishing interactions, see How to Release a Call and How to Wrap Up After-call Work.
Note: If you use a custom form in the Context Information Area for processing data related to a specific call, both the Disposition Selector and the Notes field may appear in that form instead of the Contact Info Panel.
Other Uses for Dispositions
If configured for your contact center, a disposition can be used to trigger a workflow, an automated series of events that are initiated when an interaction is completed.
Workflows automate what happens after the conversation is done and will handle any necessary follow-ups, depending on the interaction’s disposition type. Such follow-up actions include setting context variables, sending an email, sending a text message, scheduling an event, clearing a scheduled event, and making a request. Workflows help to reduce your workload by following up with customers and gathering data in a consistent way.
For example, setting a particular disposition for an interaction could trigger the following series of events to happen:
- Send a survey to the customer
- Wait a specified amount of time (e.g., 30 minutes, 1 day, 1 week, etc.)
- Send a follow-up email to the customer.
Using Dispositions to Request That Content Be Erased
Starting with Bright Pattern Contact Center version 5.2, you can use a disposition to request that content from a specific interaction be erased. This capability was added to meet PCI DSS 3.2 and GDPR requirements, which specify that sensitive data (e.g., credit card information) may not be stored in your contact center, even if it is encrypted. As such, Bright Pattern allows for the manual deleting of data that is stored in voice recordings, voice recording transcripts, chat transcripts, email messages, screen recordings, and so forth.
You can request that such data be erased, but only your system administrator can erase it.
What to Do
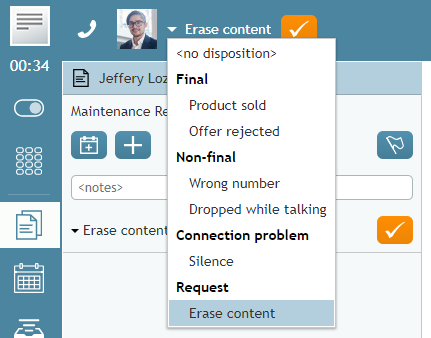
- If such a disposition is enabled for your contact center, you can disposition an interaction with a request to erase content, provided that you give a reason. Note that the name of the disposition is determined by your contact center. If you do not know which disposition to select, contact your supervisor or system administrator.
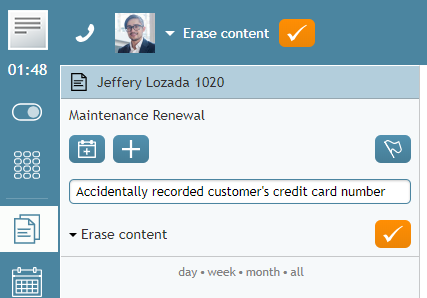
- In the Notes field, provide the reason for the request and enter additional details about the interaction. Then complete the interaction.
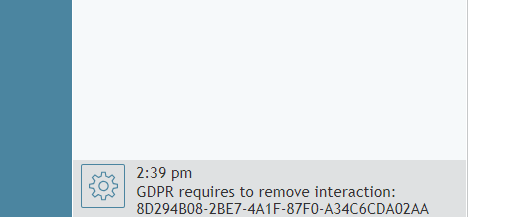
- The disposition will initiate a workflow that sends your system administrator an internal message with the request. The unique identifier tells the administrator which interaction is affected, and he or she can review the interaction and the request.
< Previous | Next >

