How to Compose a Reply
If you are qualified to handle an incoming email, then after reviewing it, your next step will be to reply to the customer. This section explains how to compose an email reply from scratch. For using articles from the Knowledge Base in your email communications, see section Knowledge Base.
Note that for cases with a Closed state, it is not possible to send a reply; you will need to create a Follow-up case. For more information, see How to Send a Follow-up Outbound Email.
Step 1: Begin writing your draft
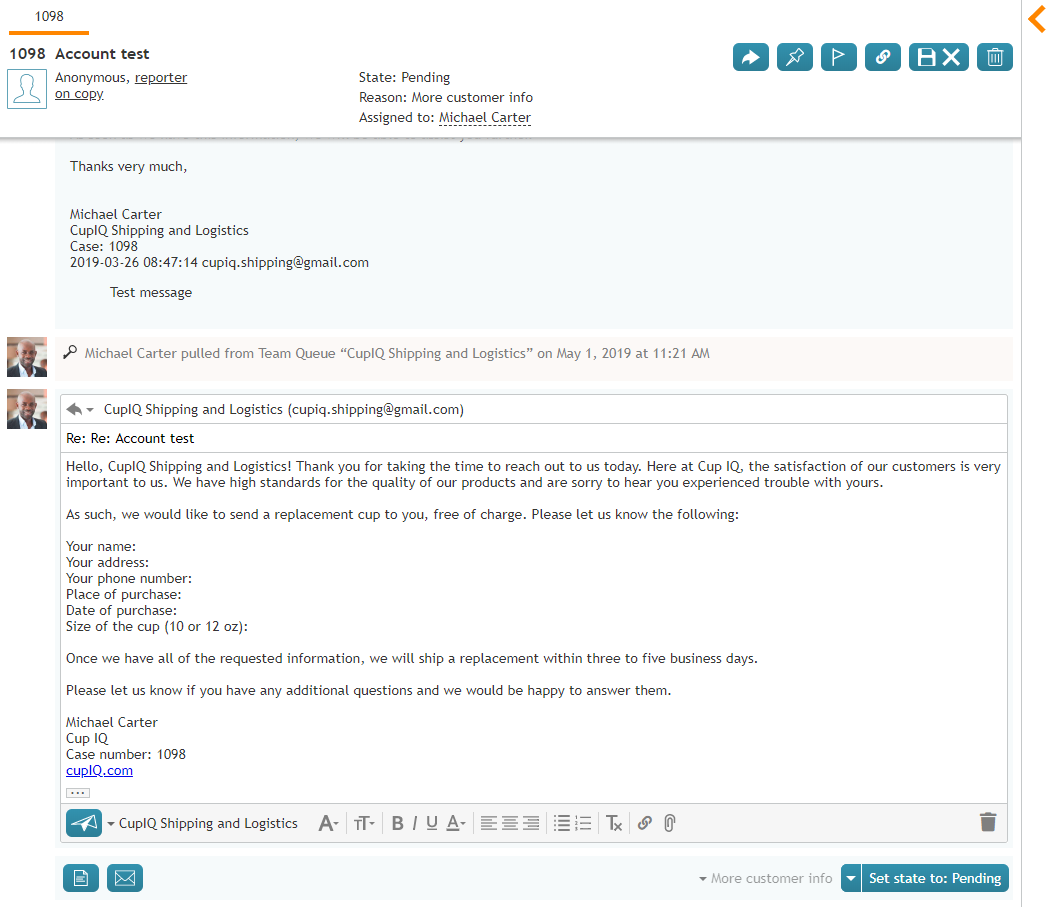
- To compose a reply, select the Reply and Forward
buttons located at the top (on cursor hover) and bottom of the message.
- An email draft will open with the original subject preceded by Re: and the To field showing the customer’s email address.
- If necessary, add cc and/or bcc recipients.
- Type your reply directly in the text field of the Reply Editor. The editor has some text editing tools that allow you to enhance the appearance of your email. These include various font styles and sizes, font and background colors, bulleted and numbered lists, and paragraph alignment.
- You can remove any previously applied formatting by clicking the Remove formatting
 icon.
icon. - If you would like to include links in your draft, enter or paste the URL into the body, highlight the text, then select the insert link
button. The highlighted text will turn blue and will be shown underlined to indicate it is a link.
Note: Depending on the amount of information in your reply, you may consider enlarging the editor window by dragging its splitters down and/or left.
Step 2: Attach files if needed
You can attach files to your email.
- To attach a file, click the Add attachment button
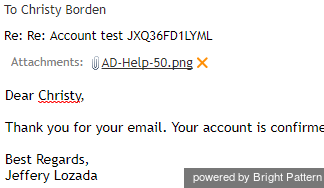
 and select the desired file. Repeat this step to attach more files. Names of the attached files will be displayed below the address field of the message that you compose.
 - To remove a previously attached file, click the X icon next to it.
- Starting from version 5.3.0, note the following email attachment limits:
- Single email attachment size: 10MB
- Single email with attachments size: 25 MB
Depending on your contact center configuration, you may see some standard messages pre-inserted into the text field for each reply you are composing. These messages may appear above (the header) and/or below (the footer) the area of the main text of your reply. Some examples of such messages are references to case numbers, legal disclaimers, and company’s contact information. These messages are editable.
Step 3: Review and send
- When the reply is ready to be sent, click the Send email button
 . The email will be sent to the customer. You will no longer be able to edit the email, and, depending on your service configuration, you may be placed in the After Call Work state. You can use this mode to complete the interaction processing. For example, you may be expected to select a disposition for this interaction.
 - Click the disposition selector and choose an appropriate disposition.
- If necessary, enter free-form text comments in the Notes Editor.
Step 4: Complete the interaction
Click the Complete button. The interaction processing will be finished. You are likely to receive a new interaction for processing shortly.
Note: You can also select disposition and/or enter notes before sending the email.


