Create an App to Enable Microsoft Teams as a Customer Chat Channel
This guide describes how to create a custom app for Microsoft Teams that can be integrated with Bright Pattern Contact Center. Members of your organization can use the app from their Teams client to interact with your contact center.
You can have multiple apps configured to provide different contact points for your customers.
| NOTE: this app is different from Azure App to Enable Teams API access for Directory, Chat, and Presence Integration | ||
Dependencies
- A Microsoft 365 tenant prepared for custom app development:
- A Microsoft 365 subscription that allows access to Teams.
- The Microsoft 365 Admin has enabled Teams for the organization.
- The Teams administrator has enabled custom Teams apps and enabled custom app uploading.
- The Account ID generated by a Bright Pattern Contact Center "MS Teams" messenger integration account.
Add Developer Portal and Create an App
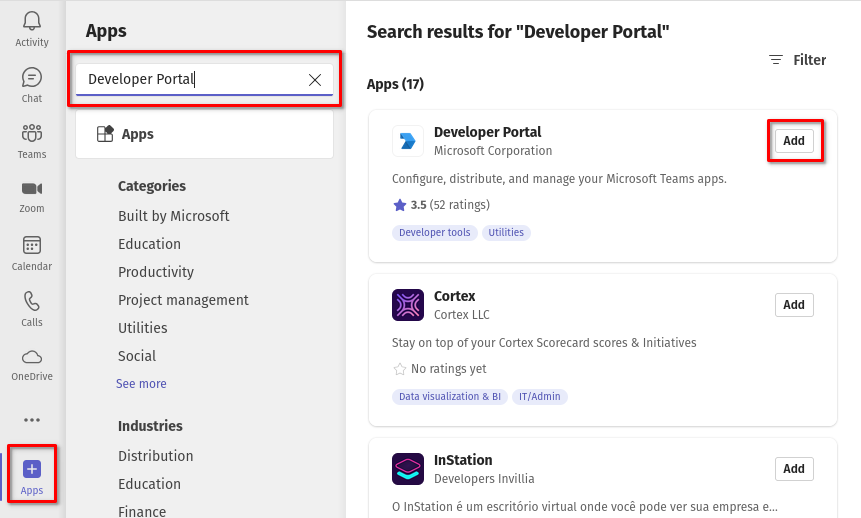
Open your Microsoft Teams client application and navigate to the Apps tab.
Add the Developer Portal app.
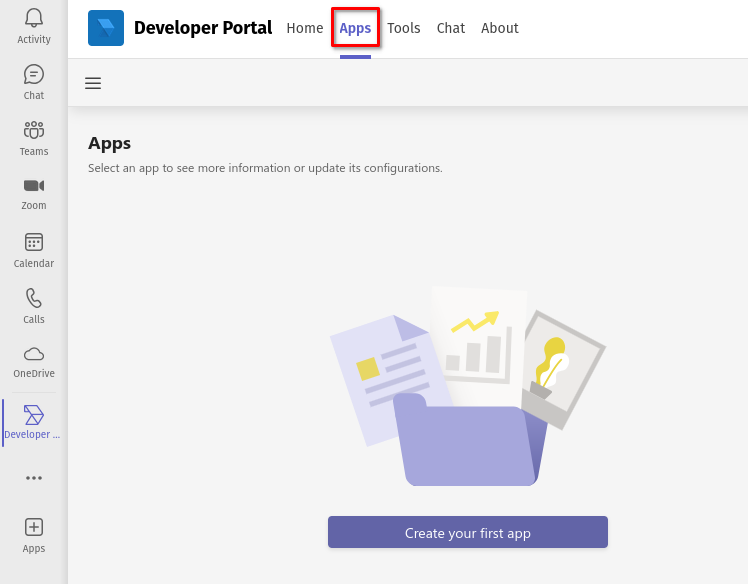
From the Apps tab of the Developer Portal, click Create your first app.
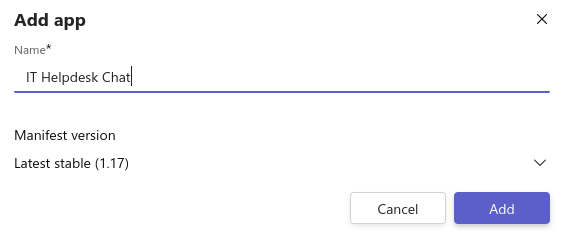
Provide a descriptive Name that will help members of your organization identify the app.
App Features (Configure Bot)
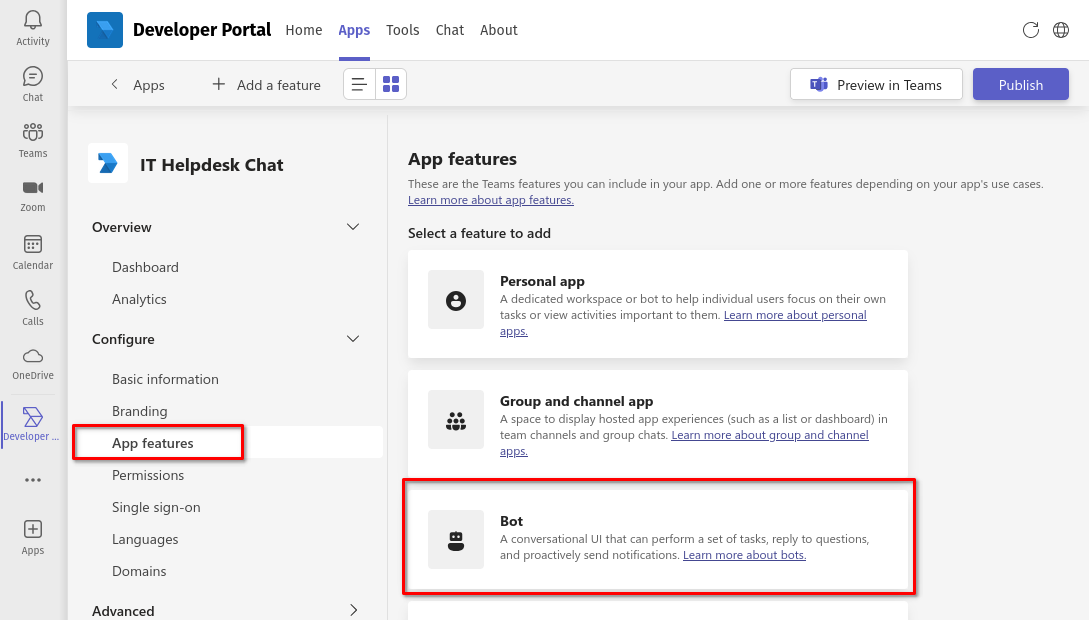
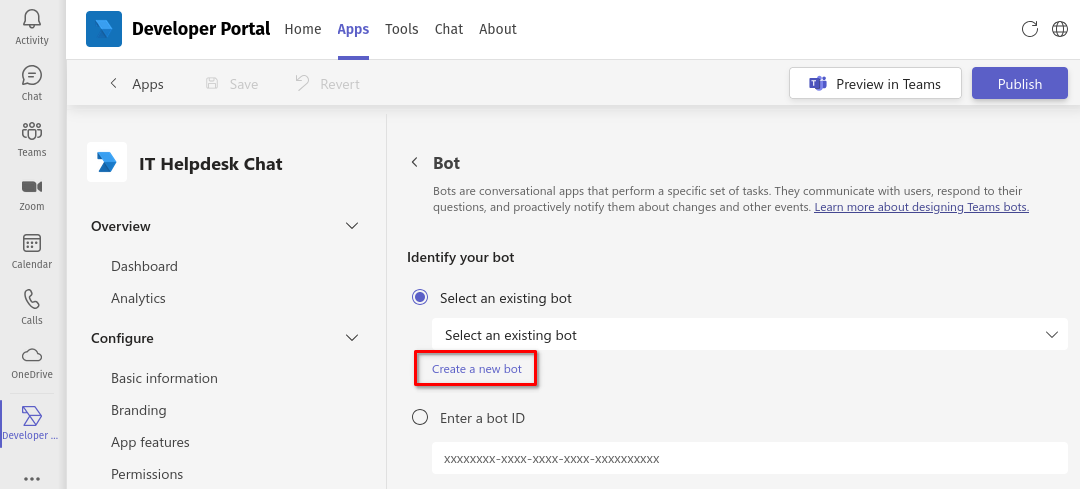
Once the app has been created, navigate to Configure > App Features, and select Bot as a feature to add.
You will see options to either Select an existing bot, Create a new bot, or Enter a bot ID. If you do not already have an existing bot, click Create a new bot.
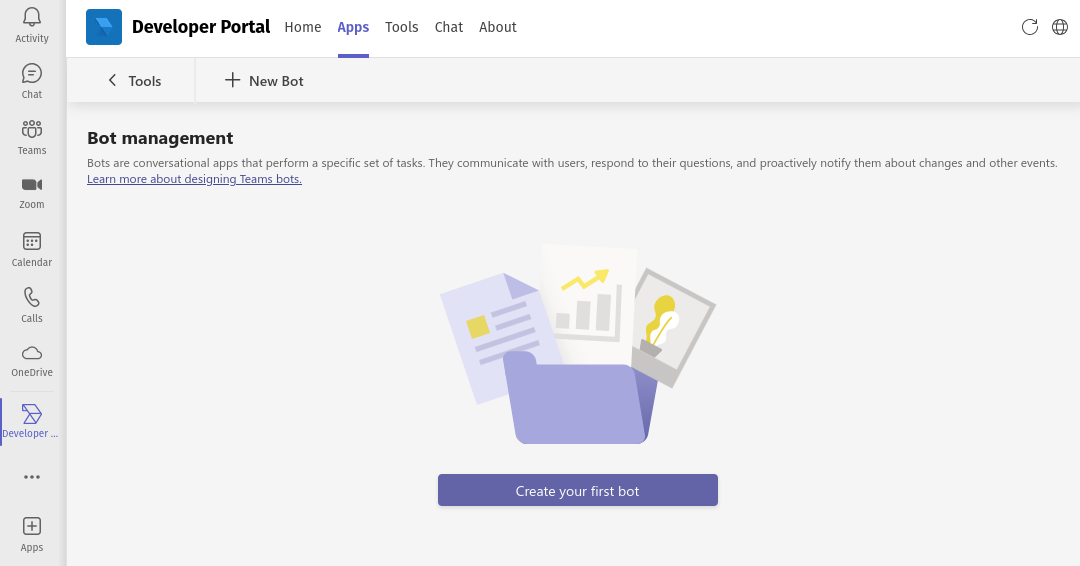
From the Bot Management page, click the Create your first bot button. Add an appropriate Name for the bot in the dialog that appears in response.
Copy Bot ID
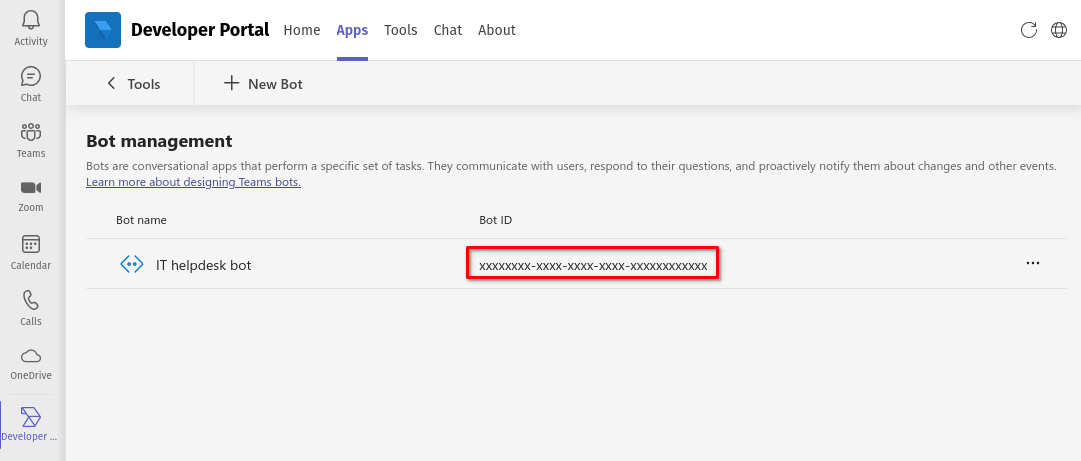
Your bot will appear in the Bot Management page. Copy the Bot ID for use as the App ID in the MS Teams integration account, and then open the bot for editing.
Add Endpoint Address
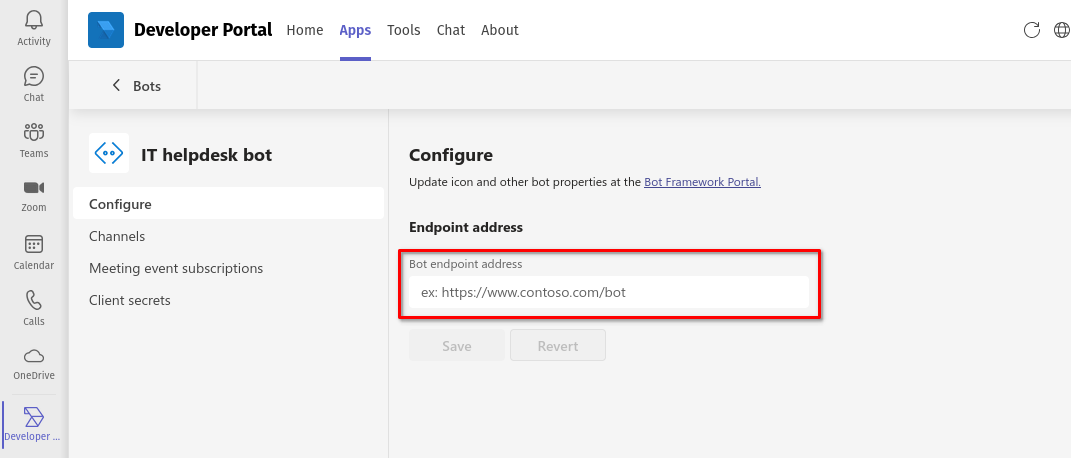
Open the Configure menu of the bot, and set the Endpoint Address. You can create this URL using the Account ID generated by the MS Teams integration account and the URL of your contact center, formatted as follows:
https://<Contact center URL>/clientweb/msteams/webhook/<Account ID>
Create Client Secret
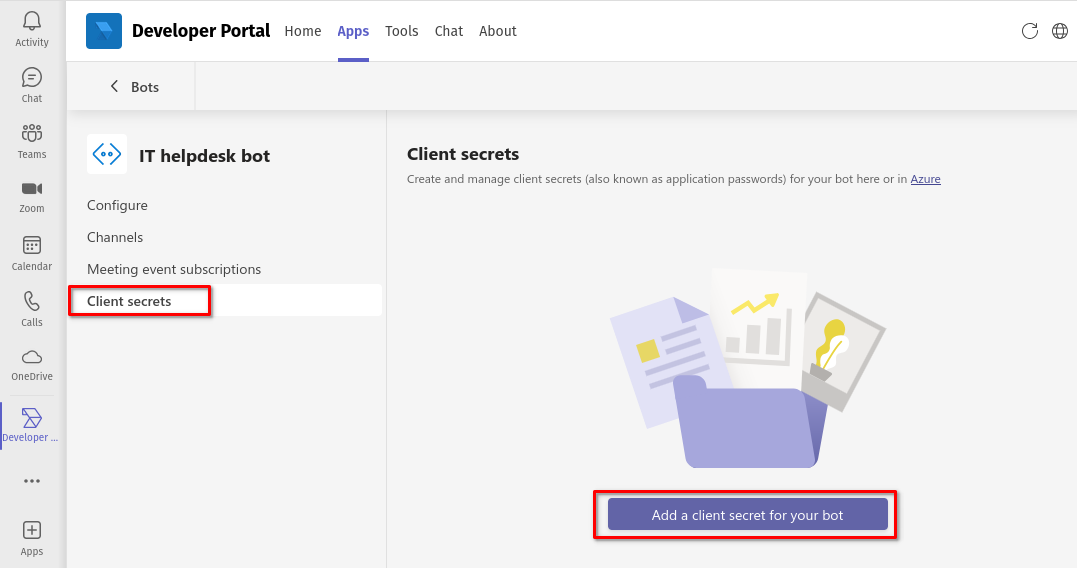
Navigate to the Client Secrets page of the bot, and click Add a client secret for your bot.
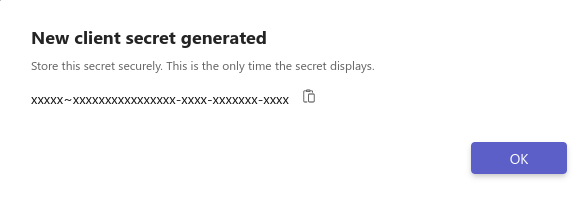
A dialog will display the new client secret. Copy the secret and store it appropriately. You will need it for use as the App Secret in the MS Teams integration account.
Configure Scopes and Permissions
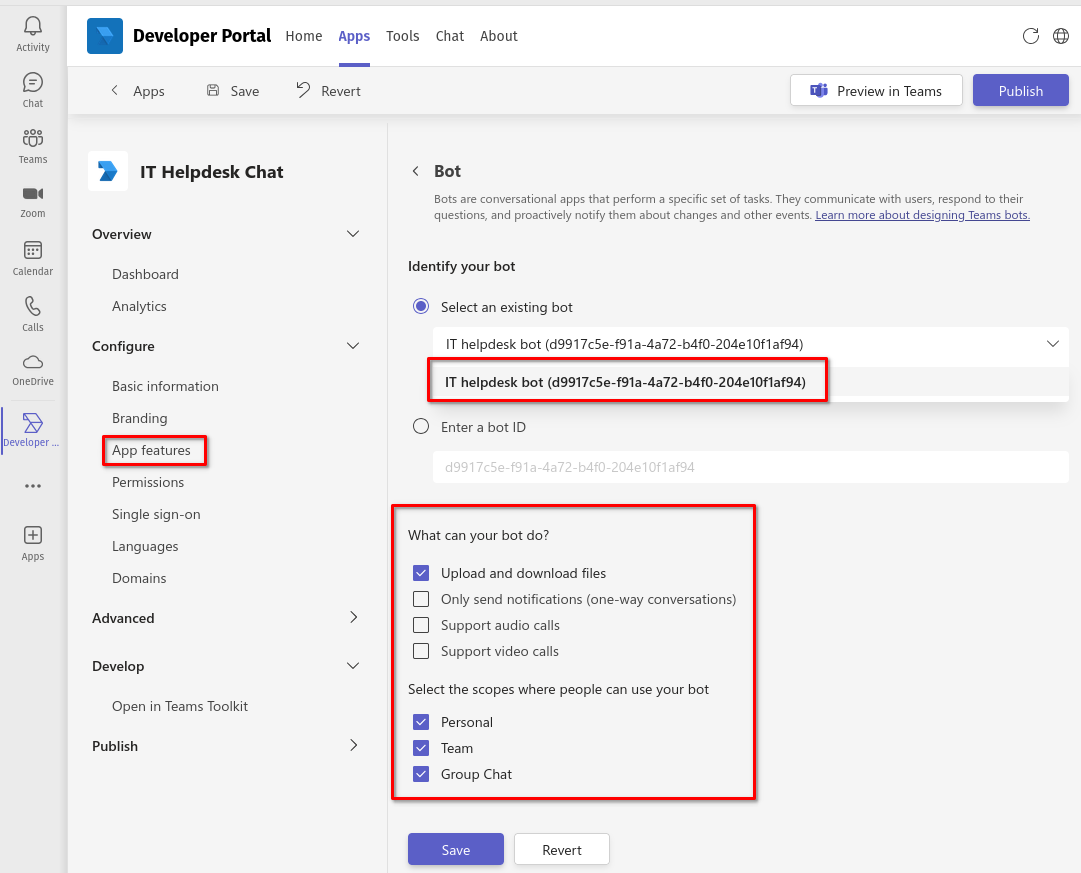
Return to the Configure > App Features > Bot page. Select your bot, enable the following permissions and scopes, and click Save.
- What can your bot do?
-
- Upload and download files
- Select the scopes where people can use your bot
-
- Personal
- Team
- Group Chat
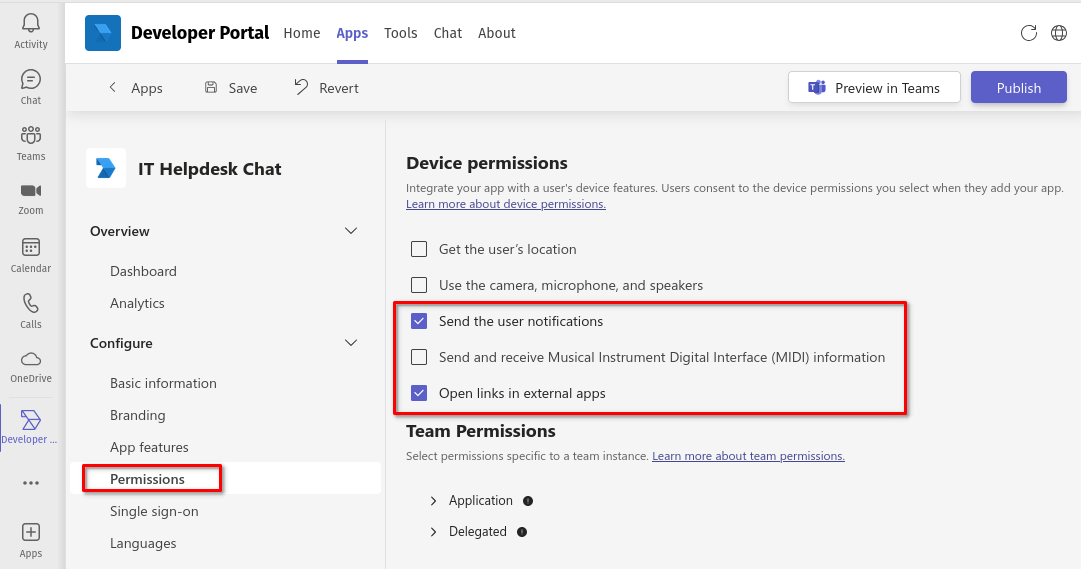
Continue to the Configure > Permissions page and enable the following Device permissions:
- Send the user notifications
- Open links in external apps
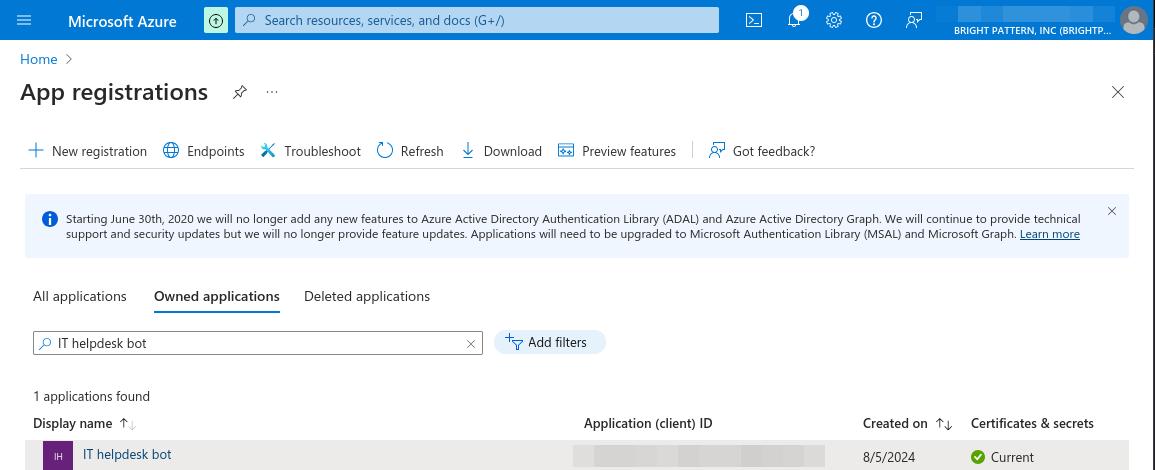
Finally, you need to ensure that your bot is configured with the correct multi-tenant permissions. Navigate to https://portal.azure.com/ and open App registrations.
Open the bot that you created during the previous step from among your Owned Applications.
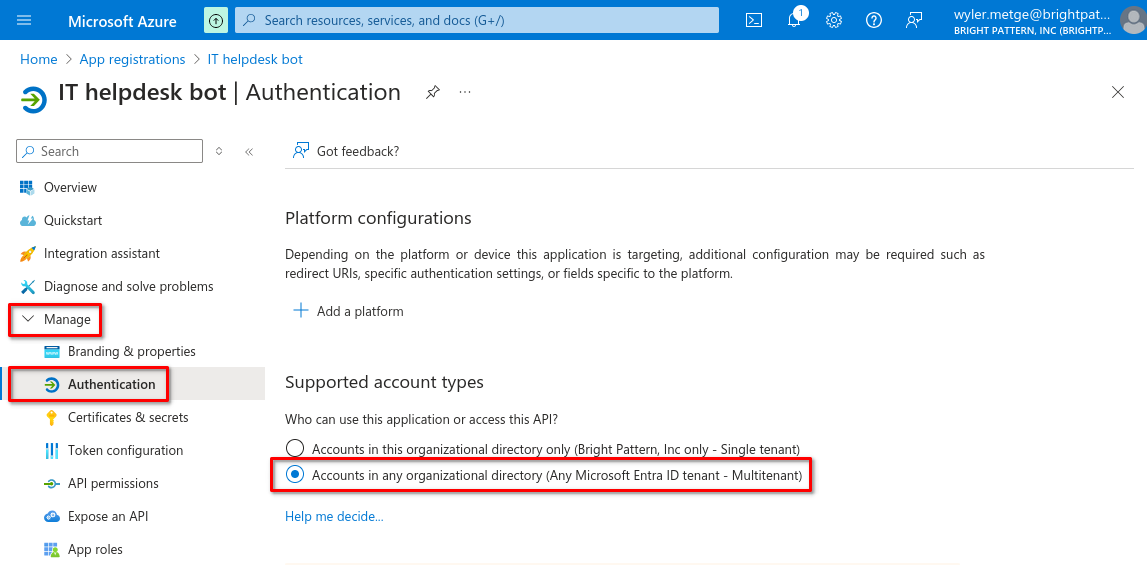
Navigate to Manage > Authentication and under Supported account types, select the option "Accounts in any organizational directory (Any Microsoft Entra ID tenant - Multitenant)"
Click Save and close the Azure portal.
Basic App Configurations
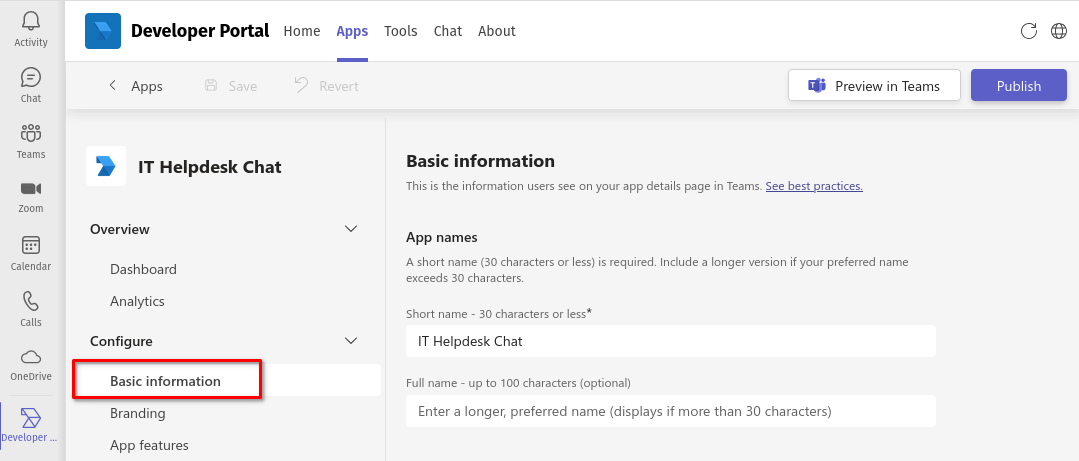
Once a bot has been added to your app via the App features page, navigate to Configure > Basic information to fill in a number of fields to help your users understand the purpose of your app:
App names
Indicate a short and full name for your app. These are the names that your users will look for when adding the app to their Teams account.
Descriptions
Provide both high-level and detailed descriptions of the service channel that your users will be able to access with this integration.
Version
Each time you publish an app, the version number should be incremented.
Developer information
Name and website of the app developer.
App URLs
You must provide URLs to the privacy policy and terms of use of your organization.
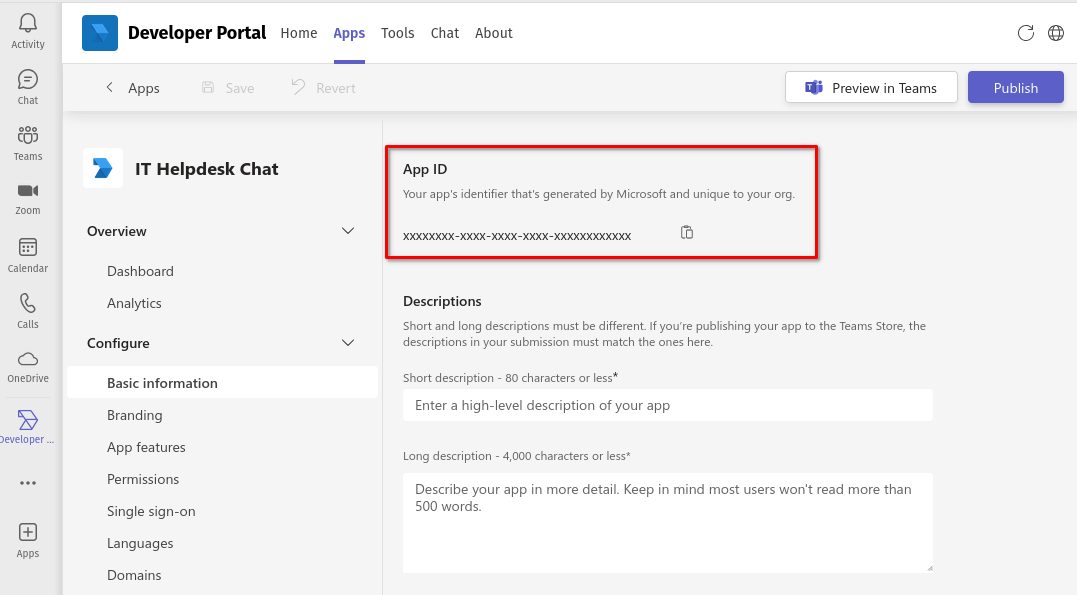
The Basic information page also displays the App ID. Make a note of this identifier for later reference. Your organization's Azure administrator will need this in order to approve your app for publishing.
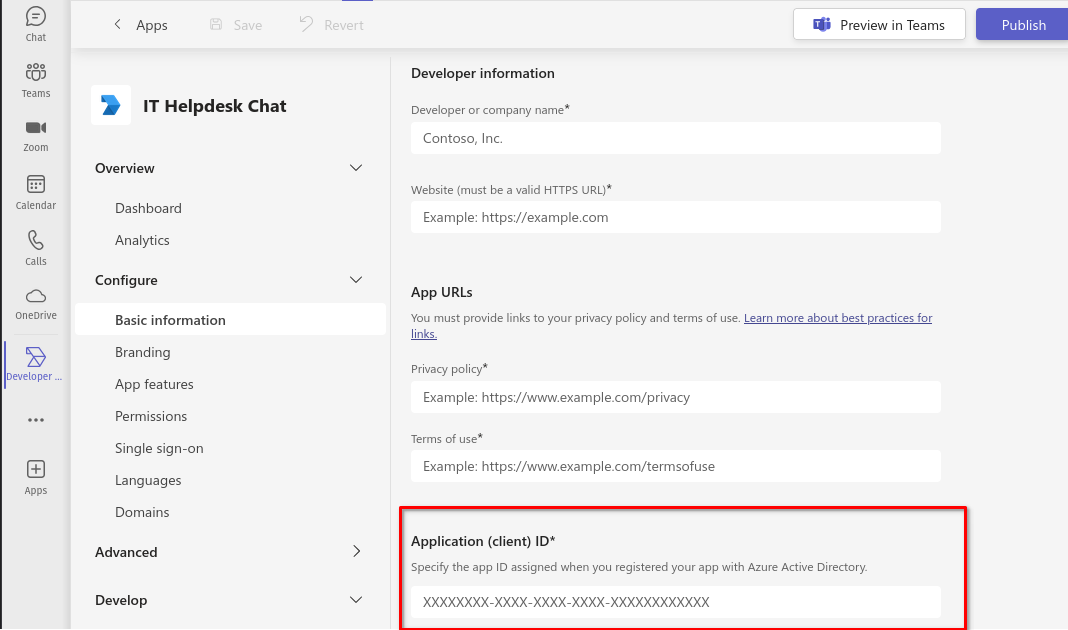
On the Basic information page, you will need to provide an Application (client) ID, which is the Bot ID that you noted previously.
App Branding (Optional)
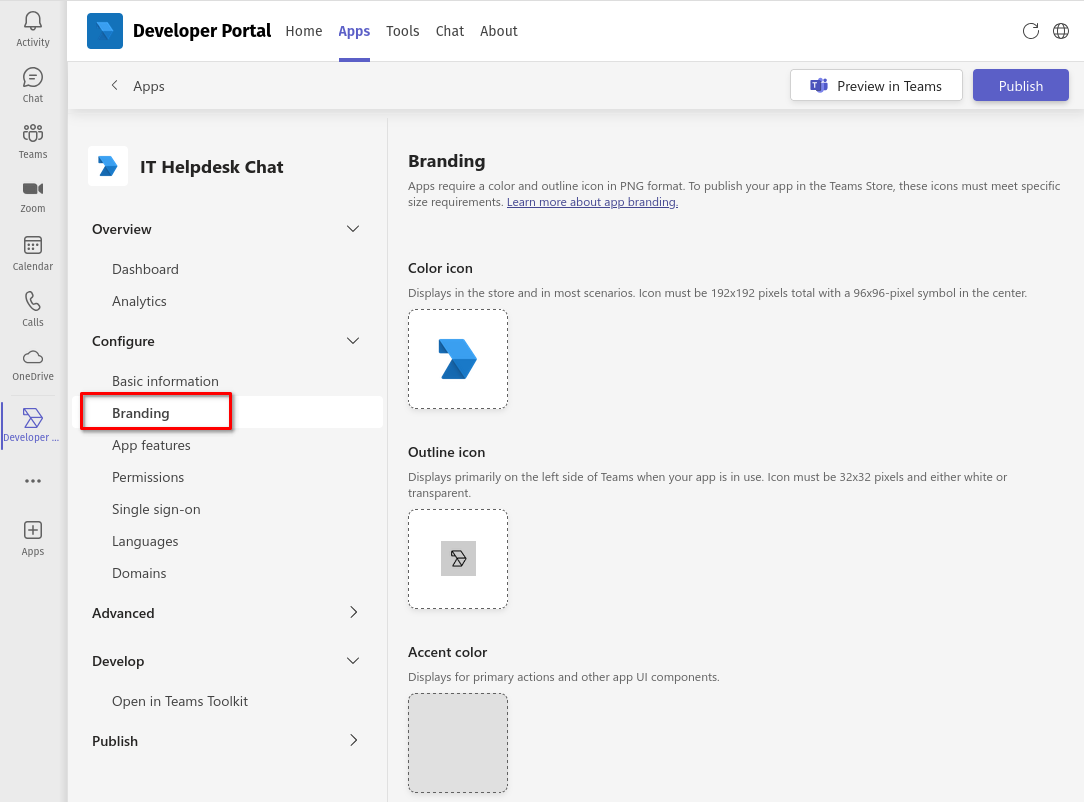
You may add custom icons and choose an accent color that is aligned with your organization's branding. If you choose to change the default icons, your icons must meet the size requirements indicated by Microsoft in order for the app to be published.
Publish and Distribute Your App
When you are ready to publish your app, click Preview in Teams to see how your app description will appear to your end users.
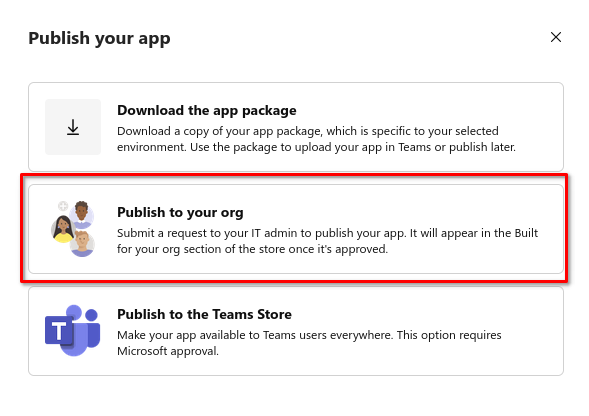
If you are satisfied with the result, click Publish, and choose the option Publish to your org.
To complete the app publication, the administrator of your Microsoft Azure account must approve the app and associate it with your organization's Azure subscription. Typically, this can be done through the Azure CLI with a command similar to the following:
az resource create --resource-group myGroupNameNoQuotes --name myGraphAppBillingResourceNameNoQuotes --resource-type Microsoft.GraphServices/accounts --properties "{`"appId`": `"myAppGUID`"}" --location Global --subscription mySubscriptionGUIDNoQuotes
The value for myAppGUID is the Application (client) ID / Bot ID, which you noted previously and should provide to your organization's Azure administrator.
Help Users Find Your App
Once the app has been approved and published, you can encourage your users to install it in their Microsoft Teams accounts.
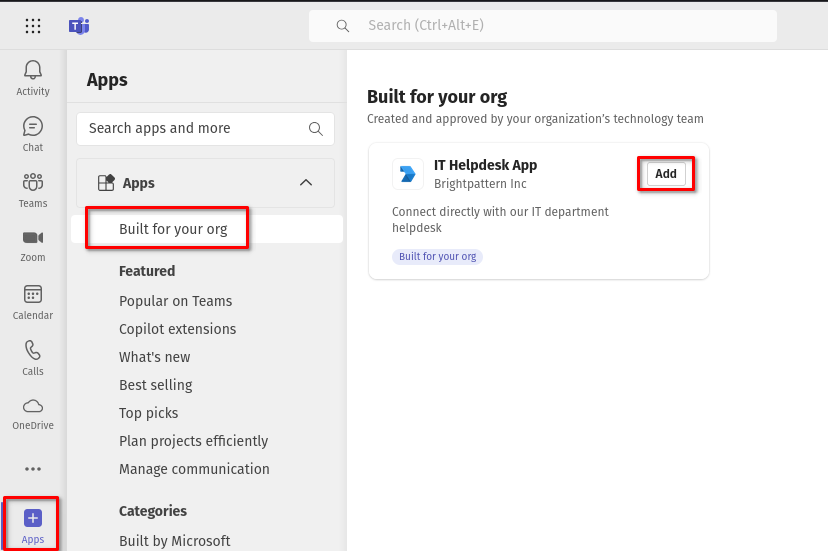
Users can add the app by opening their Microsoft Teams client, navigating to Apps > Built for your org and selecting your app from the list.
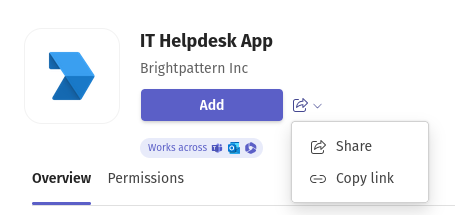
You can also copy a link to the app from the app preview page of your own teams client.
When a user opens the app, they will be presented with a chat window. A chat scenario entry, chat scenario, and chat service must be configured in order to process interactions your users have with the app.

