From Bright Pattern Documentation
• 日本語
How to Load Voices from Google Cloud Text-to-Speech API
A Google Text to Speech integration account uses your Google Cloud API credentials to connect Bright Pattern Contact Center to Google's TTS engine. Once configured, integration lets you create voice prompts in numerous supported languages to automate bot responses.
Configuring a such an integration account requires that you not only provide credentials for access, but that you also authorize voices in a specific language on the Google end.
This article describes how to do just that and load voices to your Google Text to Speech integration account.
Procedure
Step 1: Go to Integration Account Properties in Contact Center Administrator
- In Contact Center Administrator > Call Center Configuration > Integration Accounts, add a new Text to Speech integration account. For property descriptions, see the Contact Center Administrator Guide, section Text To Speech Integration (TTS).
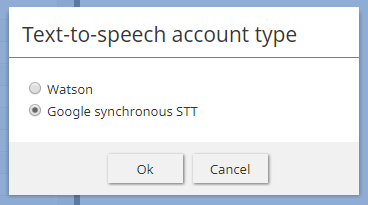
Select the type of TTS integration account - See the Load Voices property.
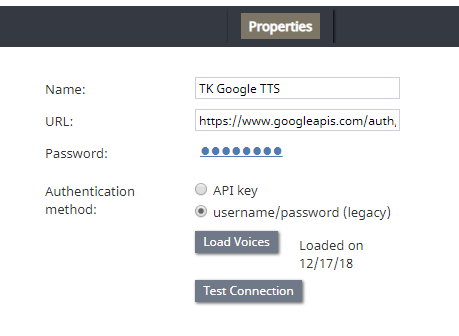
Google TTS integration account properties - To get the list of voices to appear, you need to go into Google Explorer and authorize a list in a specific language to be used.


Step 2: Authorize in Google
- Go to https://developers.google.com/apis-explorer/?hl=en_US#search/voices/m/texttospeech/v1/texttospeech.voices.list
- In languageCode, enter the language code (e.g., "en-US")
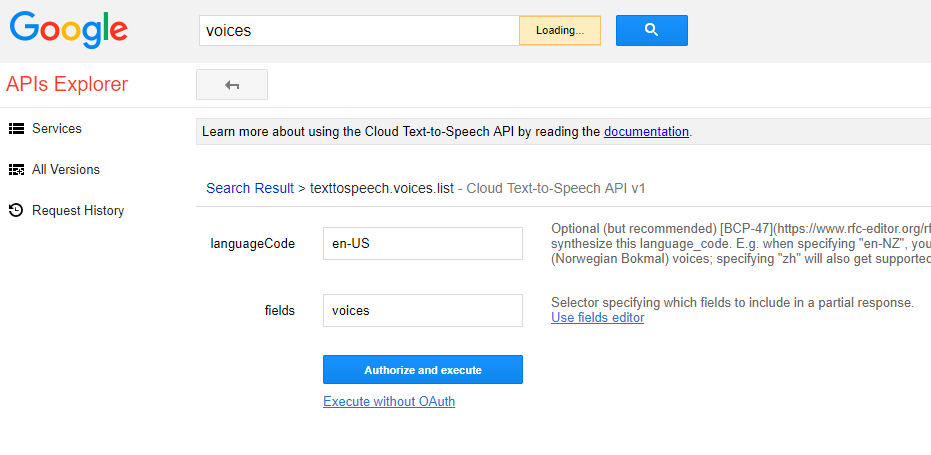
Enter language code - In fields, enter "voices"
- Click Authorize and execute
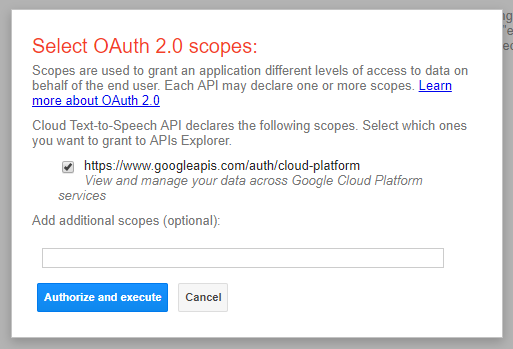
Authorize it - In the Select OAuth 2.0 Scopes dialog, select the checkbox for the scope to use
- Click Authorize and execute (again)
- In the next dialog, allow access to your Google account
- This initiates the request (GET list in languageCode) and returns the response code and list (JSON)
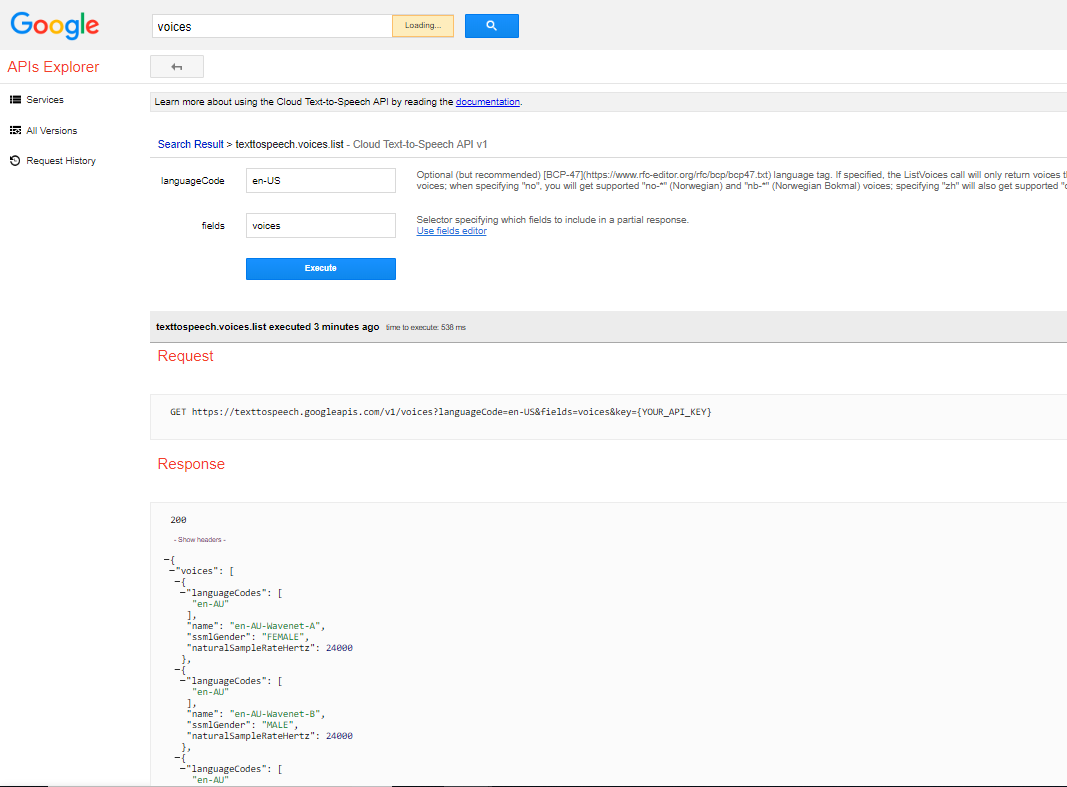
JSON response


Step 3: Load Voices
- In Contact Center Administrator, go back to your TTS integration account properties and click Load Voices. This may take a few minutes. When the voices are loaded, a message will display the date they were added: “Loaded on XX/XX/XX.”
- Click Apply to save your changes.
< Previous | Next >