提供: Bright Pattern Documentation
• English
IBM Cloud 音声合成 APIの音声読み上げ方法
IBM Cloud 音声合成統合アカウントはIBM Cloud API 認証情報を使い、Bright PatternコンタクトセンターをIBMのTTS エンジンに接続します。 統合を設定すると、サポートされている多数の言語で音声プロンプトを作成して、ボットの応答を自動化できます。
このような統合アカウントを設定するには、 音声リスト化という APIメソッドを使って、IBMから利用可能な音声のリストを取得する必要があります。
この記事では、上記の操作と、Watson音声合成統合アカウントで音声読み上げ方法について説明します。
手順
ステップ 1:コンタクトセンター管理者アプリケーションの統合アカウントプロパティへ進みます。
- コンタクトセンター管理者アプリケーション > コールセンター設定 > 統合アカウントで新しい音声合成統合アカウントを追加します。
- アカウントタイプとして Watson を選択します。
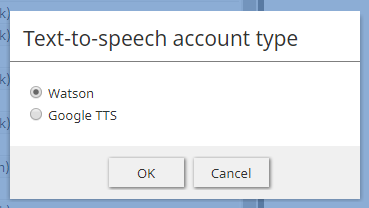
TTS統合アカウントのタイプを選択します。 - 音声合成統合アカウントプロパティが開きます。
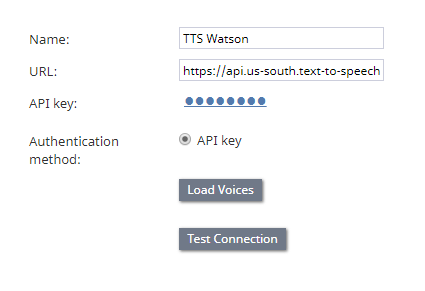
Watson IBM 音声合成統合アカウントプロパティ - IBM 音声合成サービスの URL を設定します。URLは、音声合成サービスの認証情報で確認できます。例: https://api.us-south.text-to-speech.watson.cloud.ibm.com/instances/0123a4c0-5d67-8cec-9c10-a0cdbb1234b5
- IBM Cloudの音声合成サービスの認証情報に含まれる API キーを設定します。
- 音声読み上げプロパティはグレー色で表示され、ステップ2へ進むまでクリックできません。


Step 2: List Voices in IBM Cloud
This step uses IBM Cloud's List Voices and Get Voices API methods.
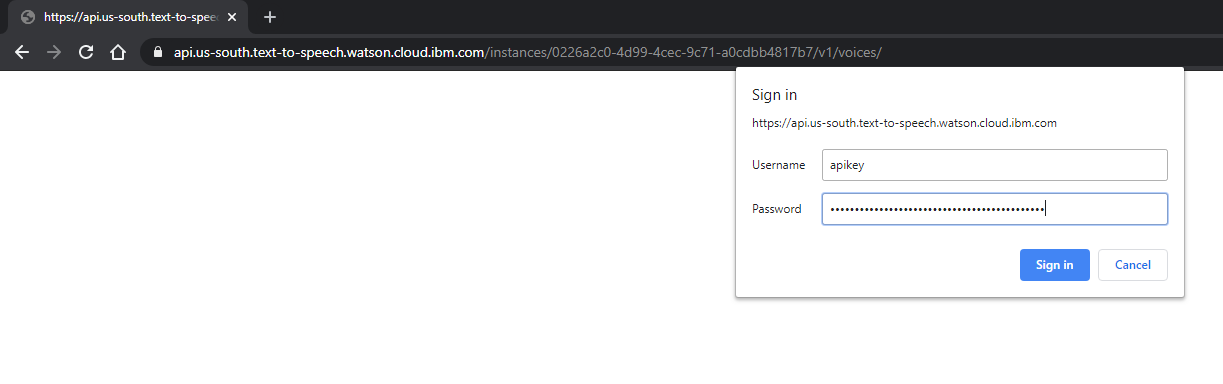
- In your web browser, go to https://<your-ibm-tts-instance-url>/v1/voices. For example: https://api.us-south.text-to-speech.watson.cloud.ibm.com/instances/0123a4c0-5d67-8cec-9c10-a0cdbb1234b5/v1/voices
- Authenticate with your IBM Text to Speech credentials:
- Username - apikey
- Password - The same Text to Speech API key as set in the integration account properties
- Username - apikey
- A list of known models (voices) will be shown in JSON.
- You may optionally select the URLs for the individual models and open them in your browser to get more information.

Step 3: Load Voices
- Go back to the Contact Center Administrator application, to the Watson TTS integration account properties, and click Load Voices. This may take a few minutes. If the voices field still says "empty" after clicking Load Voices, wait a few more minutes and try again.
- When the voices are loaded, a message will display the date they were added: “Loaded on XX/XX/XX.”
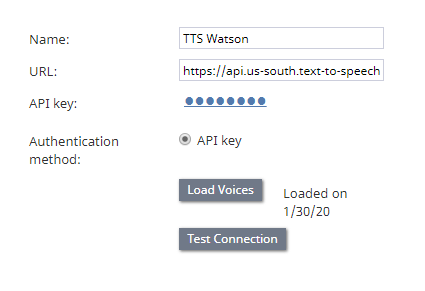
Example of voices loaded on <date> - Click Apply to save your changes.
< 前へ
