How to Insert Images into Email
When replying to or forwarding emails, images can be inserted directly into the body of messages using either drag-and-drop functionality or your computer's copy image and paste commands. Print screen and snipping tools may be used to do this as well. Inserting images into the body of email messages may allow you to improve your email response time.
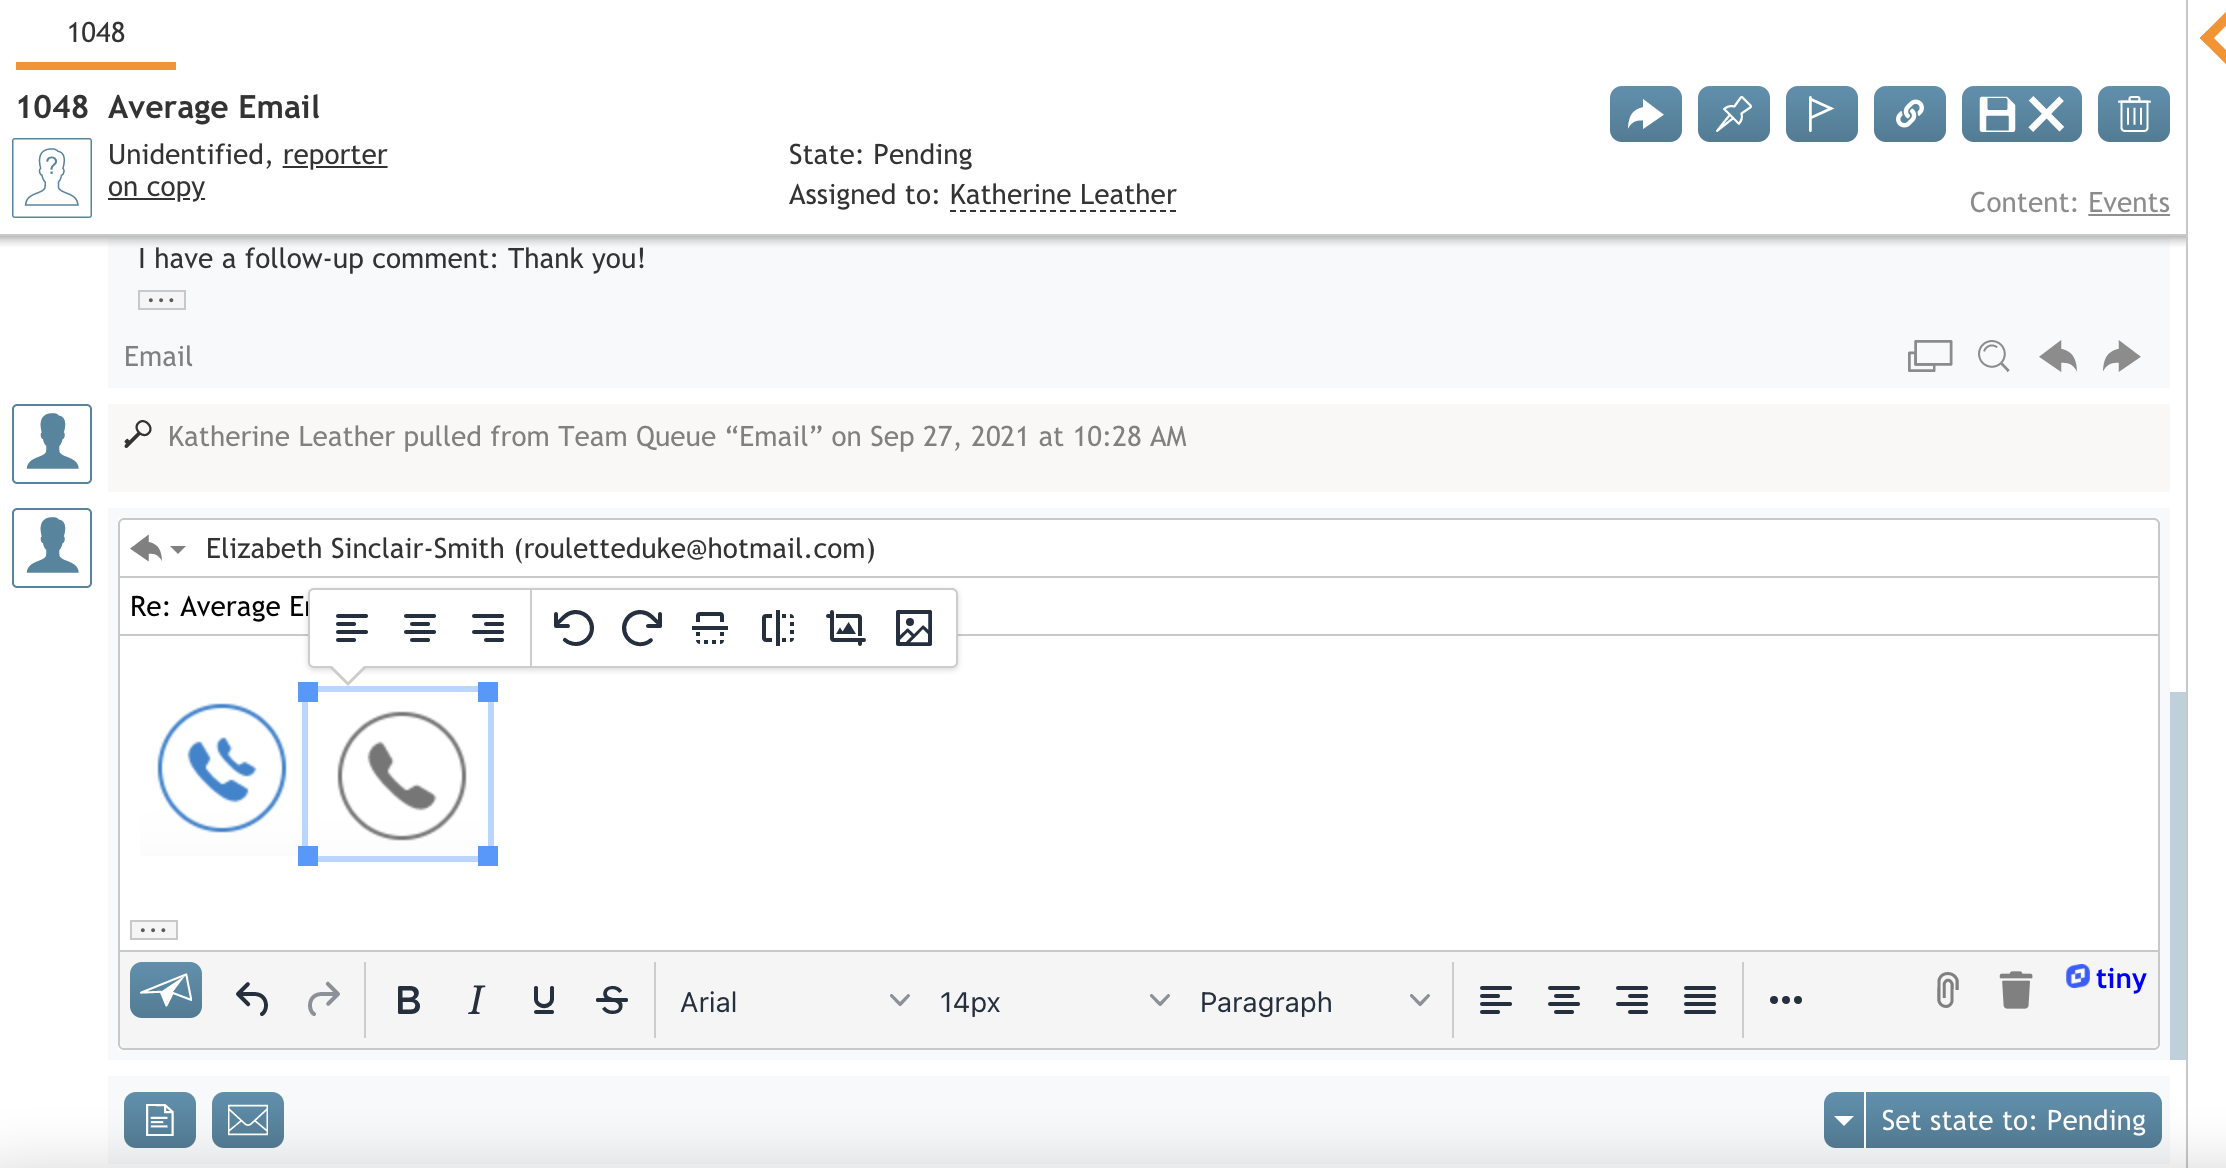
Once the image is placed, you can use the image tools to resize it, move it to a different place within the email body, align the image to be left/center/right, and make other adjustments as needed. Click anywhere else within the email body to deselect the image and hide the image tools.
How to Drag and Drop Images
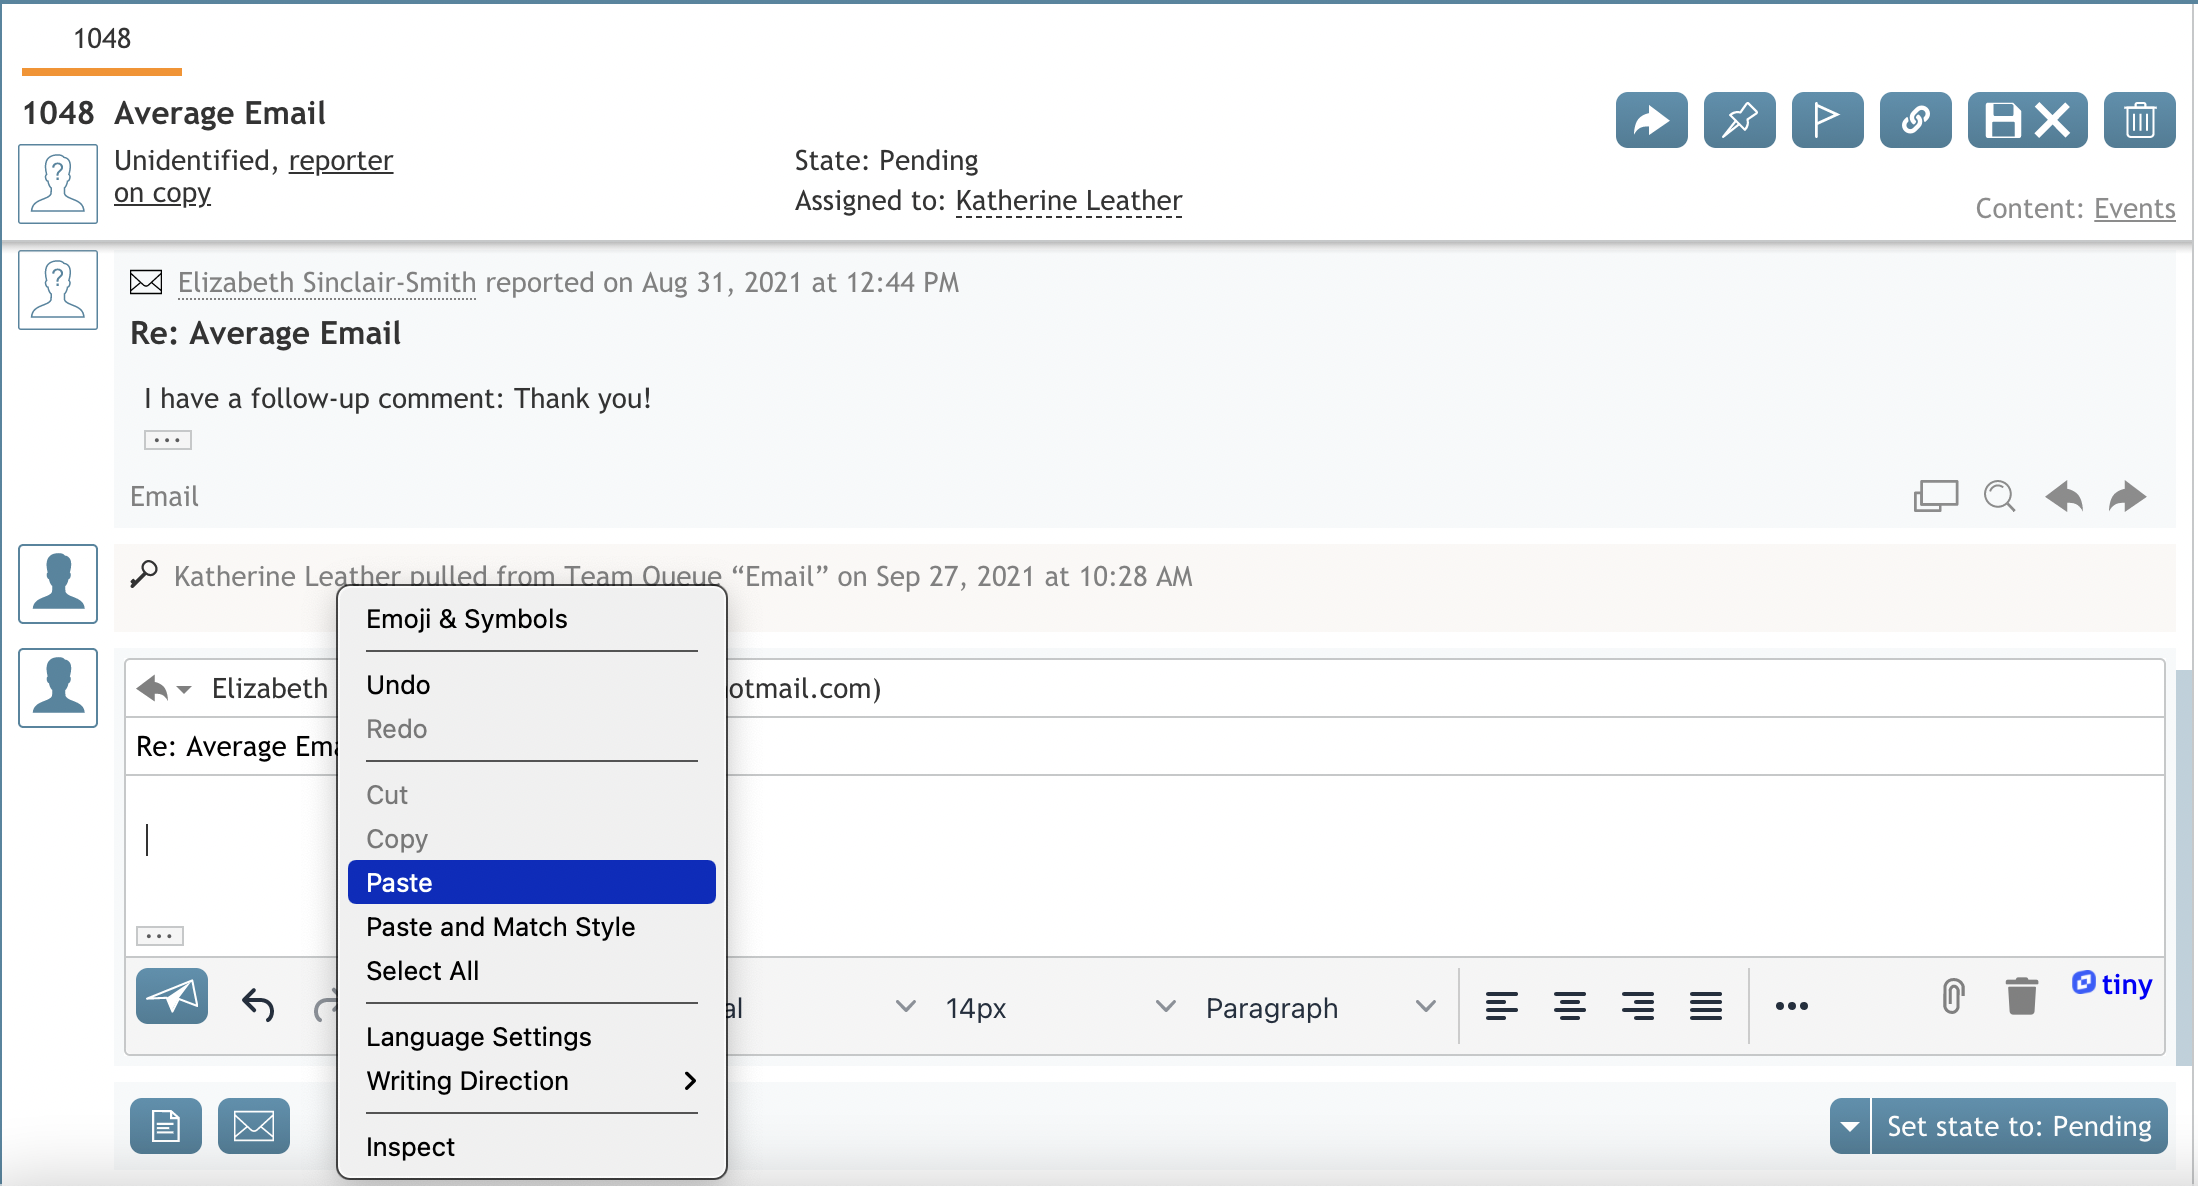
To insert an image, first, copy it using your preferred copy image method (e.g., in Windows, right-click on the image and select "copy image"). Next, insert your cursor within the body of the message and use your computer's paste command; the image will appear inside the email body.
How to Copy and Paste Images
To insert an image into email using copy/paste, first, copy the image using your preferred copy image method (e.g., in Windows, right-click on the image and select "copy image"). Next, insert your cursor within the body of the message and use your computer's paste command; the image will appear inside the email body.
If you prefer, files still may be attached to emails using the Add attachment button ![]() .
.


