From Bright Pattern Documentation
< 5.3:Agent-guide | Tutorials | Cases
• 5.3
Contents
- Agent Guide Introduction
- Welcome
- What Is Agent Desktop?
- User Interface OverviewGetting Started
- SetupUsage
- Working in Agent DesktopTutorials
- Tutorials
- Tutorials Overview
- Calendar
- Calls
- Cases
- OverviewAccepting Email
- How to Accept an EmailCreating Cases
- How to Create New CasesFollow-ups
- How to Use Pinned Cases to Send a Follow-up Outbound Email
- How to Use Cases to Send a Follow-up Outbound EmailFonts
- How to Change Default Email FontHandling Email
- How to Close an Email without Replying
- How to Change an Assigned Email Service
- How to Compose a Reply
- How to Transfer an Email
- How to Forward an Email
- How to Send a New Outbound Email
- How to Save an Email as a Draft
- How to Copy and Paste Images into EmailMasking Data
- How to Mask Sensitive DataPrint
- How to Print an EmailRetrieving Email from Queue
- How to Retrieve an Email from the Team Queue
- How to Retrieve an Email from Personal QueueReviewing Email
- How to Review an Incoming Email
- Chat Center
- Chats
- Contacts
- Knowledge Base
- Outbound Campaigns
- Search
- StatesHelp
- Troubleshooting
How to Copy and Paste Images into Email
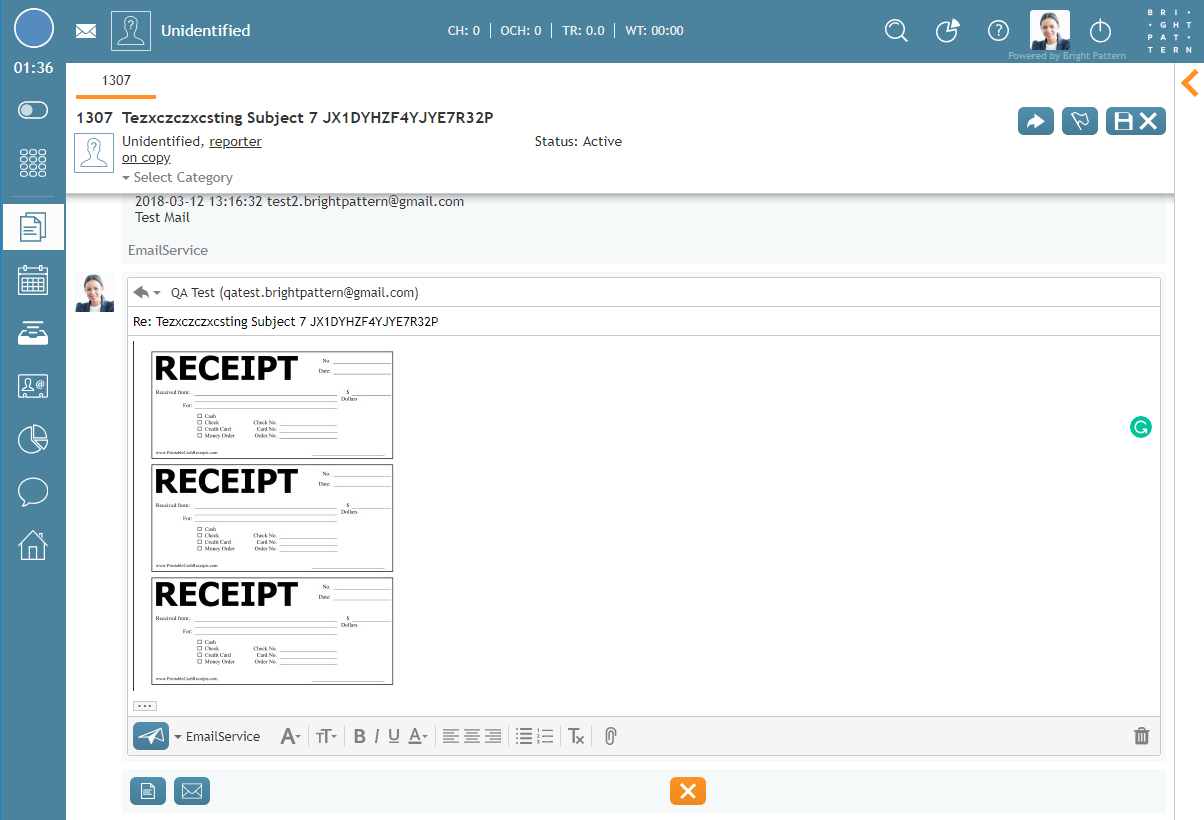
When replying to or forwarding emails, images can be inserted directly into the body of messages using your computer's copy image and paste commands; print screen and snipping tools may be used to do this. Inserting images into the body of email messages may allow you to improve your email response time.
To insert an image, first, copy it using your preferred copy image method (e.g., in Windows, right-click on the image and select "copy image"). Next, insert your cursor within the body of the message and use your computer's paste command; the image will appear inside the email body.
If you prefer, files still may be attached to emails using the Add attachment button .